AI Models
AI Models are the filters Topaz Labs has created to determine how to adjust or enhance your images, graphics, scans, or artwork.
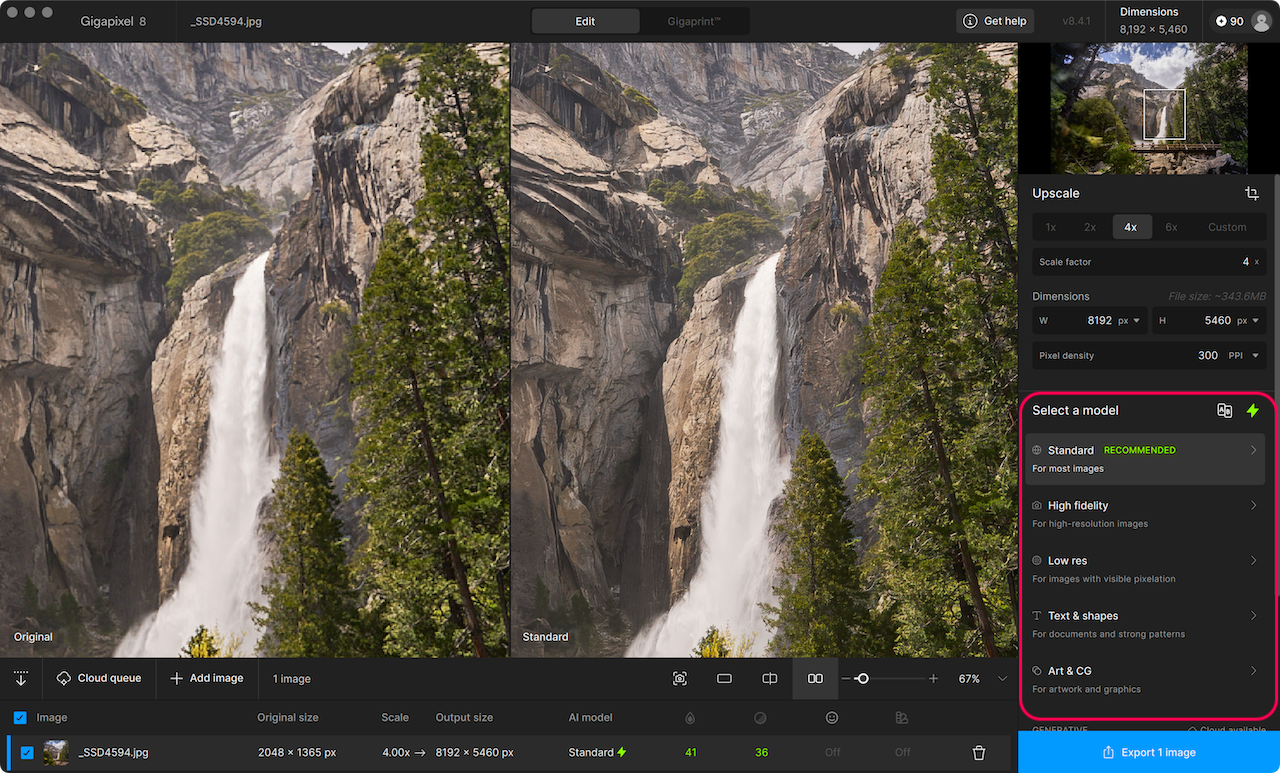
Choose Auto mode or manually select a model from the panel.
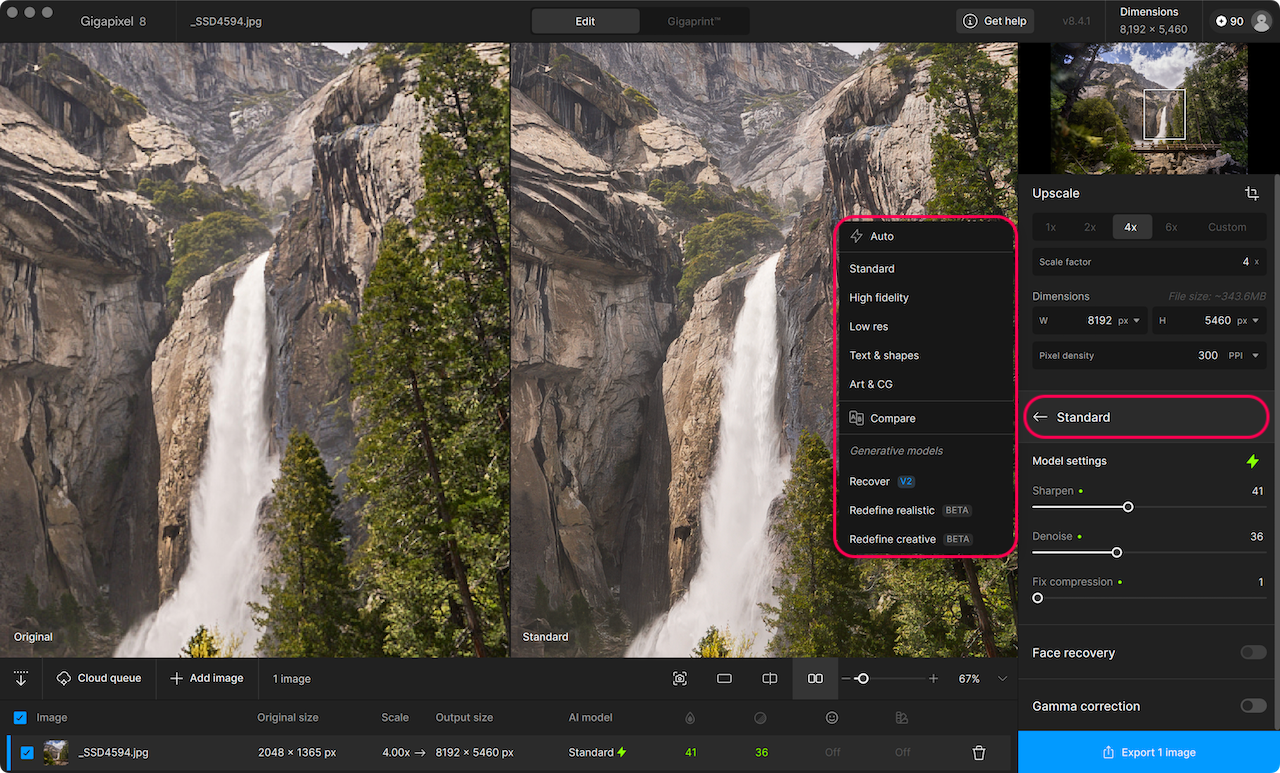
Hover over the header text of the model name to switch between models, control Auto mode, or activate the Compare tool.
Gigapixel has three main categories:
Core Models
Generative Models
Legacy Models
Explore each section to find the one that's best for your images.