Cloud Rendering (Legacy)
Cloud Rendering is available for Recover and Redefine models. Use it if your system doesn’t meet the hardware requirements for generative models or if you see a “Large image” warning.
Use Cloud Rendering
- Import your image
- In the model list under “Generative,” click on Recover or Redefine
- Make your desired adjustments
- Take note of cloud credits:
Your available credits are seen in the upper right corner.
The credits it will cost to render appear at the bottom of the right panel. - Your image is sent to the Cloud queue to render in the background
- Once the render is complete, the image is downloaded to a local folder, defined in your Cloud render settings
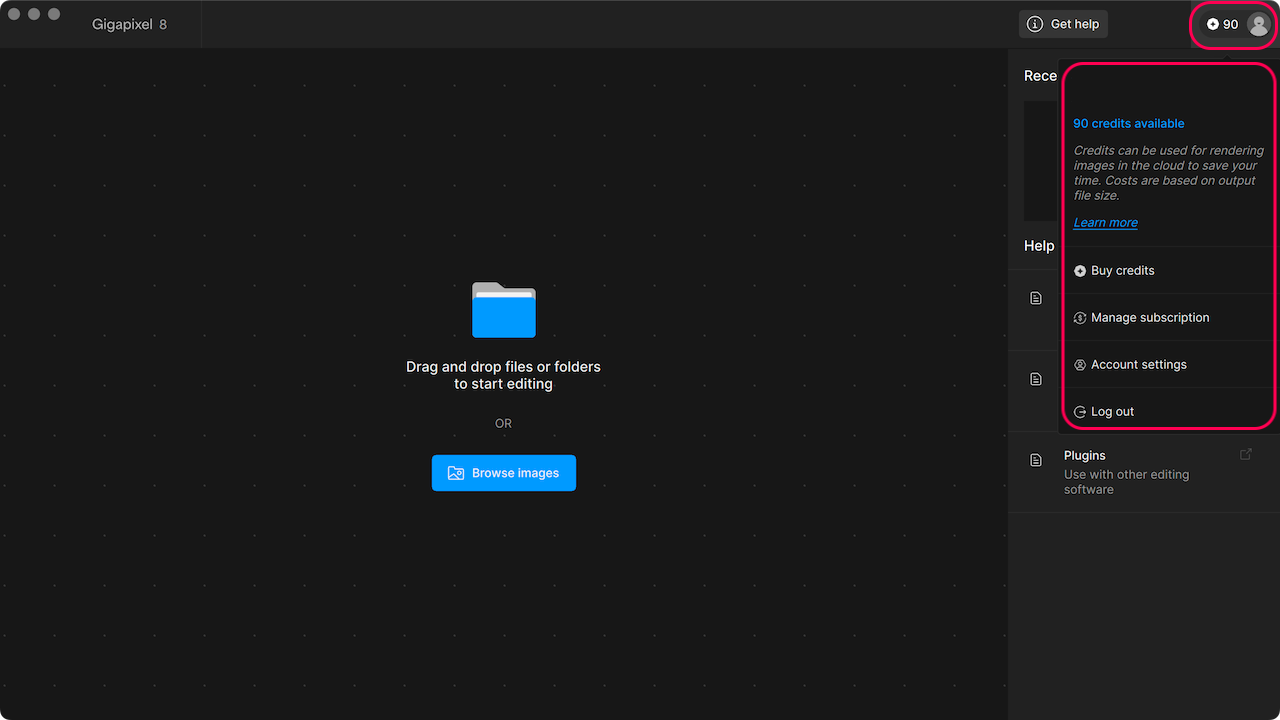
From the profile icon in the top right of the application window, your available Cloud credits can be seen and more can be purchased.
When a generative model is selected, the option to Cloud render will appear with the number of credits it will cost.

Cloud Queue
Use the Cloud render queue to monitor your renders.
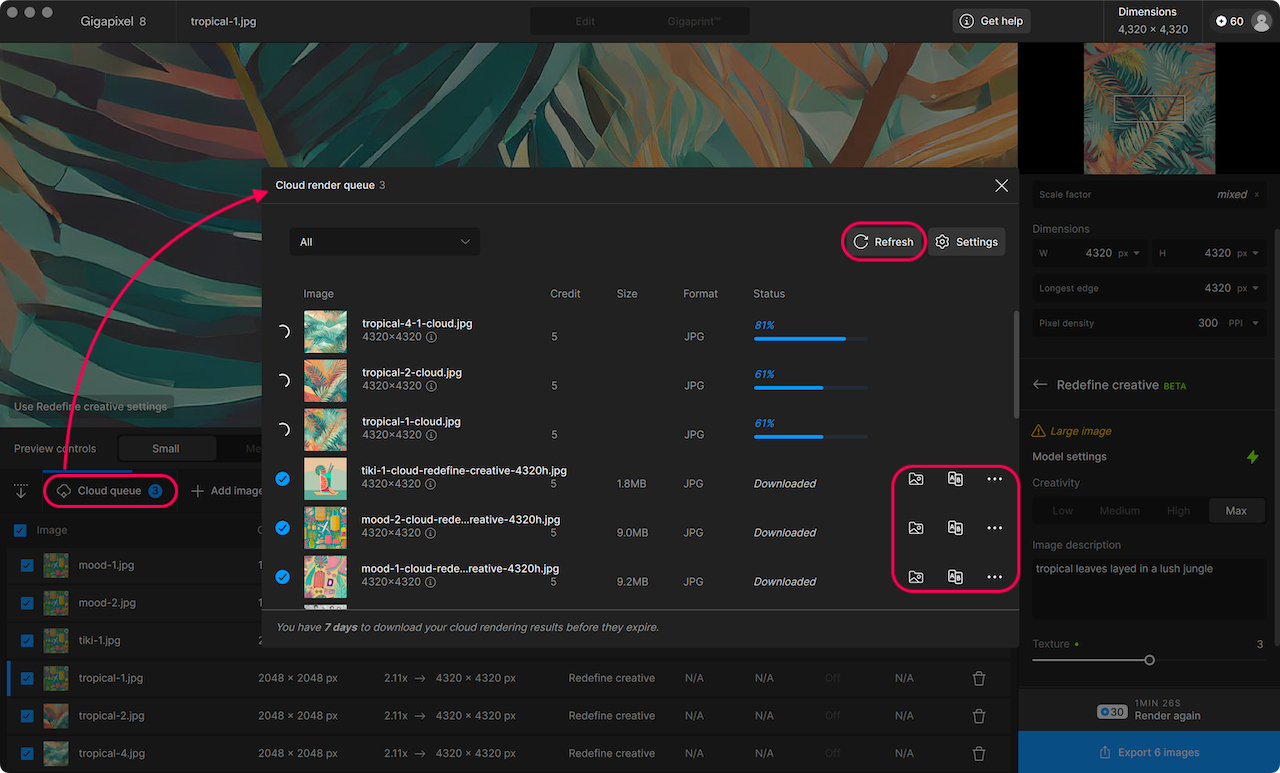
- Use the refresh button if renders appear stuck
- Use the folder icon to navigate to the downloaded image
- Use the A|B button to compare in the cloud
- Use the ••• button to gather the request ID for support
Cloud Compare
Introduced in v8.4, a new compare button has been added for images in the Cloud queue. From the Cloud queue, click on the A|B button that appears to the right and your web browser will open to a page for comparing results.
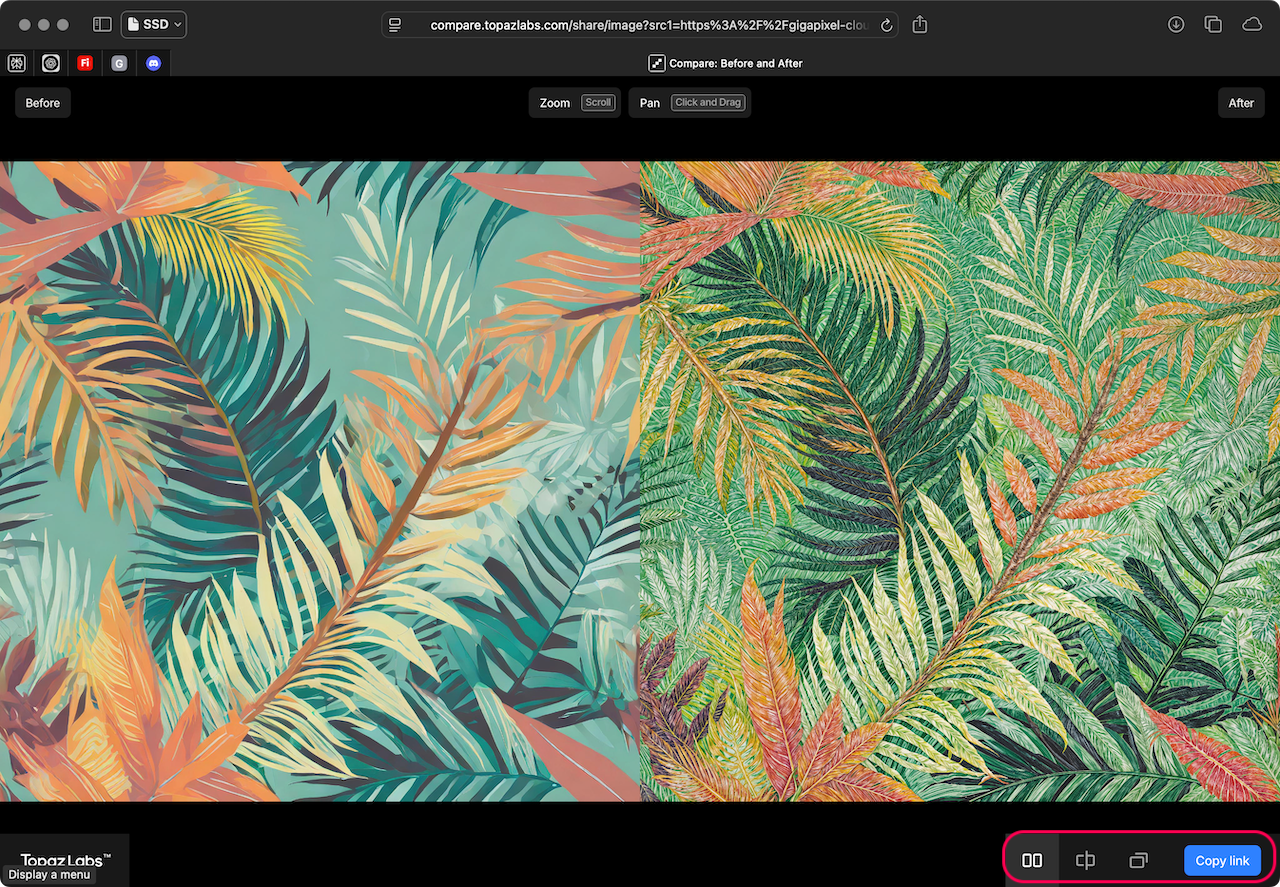
In the bottom right, different views can be used and a link can be created for sharing with others.
Batch Cloud Rendering
Introduced in v8.2, Cloud render supports exporting batches.
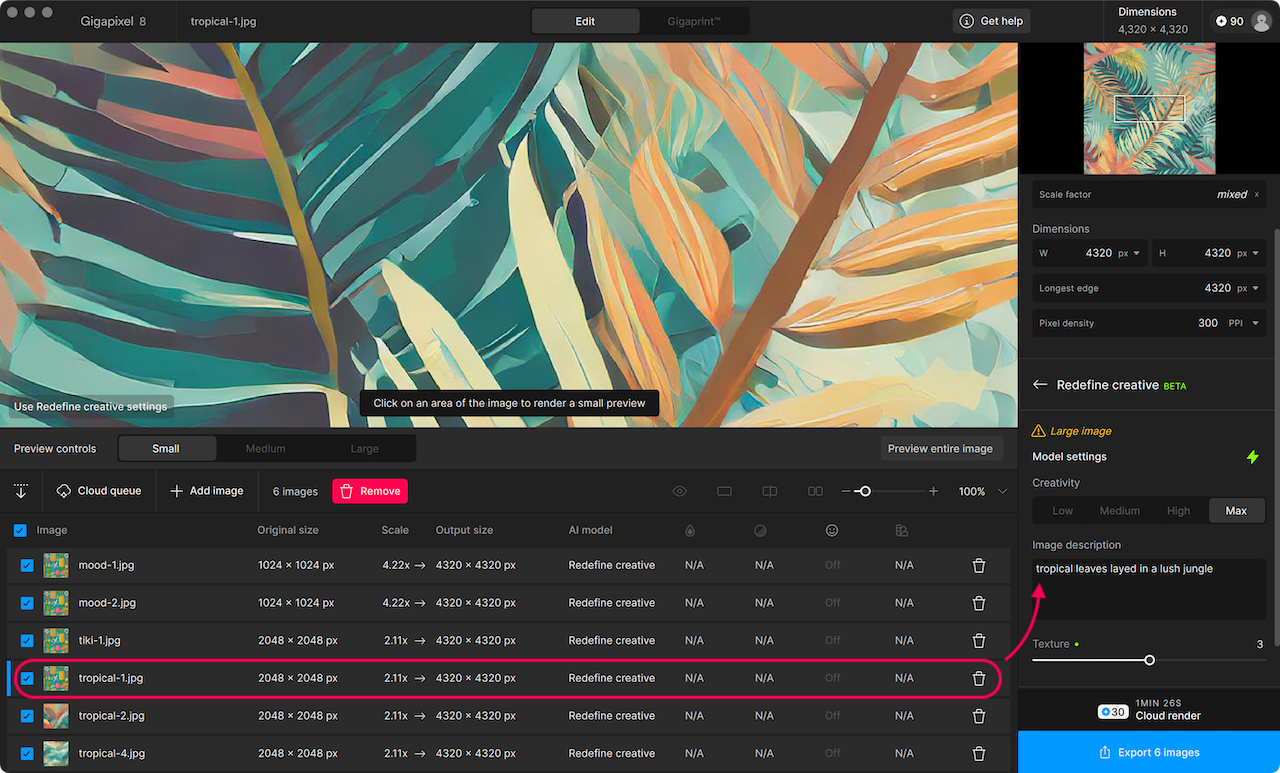
If using Redefine, the Image description is unique to each image and needs individual adjustment.
Settings
Navigate to settings for Cloud render to set unique parameters that relate to rendering in the cloud.
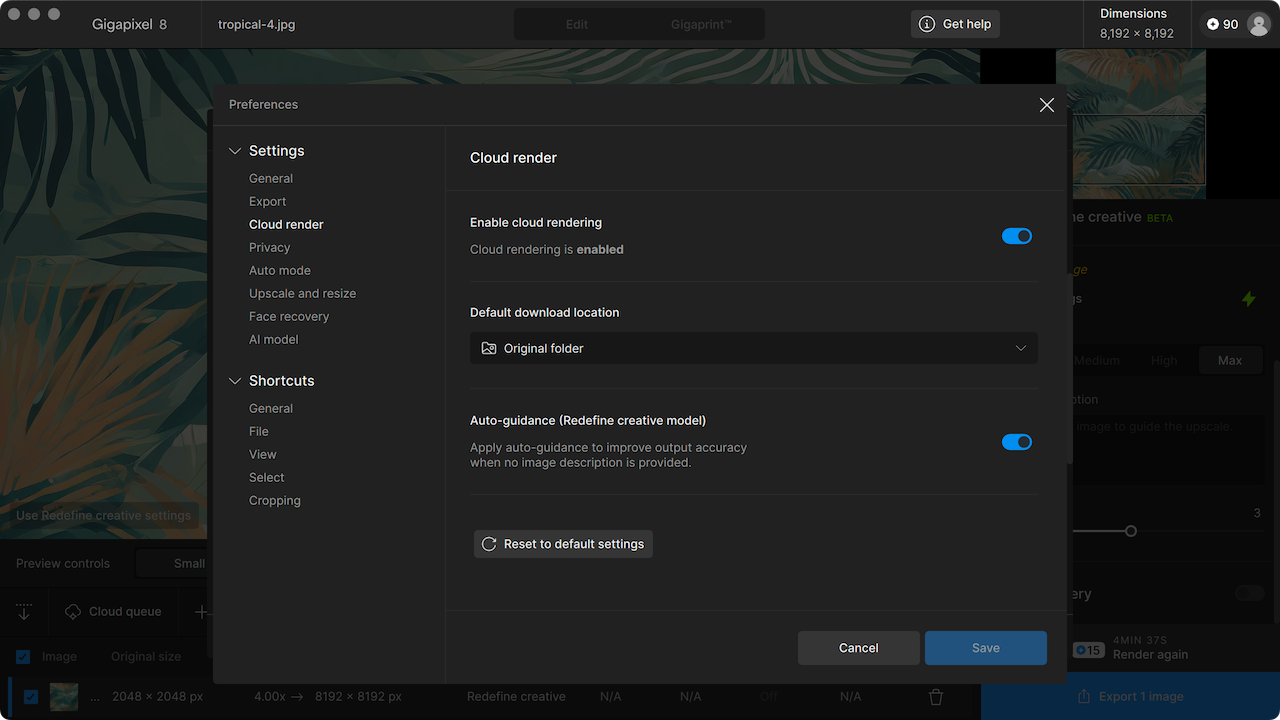
Here you can define the location for completed renders downloaded from the cloud.
Enabling Auto-guidance for Redefine will help produce better results when the Image description is left blank.
Credits
- Credits are the currency used to access Cloud Rendering
- To purchase credits, access online from your Topaz Labs account
- Output file size is measured by megapixels (MP).
For example, a 4000×6000 px image is 24MP - Cloud rendering currently supports output size up to 256MP
FAQs
Where can I see how many credits I have? Launch Gigapixel and look in the top right corner for your account profile. Your credits will appear alongside your user icon.
Can you use credits in Trial mode? No. You’ll need to purchase a Gigapixel license to access Cloud Rendering and then purchase credits.
Can I get a refund if I accidentally use credits? No. Please reach out to support@topazlabs.com for more help and information.
Do unused credits roll over? When you have an active subscription plan, you can maintain a maximum balance of 5x your monthly credit volume.
All unused credits roll over to the next month.
For example, a Standard plan subscriber (400 credits) can keep a maximum balance of 2,000 credits.
If you cancel your subscription, any unused credits will expire at the next renewal date. If you only purchase credit packs and don’t have a subscription, the credits won’t expire and there is no max limit.