Getting Started (Legacy)
About Gigapixel
Gigapixel is a powerful desktop application that uses advanced AI to upscale photos, graphics, and artwork up to 6x while preserving detail and clarity.
With intelligent auto settings that adapt to your image, it delivers high-fidelity results for creatives and professionals alike.
Installation
Your computer must have an internet connection to install, activate, and update Gigapixel, but it does not need a connection to use it daily.
Our model files are double-zipped to safeguard proprietary data, which may trigger alerts from certain security applications. We recommend you temporarily disable antivirus, firewall, VPN, or proxy before installation, as they can occasionally lead to model download errors.
How To Install:
- Download the Topaz Gigapixel AI installer
Downloads | My Products | Releases - Run the installer and follow the prompts during installation
For proper functionality using Gigapixel as a standalone app or plugin, the app needs to be installed on the startup disk, not an external drive.
Trial Mode
Explore the enhancements you can make with Gigapixel through a free trial. The free trial mode allows you to use all the features of Gigapixel except for exporting your results.
Please review license pricing here
Activate Trial mode with these steps:
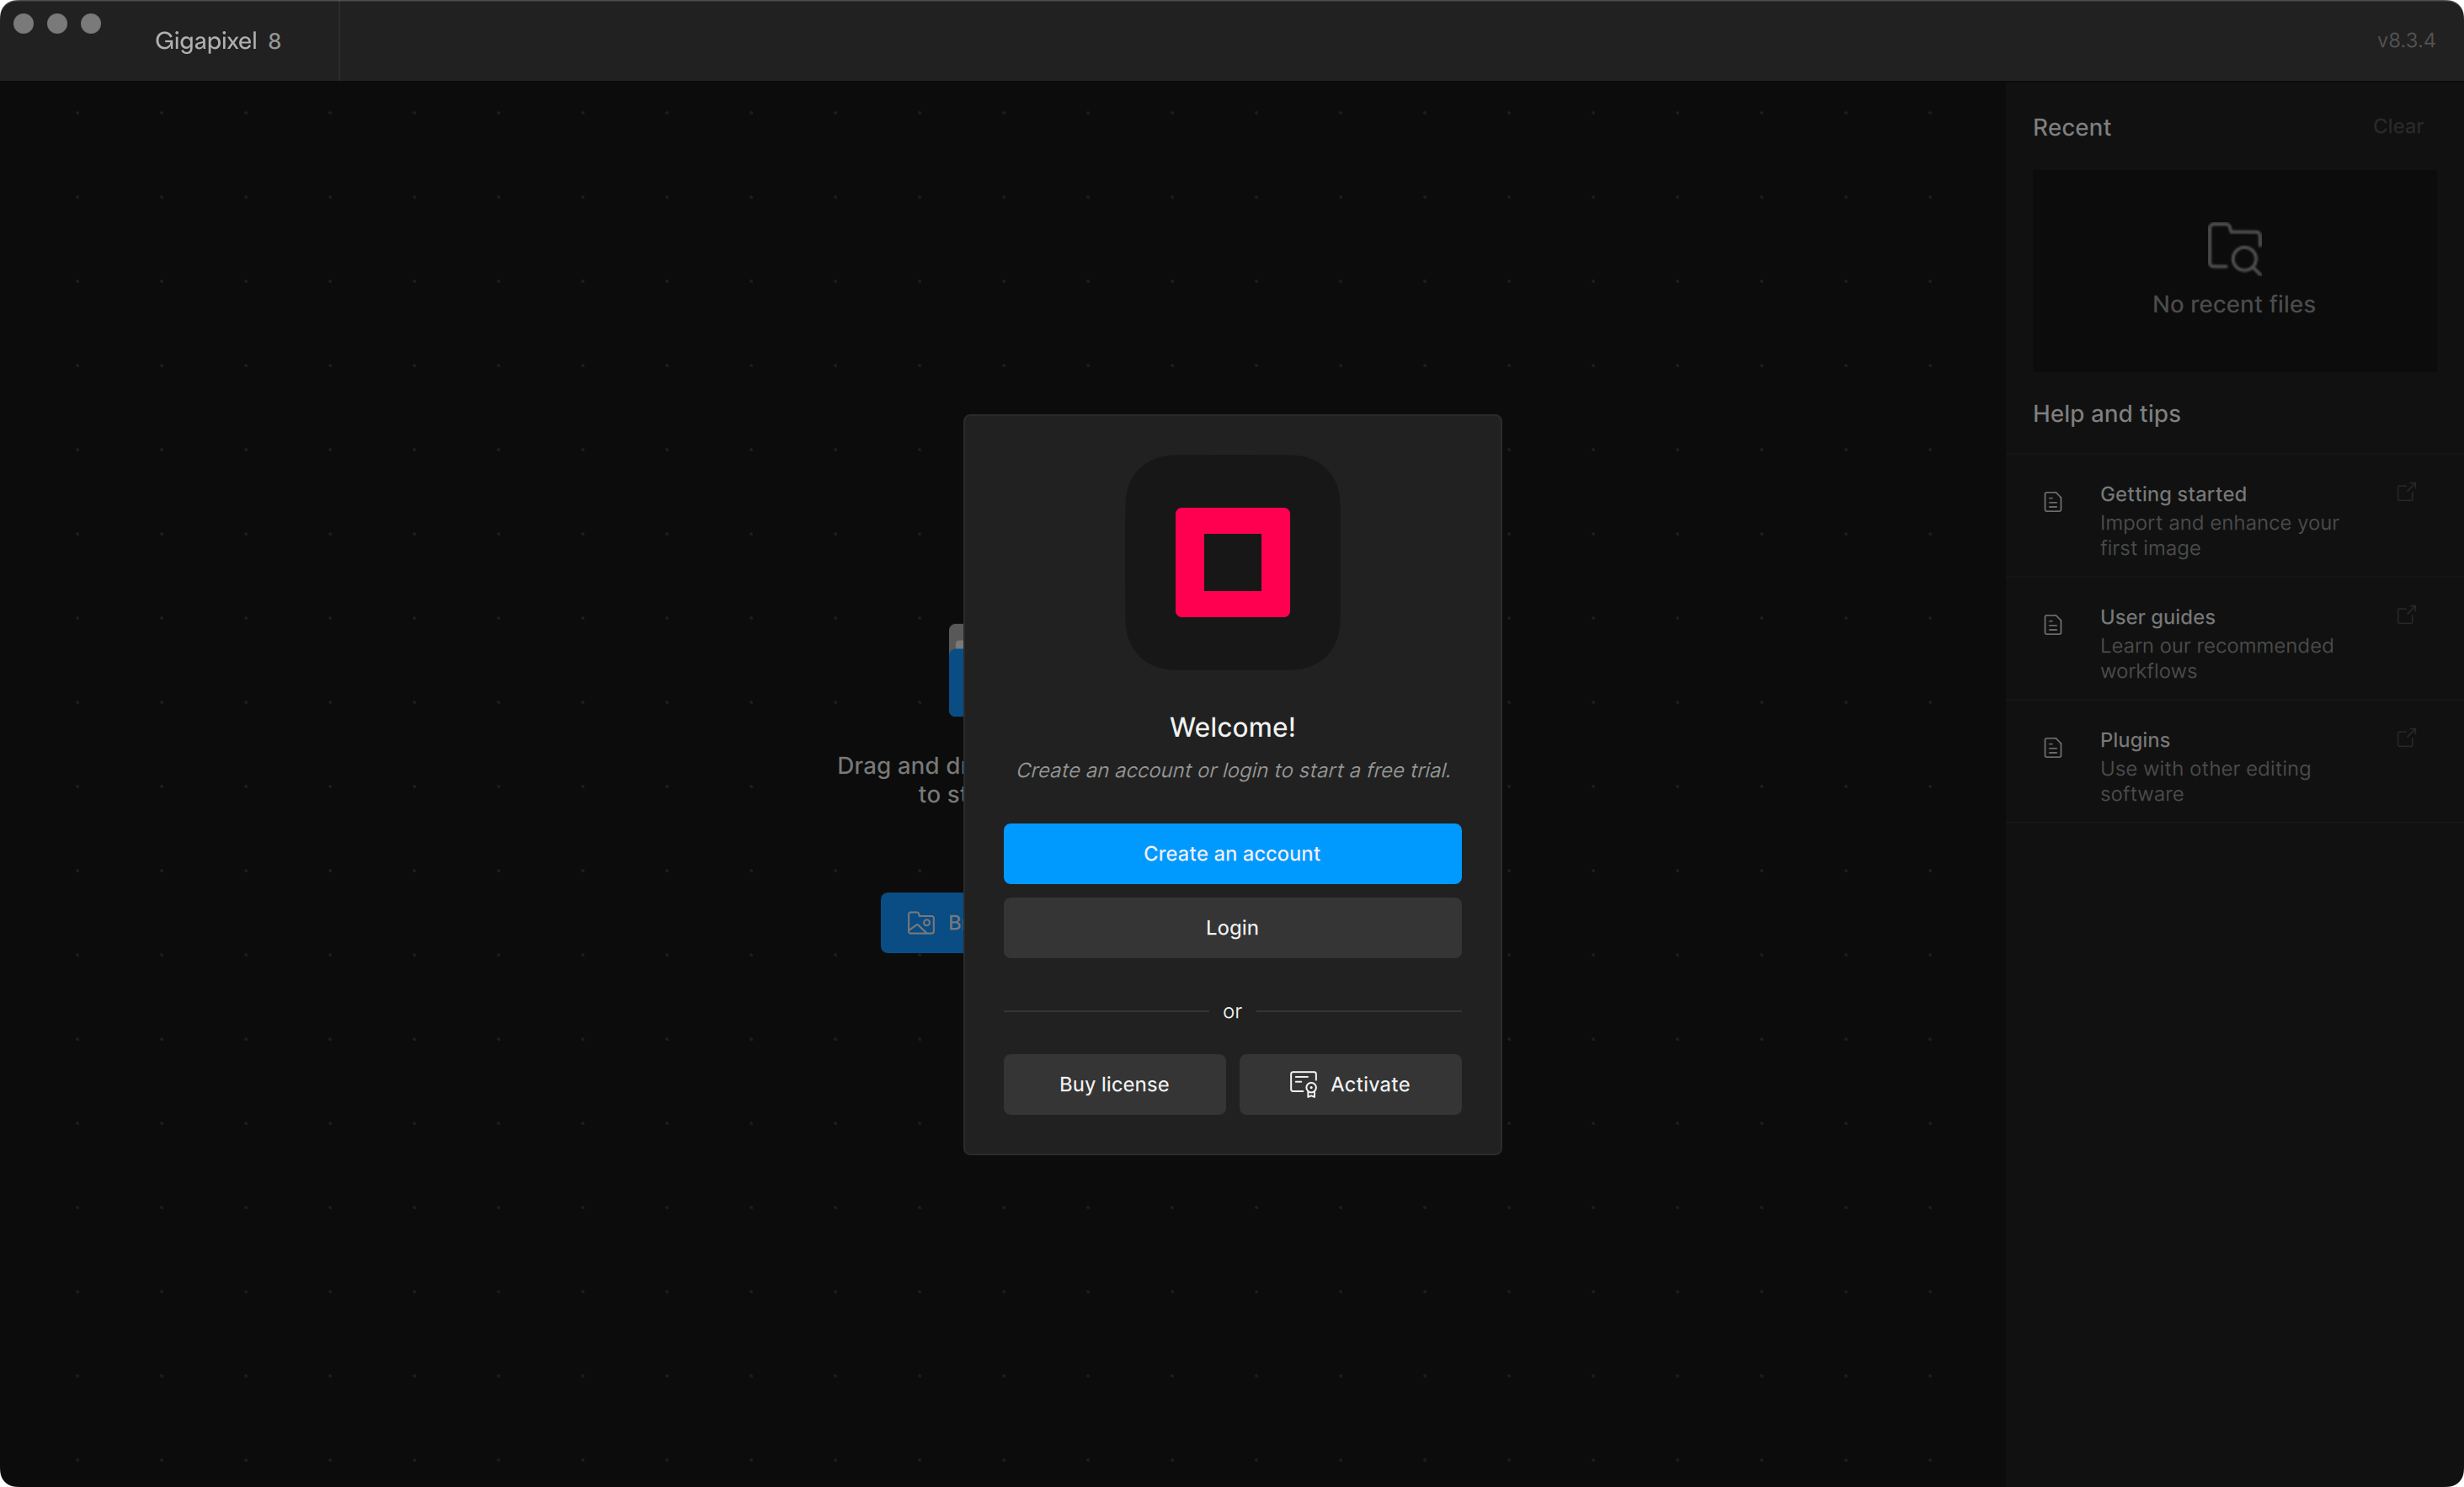
- If you're a new user, click Create an account.
Existing users skip to step 6. - Type an email and click Register.
- Once registration is complete, proceed to your email and locate your registration confirmation email. This is a time-sensitive update, so be sure to register as soon as you receive the email.
- Click the link to Choose your password.
- Follow the steps to set up your password. Type your password and then click Save Password. (You can also log in and review your Topaz Labs account using the Topaz Labs Account dashboard)
- Return to Gigapixel and click Login.
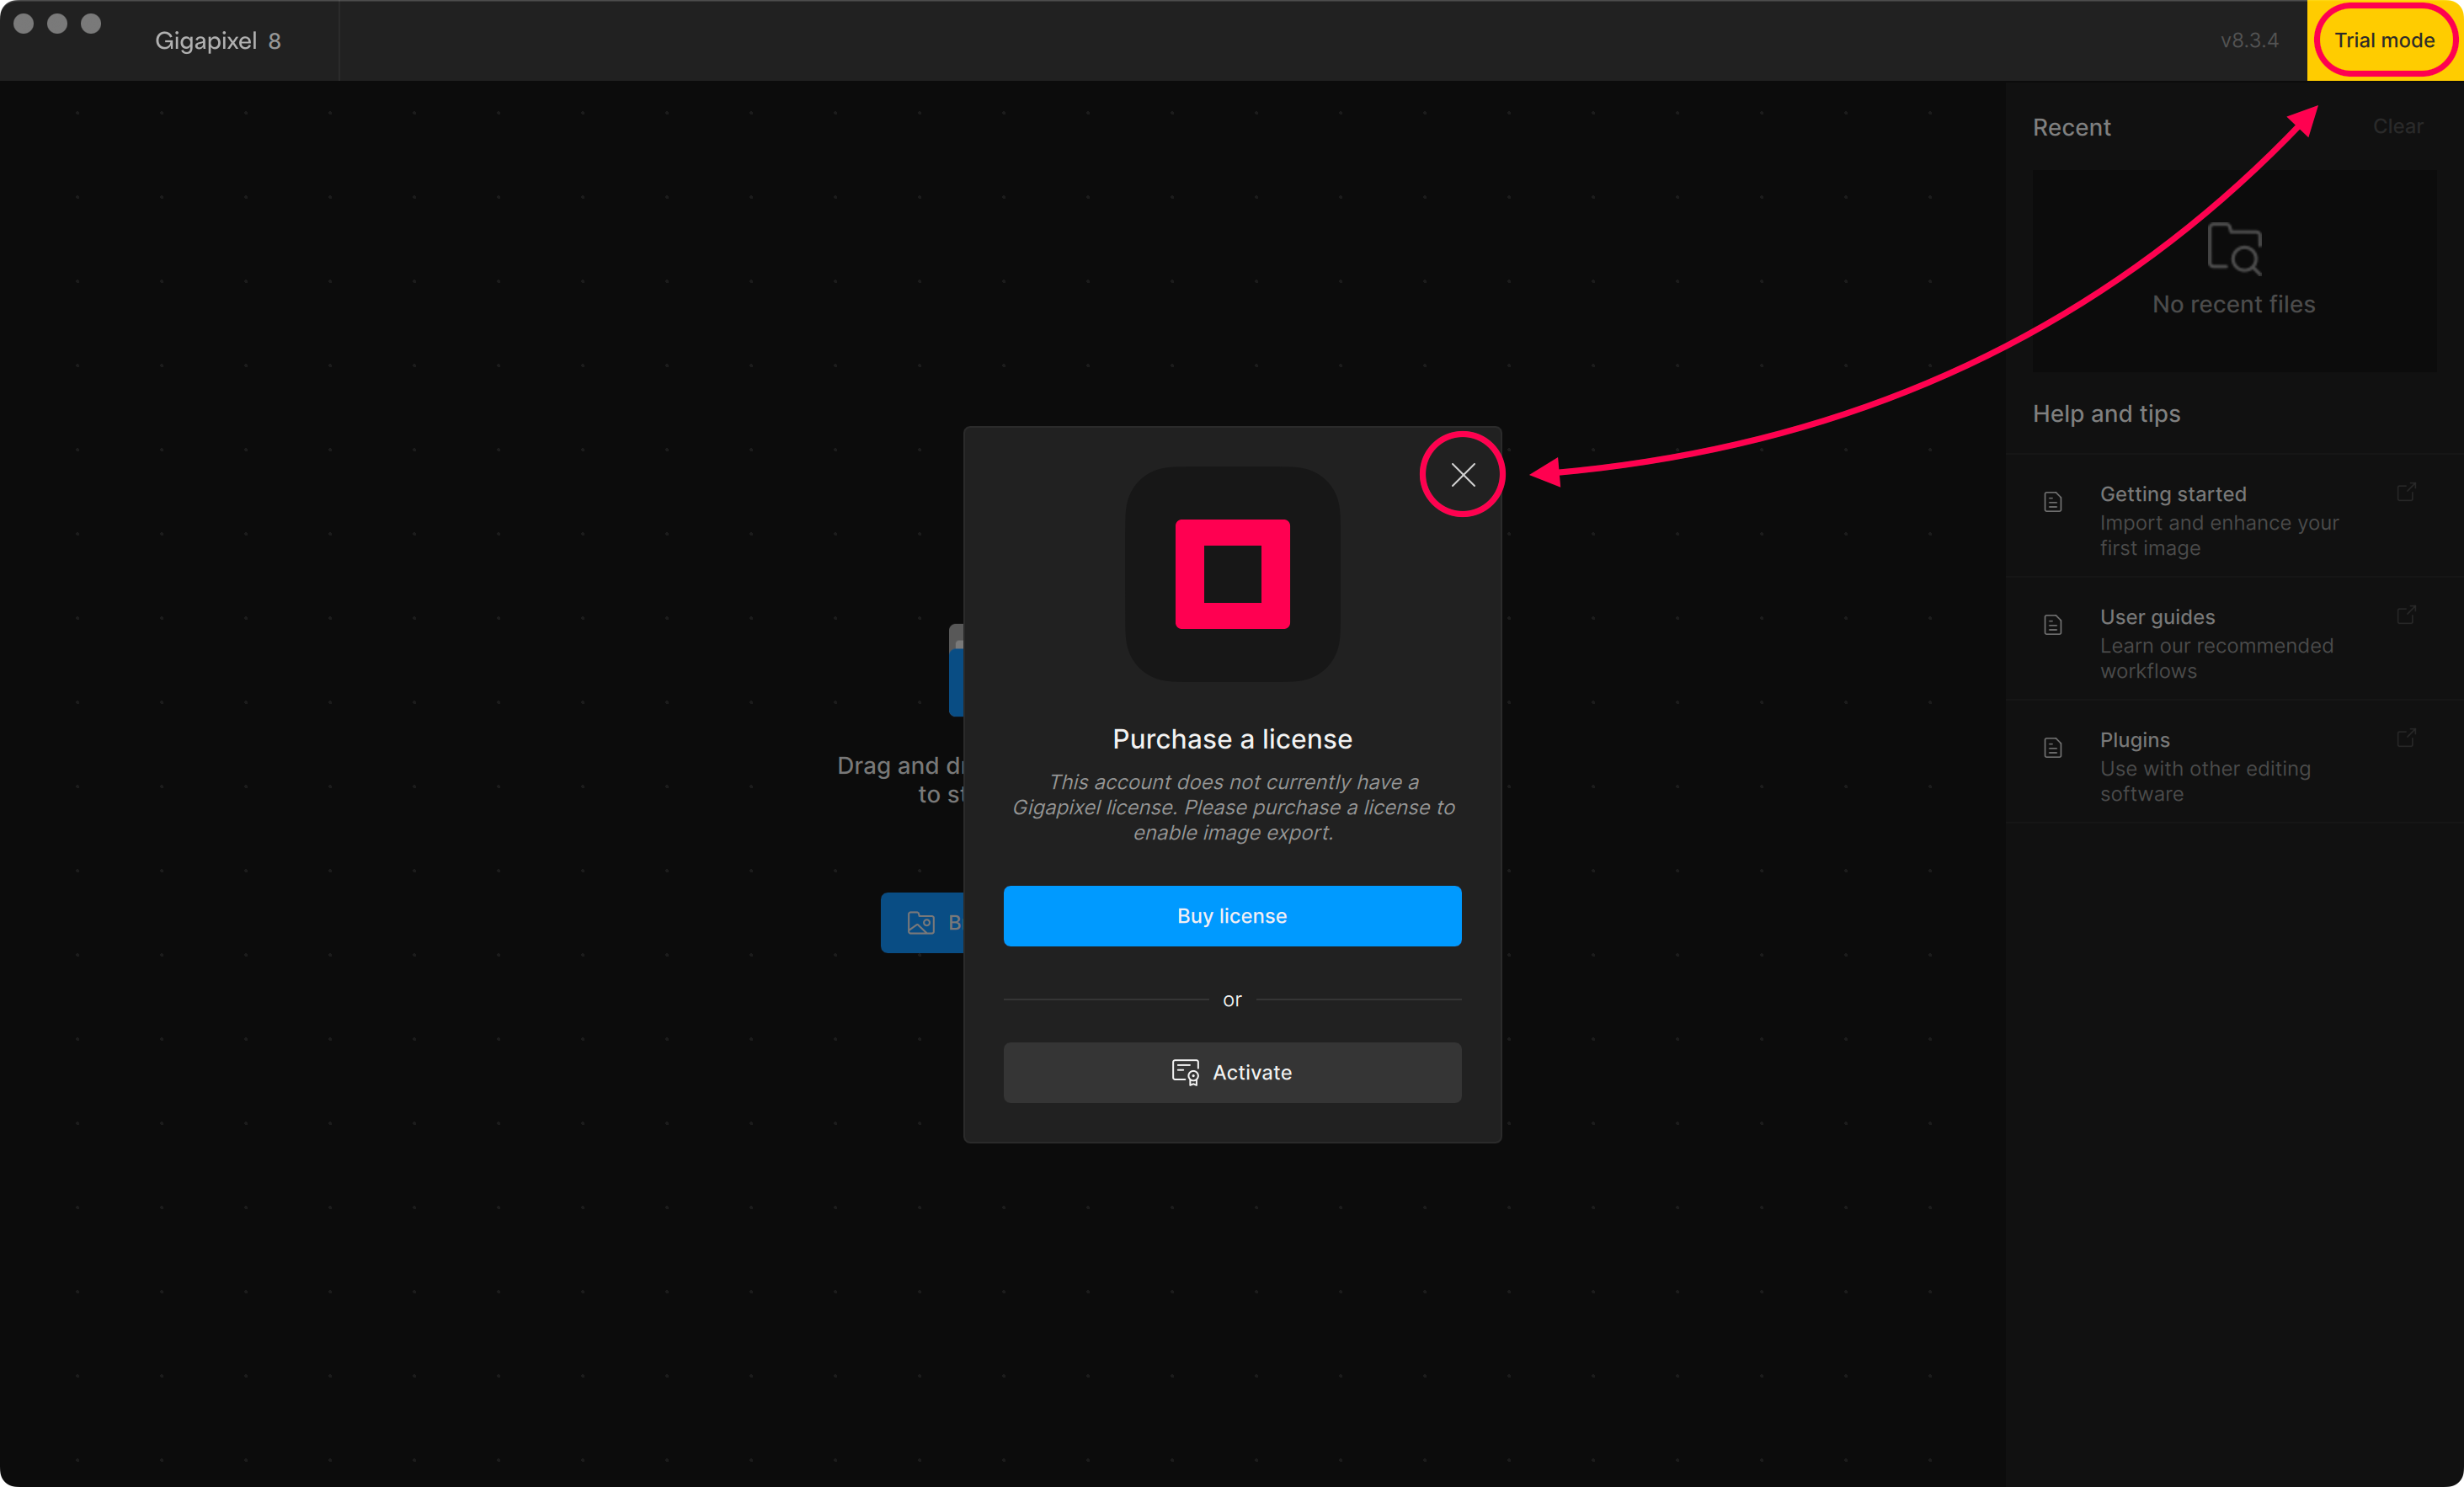
You may dismiss the notification that a license is not found, and Trial mode will remain visible in the top right corner.
Clicking Export image during trial mode, prompts you to purchase a license.
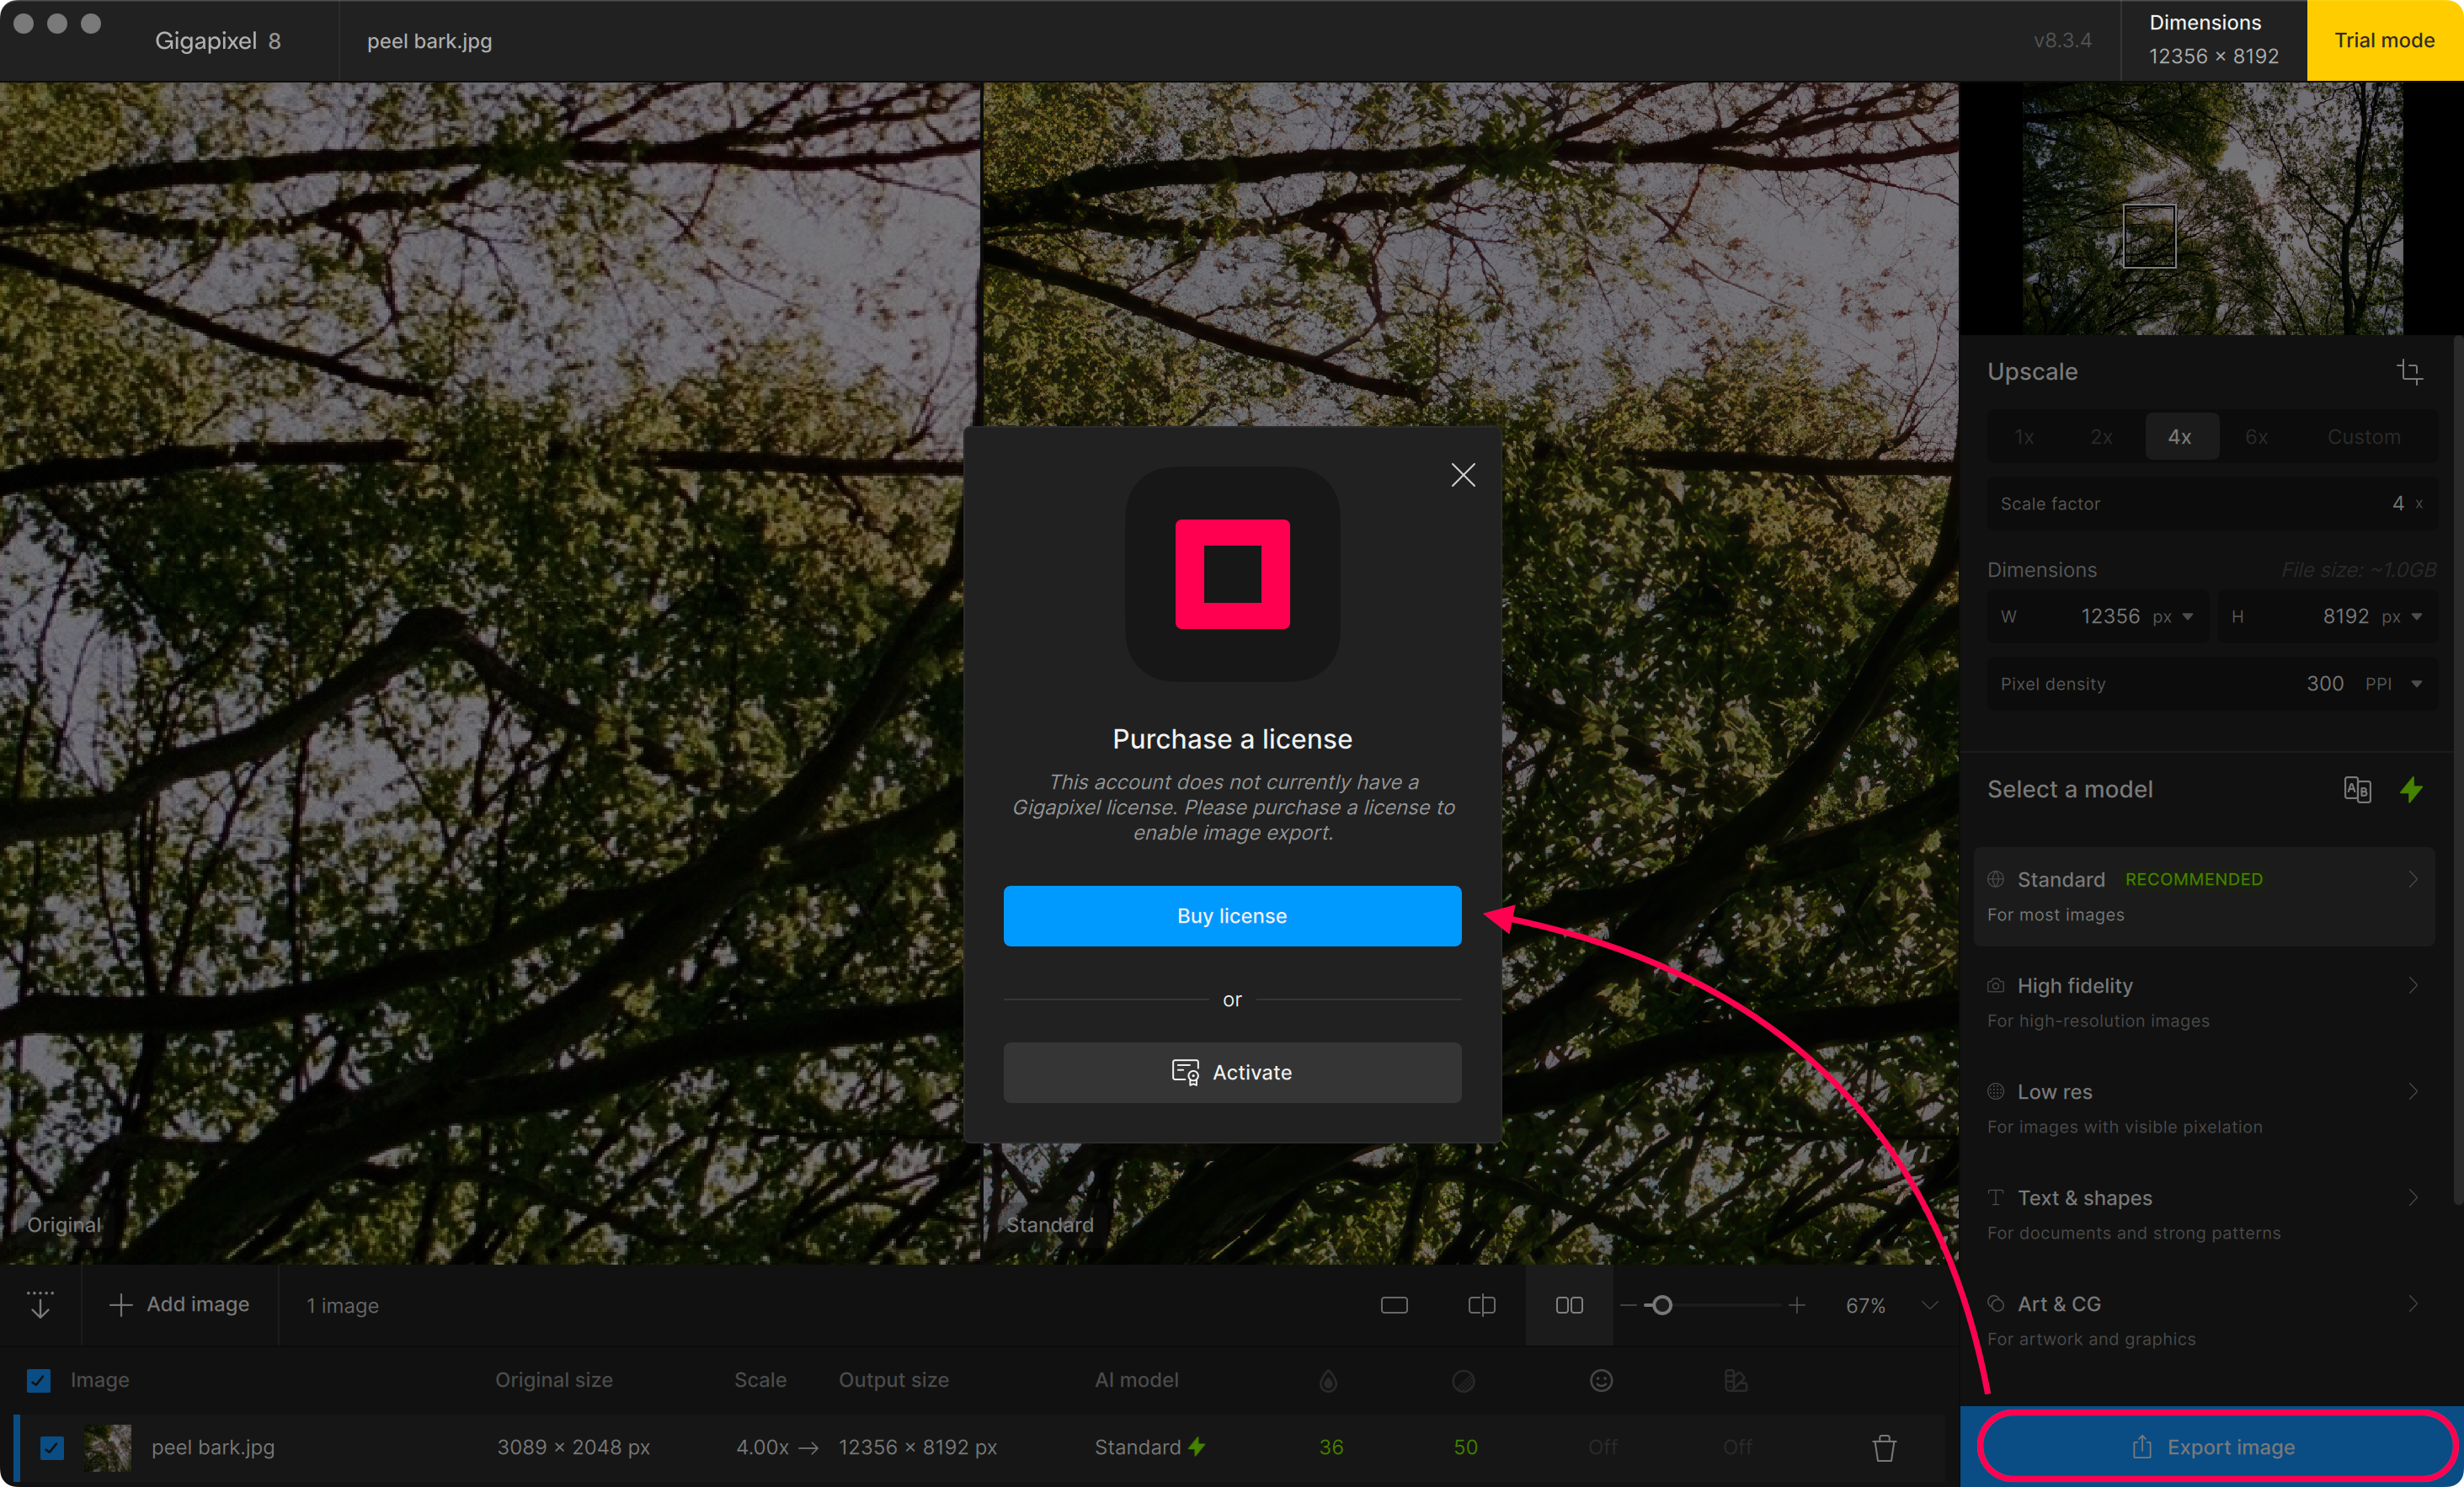
To continue using Trial mode, click the X at the top right corner of the Purchase a license pop-up message.
Activation
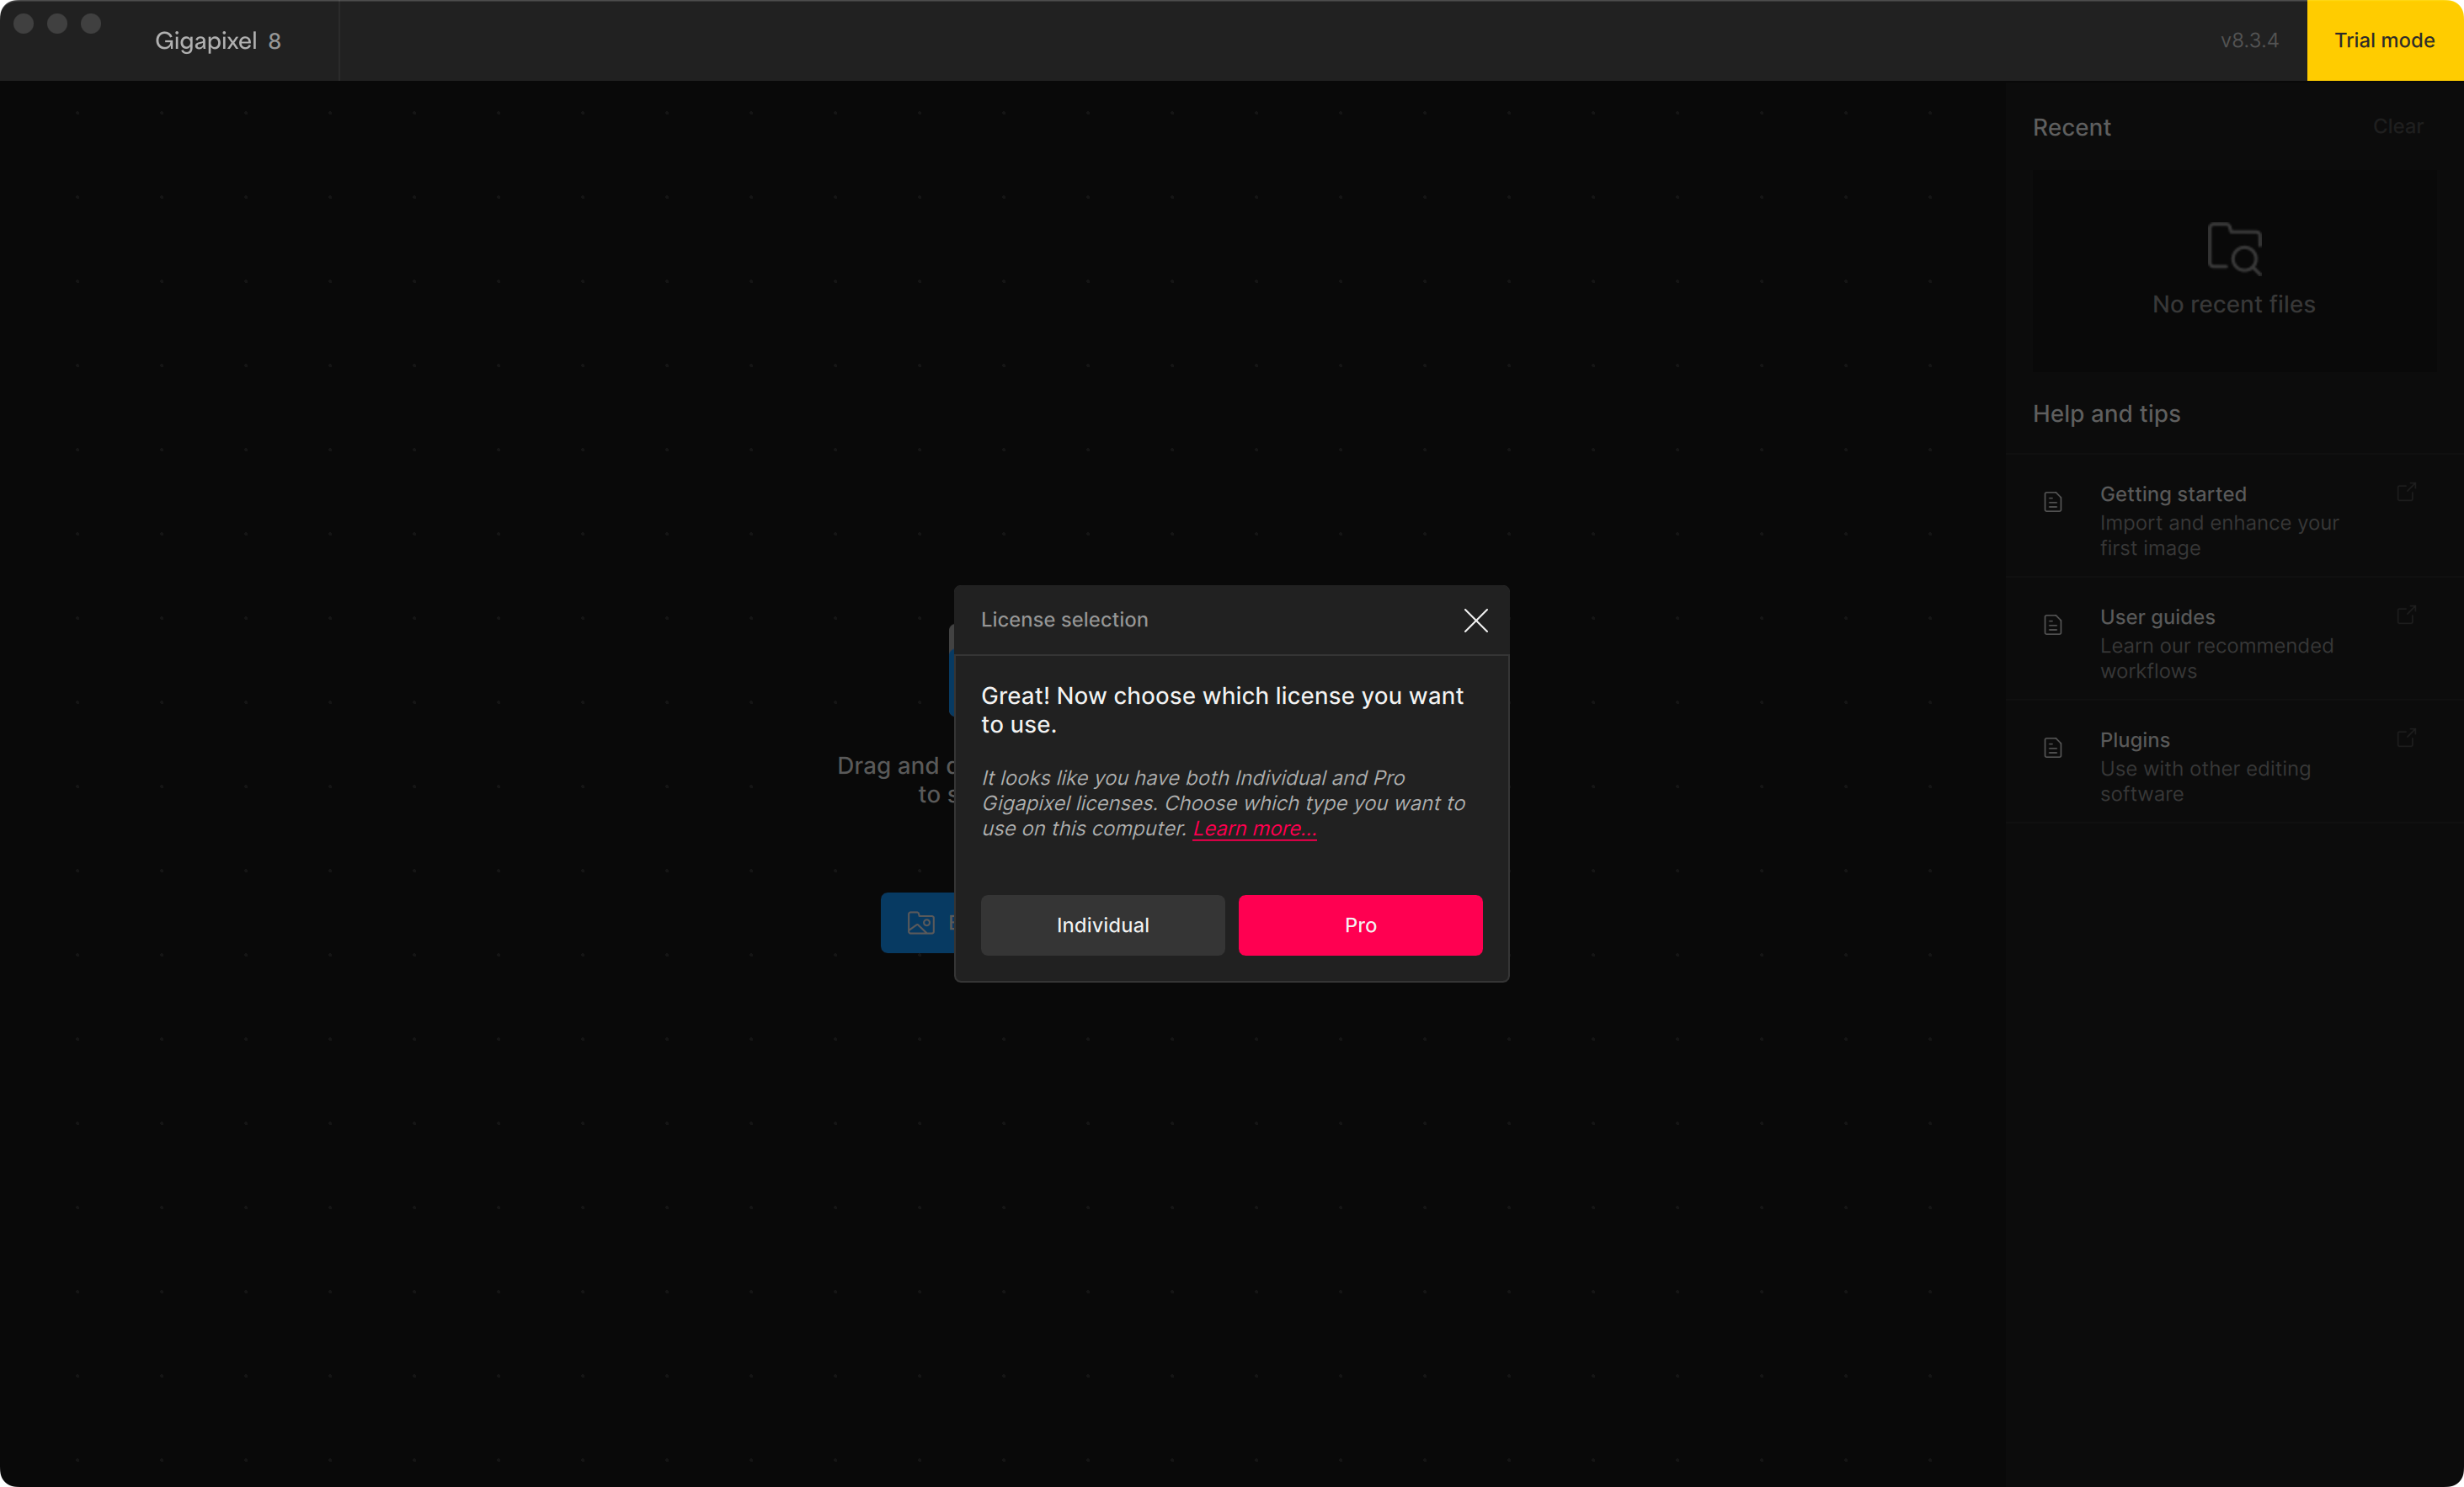
Users with a license can click Login or Activate when prompted after installation.
If multiple license types are found, choose which you intend to use on that system, either Individual or Pro.
Import Your Image
You can import a file by dragging and dropping it into the app or selecting Browse images at the center of the window.

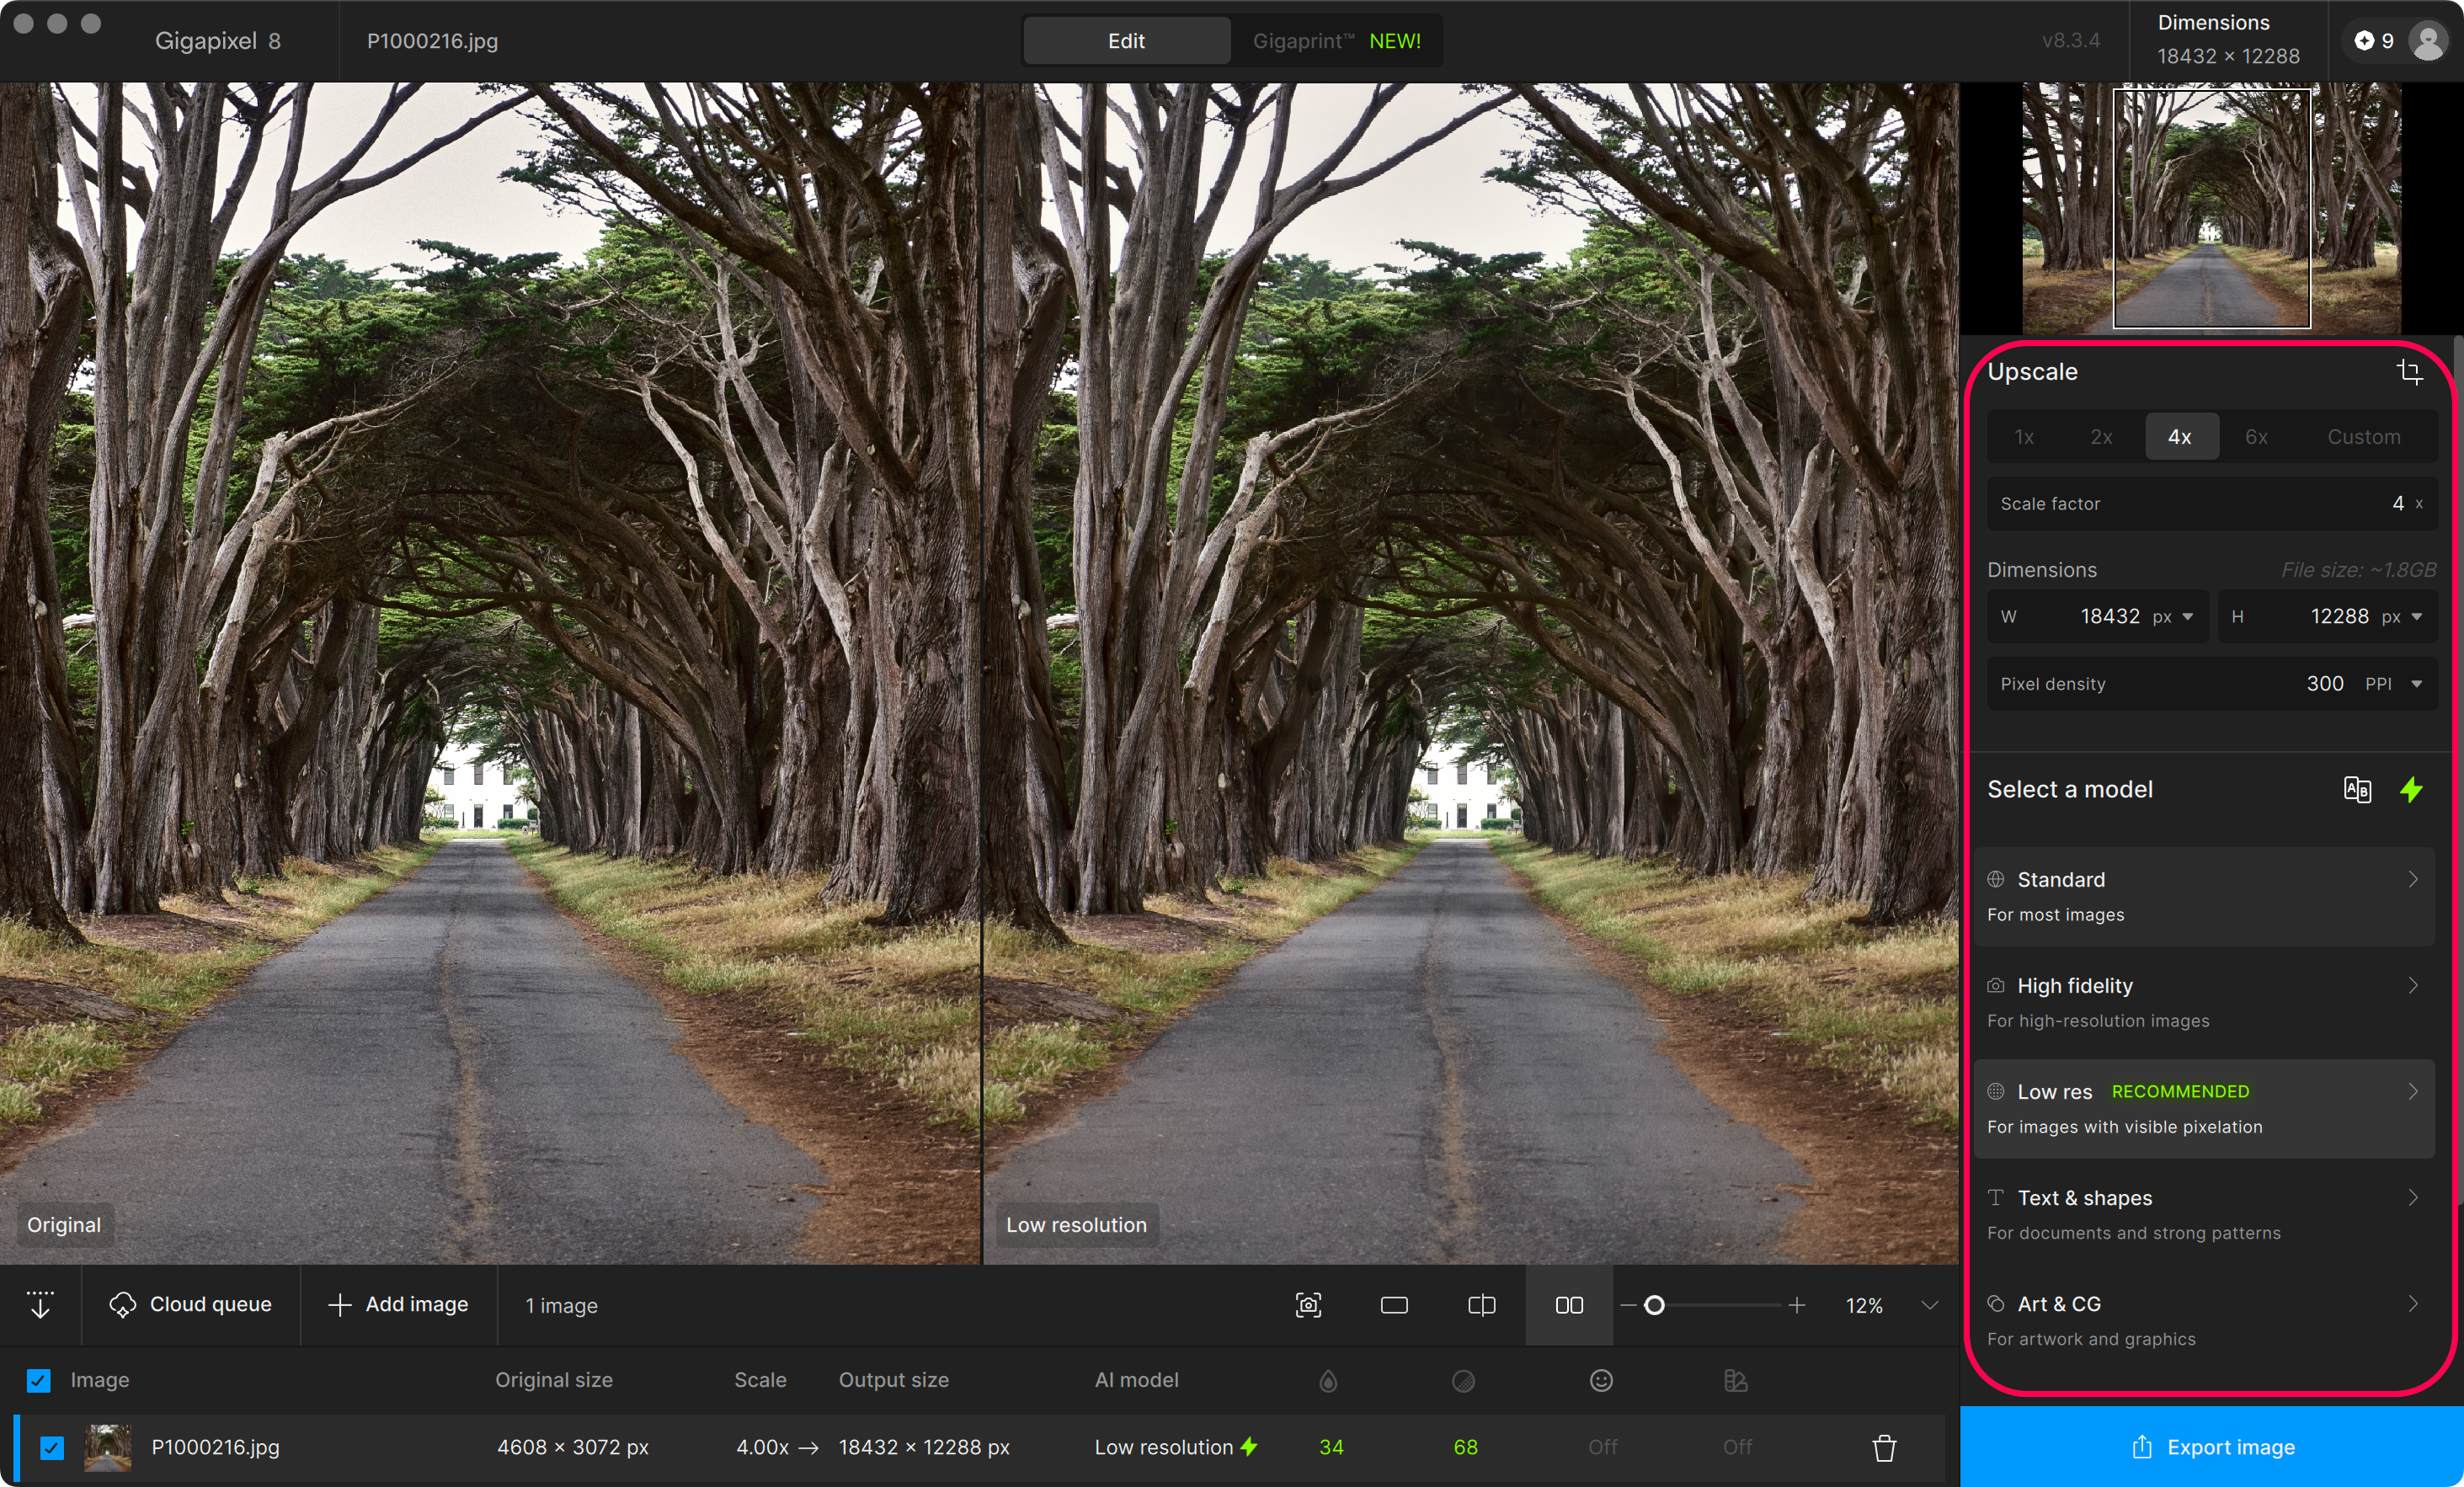
Enhance Your Image
Use the Filters Panel to begin upscaling or refining your image. These features are located on the right side of the application.
Enable Auto mode by clicking the lightning bolt icon to the right of the section headers to choose the recommended model and settings.
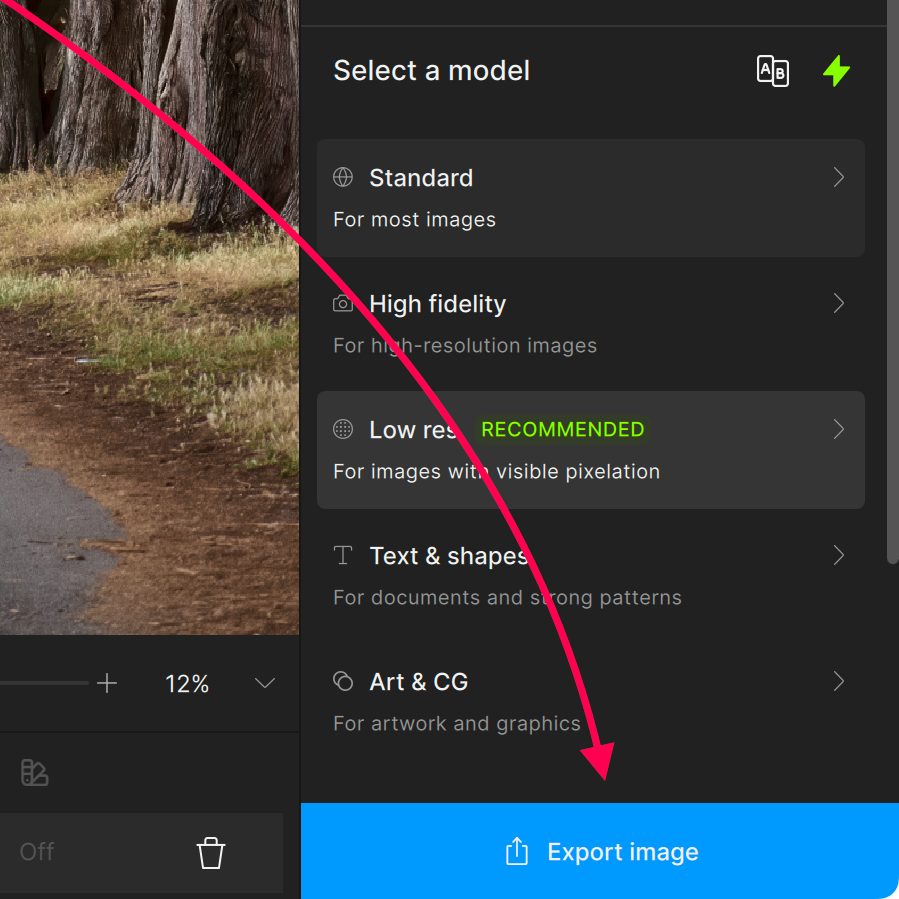
Export Your Image
Click Export image under the Filters panel.
An Export window opens for you to adjust your export settings.
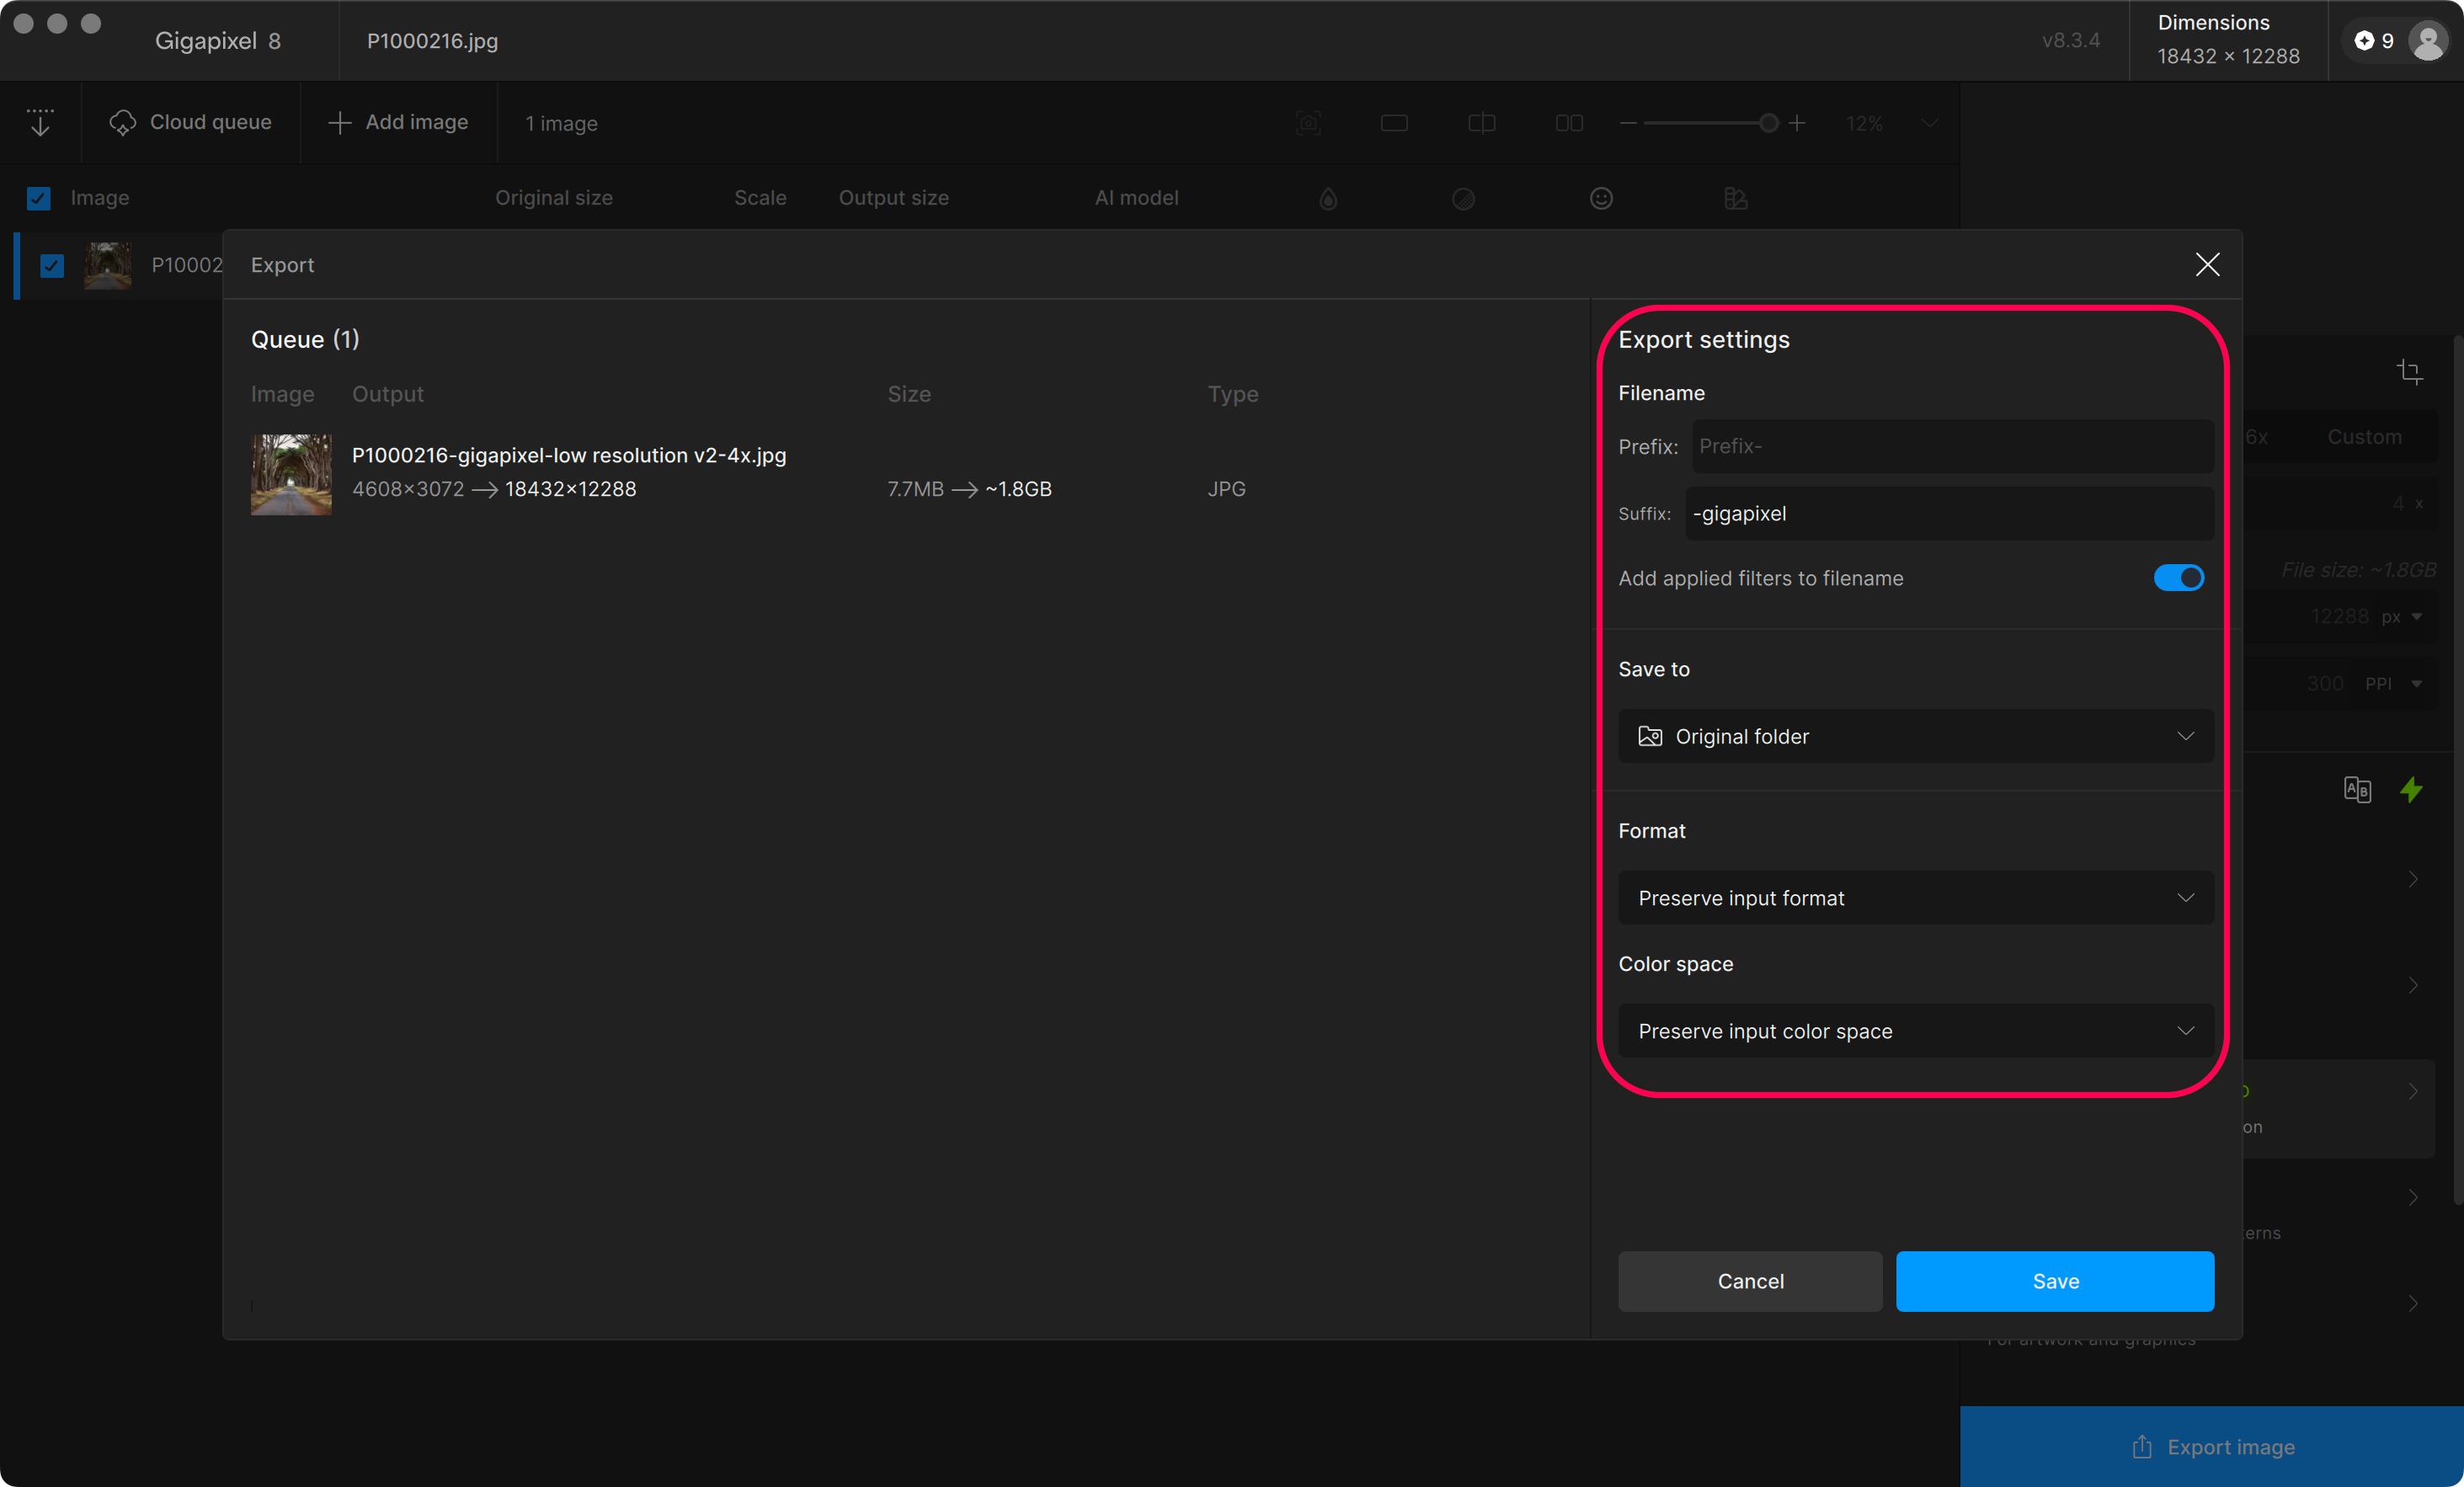
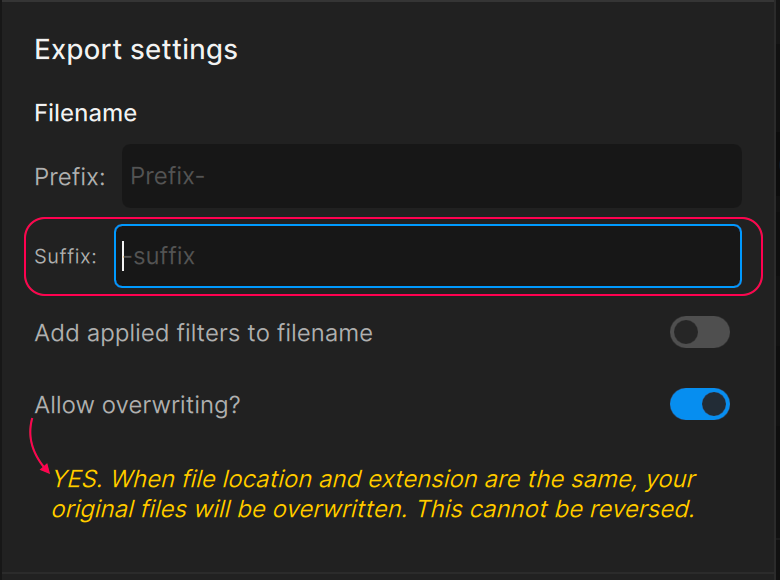
Filename
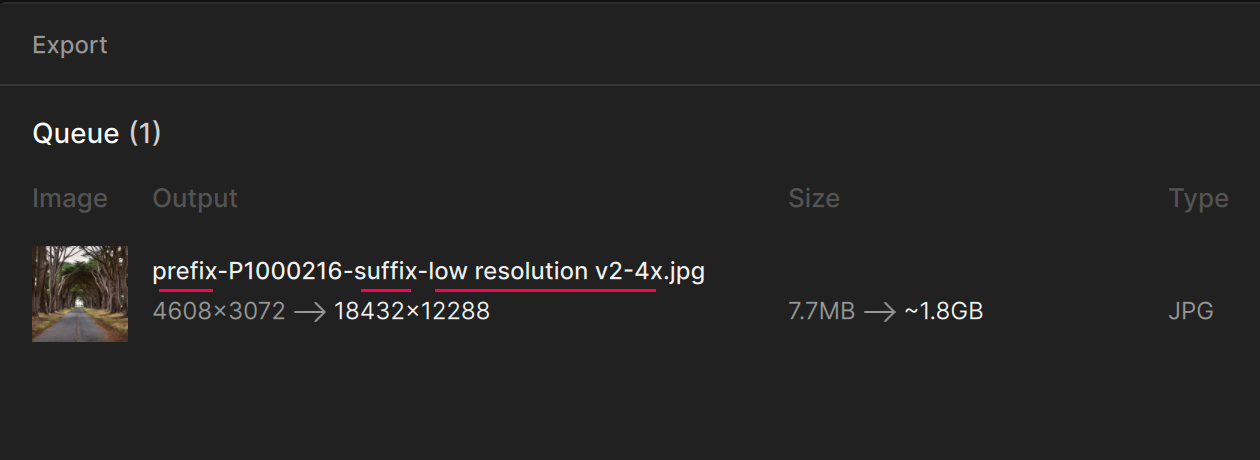
Add a custom prefix and suffix. When you first open the application, the default suffix is -gigapixel.
The switch to Add applied filters to filename will append those details to the end of the name.
Clearing the prefix and suffix fields, and disabling Add applied filters to filename will allow you to overwrite existing files rather than save new files.
Save to
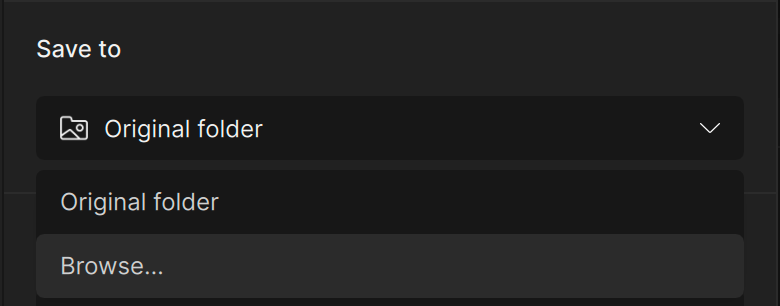
Click the dropdown to make a selection:
- Previously used paths will appear in the list
- Original folder - the folder from which your image originates
- Browse - a custom folder that you can search for
Format
Choose the file type of the exported image.
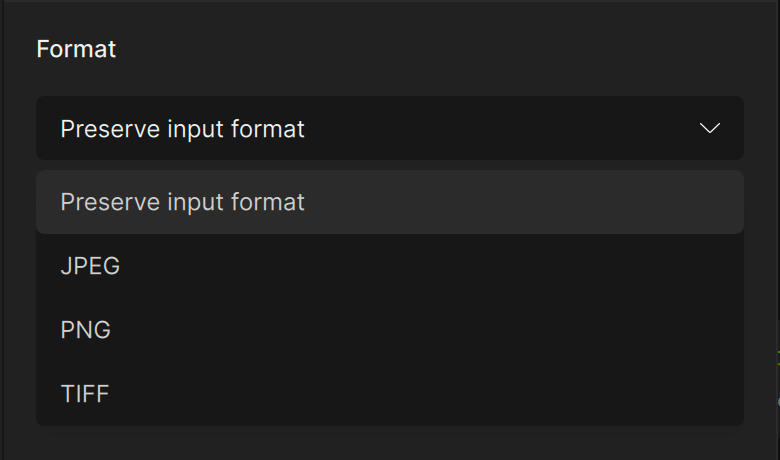
The dropdown menu has four different options:
- Preserve Input Format - the same file type of your original image. For example, you imported a .jpg, this will save your enhanced image as a .jpg.
- JPEG - common standard file type used and accepted across all computers, web browsers, and social media
- PNG - most preferred for saving graphics or raster image files. Best for graphics that have transparent backgrounds
- TIFF - best used for handling large files to store graphics and image information
All RAW input files are saved as TIFF files by default
Color space
Preserve or change the color space of your exported file. Color space defines the range of colors that an image can reproduce. Changing the color space of the output file may affect its appearance depending on your monitor’s calibration.
Choose from common options in the dropdown menu. If you are unsure which one to use, select “Preserve input color space” to maintain the same color space that was used in the original file.
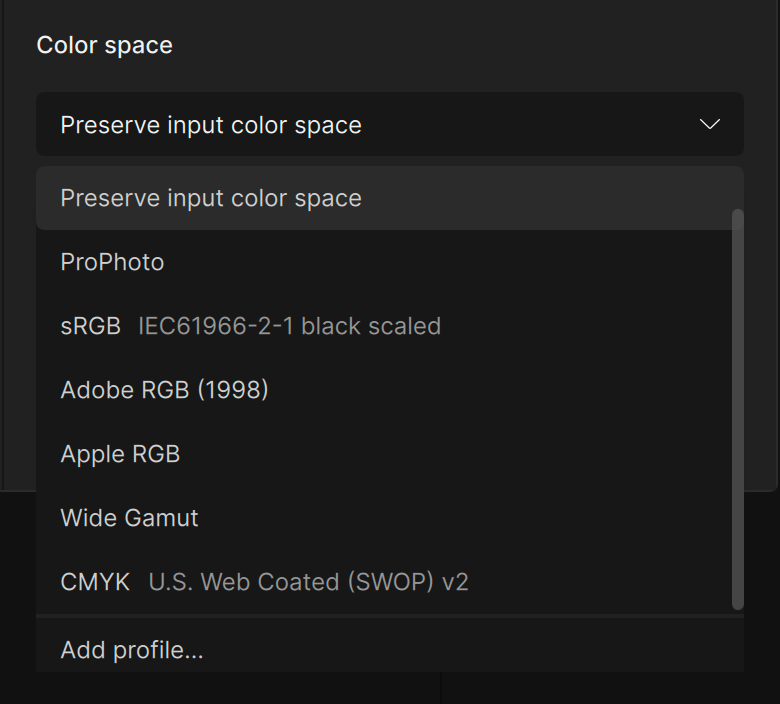
There are seven options to choose from:
- Preserve input color space - maintain the same color space as your original file
- ProPhoto - best used for images printed on digital and/or inkjet printers
- sRGB IEC61966-2-1 black scaled - for scanners, low-end printers, or photos going onto the web
- Adobe RGB (1998) - for images printed with a CMYK printer
- Apple RGB - for working with older MAC OS displays or legacy desktop publishing files
- Wide Gamut - often associated with P3 or Rec2020 displays
- CMYK U.S. Web Coated (SWOP) v2 - used for web offset publications