User Guide (Legacy)
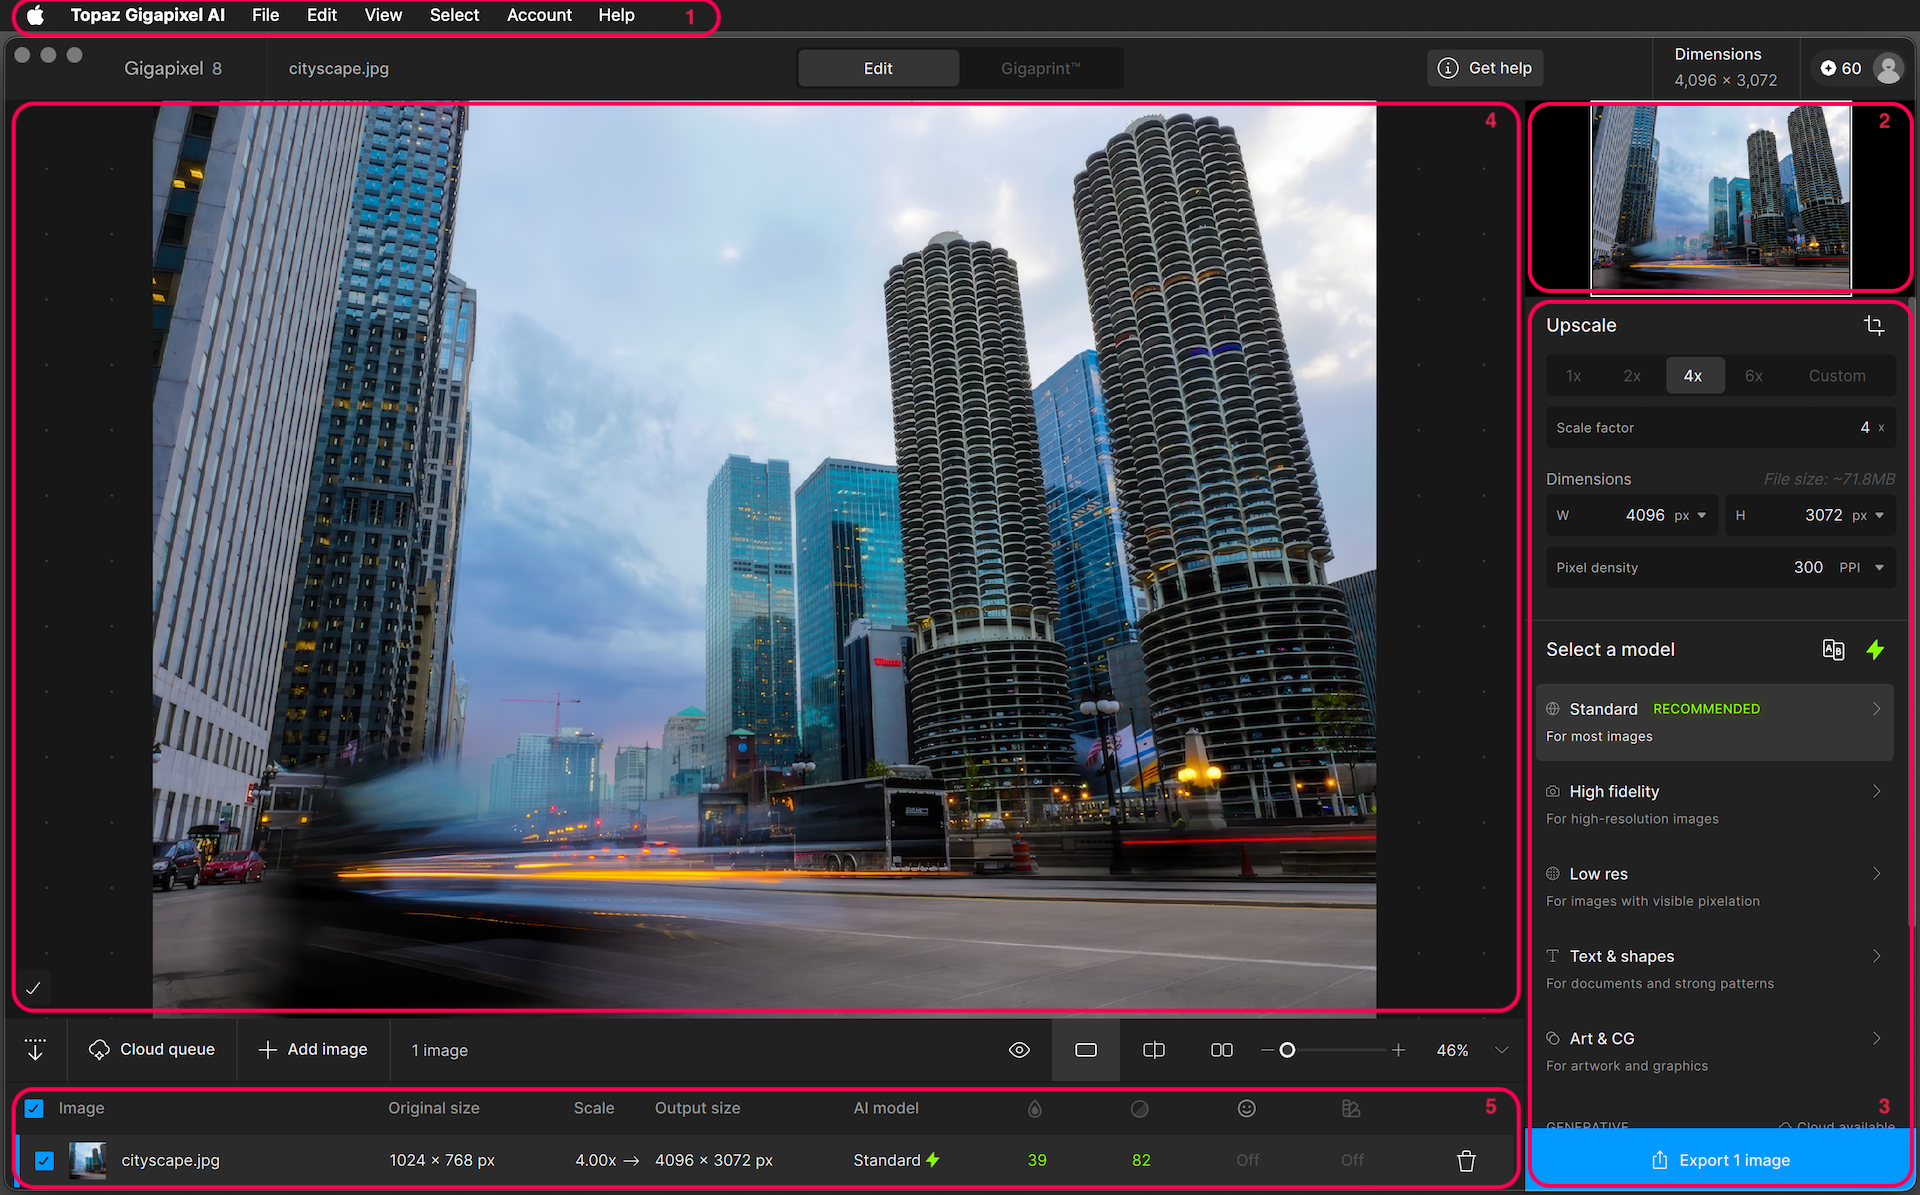
The Gigapixel interface has seven different sections:
- Menu
- Navigation
- Enhancement Panel
- Preview
- File List
Menu
Use the menu to learn more about Topaz Labs, change your preferences, adjust your view settings, look for shortcuts, and request help.
Preferences
macOS: Topaz Gigapixel AI > Settings
Windows: File > Preferences
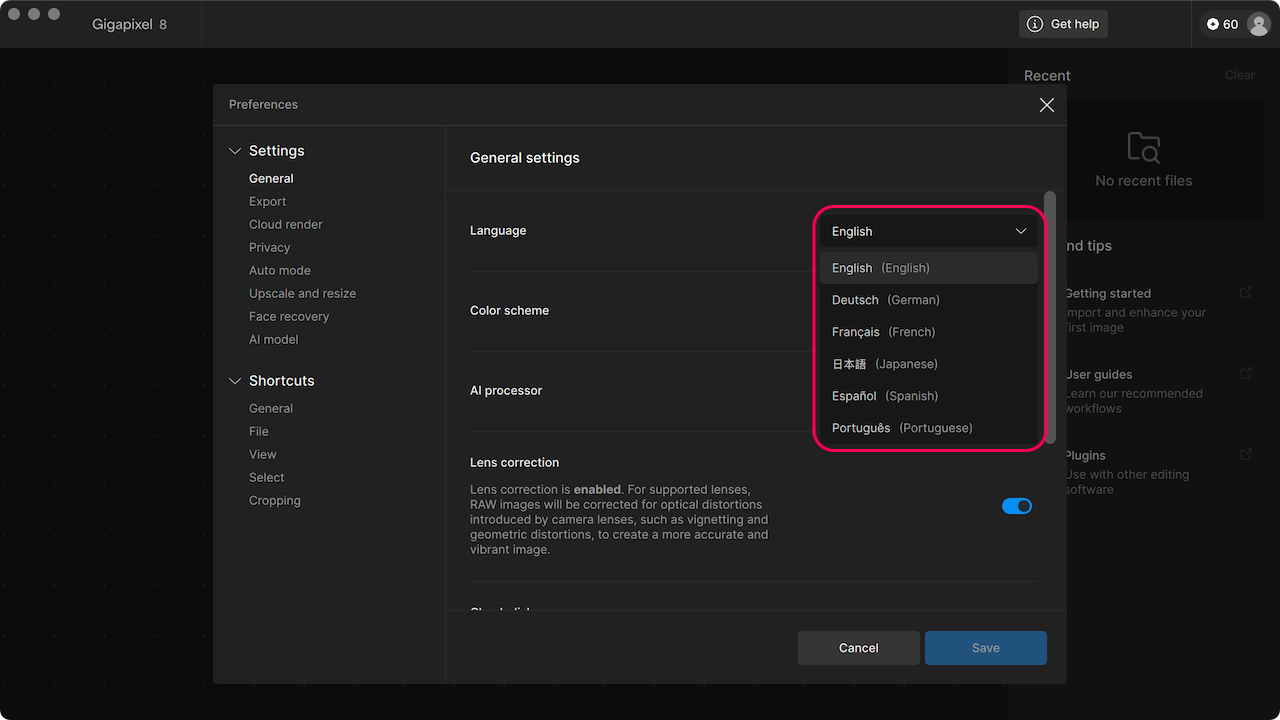
Language Support
Introduced in v8.4, there is now support for more languages:
- English
- French
- German
- Japanese
- Portuguese
- Spanish
Account and Profile
From the Account menu you can Log out to disconnect your account, view My products to view your purchases, or Check for updates.
In the top left corner of the application window a button appears showing your credits for Cloud render and other account details.
Help
From the Help menu, you can quickly access our community forums to share ideas, report an issue you've discovered, or access logs the staff have requested.
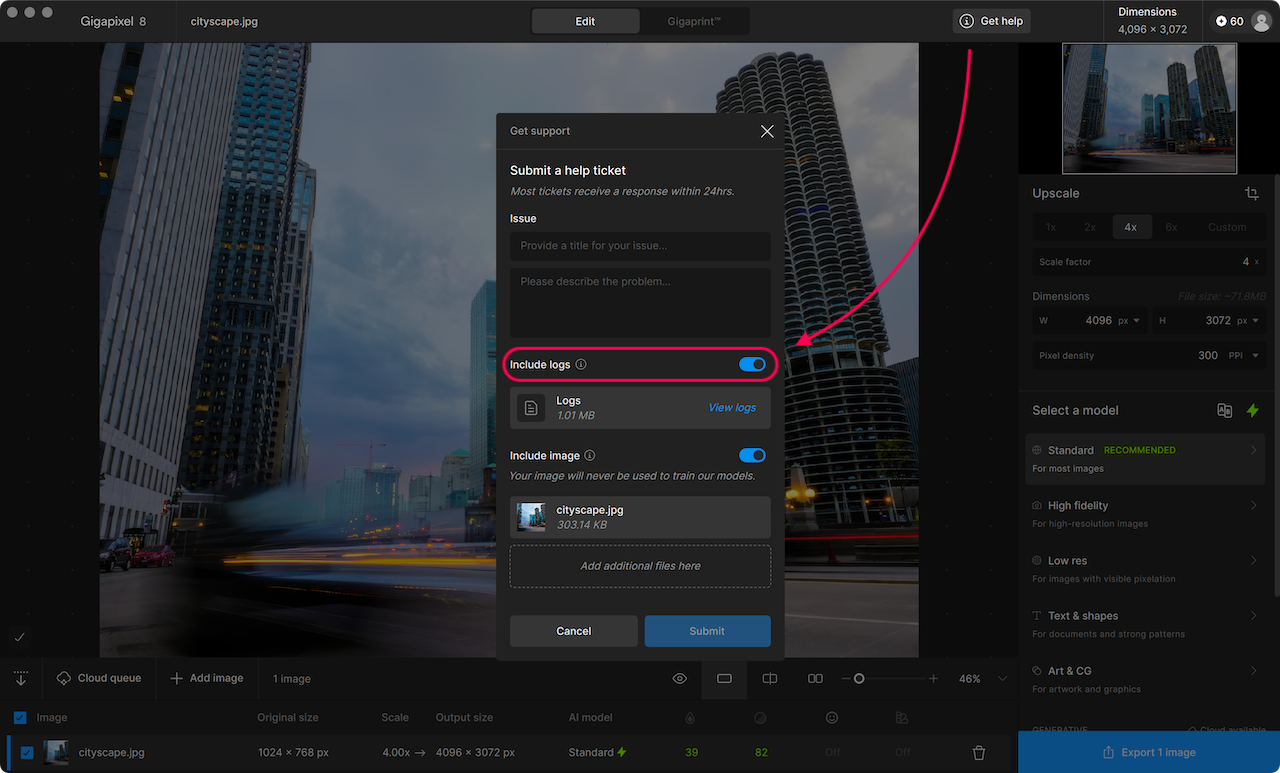
Introduced in v8.4, a Get help button appears at the top of the window to quickly submit a support ticket to the team. It is helpful to include logs and relevant attachments in your submissions.
Navigation
The navigation pane appears in the upper right corner of the window. When your enhanced image is zoomed in, you can use the navigation to manually select a specific area you want to see in the preview.
Dimensions
The new dimensions of your upscaled image are shown above the navigation. These dimensions are in pixels. Hover the mouse over the dimensions to reveal both the original input and new out size.
The Dimensions change to an Update Available button whenever a new version has been released.
Enhancement Panel
The Enhancement Panel appear along the right edge of the window. It shows all the enhancement filters you can apply to your images.
Preview
The preview is the largest pane in the window, displaying your selected image. Compare and contrast your image before and after an enhancement is applied through multiple views. Controls are found in the lower right corner of the preview pane.
Single
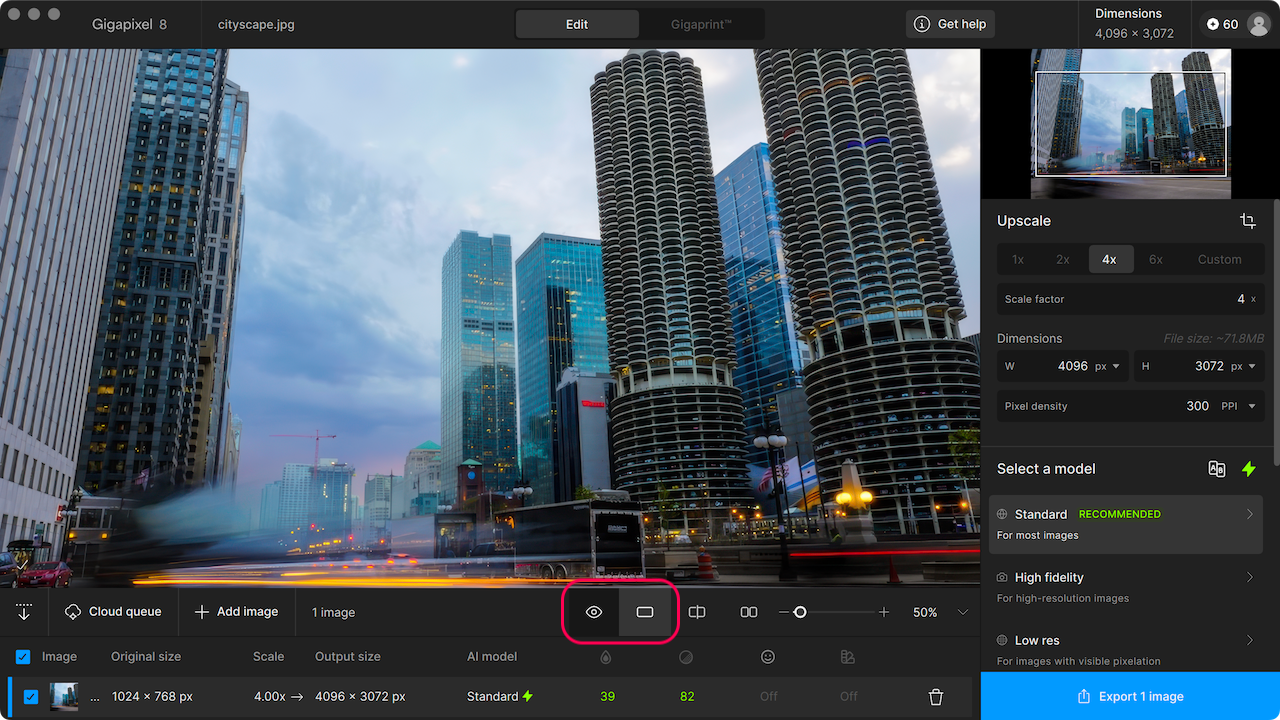
Displays the entire edited version in the preview. The eye icon shows the original for toggling a comparison. This icon only appears in Single view. You can also use the SPACE bar as a shortcut.
Split
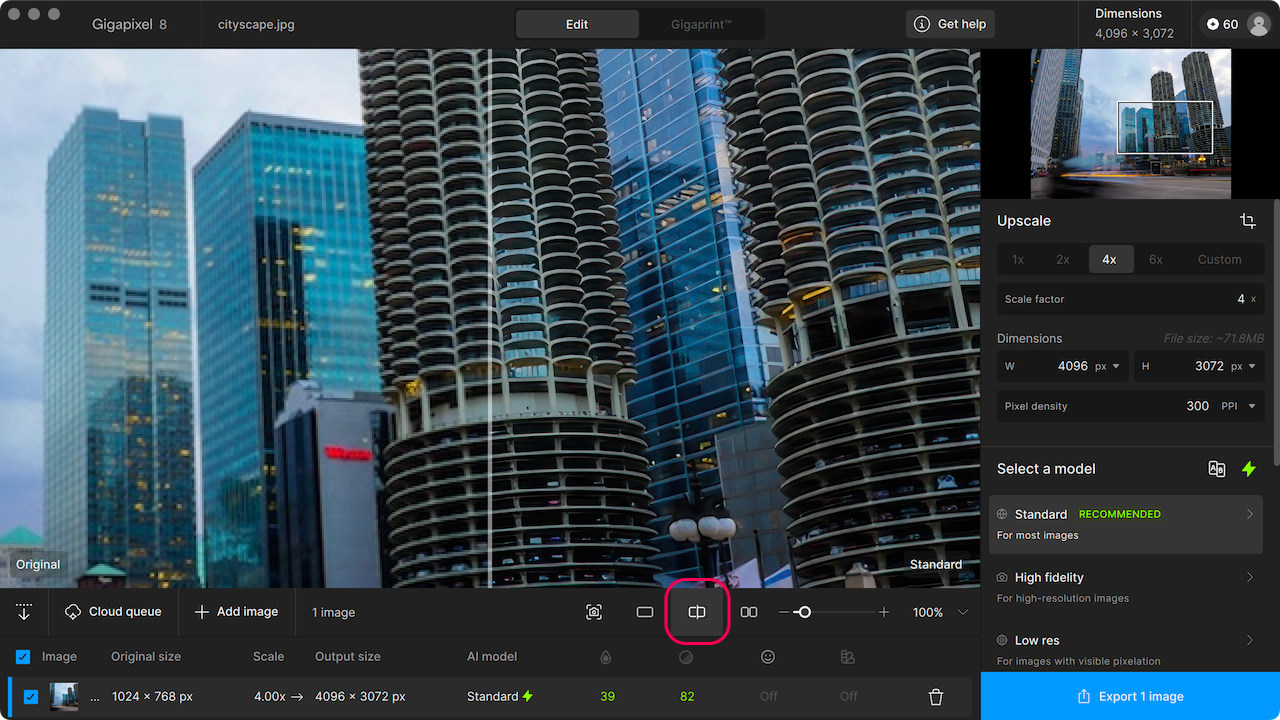
Displays a vertical line with the original on the left and the edit on the right. Click and drag the vertical line to wipe between the before and after.
Side By Side
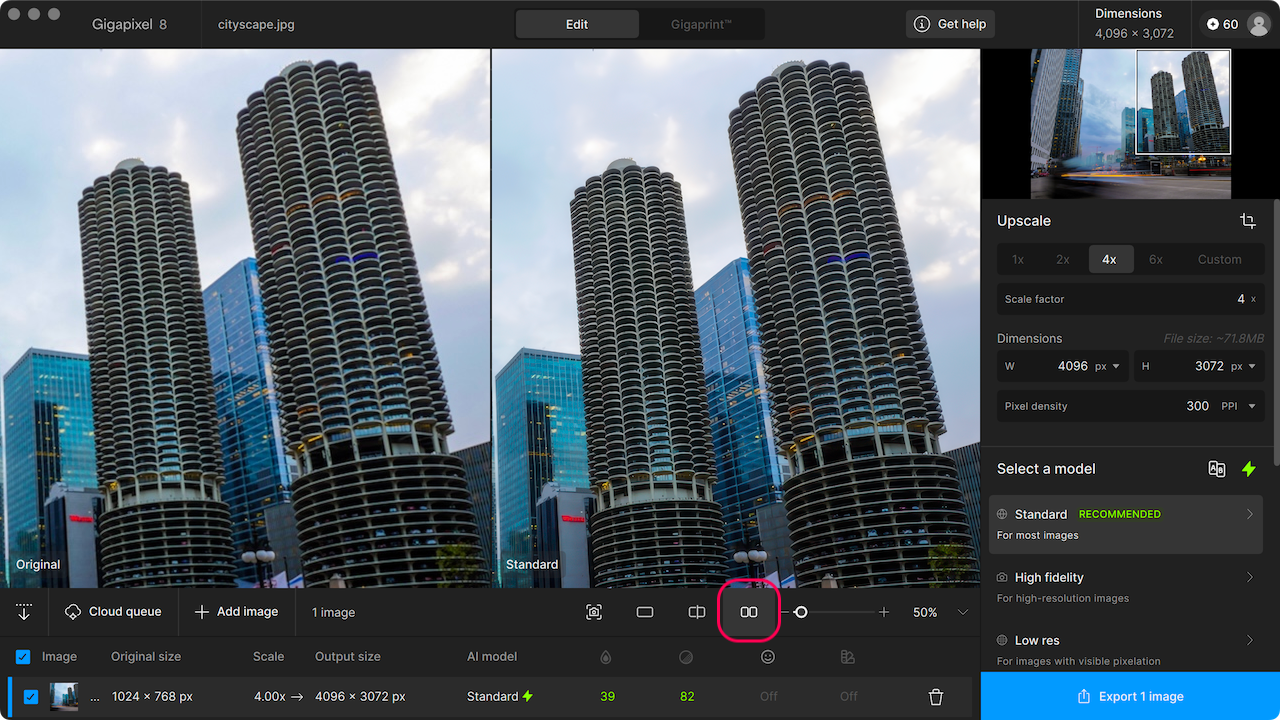
Displays the original version and the edited version side-by-side to create a before and after comparison.
Zoom
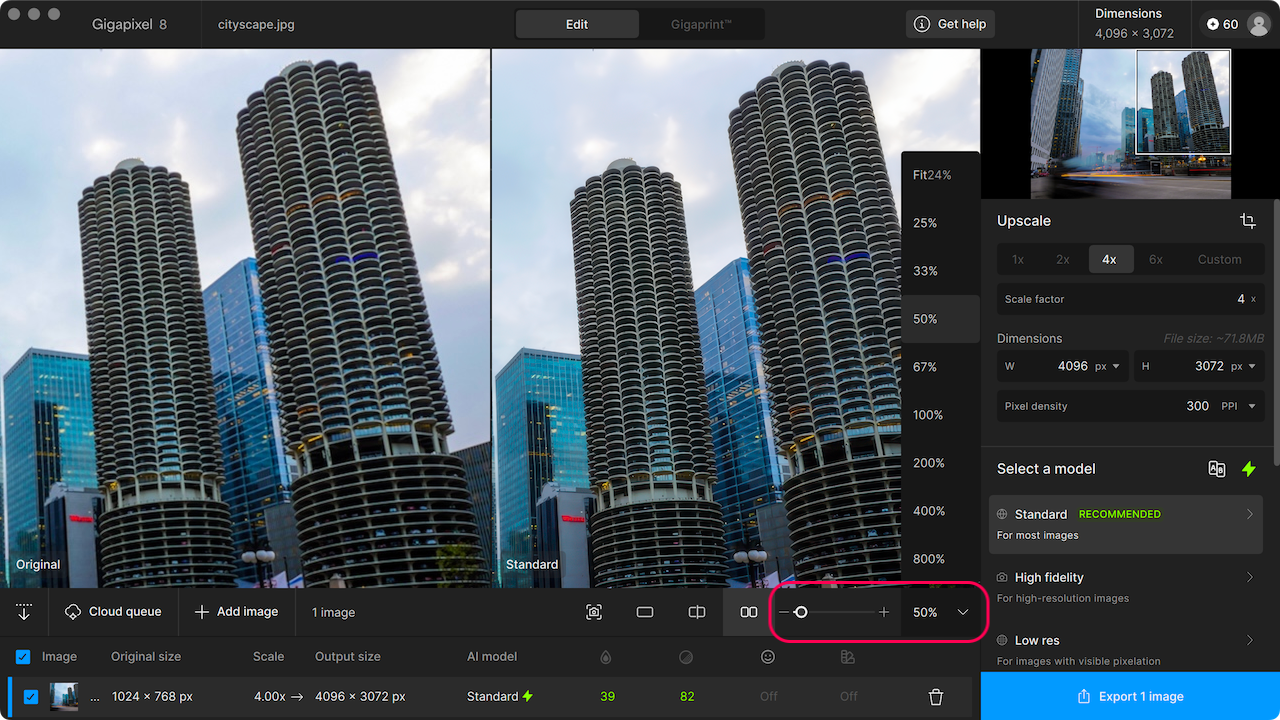
Click and drag the circle icon between the - and + to adjust the zoom.
Click the drop down to reveal the Fixed Zoom options.
Explore the COMPARE TOOL under Functions.
Capture
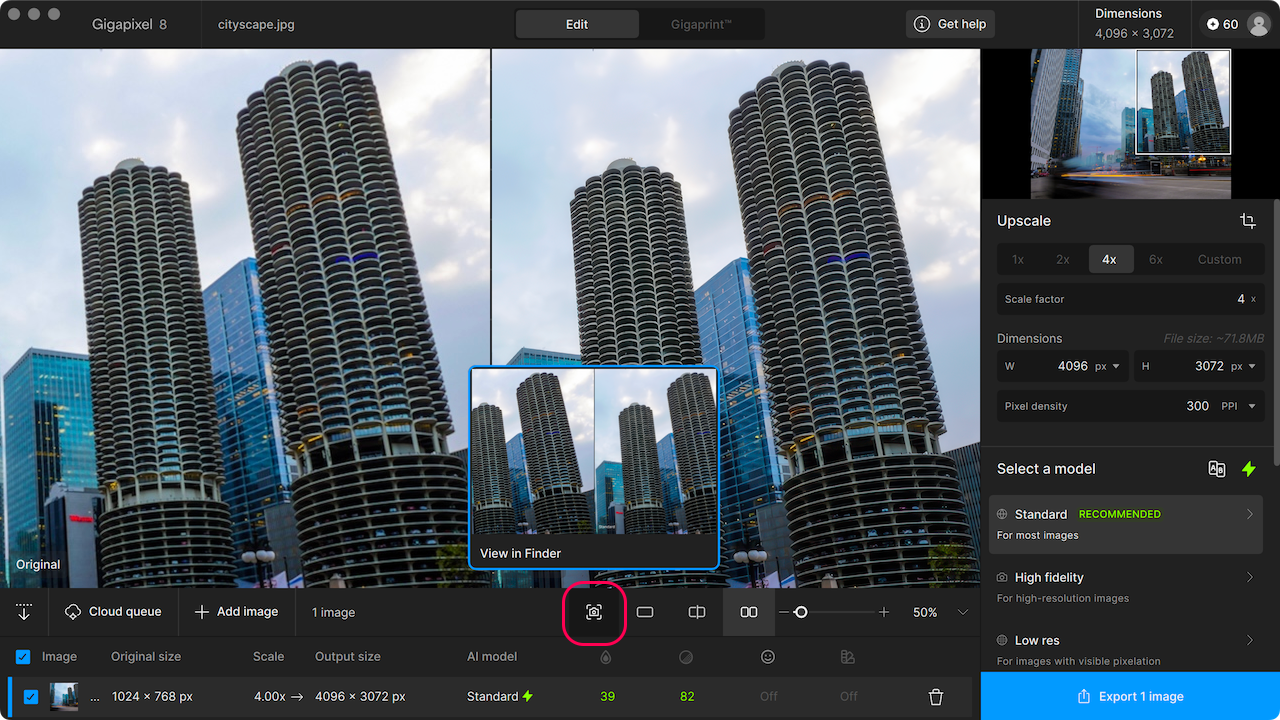
The Capture tool screenshots the preview while in Split view or Side by Side view only. Click on the camera icon to take the screen capture.
File List
The File List appears along the bottom of the window below the preview. It is the collection of images currently imported. See details of each enhancement you've made as well as processing multiple images sequentially as a batch.