Quick Start (Legacy)
Use this guide to import, upscale, and enhance your first video.
Import Your File
There are five ways to bring files into Topaz Video AI.
- Open the app and select "Browse Videos" to navigate to your file.
- Click anywhere on the screen to open a file browser window.
- Drag-and-drop files directly into the app.
- Use the “File” drop down menu and select “Import”
- Use a keyboard shortcut of Ctrl+i (Windows) or Cmd+i (macOS).
Import an Image Sequence
In the import folder, on the lower screen right side, make sure to change from “Video Files” to “Image Sequences”.
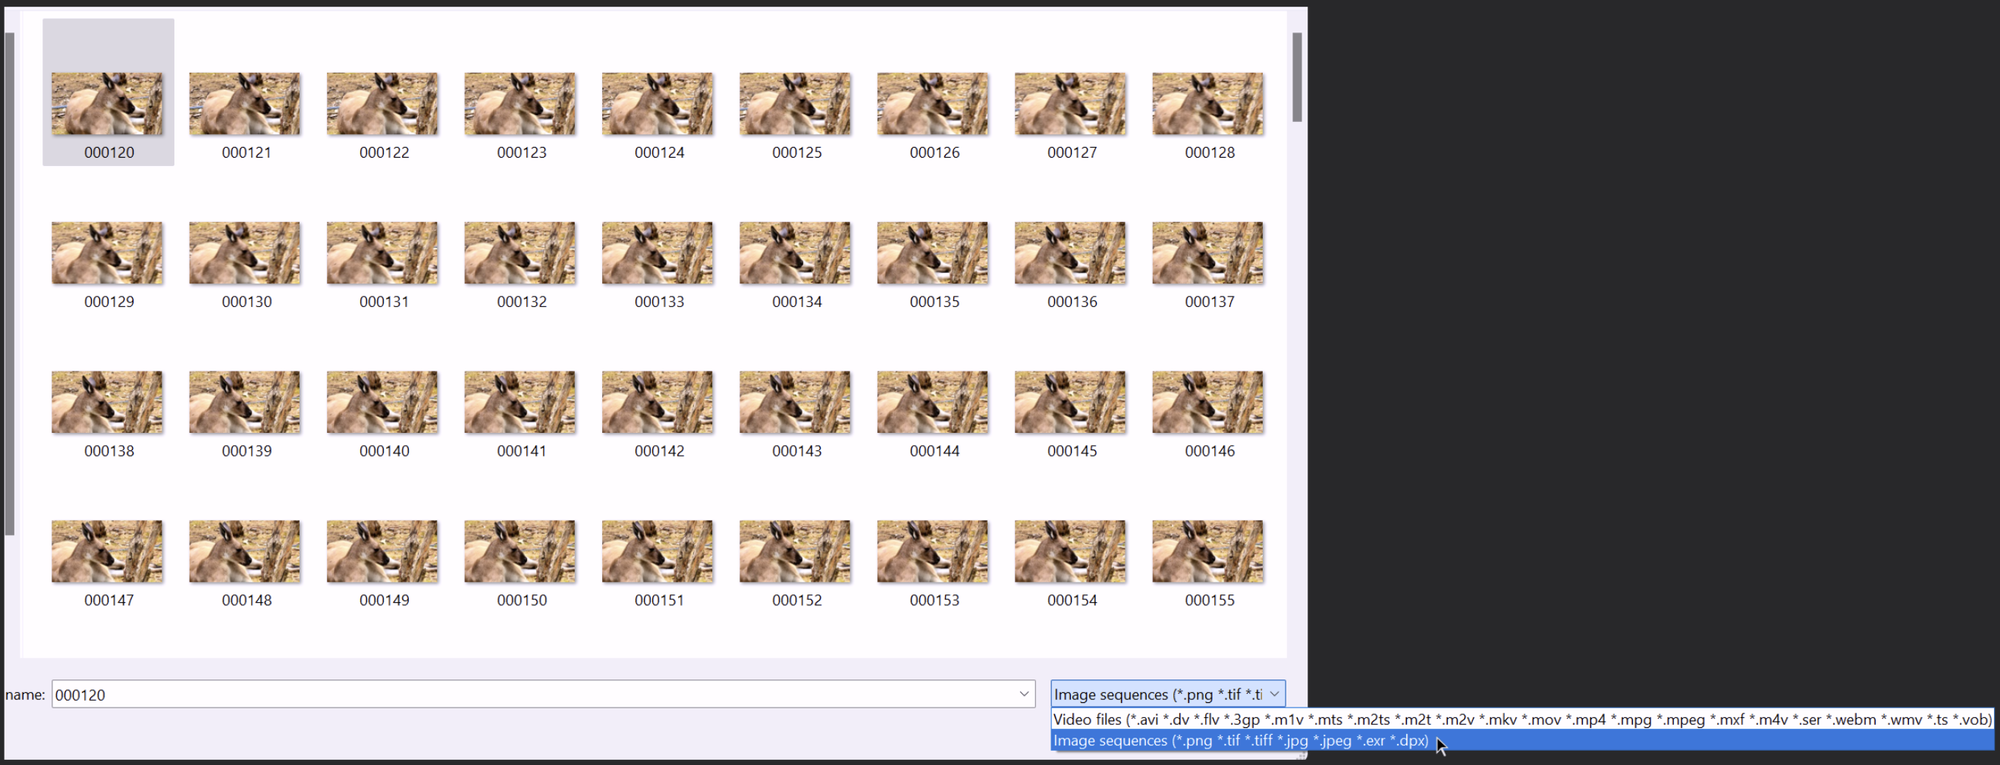
- Make sure all frames are in one folder.
- Check that all frames are in consecutive order.
- At least 5 frames must be in the sequence.
Start from Scratch or Preset
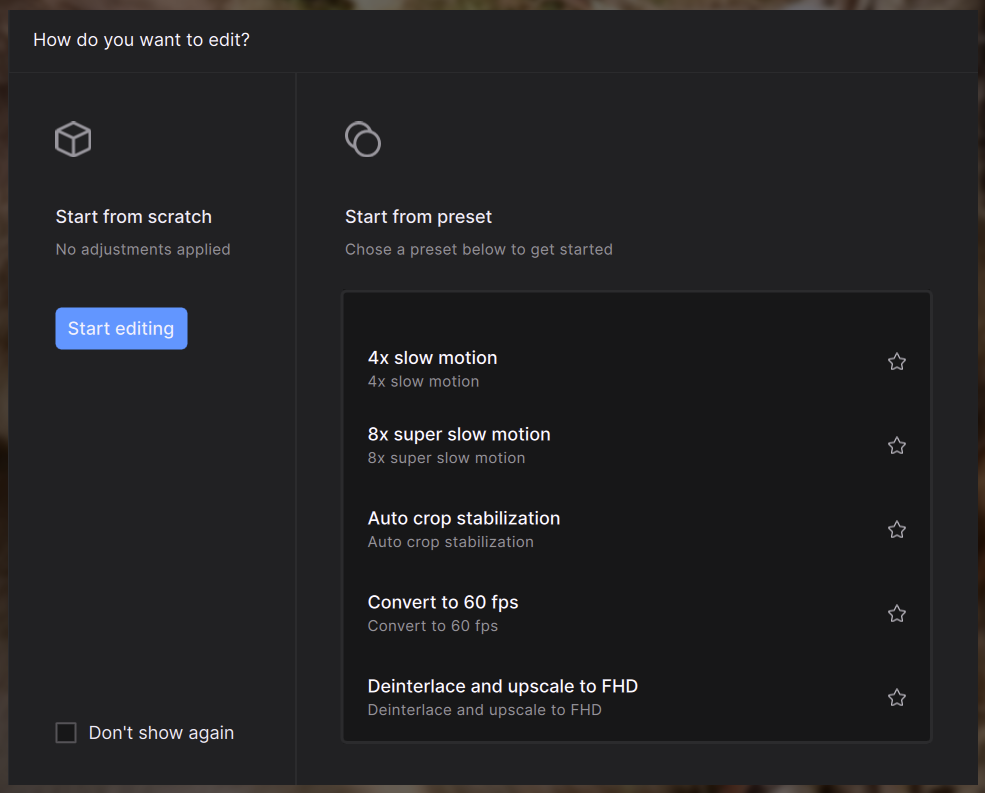
After importing your footage, you will see a pop-up menu where you can decide to either Start from scratch (without any established enhancements or filters) or Start from preset (begin from a set of established enhancements and/or filters).
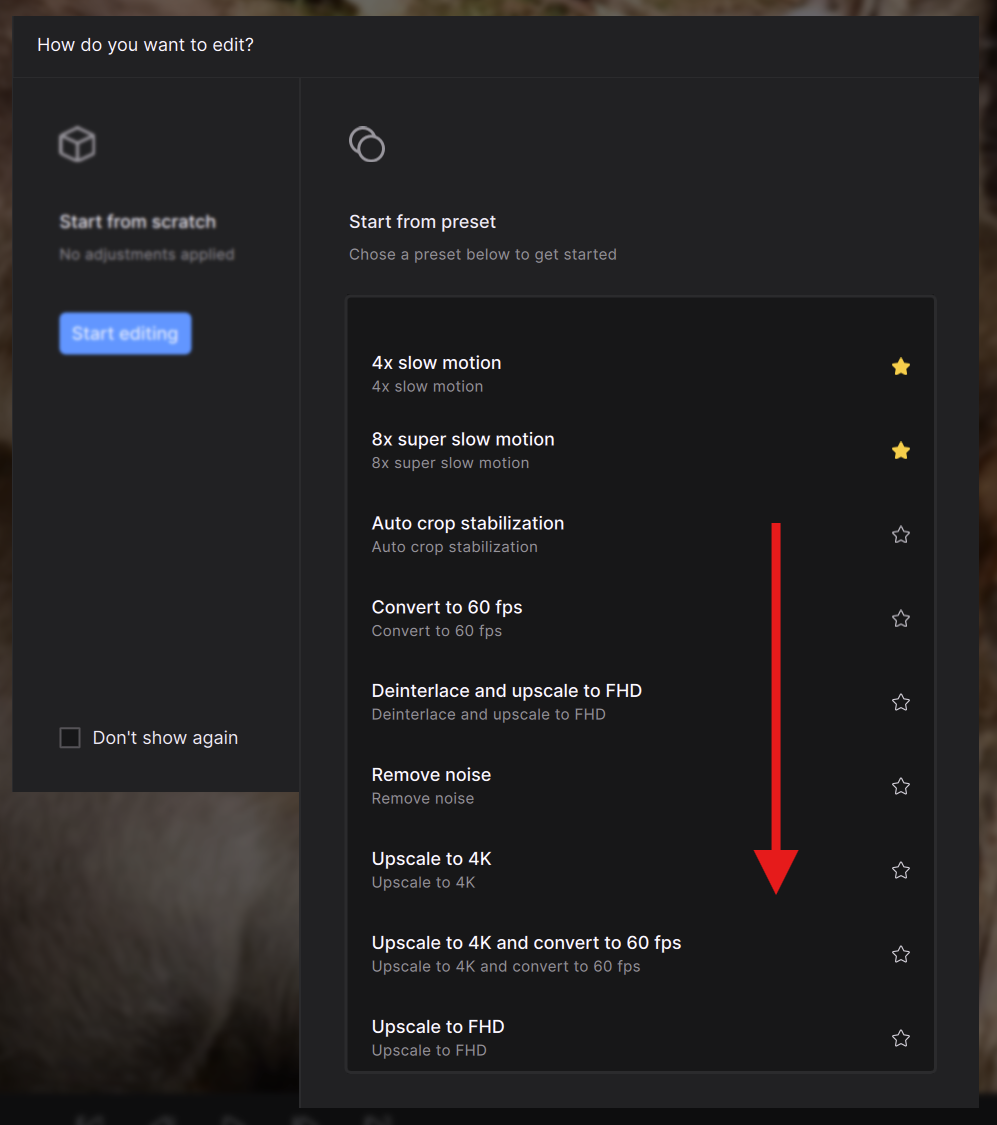
Use the middle mouse button to scroll through all options. Note that you could always generate your own presets and favorite your "go to" presets.
Workspace Layout
Importing a file will open the main Workspace.
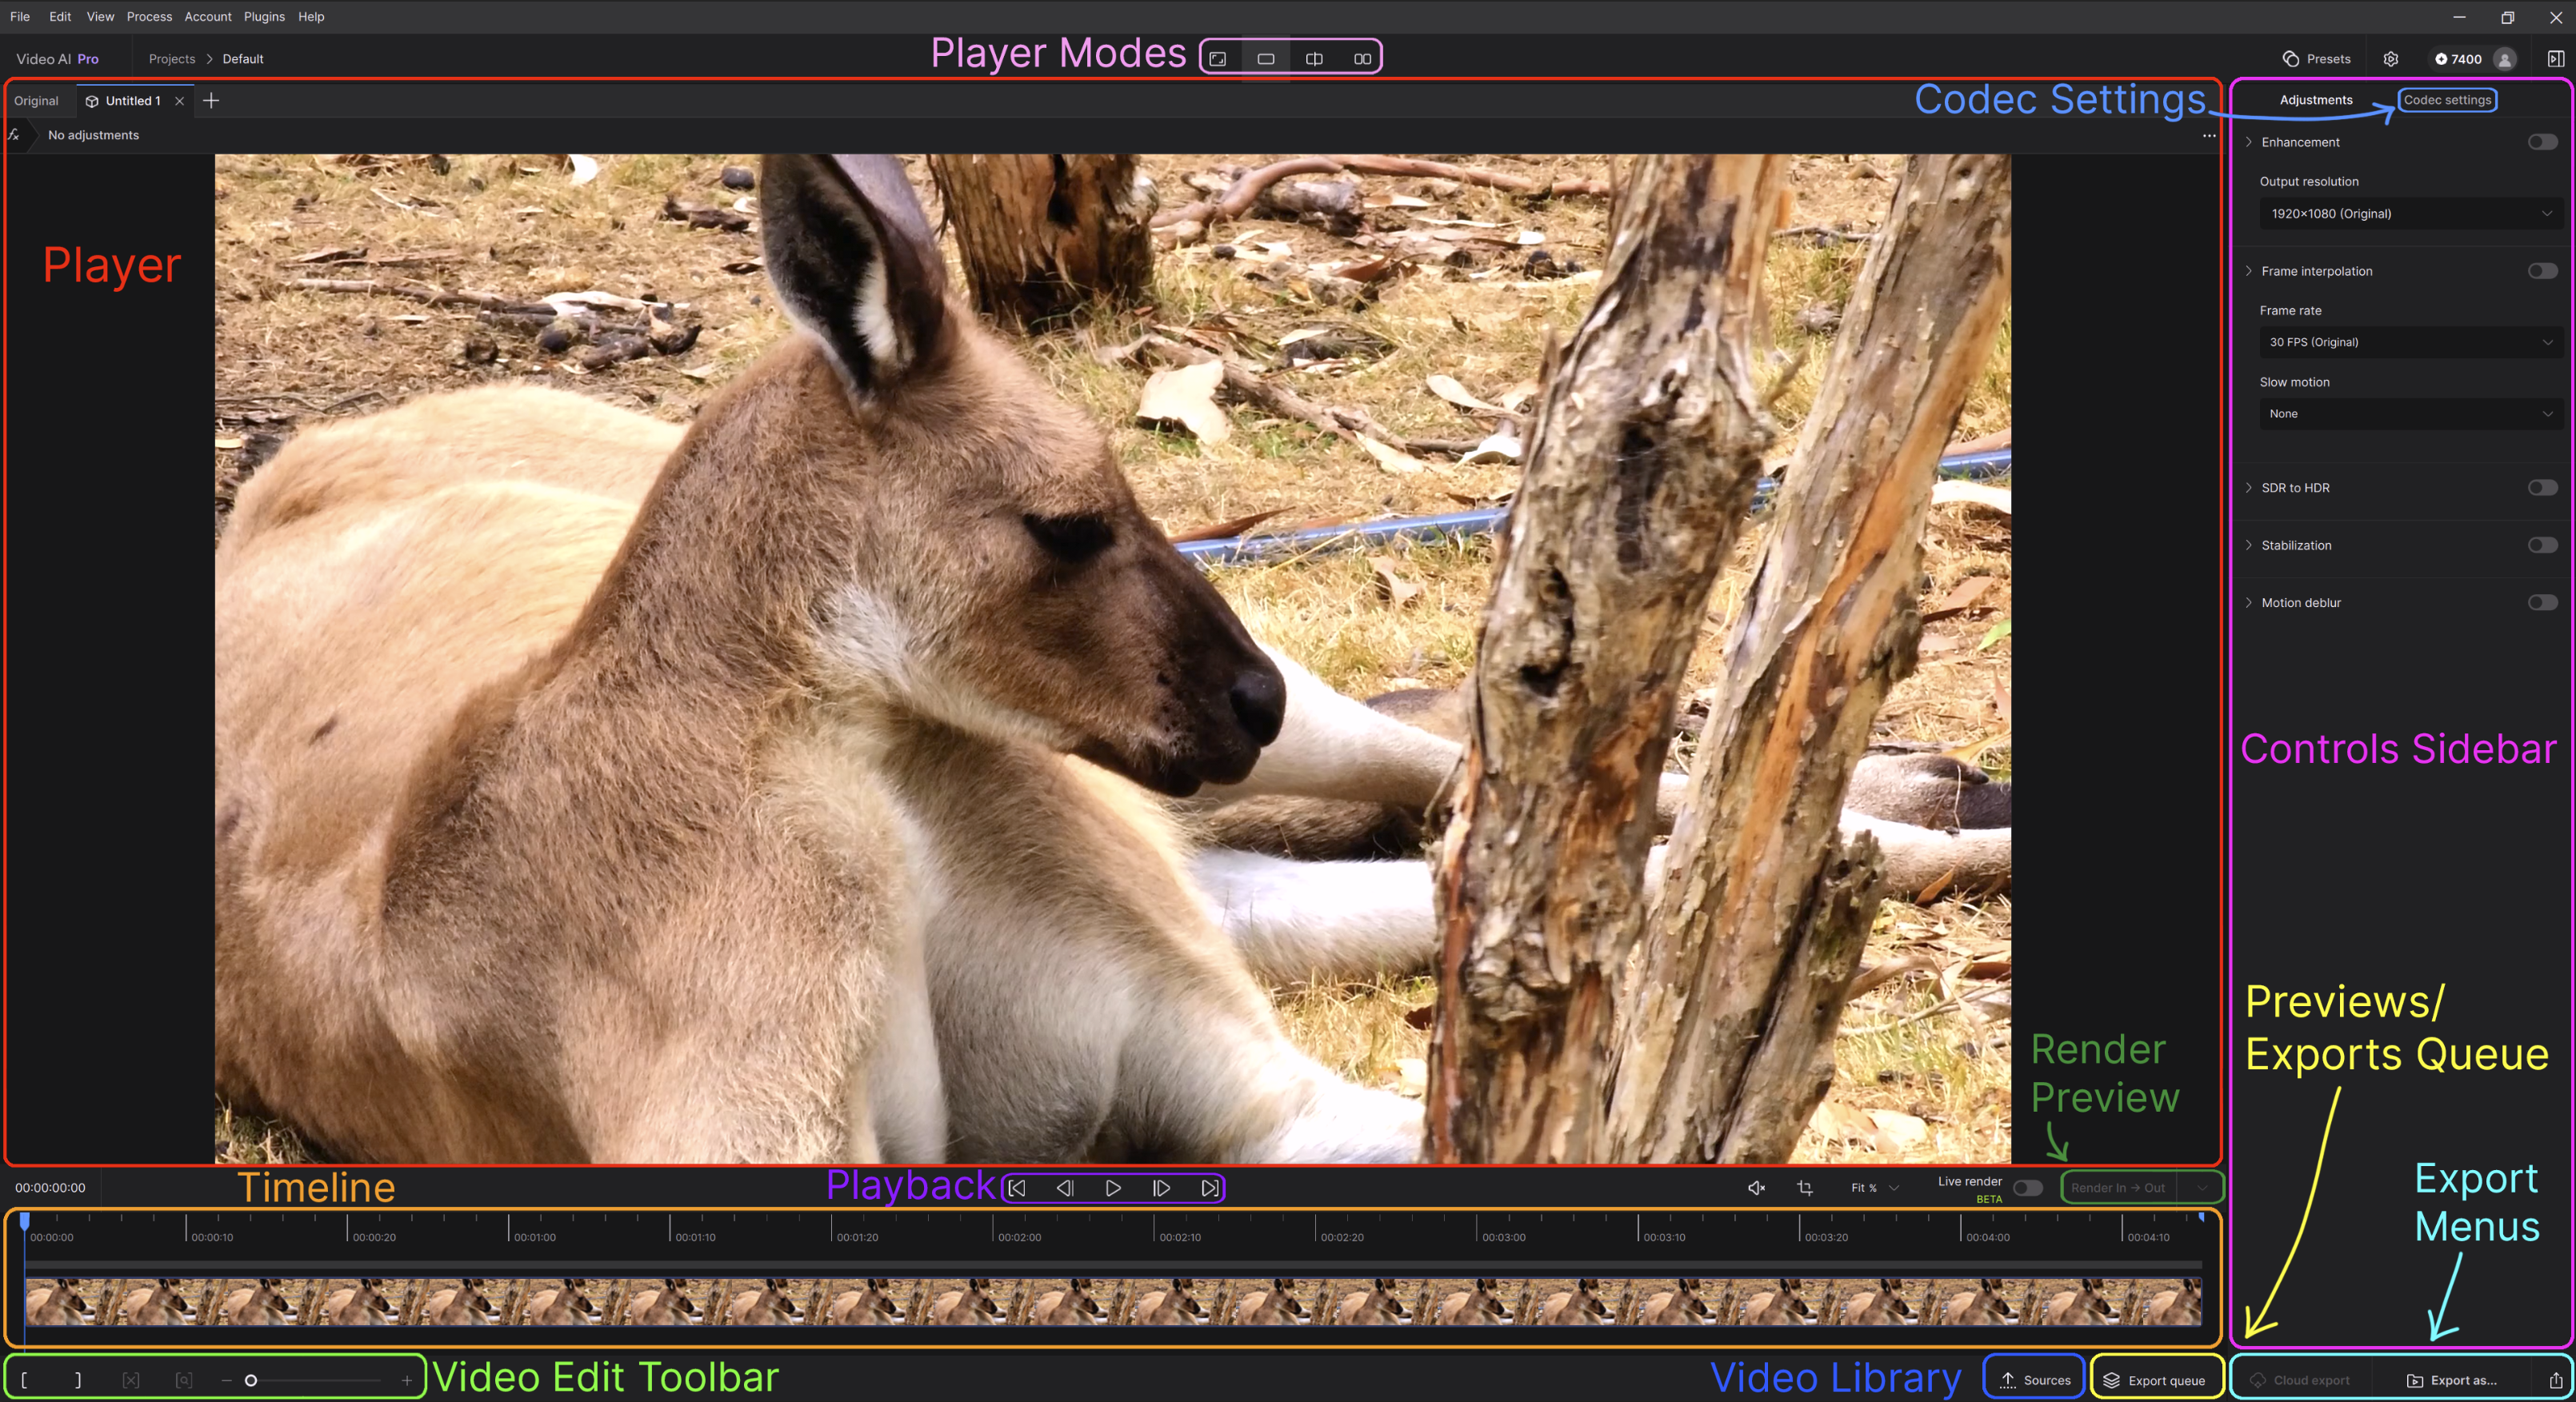
There are few major sections that make up the workspace:
Player
Video Edit Toolbar
Video Library
Previews/Exports Queue
Playback
Player Modes
Render Preview
Controls Sidebar
Codec Settings
and the Export Menus.
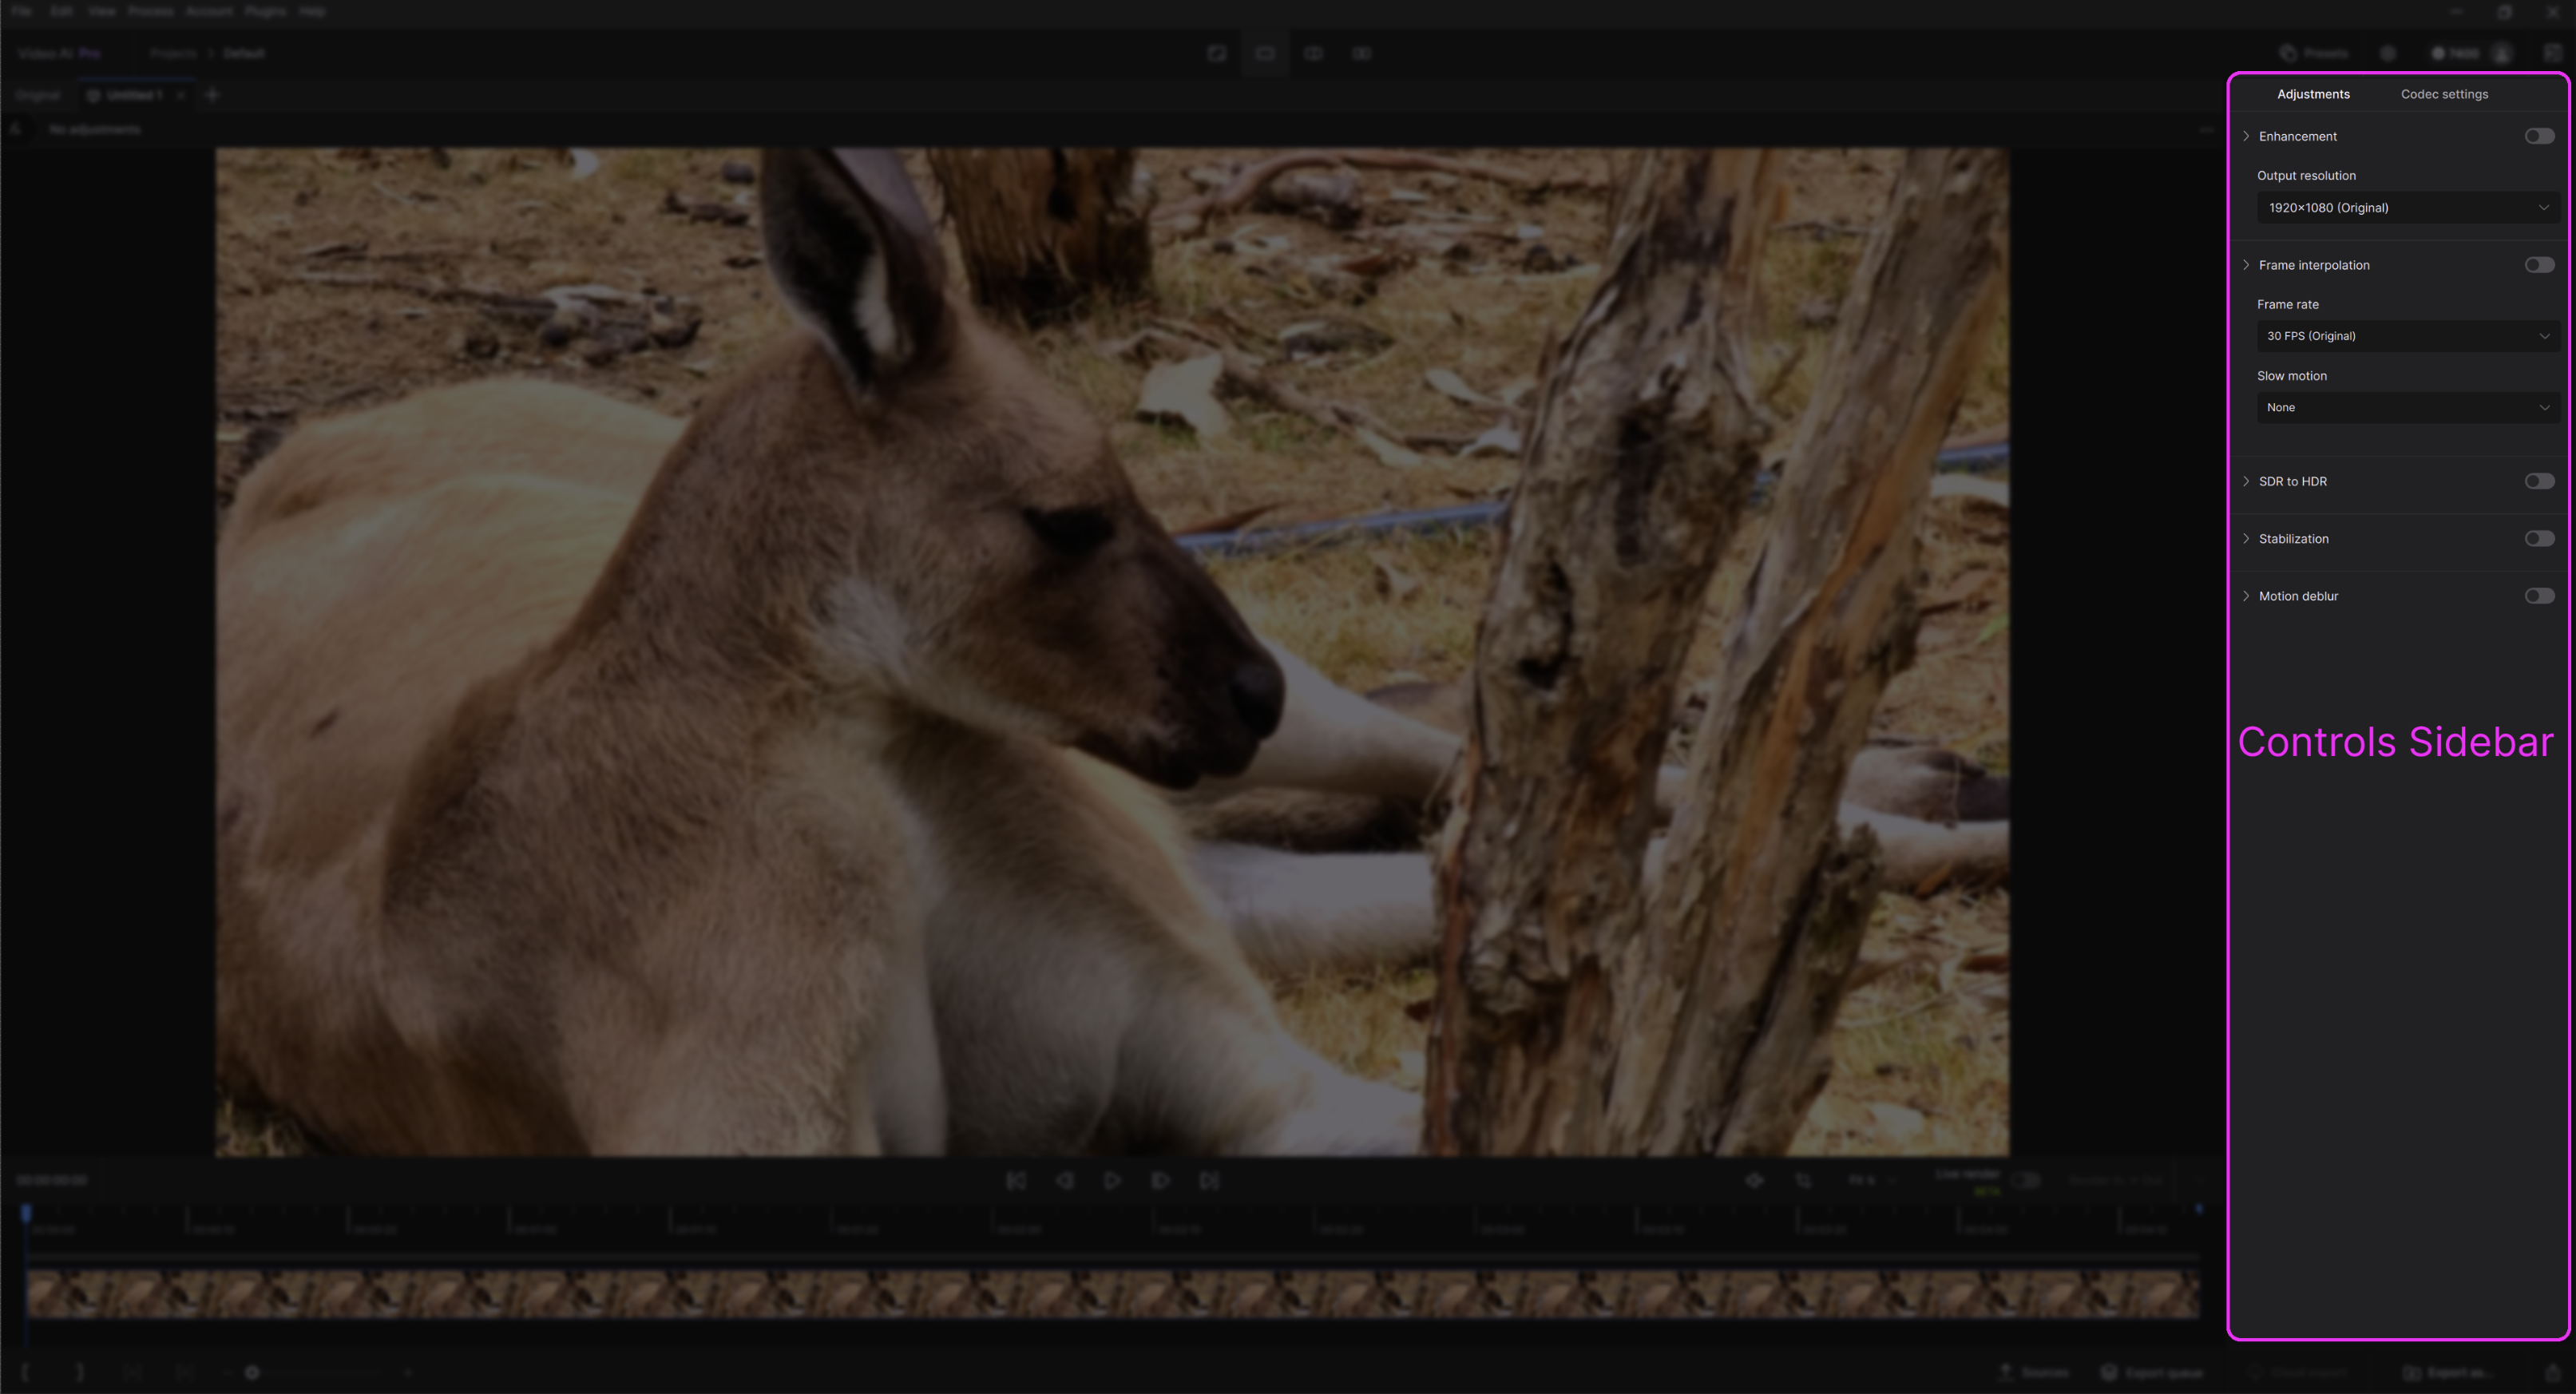
Navigating the Controls Sidebar
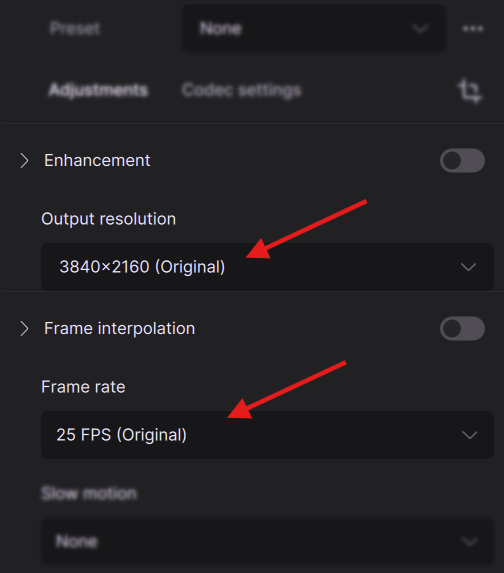
Video-In/Out Information
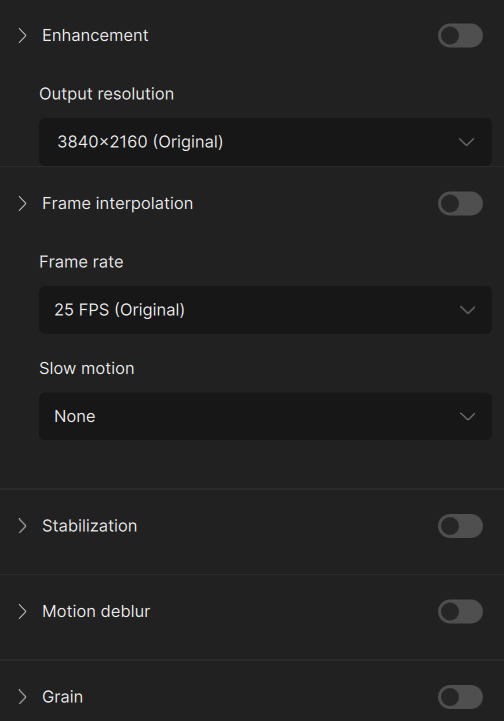
The Enhancement and Frame Interpolation categories are where you will find your input resolution and frame rate.
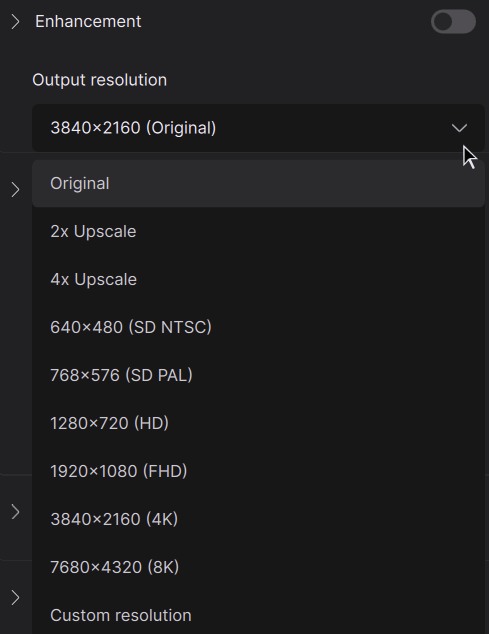
In the Enhancement category, the output resolution will always show the original size. This is also the same spot where you can change the resolution for the final output.
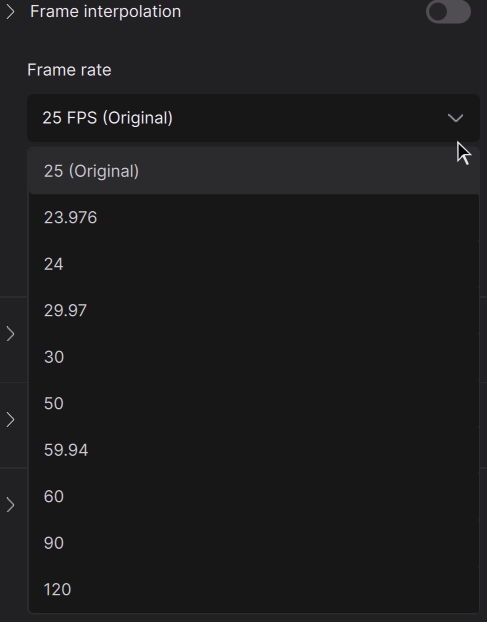
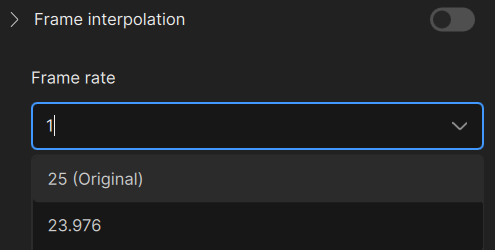
Similar, within the Frame Interpolation, the frame rate will display the original rate at default. You are able to modify the frame rate via the drop down menu or typing into the box for a custom one.
Filters
Each Topaz Video AI filter has been trained for a specific task, such as deinterlacing, adjusting the frame rate, or creating a slow-motion output. Use the toggle switch to enable the filter(s) you wish to use. We recommend a maximum of two filters per file for faster performance.
At default, the model discovery for the Progressive Video Type, gives a representation on how the progressive AI model works within a given situation in addition to a small description.
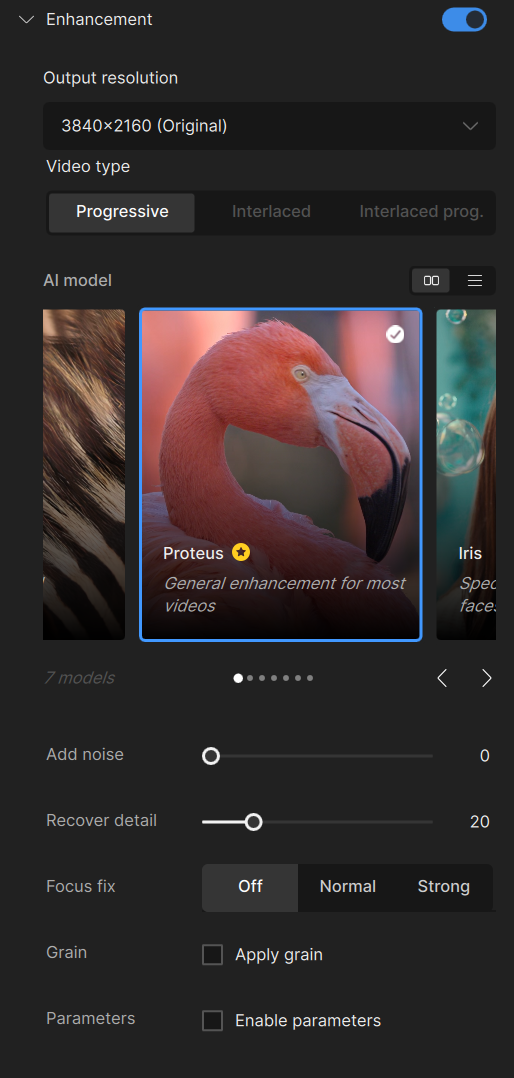
For those not wanting the model discovery carousel feature, you can simply press the button to the right with the three horizontal lines. The new menu lists the selectable AI model names with a small description of what the models do.
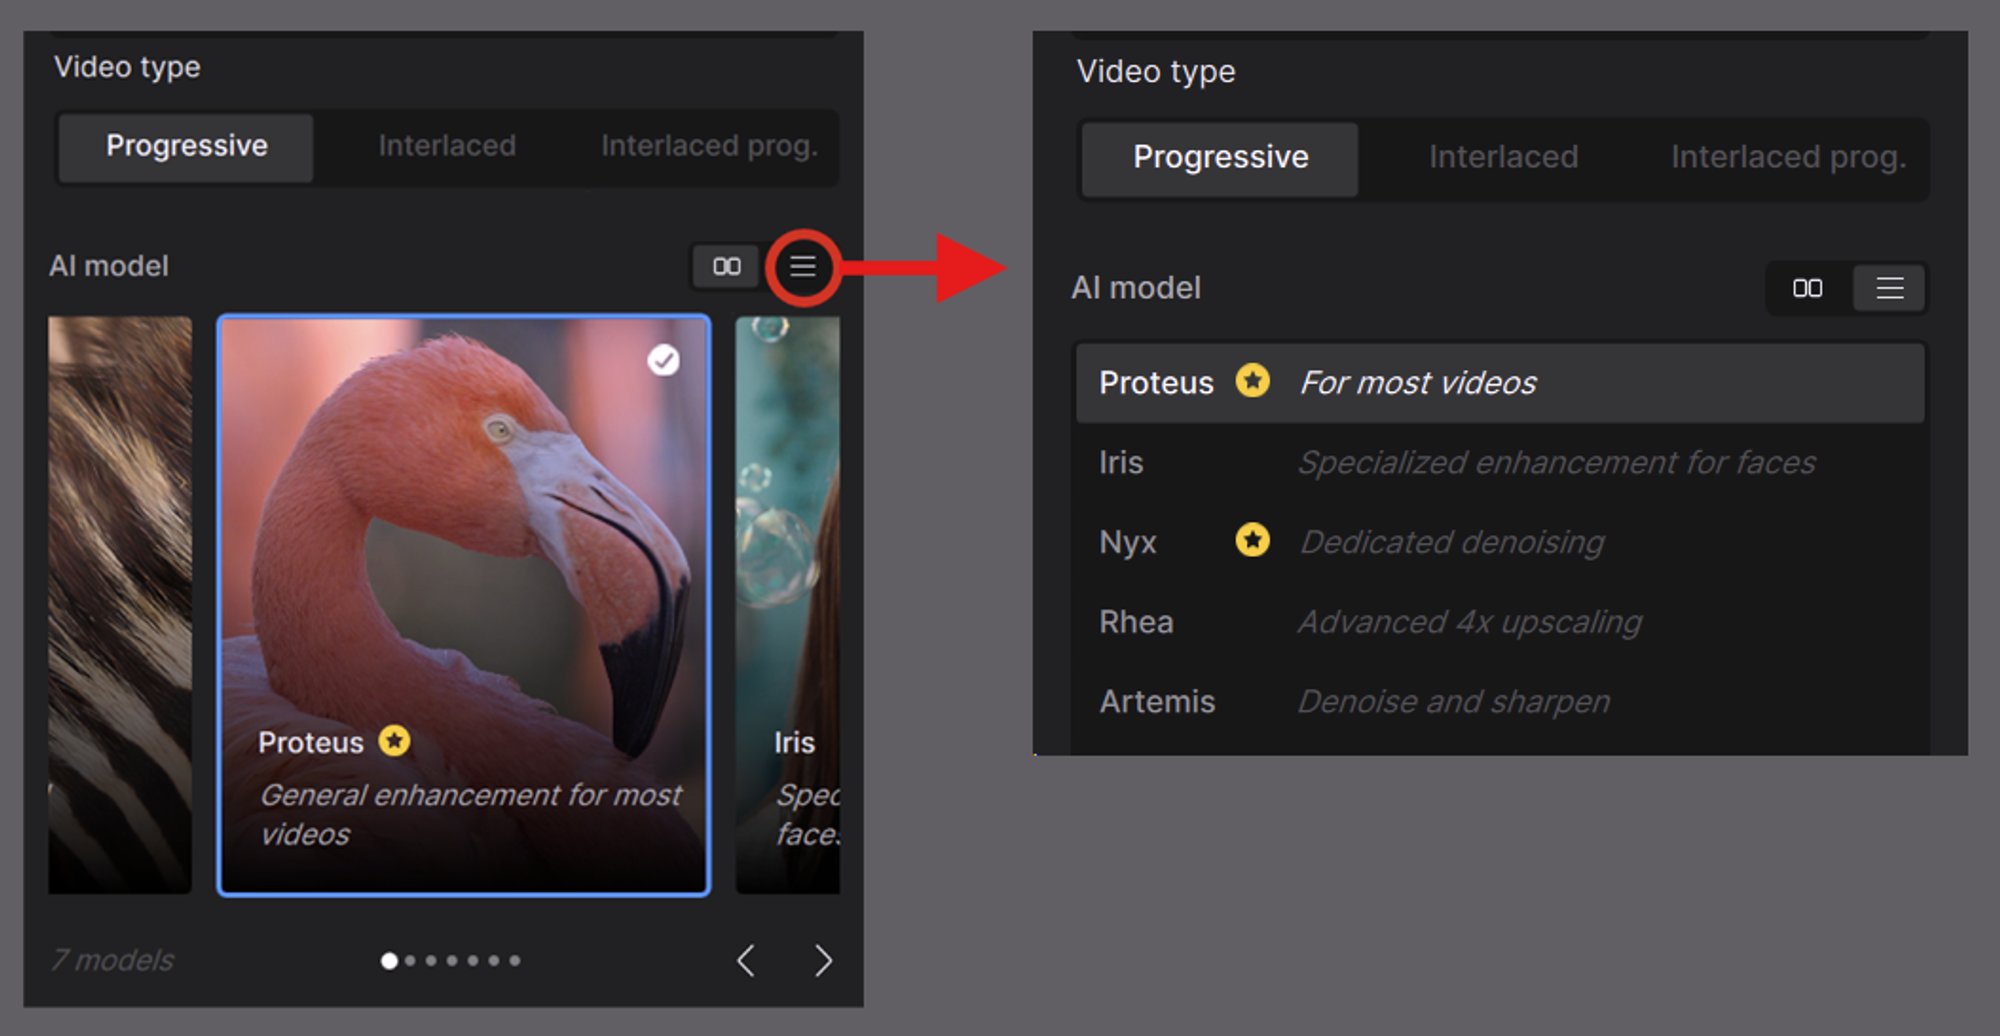
Learn more about Topaz Video AI filters.
Codec Settings
The Codec Settings menu will allow you to select the export Encoder, Container, and audio settings.
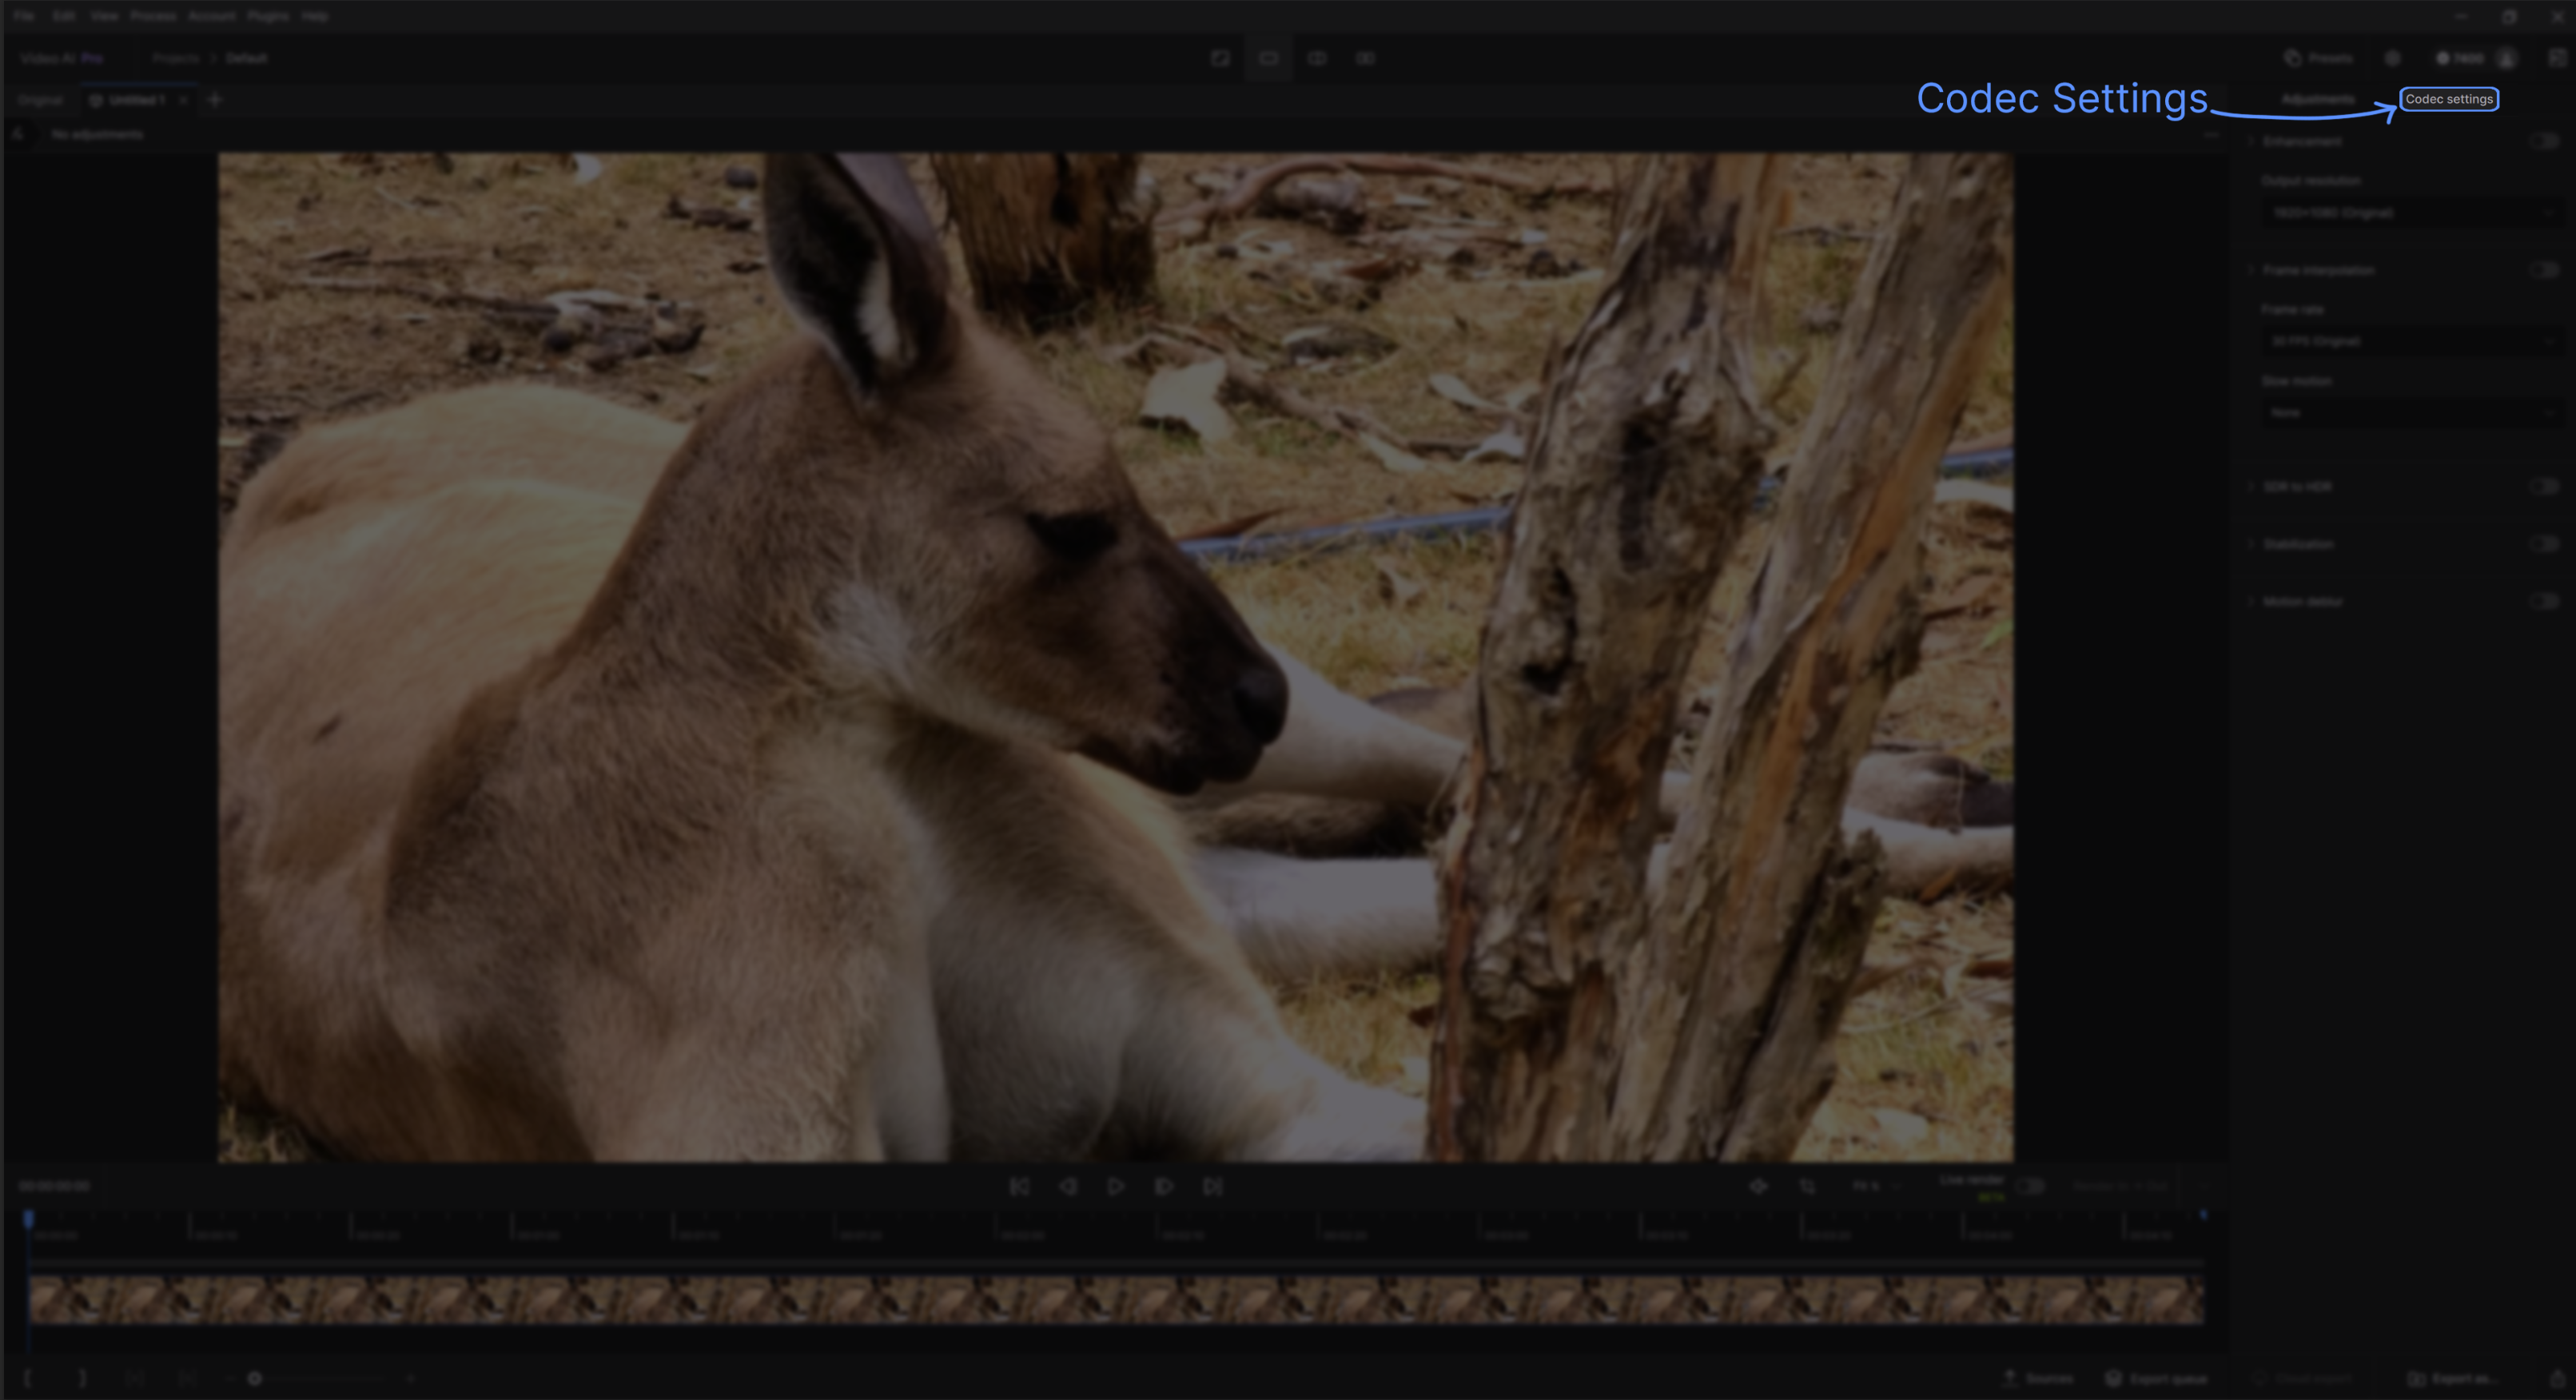
Click on the Codec Settings tab to open the menu. Here you can set the parameters for your final file output.
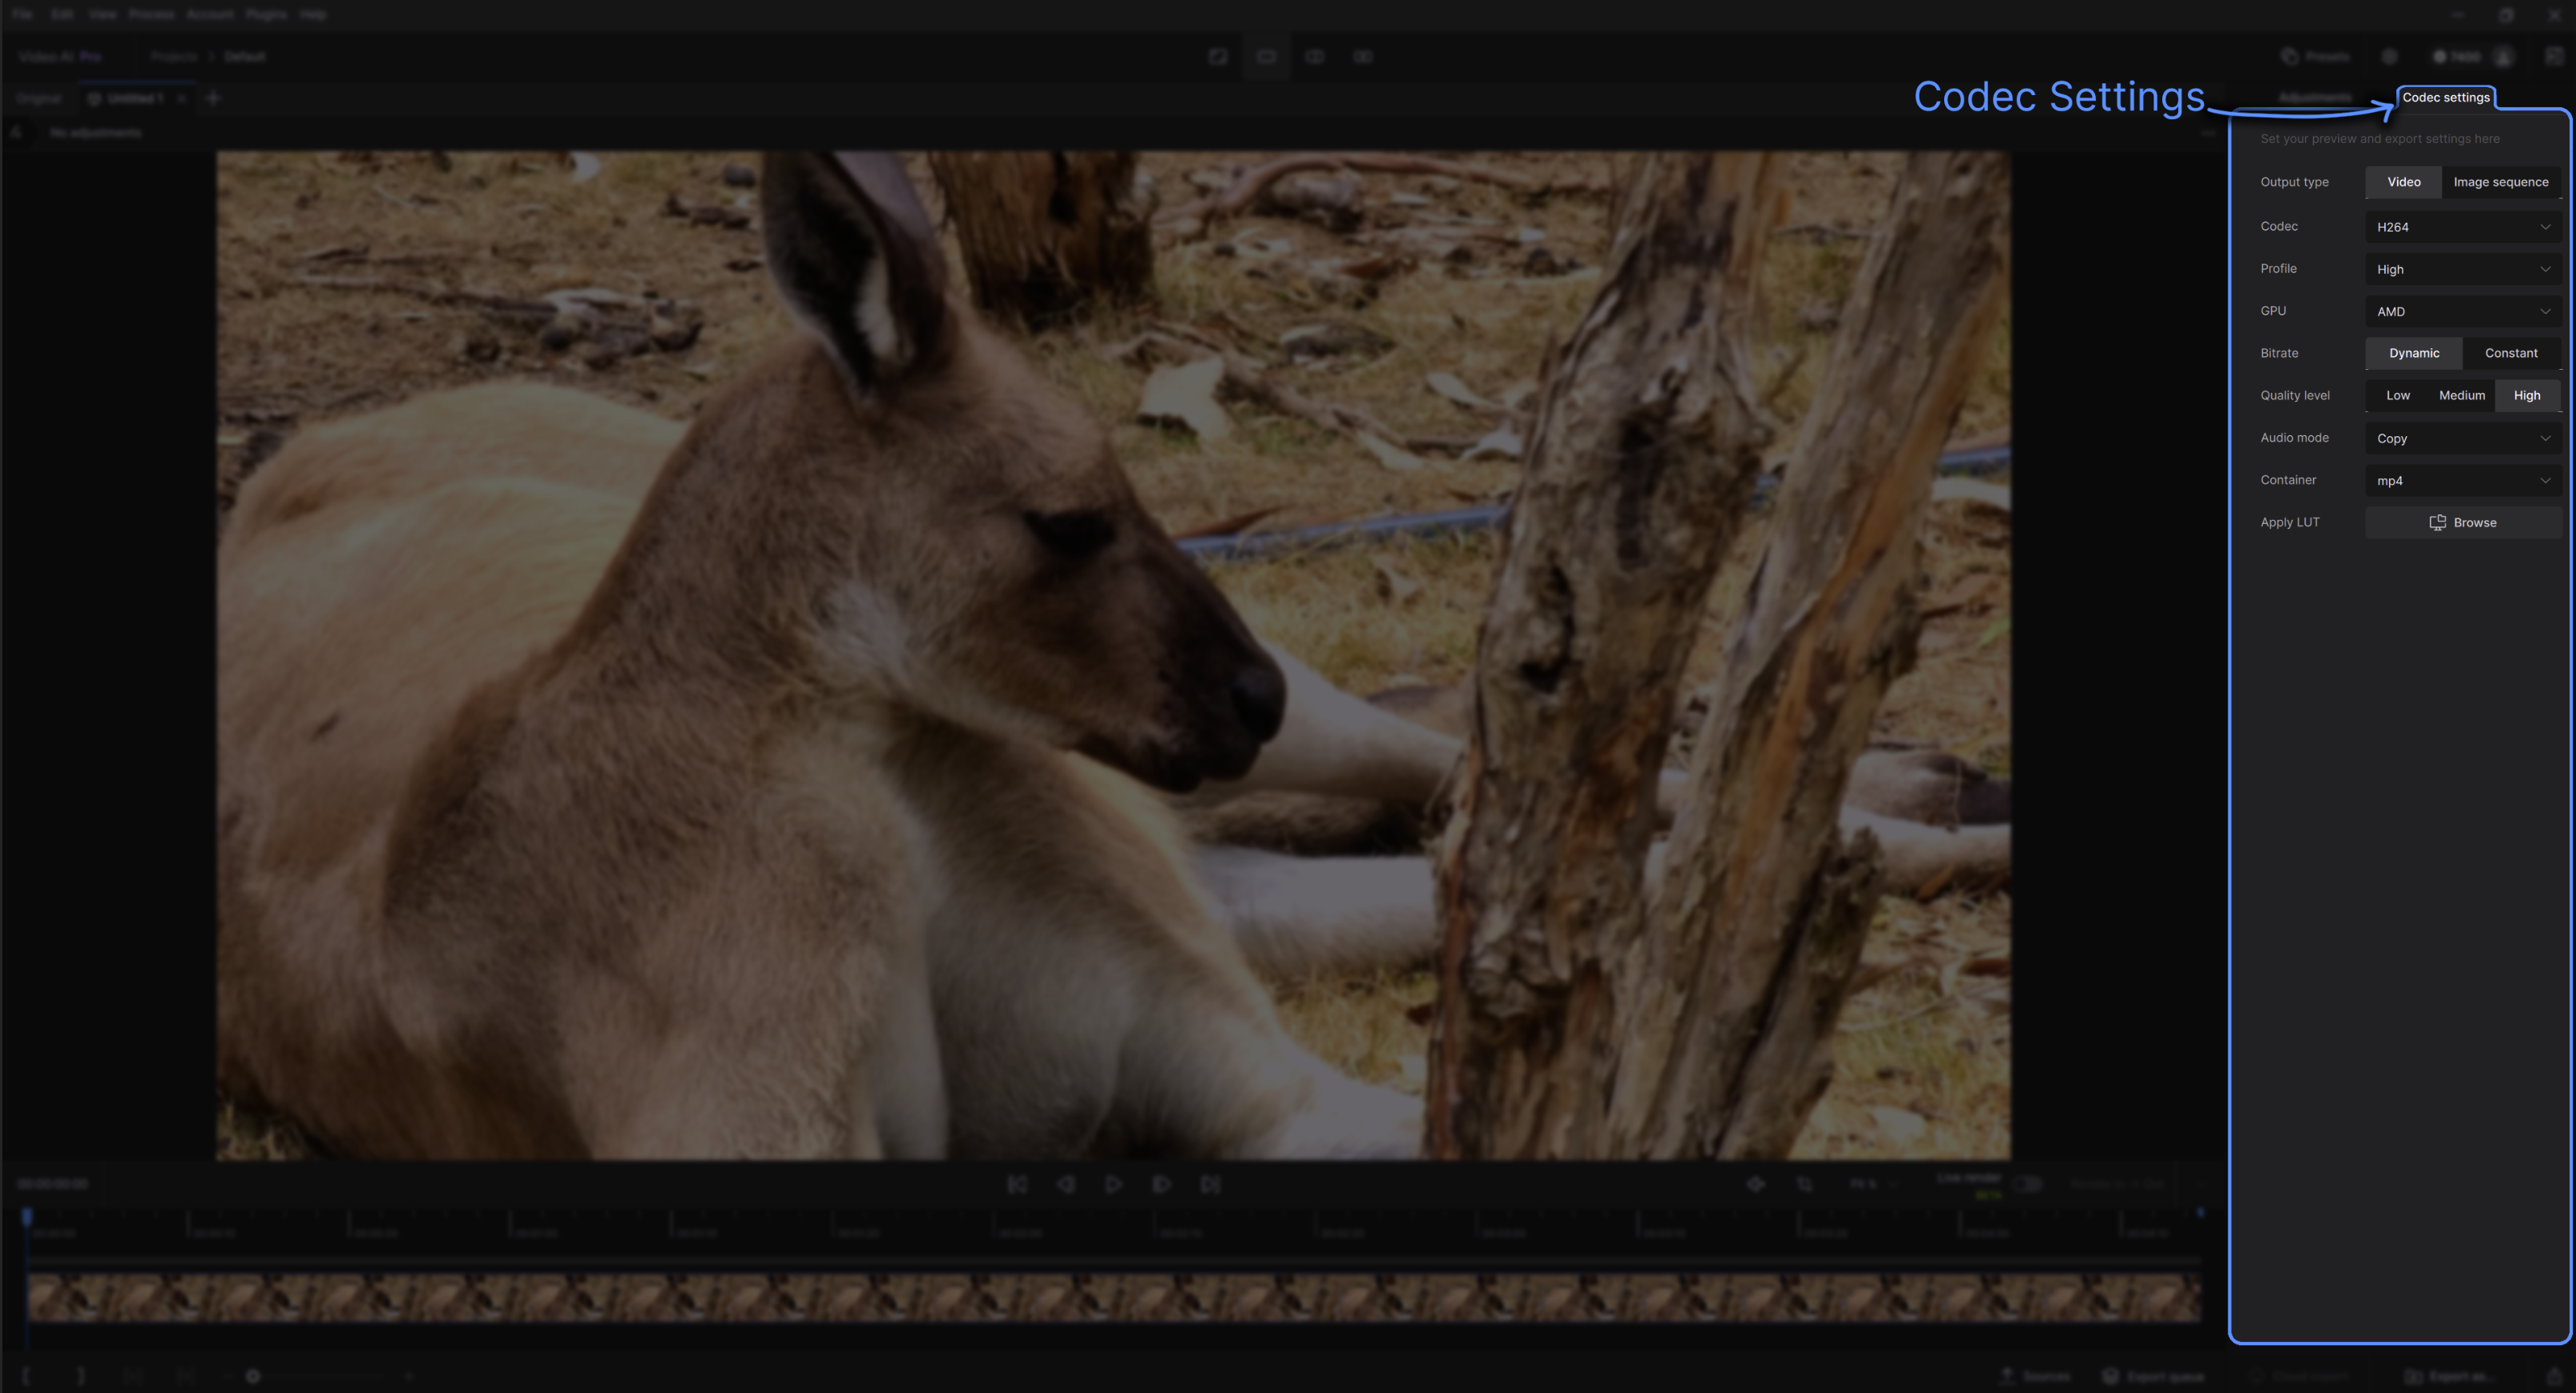
Learn more about Topaz Video AI's Encoders and Containers.
Preview Your File
To generate a preview, first select the desired resolution, filters, etc. from the Preview & Export Settings menu.
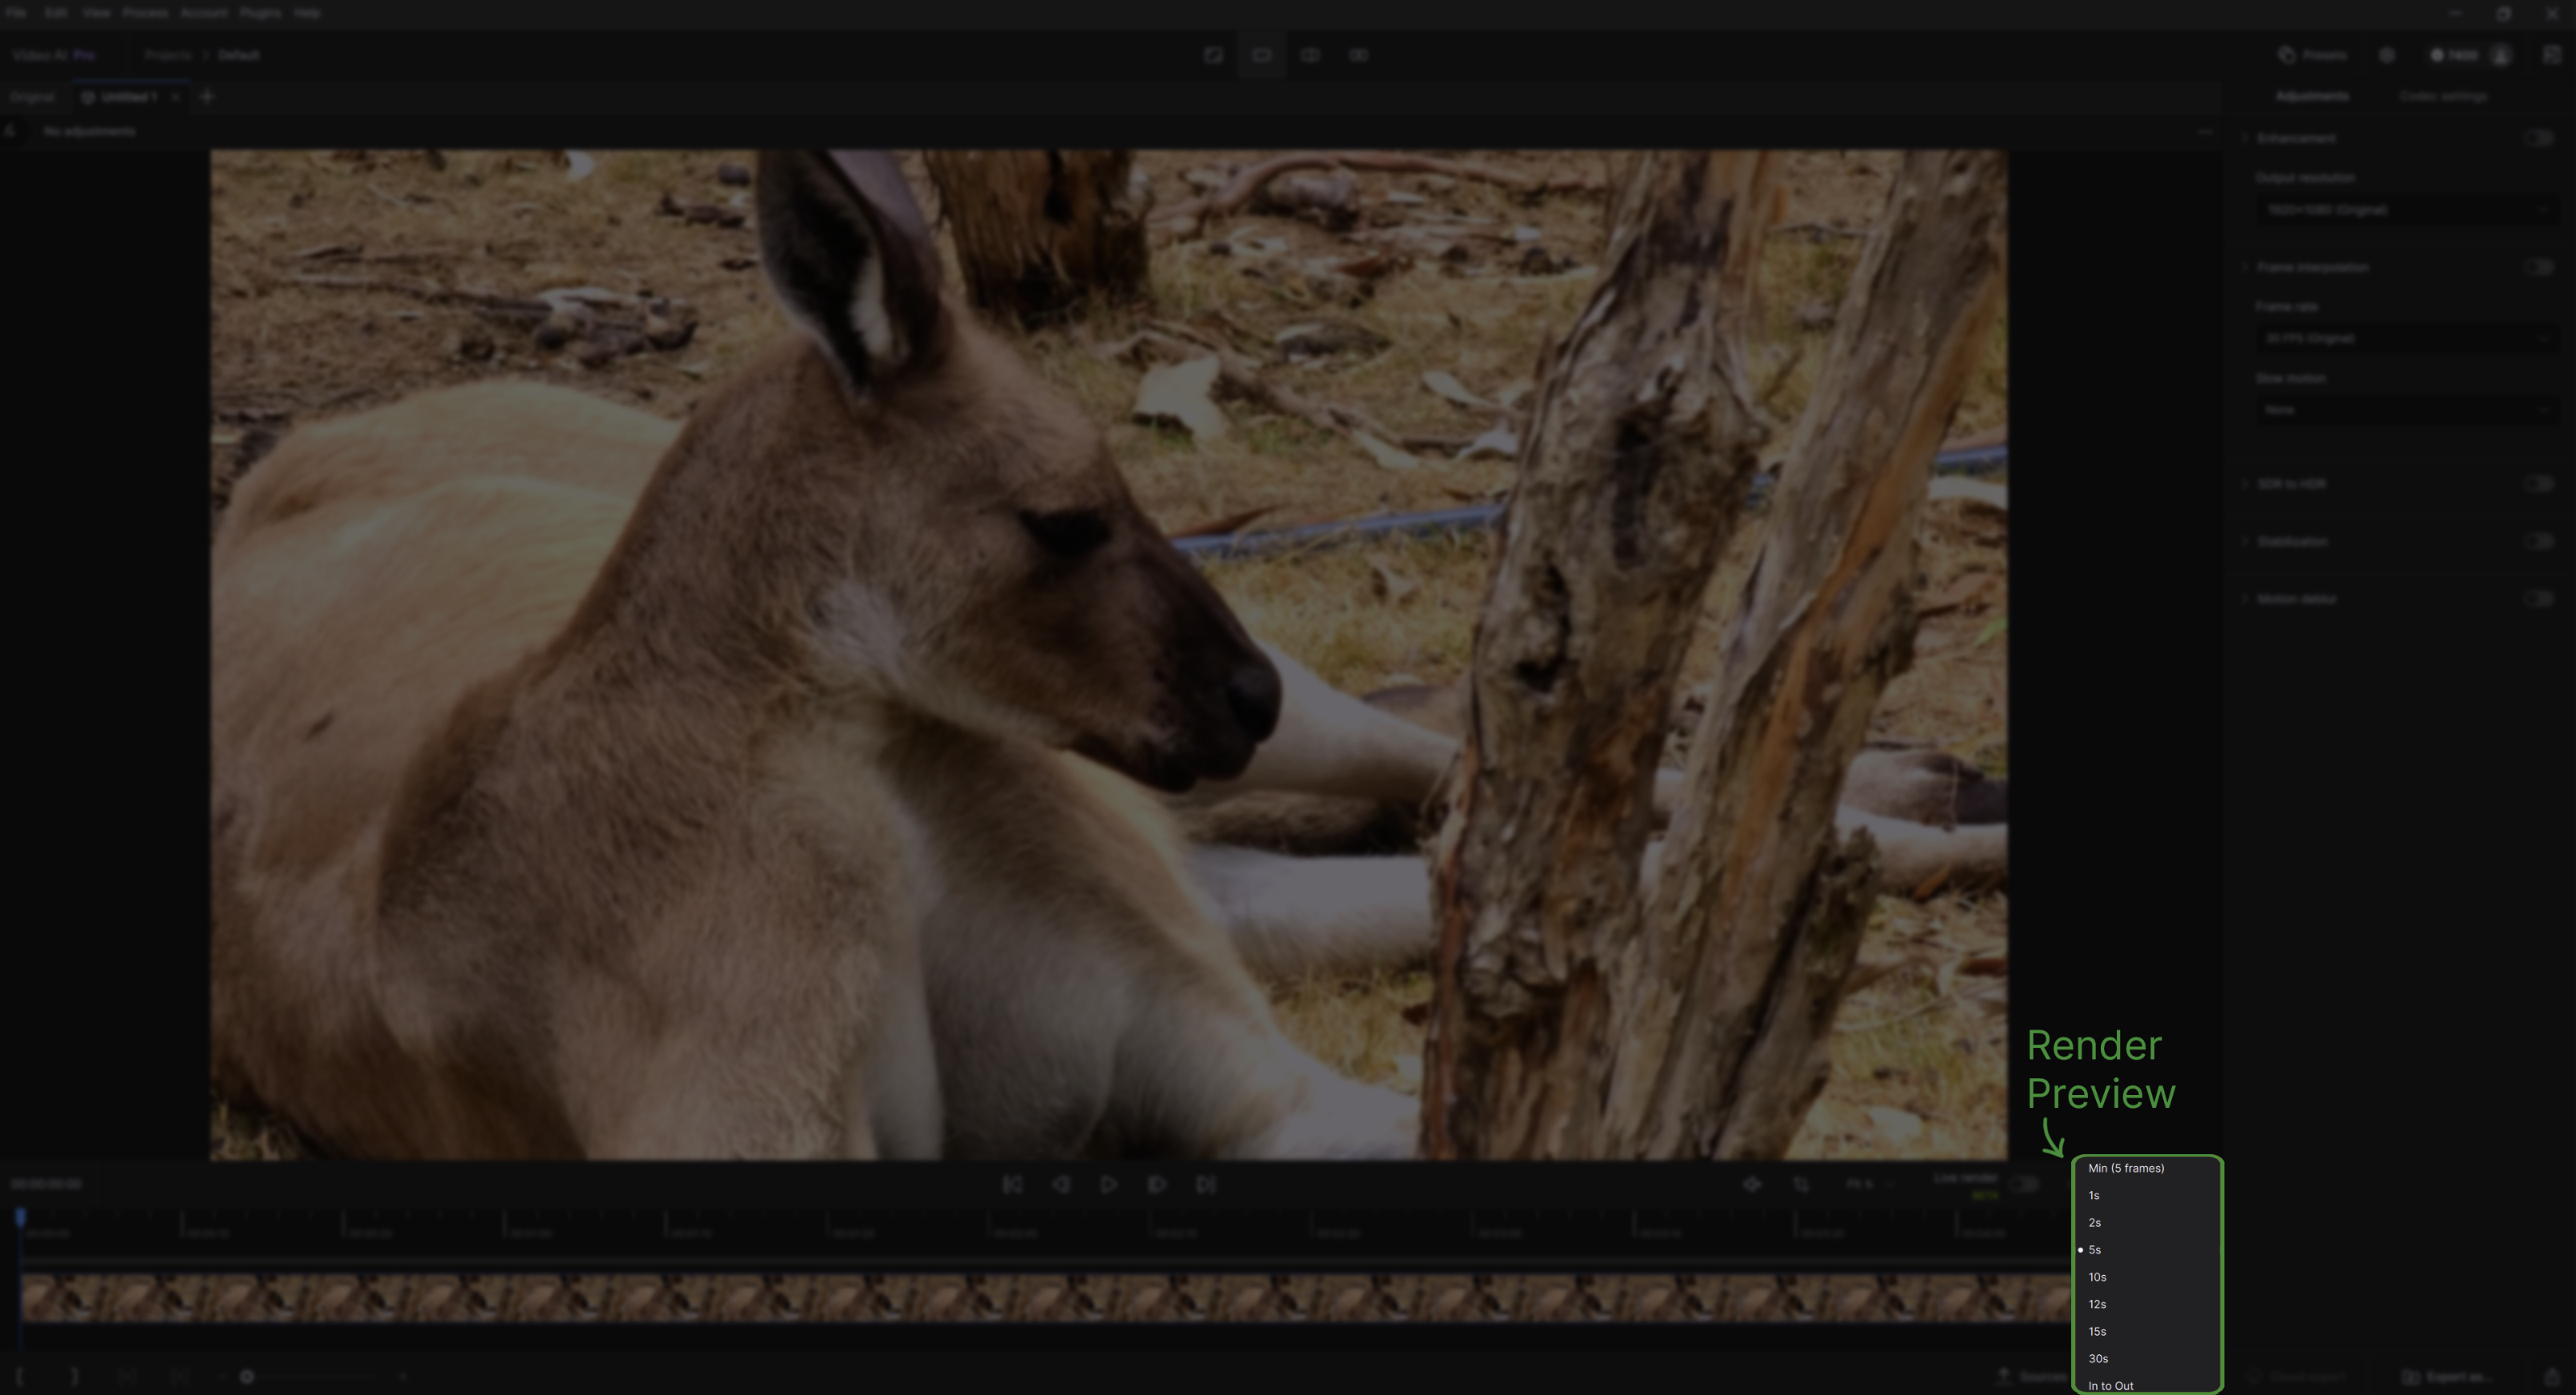

Next, select the Render Preview button for the default 5 seconds or click the caret to open the drop down menu to select up to 30 seconds to preview.
Learn more about previewing your enhancements and filters by going to our Importing, Previewing & Exporting page.
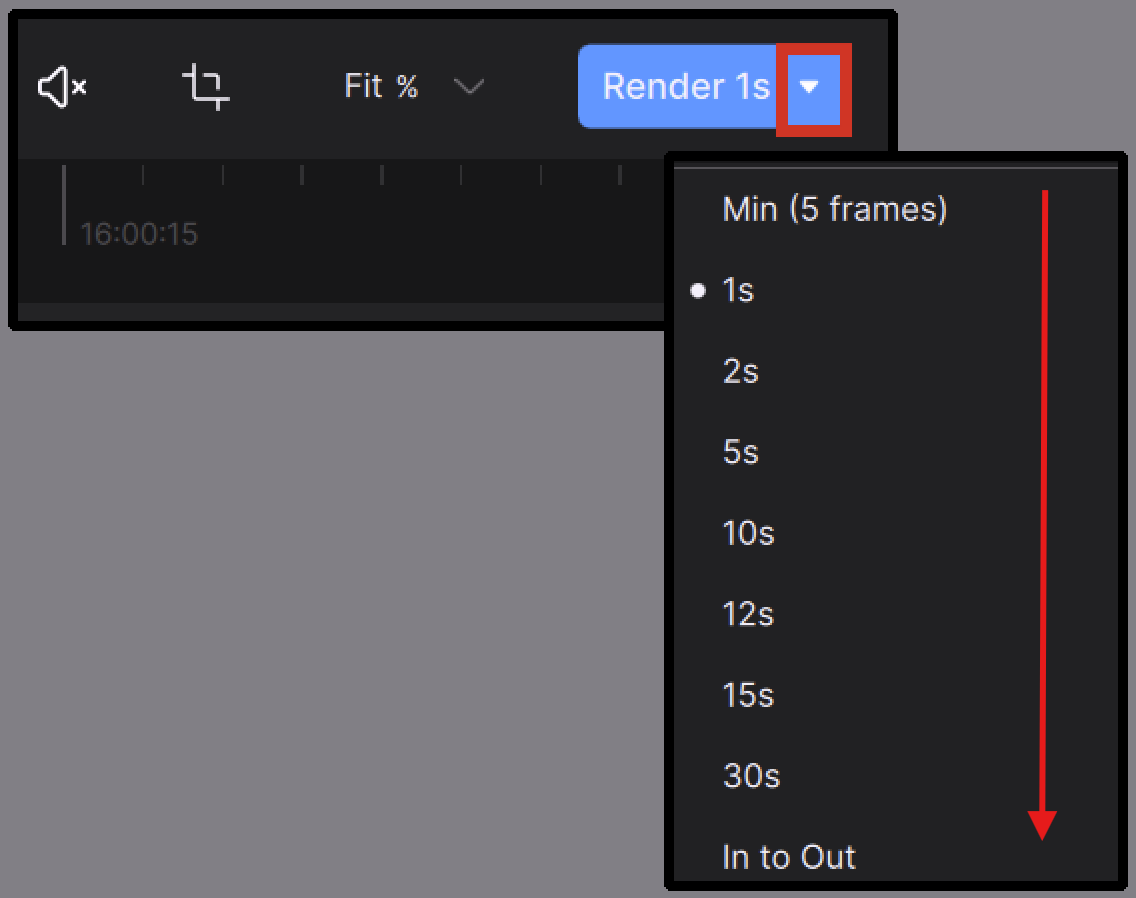
- When rendering, a progress bar and an ETA will appear for each file.
- A blue check mark indicates that the preview is complete.
- You can generate as many previews as you need by using tabs. Learn more about tabs from the User Interface page.
- Adjust the Player Modes and zoom in to inspect the results.
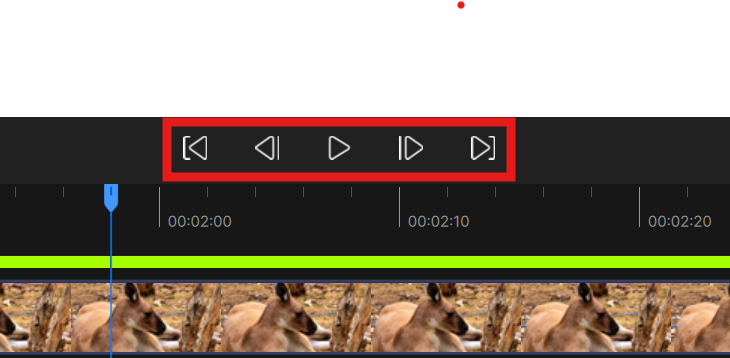
Use the Playback controls to view and compare within the application. At default the player is set to single view. To quickly compare against the original source, click and hold on the player.
Export Your File
Once you have found the best settings for your file in the Codec Settings and you have inspected the preview, you are ready to Export.
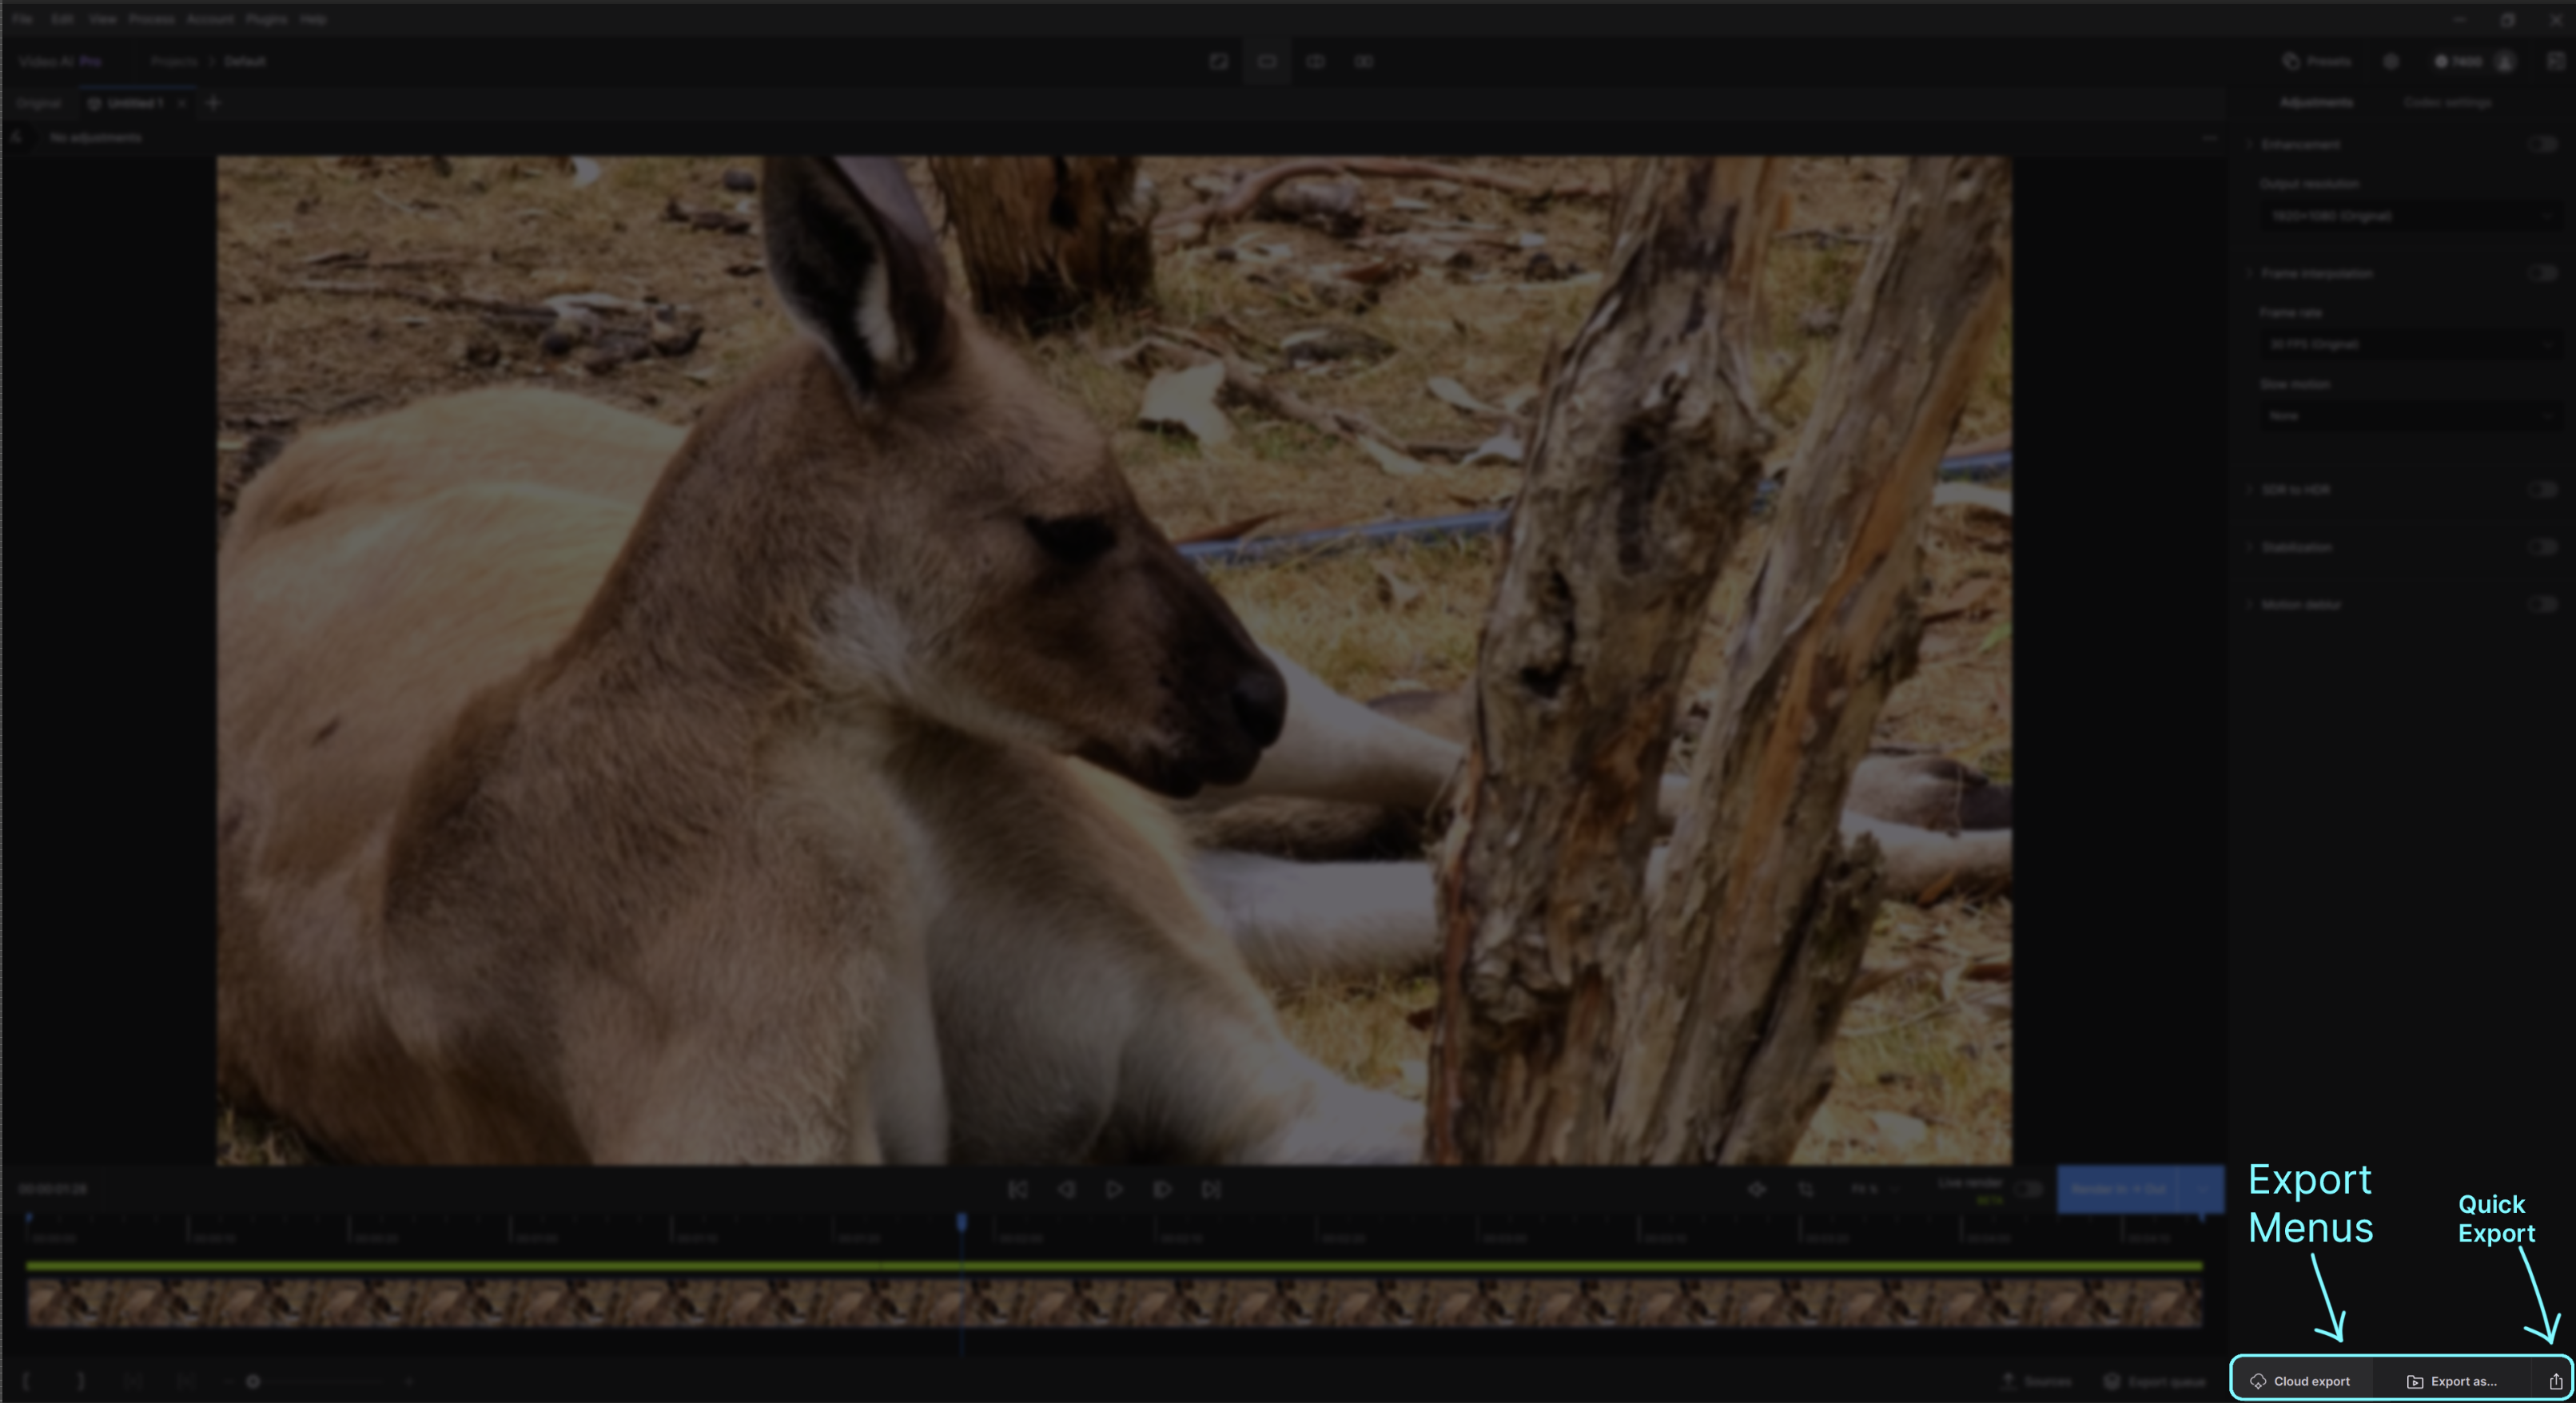
The Quick Export button will auto name and export the file to the input file's location. You can select the Export As button to change the save location and rename the final output. With the use of credits, you now have the option to do a Cloud Export to free up your machine from overwhelming renders.
What's Next?
Congratulations on enhancing your first video! Learn how to use Topaz Video AI filters, encoders, and more: