Upscale & Resize (Legacy)
The Upscale enhancement can do multiple things:
- CHANGE IMAGE SIZE: Change the size of your image to be up to 600% times bigger (1) or downscale the image to be a smaller size (0.5x for example) while preserving the intricate details from the original image.
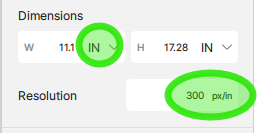
- CHANGE FILE RESOLUTION: In the Dimensions options, if you change the size to be shown in inches or centimeters, you will see the Resolution field appear (will be in px/inch or px/cm). If left unchanged, Photo AI will retain the resolution of the original file.
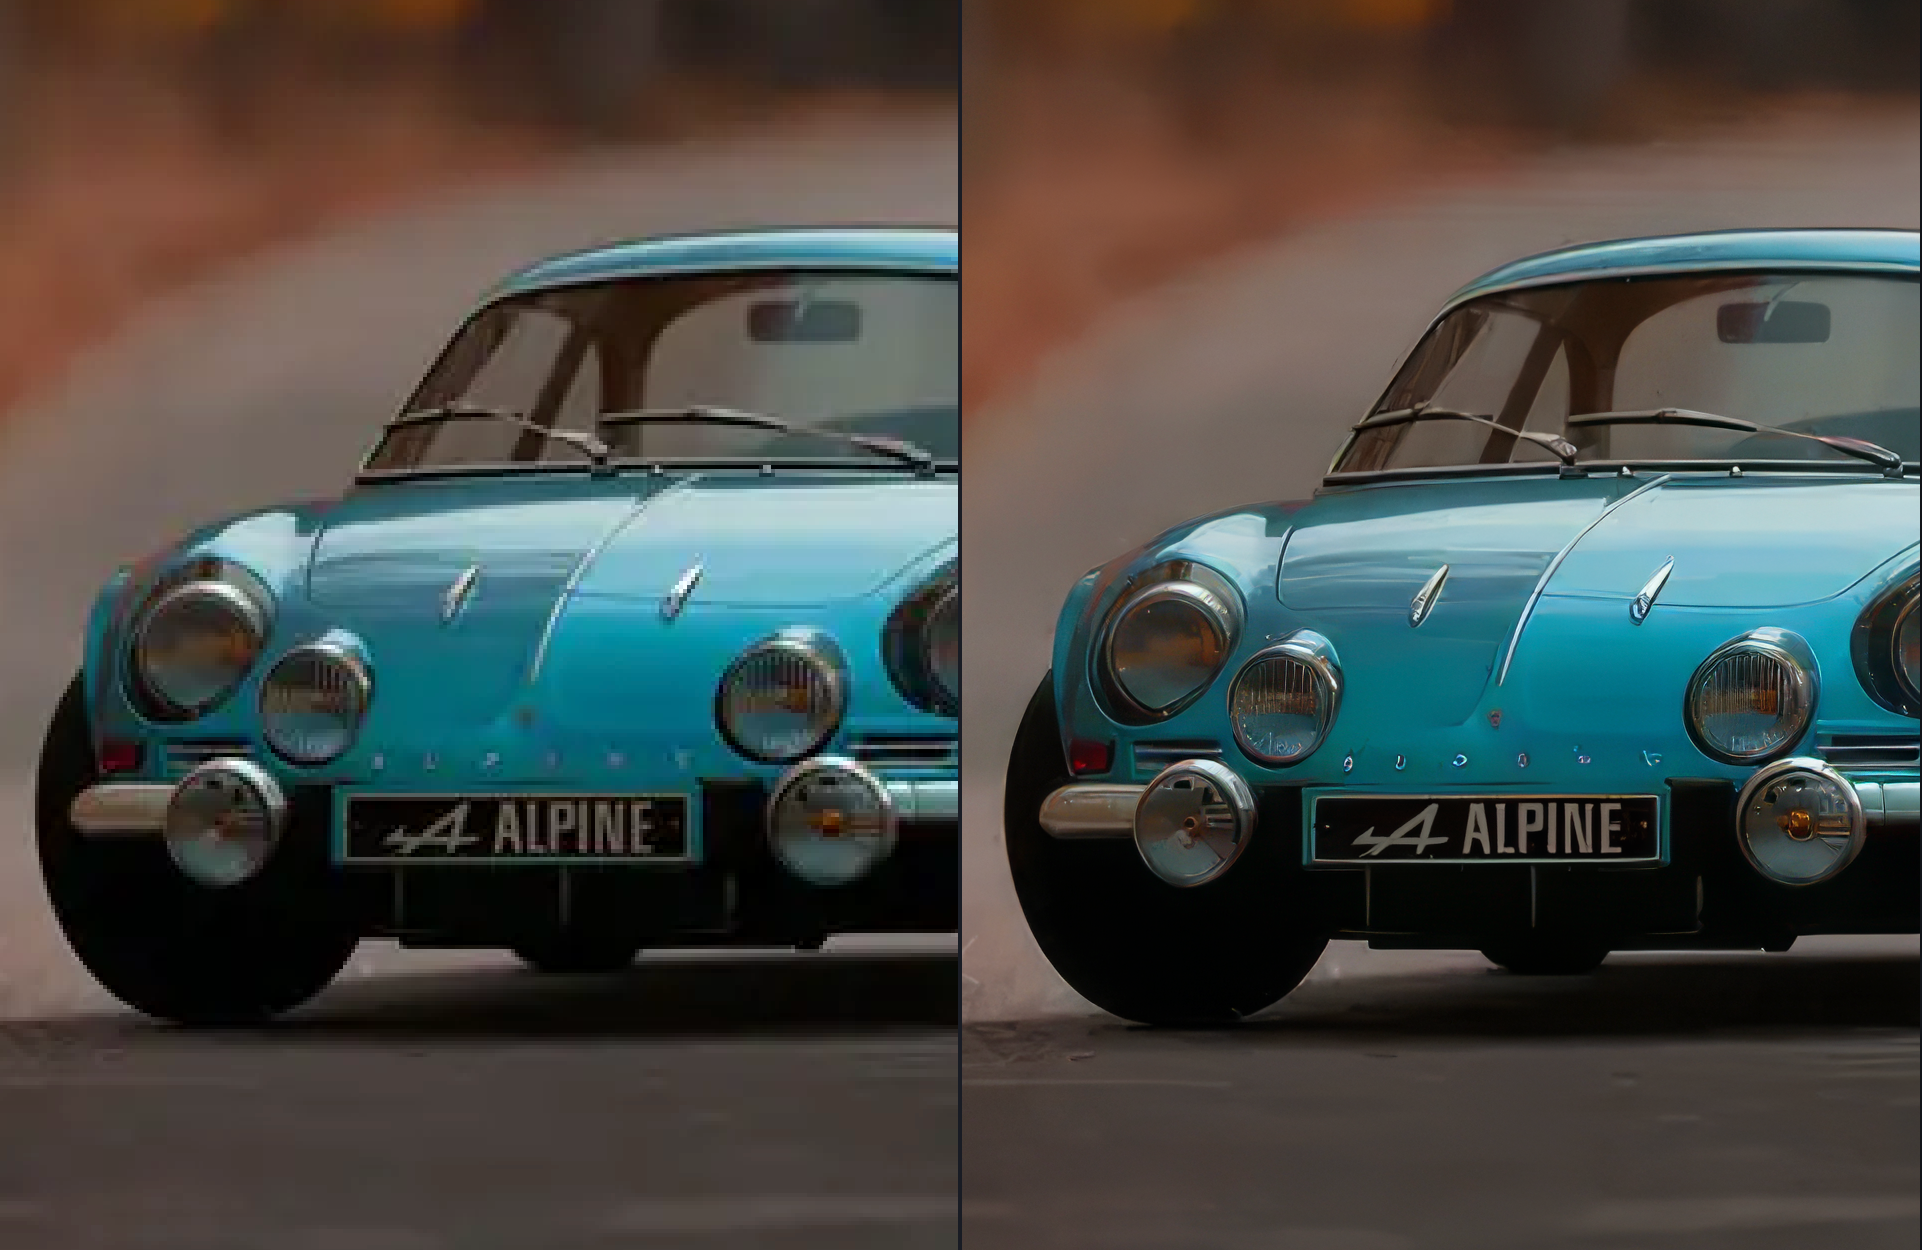
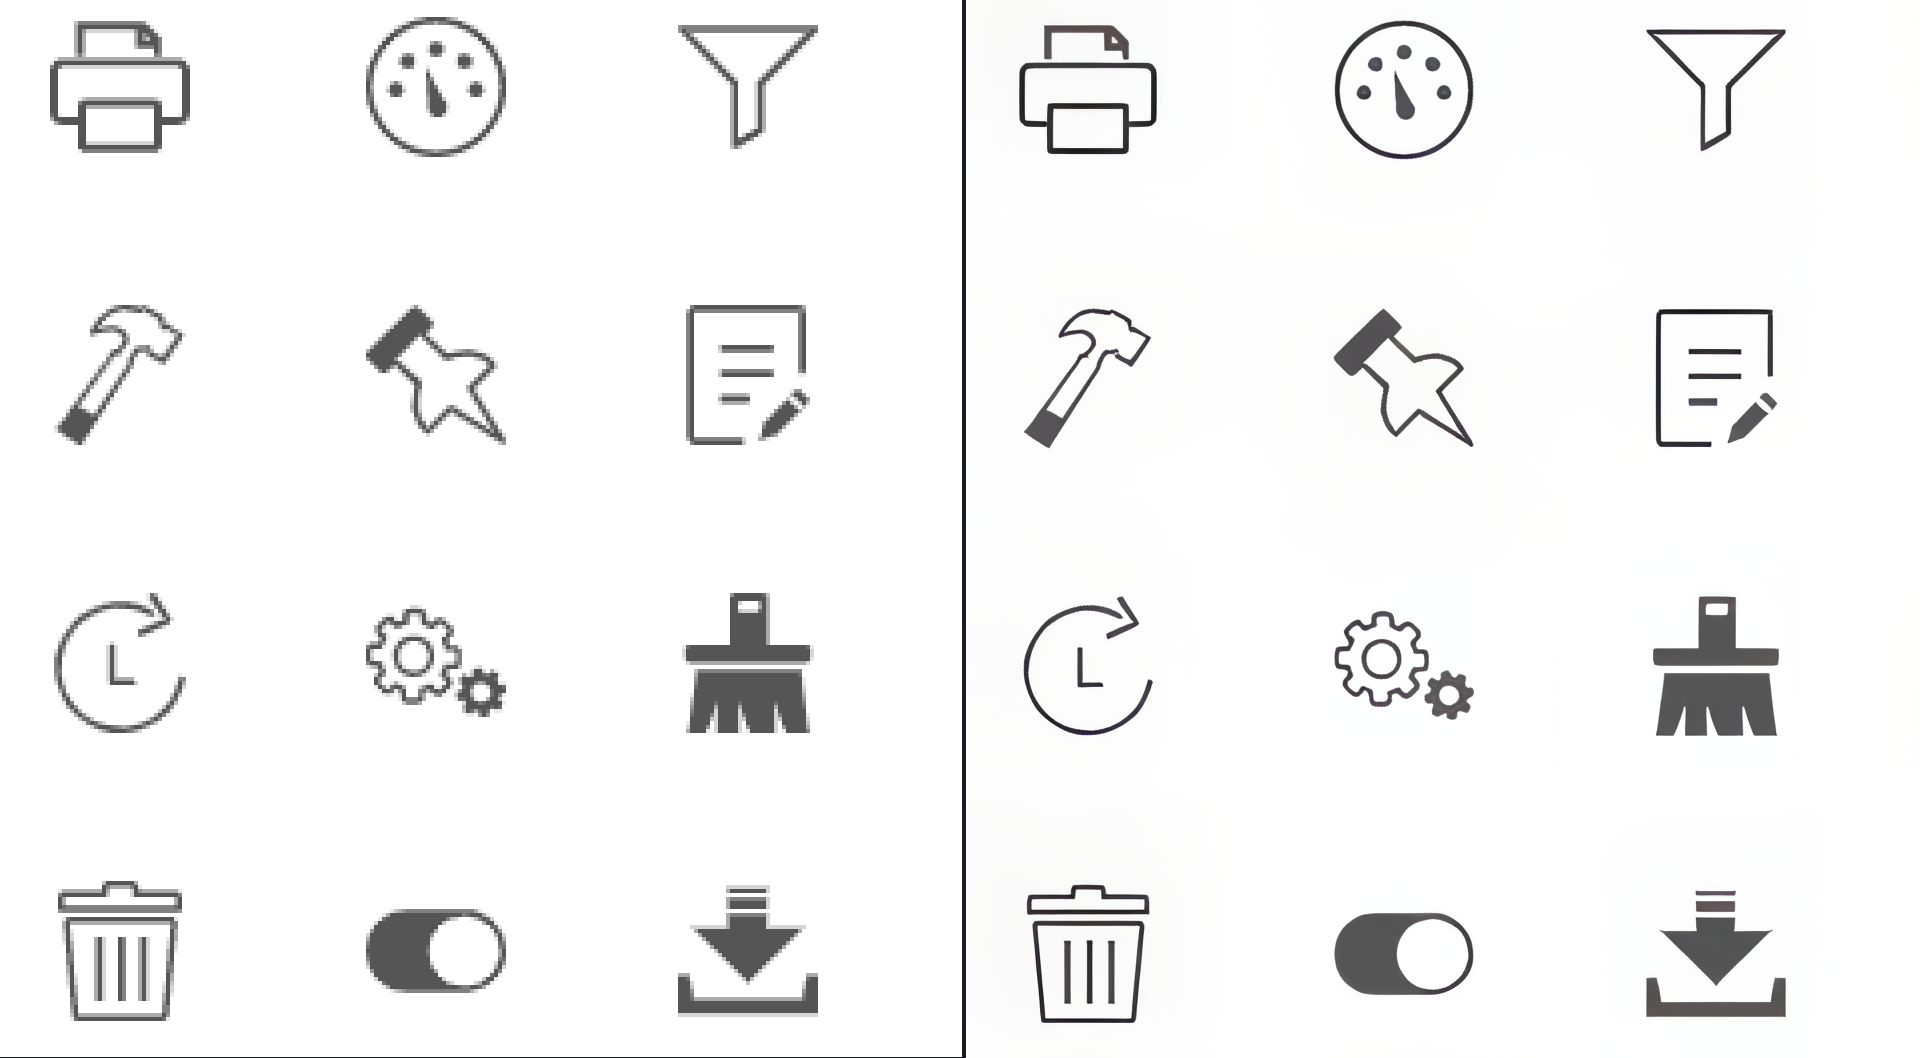
- FIX ARTIFACTS: Upscale AI Models can also be used to help fix compression and/or resolution artifacts present in small low resolution files or files taken from a cellphone for example. Test the different AI Models to find the one best suited for your image's type of artifacts.
(1) Upscaling 6 times the original size will only be available if the original image is small. The "Max" scale for the image will be dependent on the starting image size. The "Max" will be 32 000 pixels on the longest side (about 8 feet wide, depending on the file resolution - dpi) or 2GB of file size, whichever is attained first.
Tips and Tricks
Processing a very large upscale will take up a lot of graphic memory and processing time to export. Here are tips to optimize your upscale:
- Very important: Double-check that you only upscale to the needed size. If you don't need the image bigger in size and only want the compression/resolution artifacts fixed, choose 1x scale.
- Test exporting the file to TIFF or JPEG, as exporting to a RAW/DNG will use up more memory.
- Export the file locally, and not on a hard drive to optimize processing time and avoid hard drive conflicts or writing issues.
- Make sure the machine meets the Recommended Specifications. Even with these specifications, a very large upscale could go over what the machine can handle.
Scale/Dimensions/Resolution
Use the Upscale Controls Panel to adjust the Scale, Dimensions and Resolution.
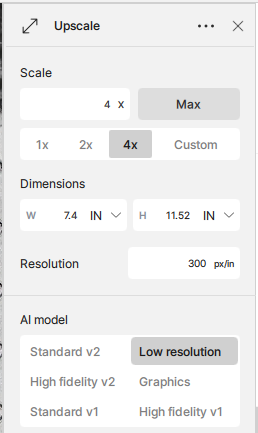
- SCALE: Choose the scale factor here. Make sure to only upscale to a file size you need. If you don't need the image bigger in size and only want the compression/resolution artifacts fixed, choose 1x scale.
If you do not see any Scale options, you may be using the Photoshop plugin in Filters > Topaz Photo AI, which will not allow size changes. Make sure from Photoshop to use the File > Automate plugin instead, which will allow size changes.
- DIMENSIONS: If you need a specific size, you can change the size in the Dimensions field. You can toggle from Pixel, to inches, to centimeters.
- RESOLUTION: Choose from pixels, inches, or centimeters to specify dimensions. Set values for each side or enter the overall DPI (dots per inch) or PPI (pixels per inch). Use this tool to define dimensions for printing purposes. The pixels/inch and pixels/centimeter textboxes only appear when the dimensions are set to those units. Example, to see the DPI and set it to 300 dpi (dots per inch), make sure to select the Dimensions to be in inches.
AI Models
The AI models rely heavily on existing image quality. They may generate unwanted artifacts if the resolution of the starting image is too low. Upscale from an original image whenever possible rather than a copy that has been compressed.
Make sure to use the appropriate model for your image. The models are not interchangeable and using the wrong model may deliver unwanted results.
Standard
The Standard model is the go-to choice for general use unless the image clearly belongs to one of the other categories. It is tailored for medium-quality images from point-and-shoot cameras and older smartphones.
Use the Standard model for highly detailed AI-generated images from Midjourney, Dall-E, and similar tools.
Standard V2
Use the Standard V2 model to have a more generative output than the original standard model.
High Fidelity
Use this model for images that are already high-quality to preserve intricate details. Images from DSLRs and most modern smartphones will fall under this category. Use it for highly detailed AI-generated art as well.
High Fidelity V2
Use the High Fidelity V2 model to intentionally preserve original grain or noise for aesthetic purposes.
Low Resolution
The Low Resolution model prioritizes preserving overall quality rather than fine details. Use it to upscale low-quality images that have been highly compressed.
Graphics
The Graphics model upscales simple illustrations such as cartoons.
Additional Settings
Minor Denoise
Low light conditions, sensor limitations, or compression artifacts can cause slight noise. The Minor Denoise setting removes this noise before the image is upscaled.
Minor Deblur
Use the Minor Deblur setting to avoid emphasizing existing blurriness caused by camera shake, motion blur, or a lack of focus when the image is captured.
Fix Compression
Visual distortions and artifacts may appear when images are compressed to make them more space-efficient.