Super Focus (Legacy)
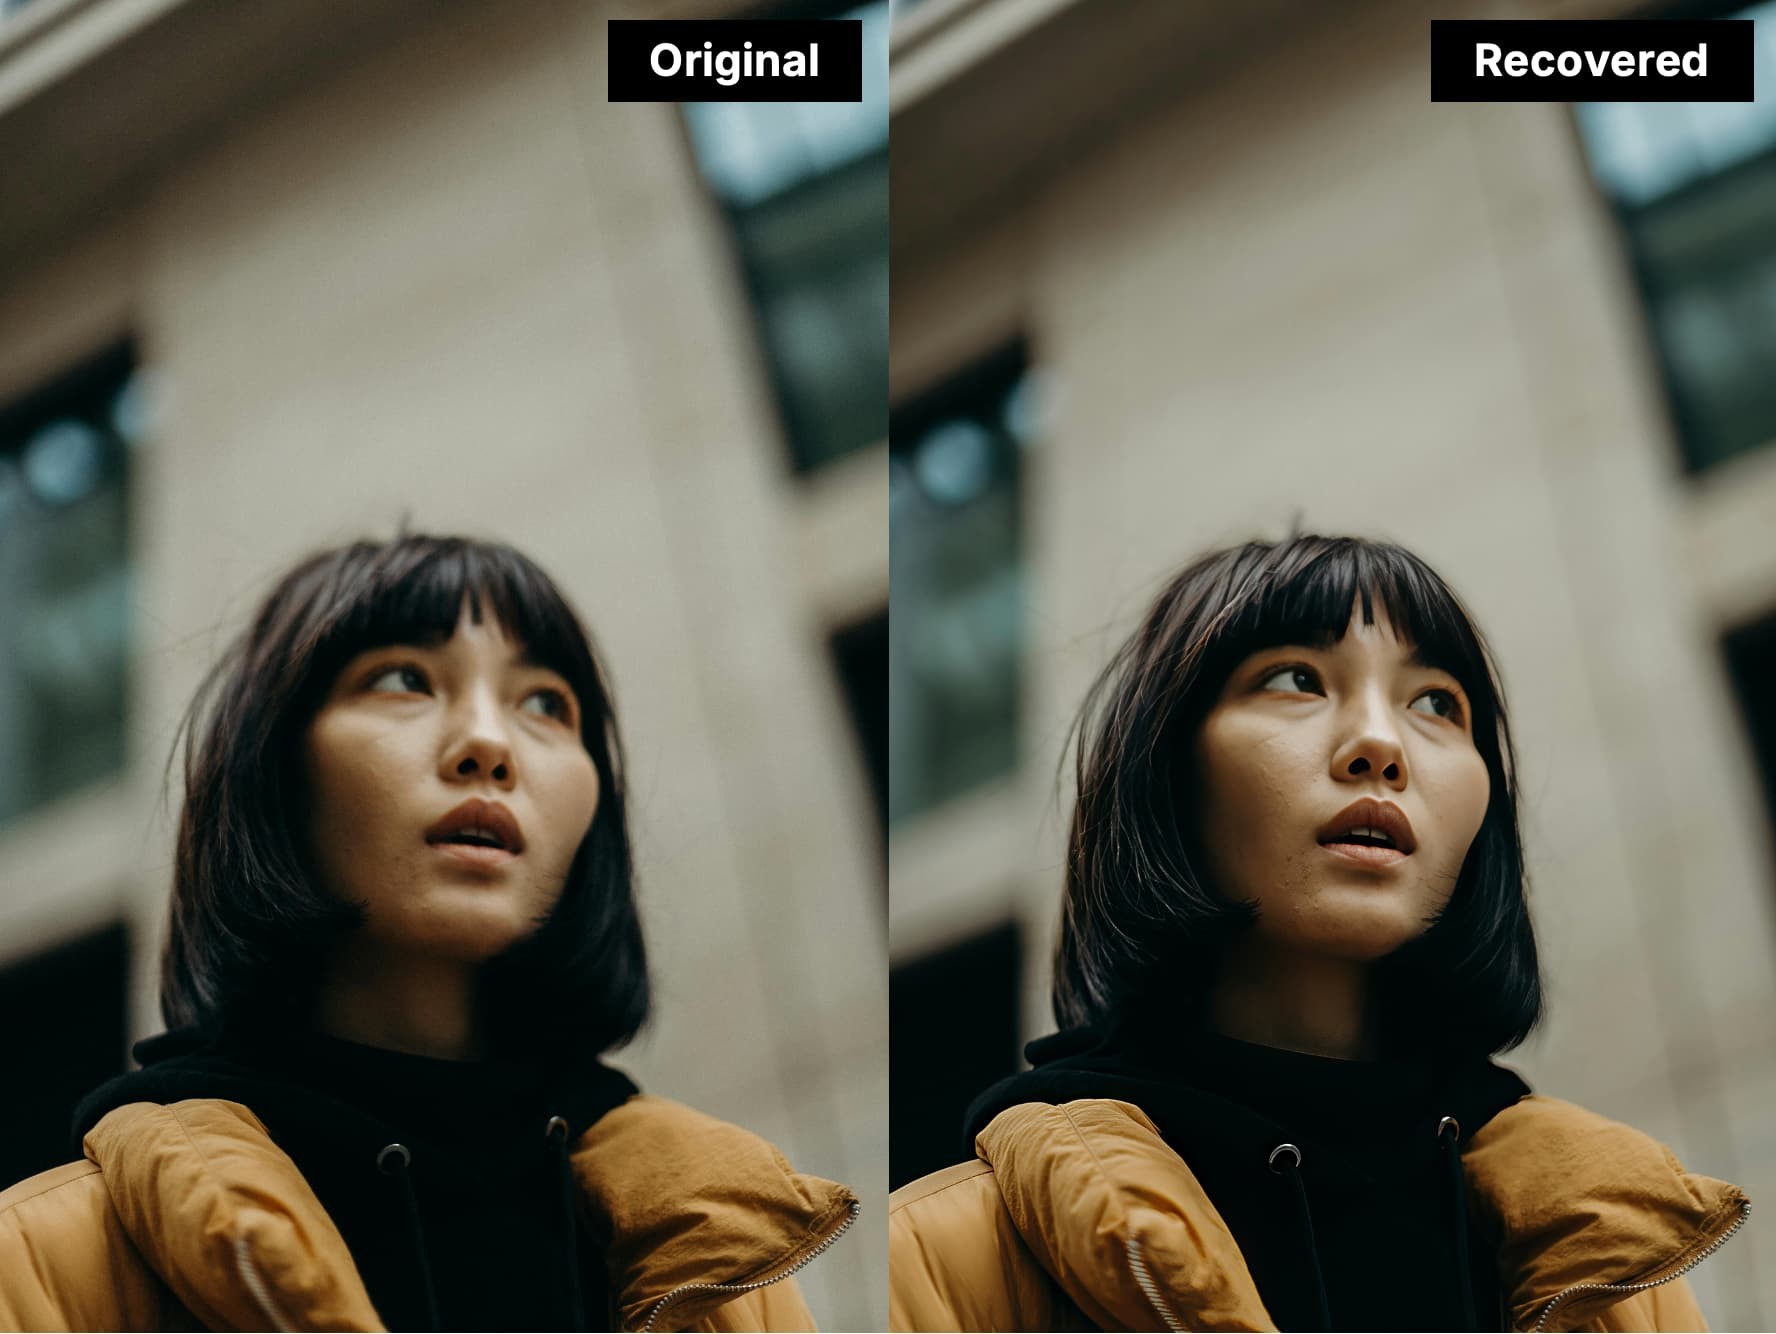
Super Focus is a generative AI tool available in Photo AI that has the ability to fix blur and extract detail. This tool acts as an alternative solution for those stubborn and more difficult images that cannot be enhanced through Photo AI’s other sharpening models.
Super Focus is good to help recuperate files that the Sharpen enhancement cannot recover. It is recommended to try the Sharpen filter first, as it's much faster and can be implemented in batch processing, whereas Super Focus cannot.
System Requirements
The Super Focus AI generative models (v1 and v2) have higher requirements for processing than other AI models.
| Dedicated Graphics Card | NVIDIA AMD or ARC card with 8GB VRAM (1) |
| Integrated Graphics card only | Not supported (2) |
(1) 6GB of VRAM can work, but will be slow.
(2) If all you have is an Integrated graphic card (no dedicated Graphics card), it will not work locally, as integrated graphic cards usually only have 0.1GB of VRAM and that is not sufficient for memory-intensive generative AI models. If you have both a Integrated and Dedicated Graphic card, make sure the Dedicated Graphic card has 8GB of VRAM to work properly.
| Mac with Intel CPU | Not supported locally |
| Mac with M-Chip (Apple Silicon) | macOS 14 (Sonoma) or higher |
| 16GB RAM minimum, 24GB RAM recommended |
Versions
Super Focus V1
Originally released in v3.3.0, Super Focus V1 introduced a better method to sharpen soft and missed focus images that the regular Sharpen AI models are not able to recover.
Super Focus V2
Super Focus v2, released in v.3.6.0, is a new model architecture that delivers much faster processing compared to the previous V1 of the Super Focus model.
How to Use Super Focus
-> Before launching the process
- Remove all prior enhancements (except RAW Denoise) - as Super Focus is best used as the very first enhancement.
- Add Super Focus from right panel in the list of enhancements by clicking on the 'Choose something else' or 'Add enhancements' button.
- Choose the Super Focus version you wish to use; v2 is the default as it is a newer and faster model.
- On large images, pick a Focus Boost option depending on your blur level. Extreme blur should use Major focus boost. The Focus Boost option will only appear if you have a large file as it uses downscaling. Small images will not have that option.
- On large images, you can generate a quick Preview by clicking on an area of the picture. It will create a preview of the results for that specific area. This Preview option will not be available for small images.
-> To launch the process
- Then you can launch the render locally or on the Cloud (1)
- Important: Once the process done - change the affected areas in Selection panel (2) and tweak the Strength to fine-tune your result.
-> After Super Focus
- Once you are happy with the Selection and affected areas, inspect the file to see if any other enhancements are needed to add, for example Recover Faces or Preserve Text.
- Once all enhancements needed are added, you can Export the image.
(1) Here is more documentation on Cloud Rendering
(2) The Selection panel will be available once the render is made. The Super Focus AI model is designed to render the whole image, and will allow you to tweak your selection once the render done. You will not need to reprocess when you customize and tweak the affected area in the Selection panel. Once Selection options are applied, the in-app preview and file output will only apply to these affected areas.