Autopilot & Configuration (Legacy)
Autopilot automatically runs on each image upon import. It analyzes your image for:
- File type
- Metadata - such as ISO, camera information, and lens information
- Noise severity and type
- Subject detection and blur level
- Human faces and face quality
- Image size and resolution
To turn on Autopilot
To know which Photo AI version you own, you can check in your “My Products" page
To turn on Auto-Pilot in Photo AI v4:
- Use the toggle in your right panel, and this will turn it on for the current image.

To turn on Auto-Pilot in Photo AI v4:
- Manually enable Autopilot by choosing it in the Add Enhancement menu.
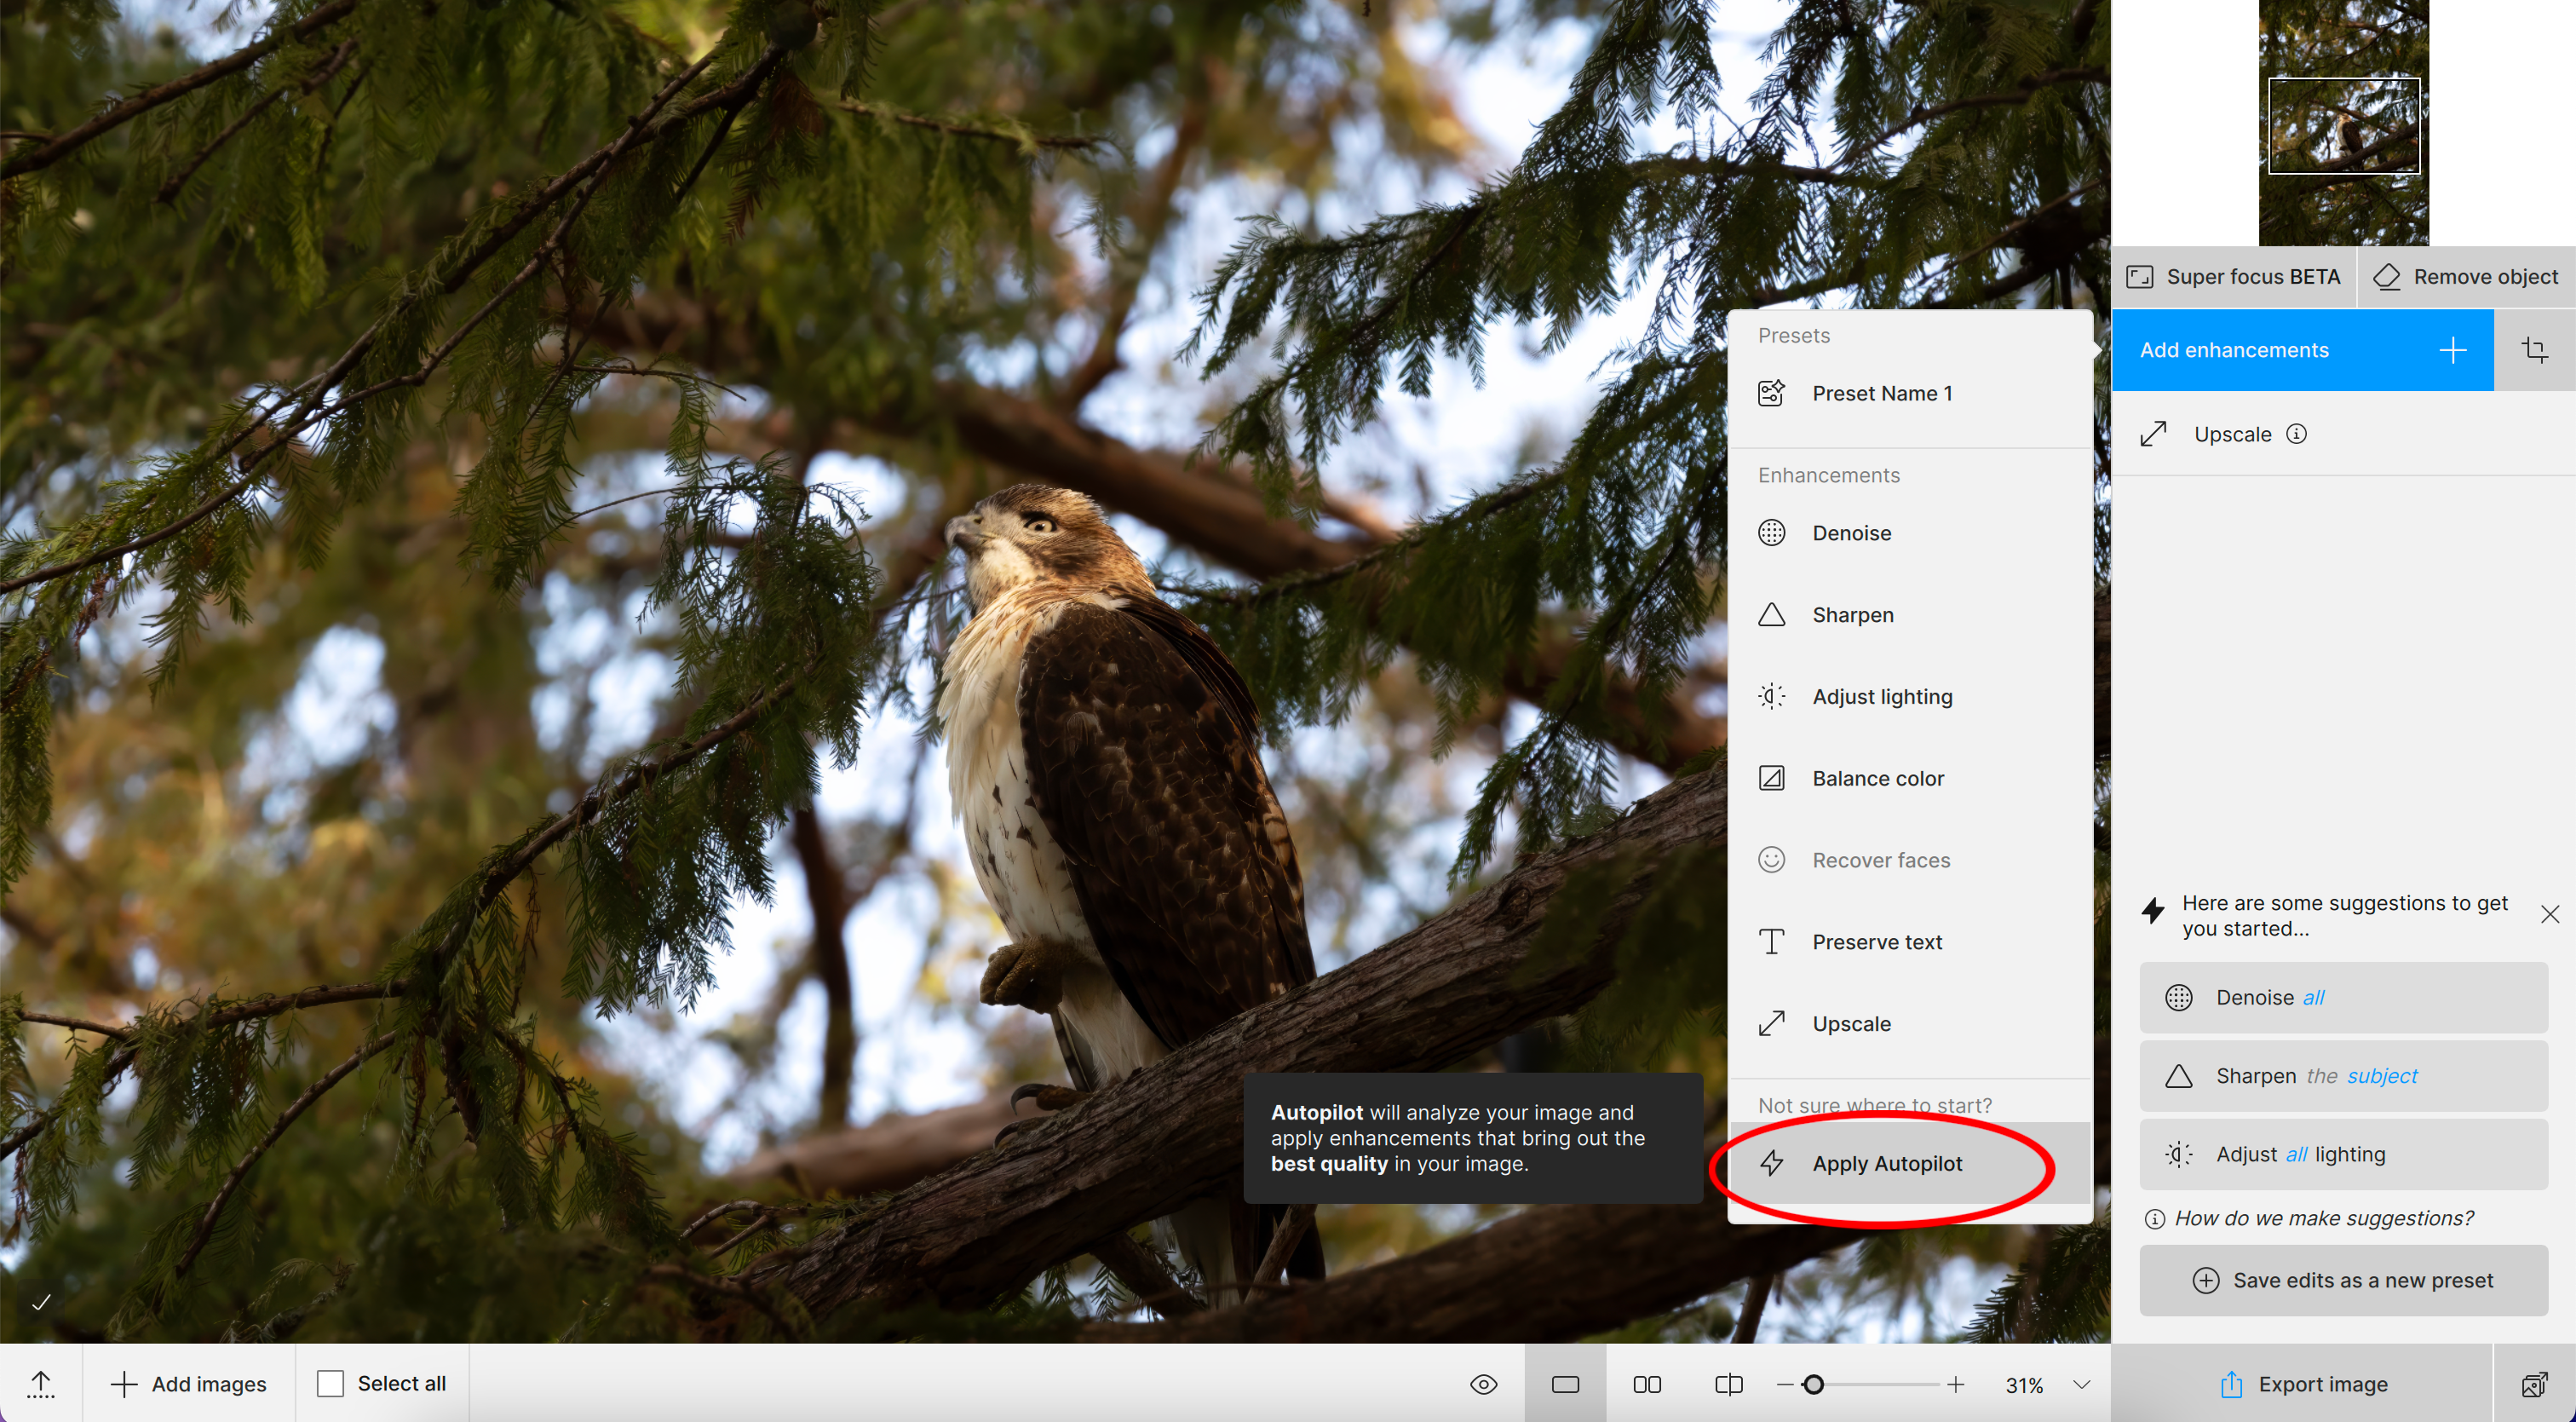
After the analysis, Autopilot selects the enhancements and settings needed to optimize the image based on the Preferences > Autopilot menu.
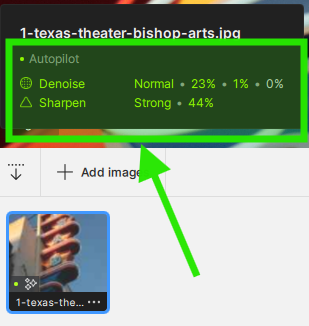
Green text and lights appear next to the Autopilot selected AI filters and settings.
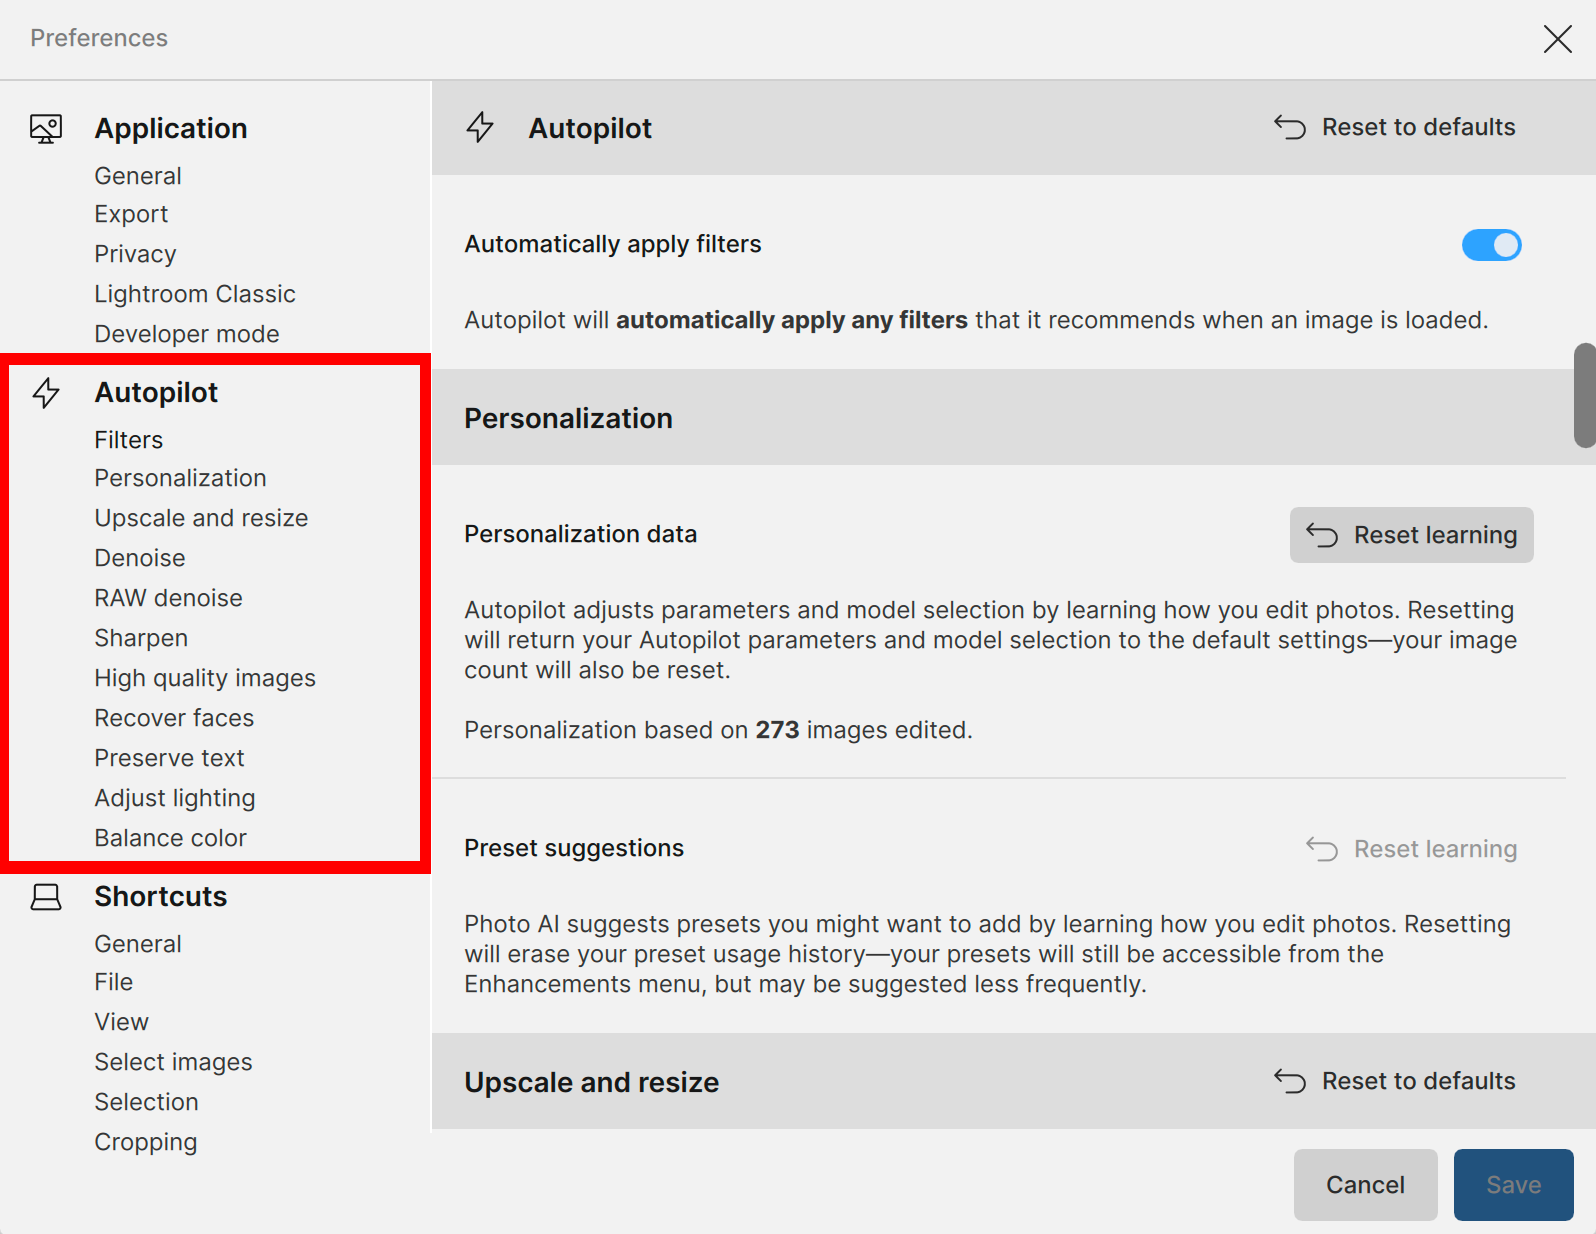
Configure Autopilot
Personalize Autopilot from the Preferences menu.
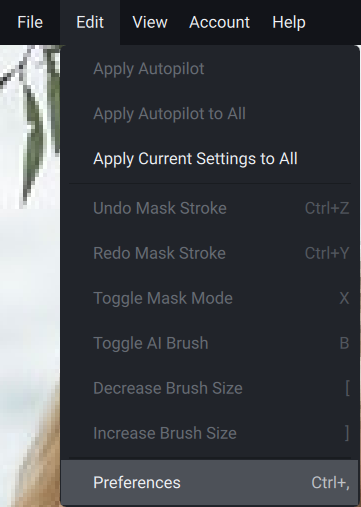
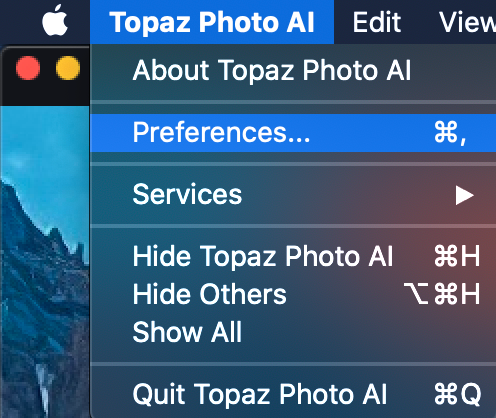
Open Topaz Photo AI. Go to Edit > Preferences > Autopilot.
Open Topaz Photo AI. Go to Topaz Photo AI > Preferences > Autopilot.
Click the Save button after your changes to apply the current settings to all images in the current session and future sessions.
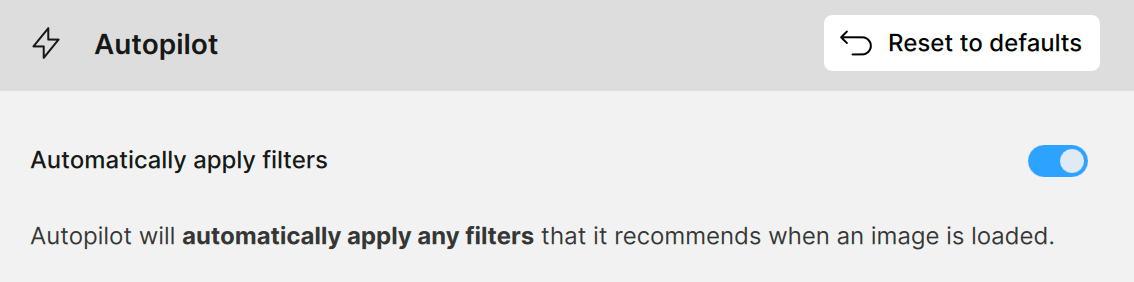
Filters
The Autopilot filter toggle, which is enabled by default, automatically applies recommended filters to an image as soon as it is loaded, ensuring optimal enhancements are applied without manual intervention.
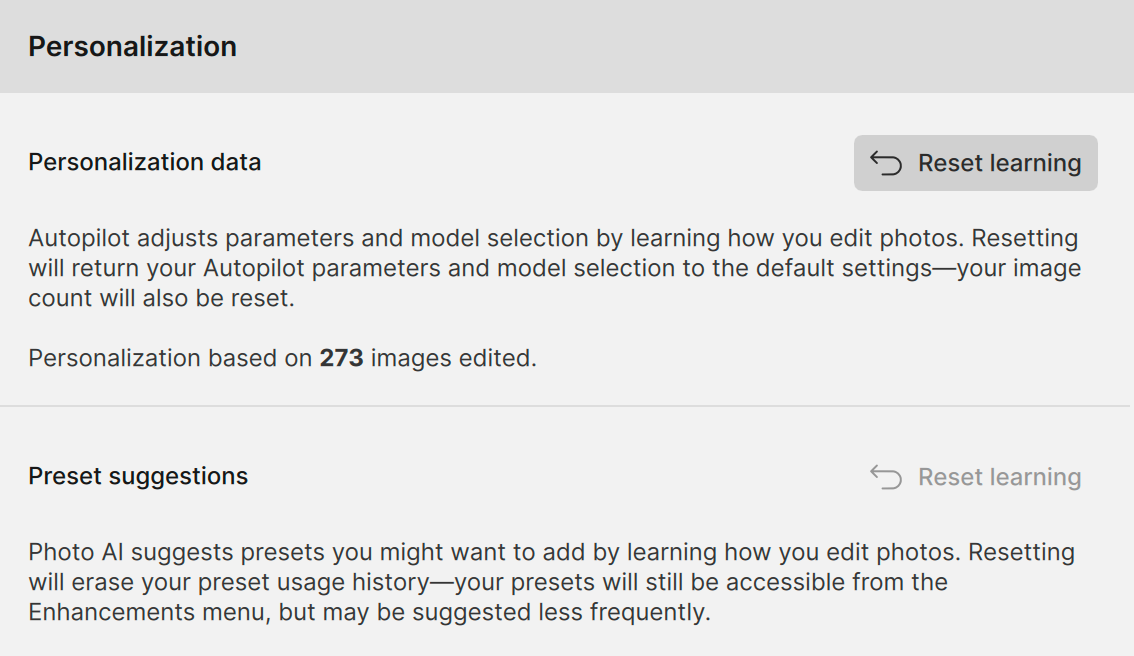
Personalization
Personalization section uses data from your previously edited photos and offers preset suggestions to learn your preferences and tailor your editing experience for better results.
Upscale & Resize
Upscale & Resize allows adjustment settings for resizing, including the output image size, AI model used, and minor adjustments for noise and blur, based on the detected quality of the image.
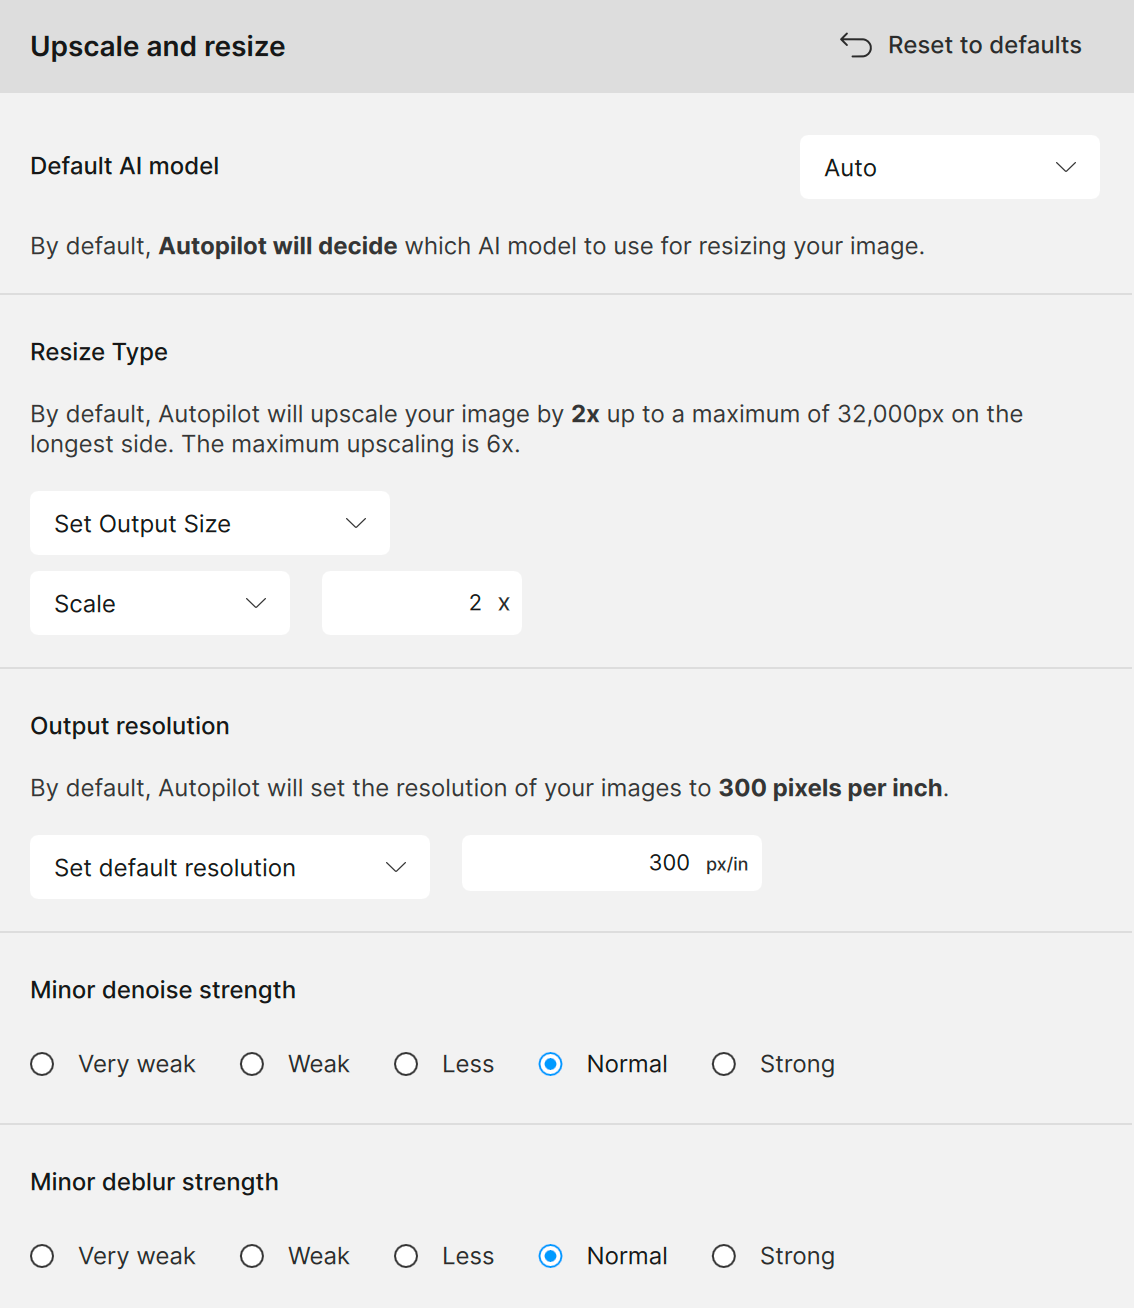
Default AI Model - Pick a specific AI model for upscaling all your images. Learn about the models here.
Resize Type
- Set Output Size - Set the height, width, long edge, short edge, or scale factor (2x, 4x, 6x) for all images on Autopilot. Images are upscaled to reach the selected dimension. Images larger than the selected output size are not upscaled. Scale can be used to downscale images to 0.2x the starting size. No other option downscales images automatically.
- When using height, width, long edge, or short edge, the dimensions can be changed from pixels to inches or centimeters. This will let you control the print resolution when paired with Output Resolution.
- Output Resolution - Set to Preserve Original Resolution by default. Set Default Resolution to select a resolution for all processed files.
- Enhance Small Images - The default setting, automatically upscales small images to 12 megapixels or a maximum of 6x the original size. Images larger than 12 megapixels are not upscaled.
- None - Autopilot does not upscale.
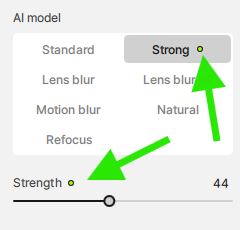
Default Model Strength
- Minor Denoise Strength - modifies the Autopilot recommended noise removal strength lower or higher when resizing any image.
- Minor Deblur Strength - modifies the Autopilot recommended sharpen strength lower or higher when resizing any image.
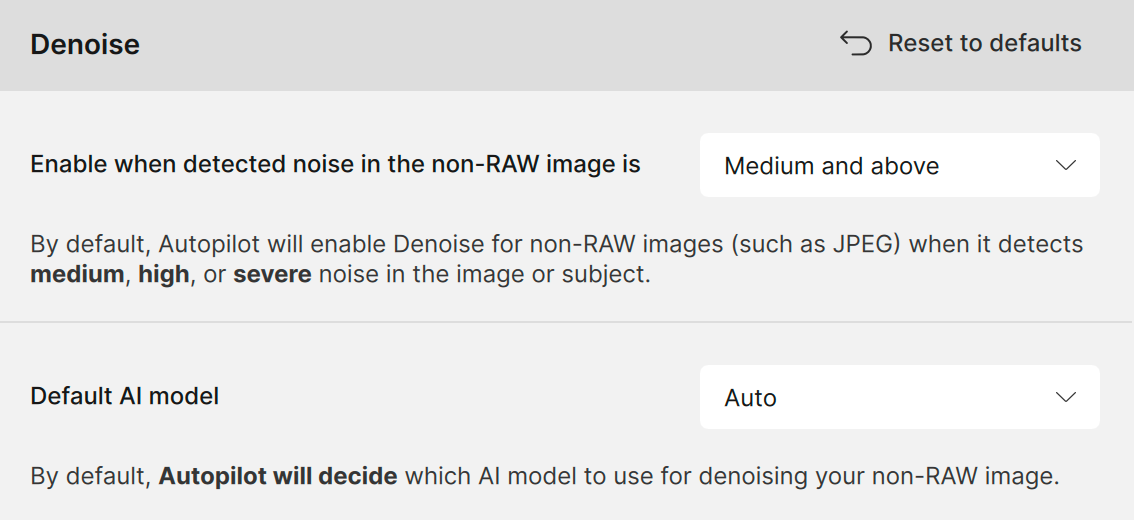
Denoise
The Denoise enhancement for non-RAW files lets you adjust the Autopilot settings to detect noise intensity and choose the AI model used to reduce it.
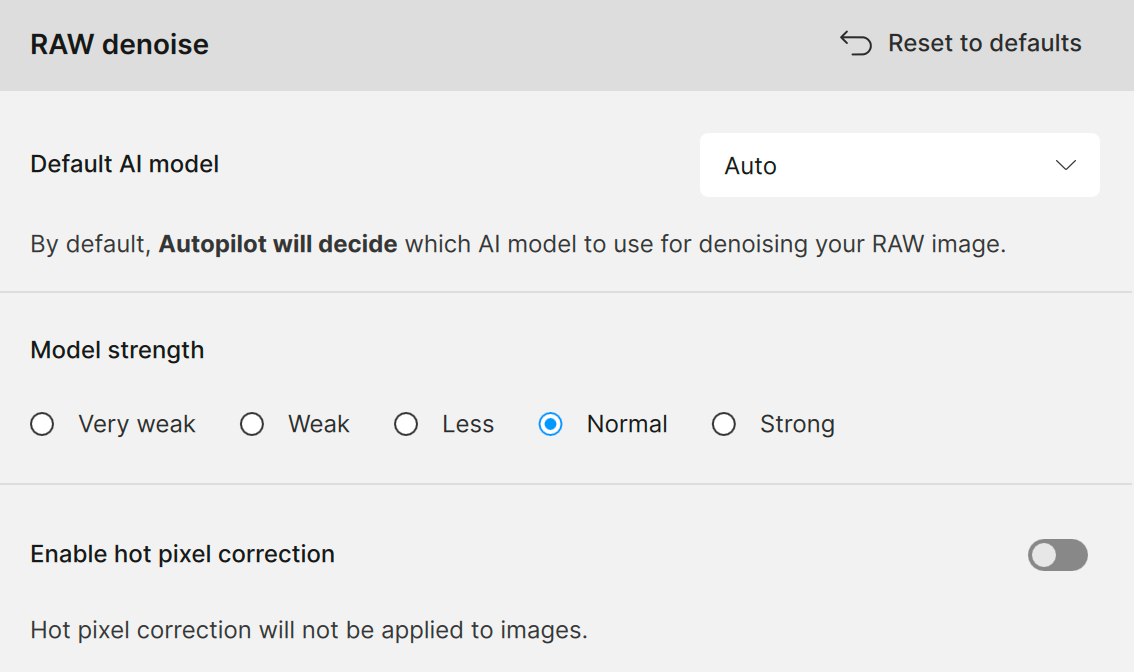
Raw Denoise
The Raw Denoise section is for RAW files that lets you adjust the Autopilot settings to select the AI model for noise reduction, control the strength of the fix, and enable hot pixel correction.
Sharpen
This setting controls Autopilot's Sharpen feature by detecting and correcting images with blur, selecting the AI model used for sharpening, and determining the default areas of the image that will be sharpened.
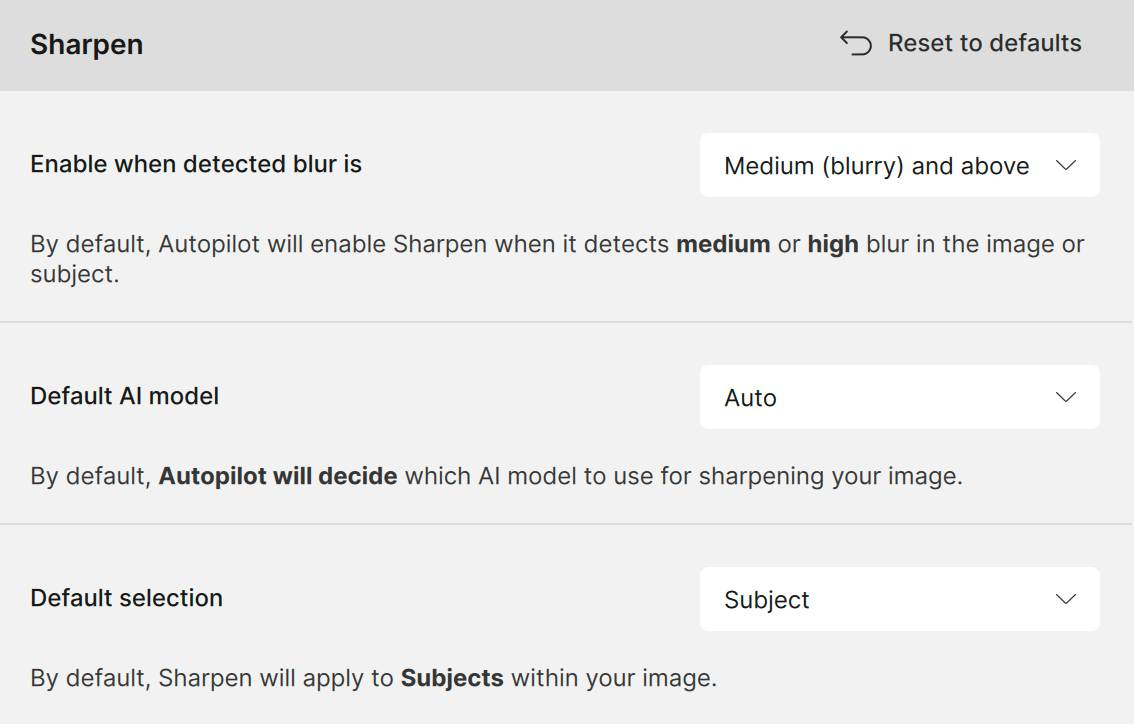
Enable when detected blur is - When detected blur is at or above a set amount, Sharpen is automatically turned on.
When detected blur is below the selected level, Sharpen is not turned on.
Default AI Model - Pick a specific AI model for sharpening all your images. Learn about the models here.
Default selection - Choose a selected area for the Sharpen model to enhance. Click the dropdown menu for six different selection settings.
Recover faces
Recover faces controls which faces are automatically selected to recover and the default Face Recovery strength. Click the dropdown menu for face selection settings:
- All: all faces are selected and improved
- Low quality (recommended)
- Subject Only: faces in the subject mask are selected and improved
- None: face detection is turned off and no faces are improved
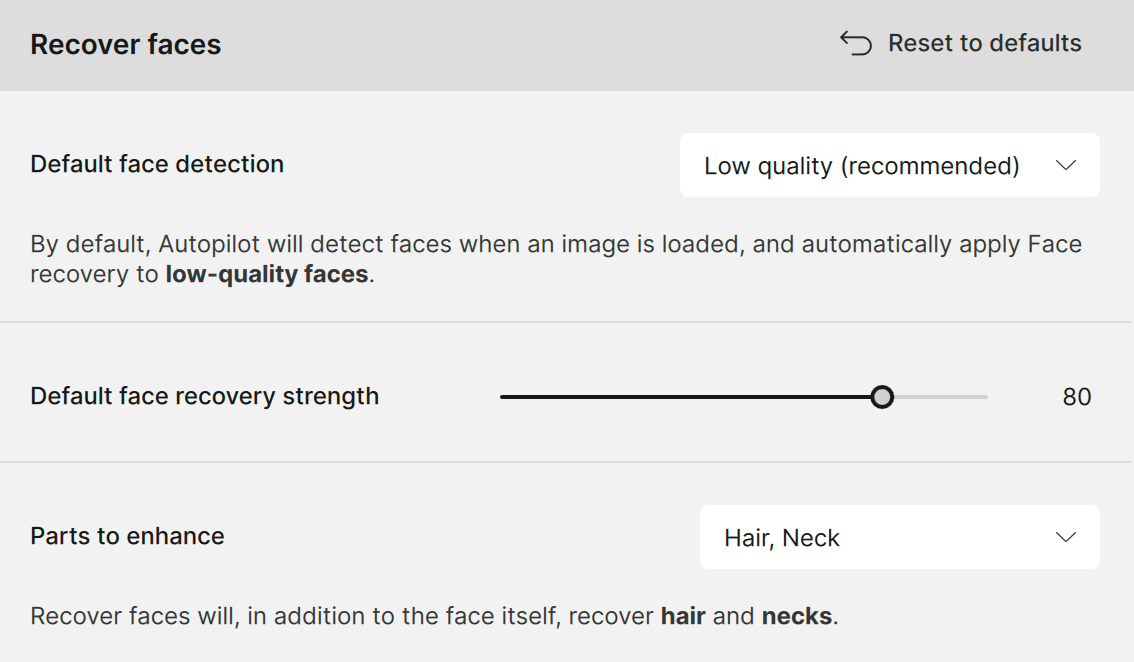
All faces processed use the selected Face Recovery Strength.
Parts to Enhance controls areas near the face which are improved.
- Deselect Hair and Neck to improve only the face.
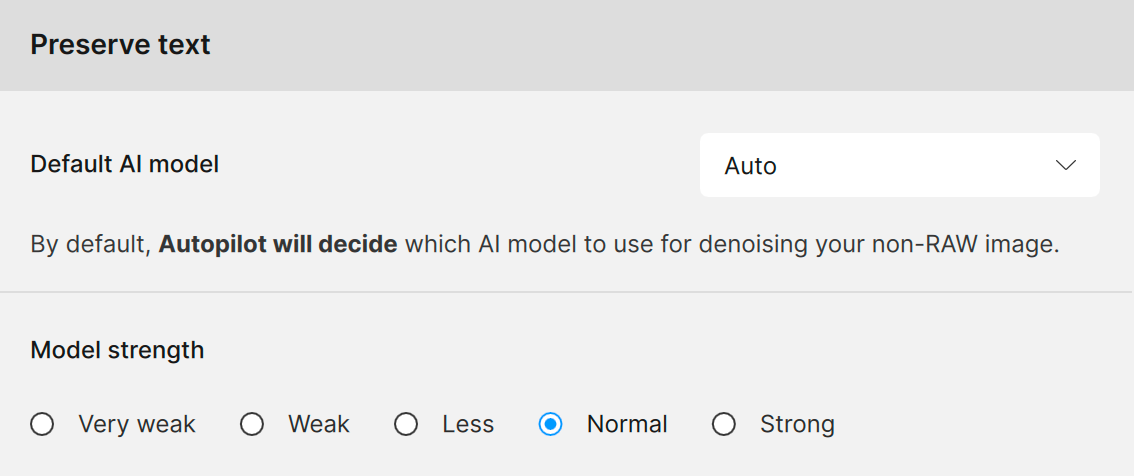
Preserve text
The Preserve Text feature lets you adjust the default AI model and its strength to better preserve text in your images.
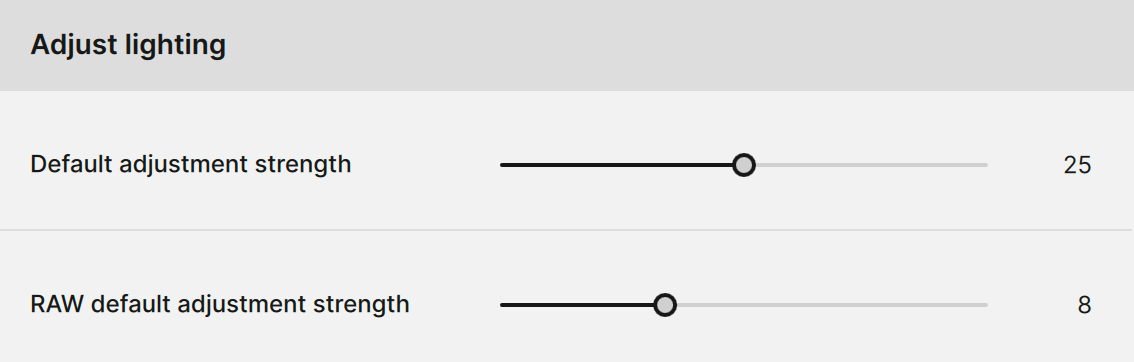
Adjust Lighting
This controls the default strength for the exposure and contrast correction when it is turned on.
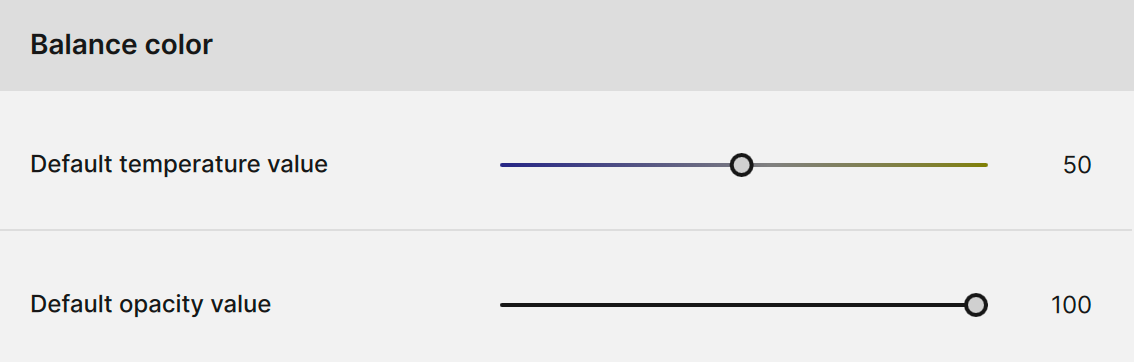
Balance Color
This controls the default temperature and strength of the color correction on the image.
Batch Processing with Autopilot
- Select multiple images in the filmstrip
- Click the Apply Autopilot button
- Click Apply (this will overwrite any existing settings you've made to any image you've enhanced)