Sharpen
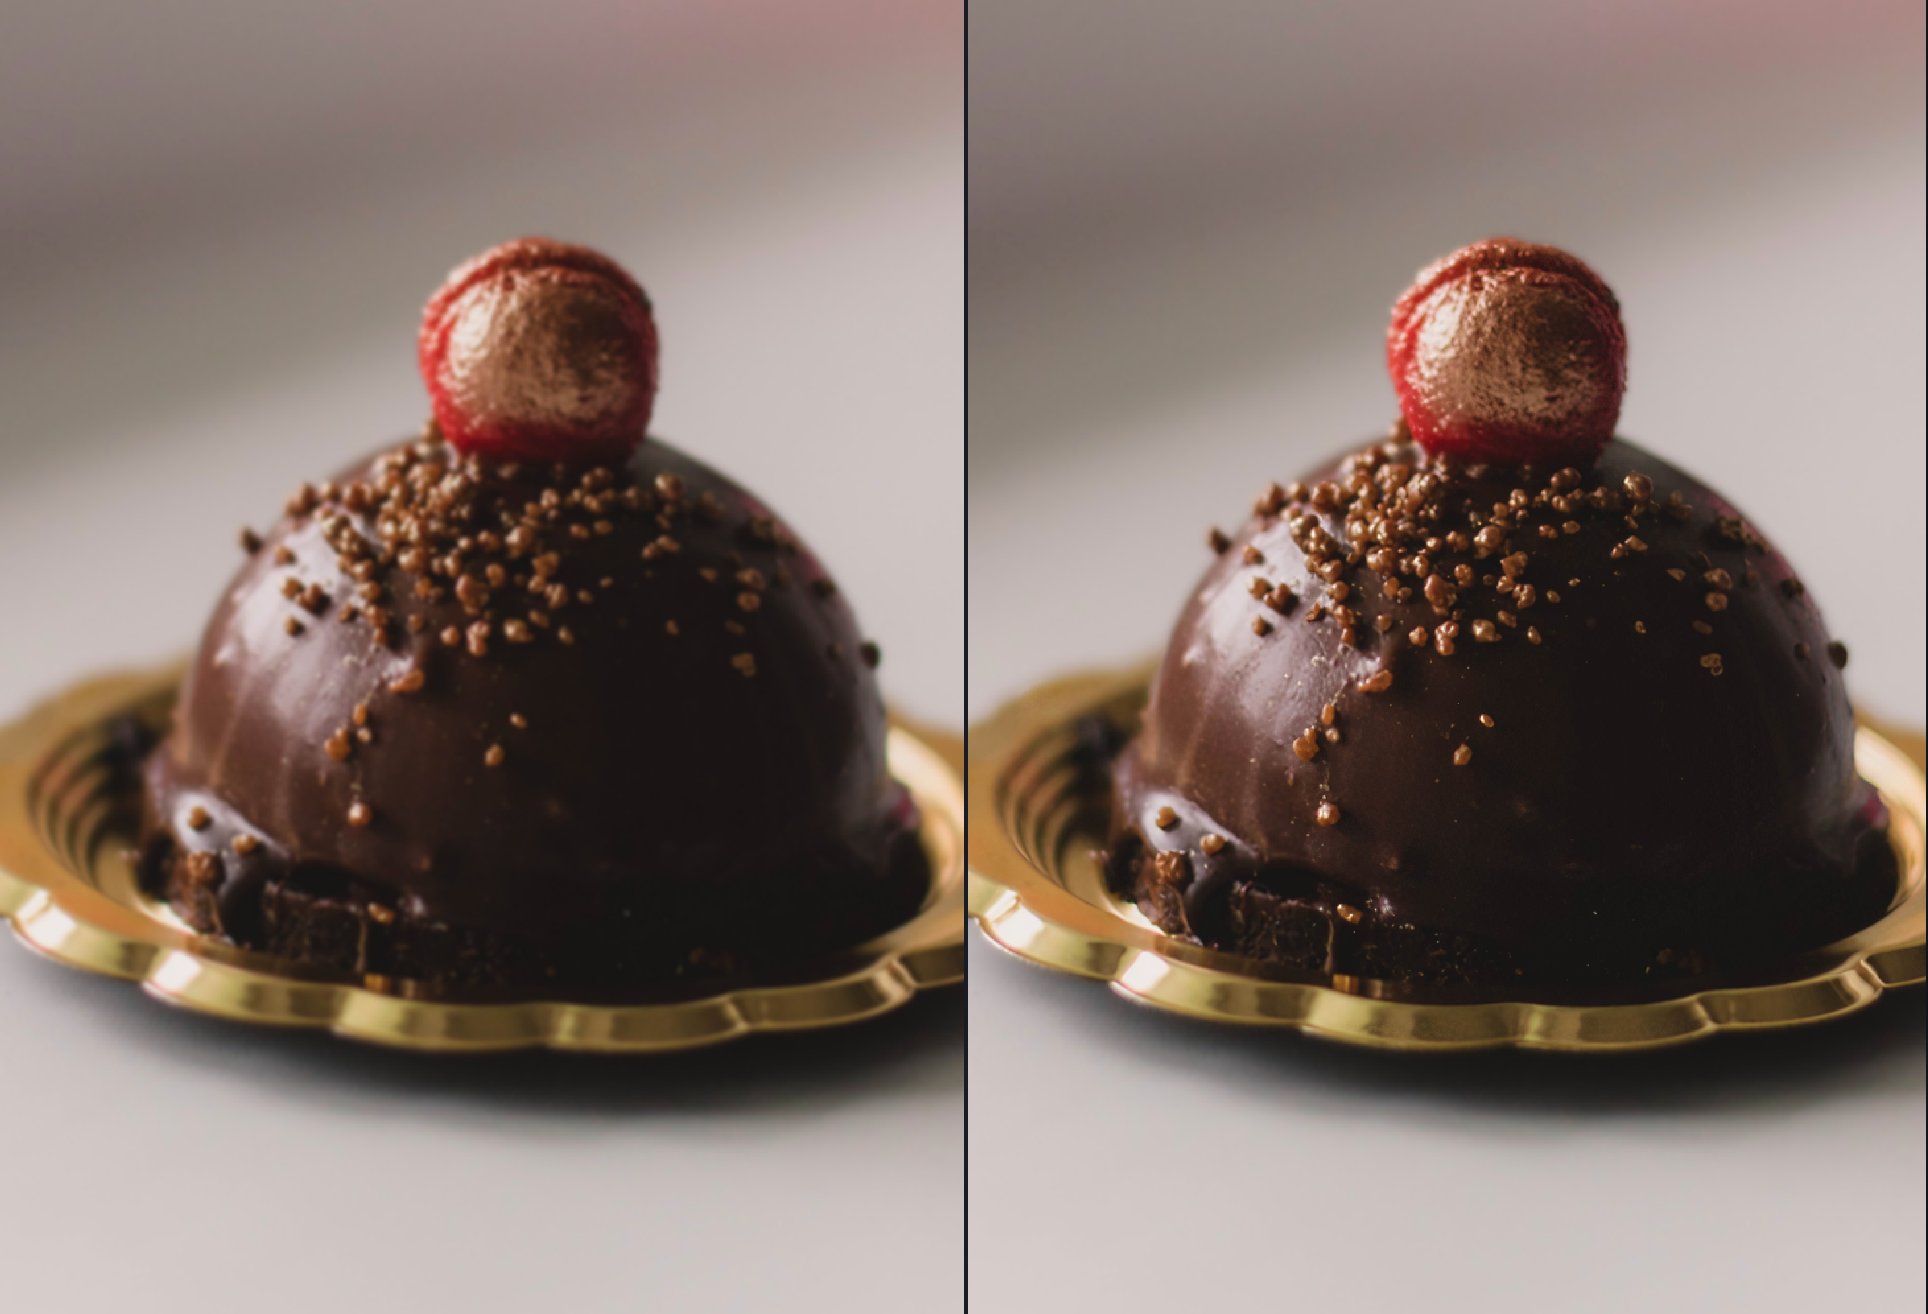
The Sharpen filter produces clear images with crisp details. Unlike traditional sharpening that darkens or brightens pixel edges, it reverses the root causes of blurriness, such as camera shake, motion blur, and missed focus.
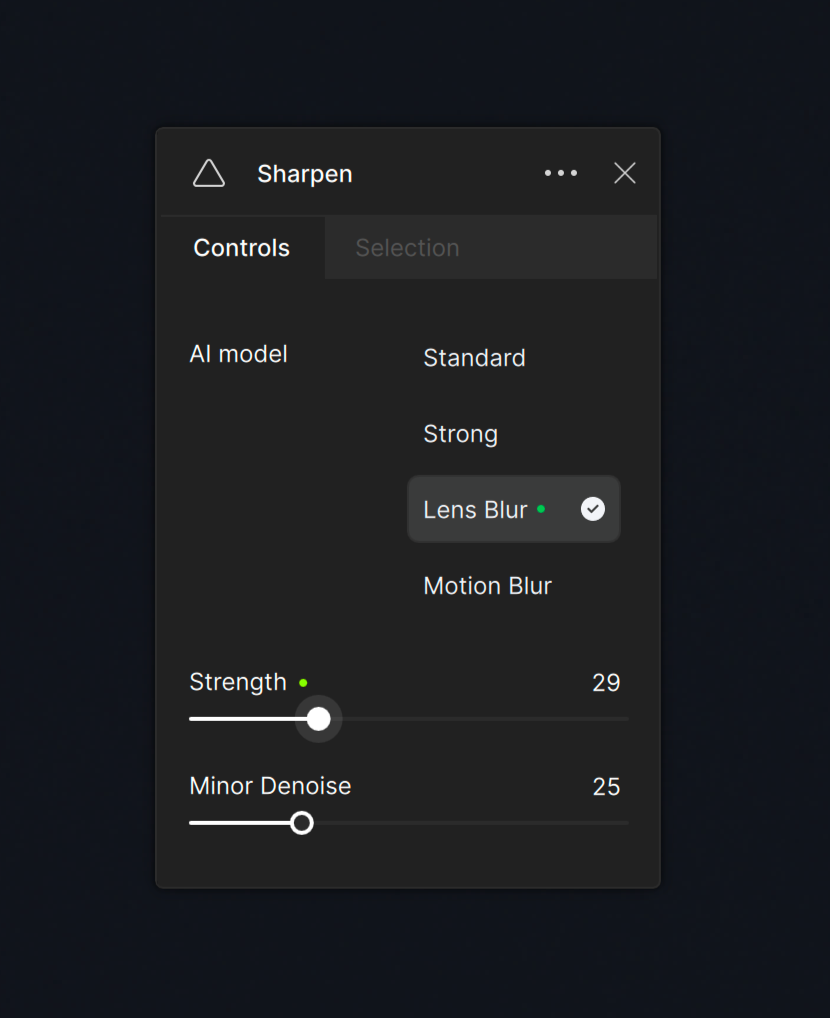
Controls
Use the Controls tab to select the AI model and adjust the settings. View the Selection article for more info on how to adjust the mask and select different parts of the image.
Models
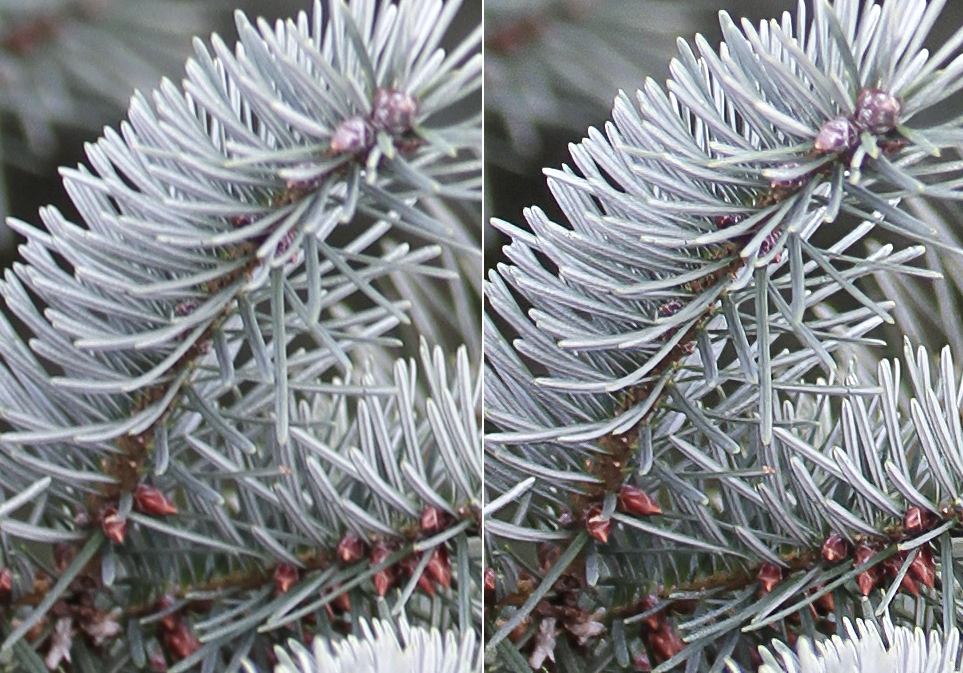
Standard
Use the Standard model for all-purpose sharpening. It is intended for images with slight amounts of lens and motion blur.
Strong
Use the Strong model for very blurry and out-of-focus images. Try the Standard model before the Strong model to avoid over sharpening and generating unwanted artifacts.
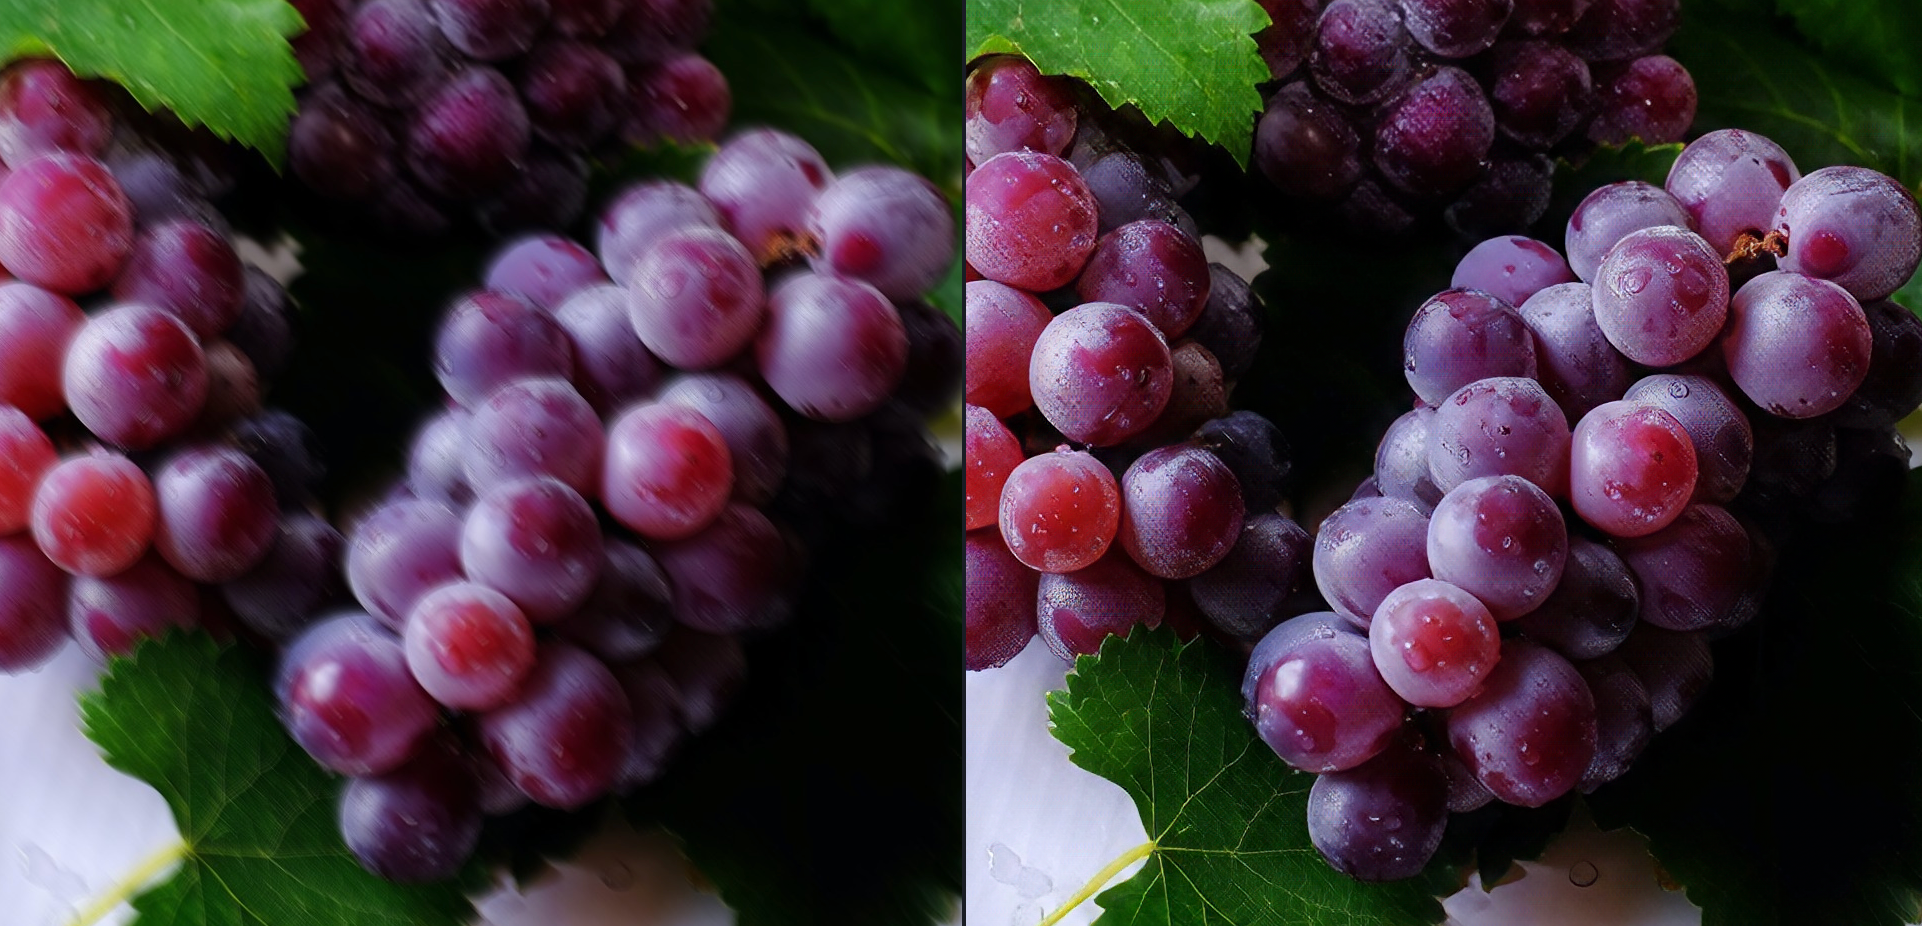
Lens Blur
Apply the Lens Blur model to images affected by imperfections caused when the camera lens fails to focus correctly.
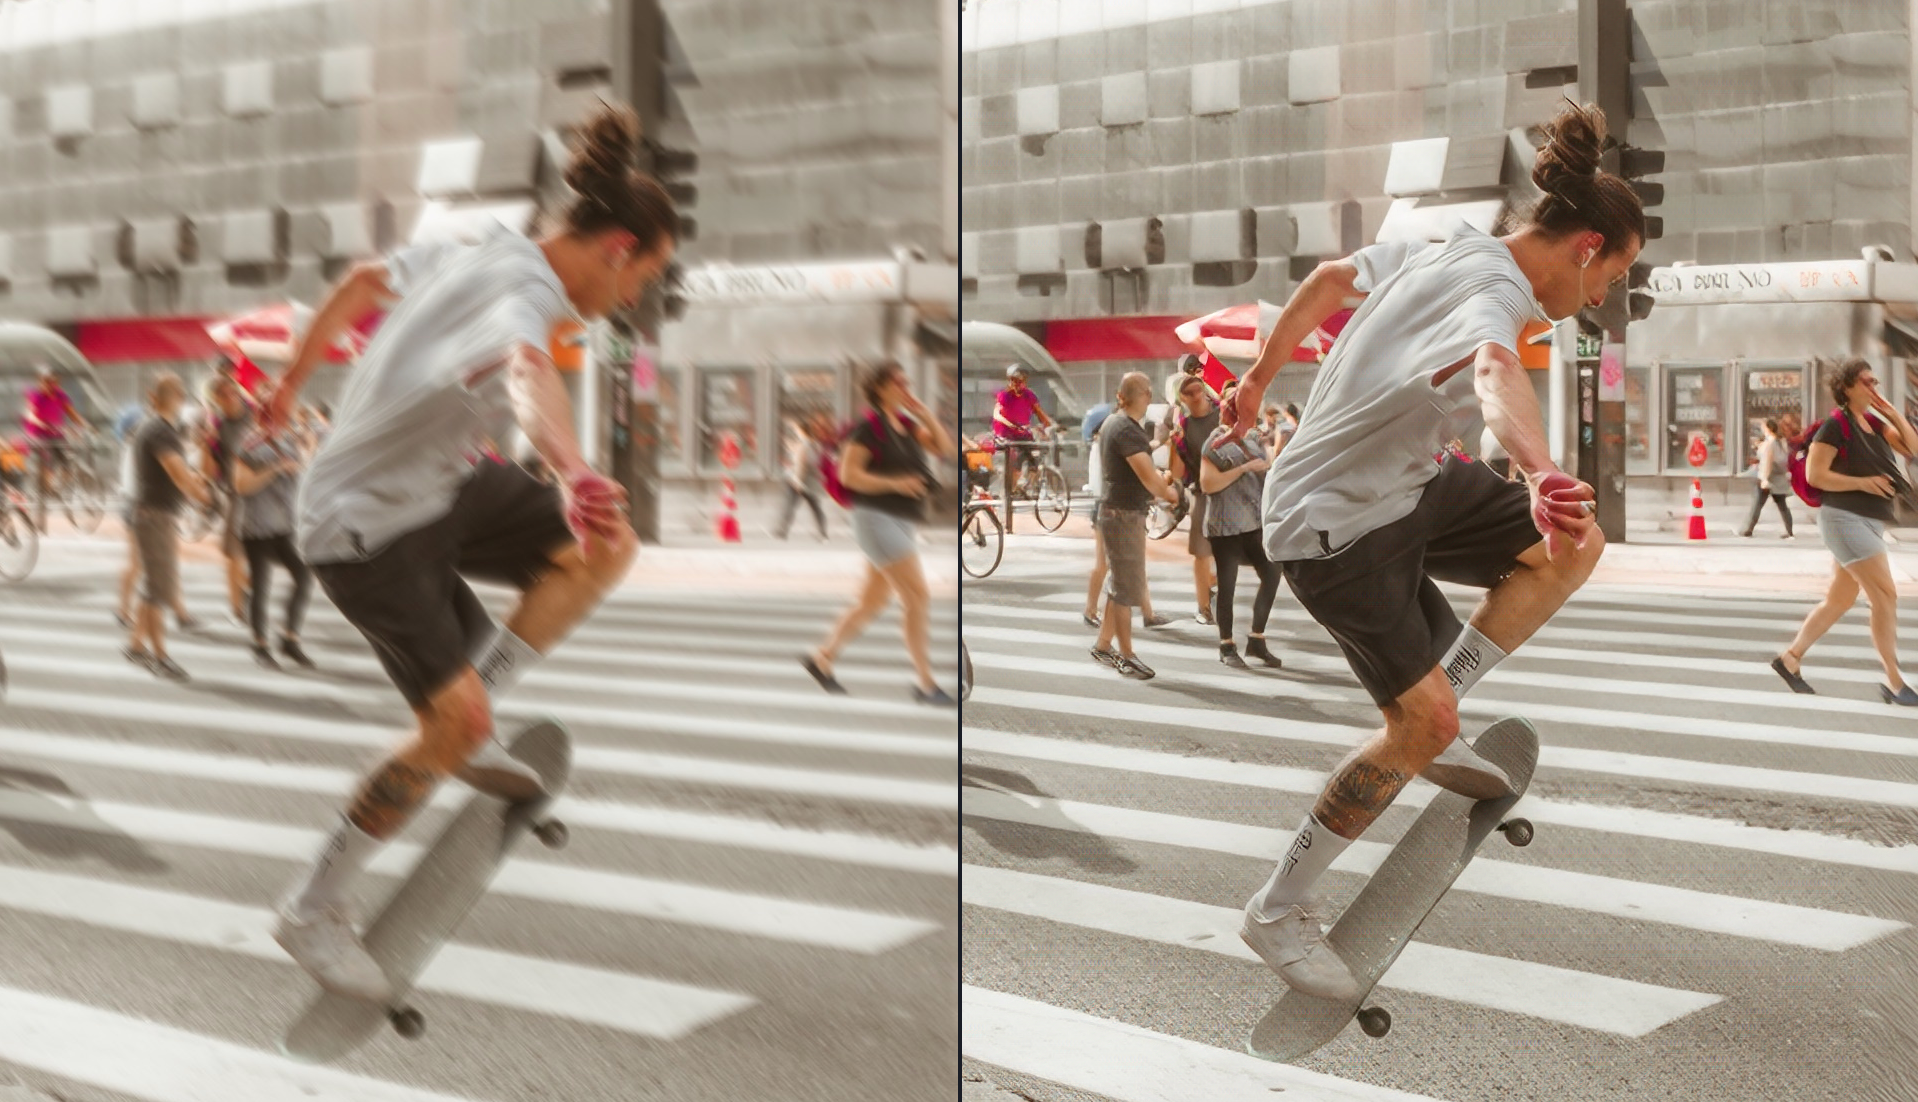
Motion Blur
Use the Motion Blur model to correct the streaked or smeared effect caused by the movement of either the camera or the subject during the exposure time.
Settings
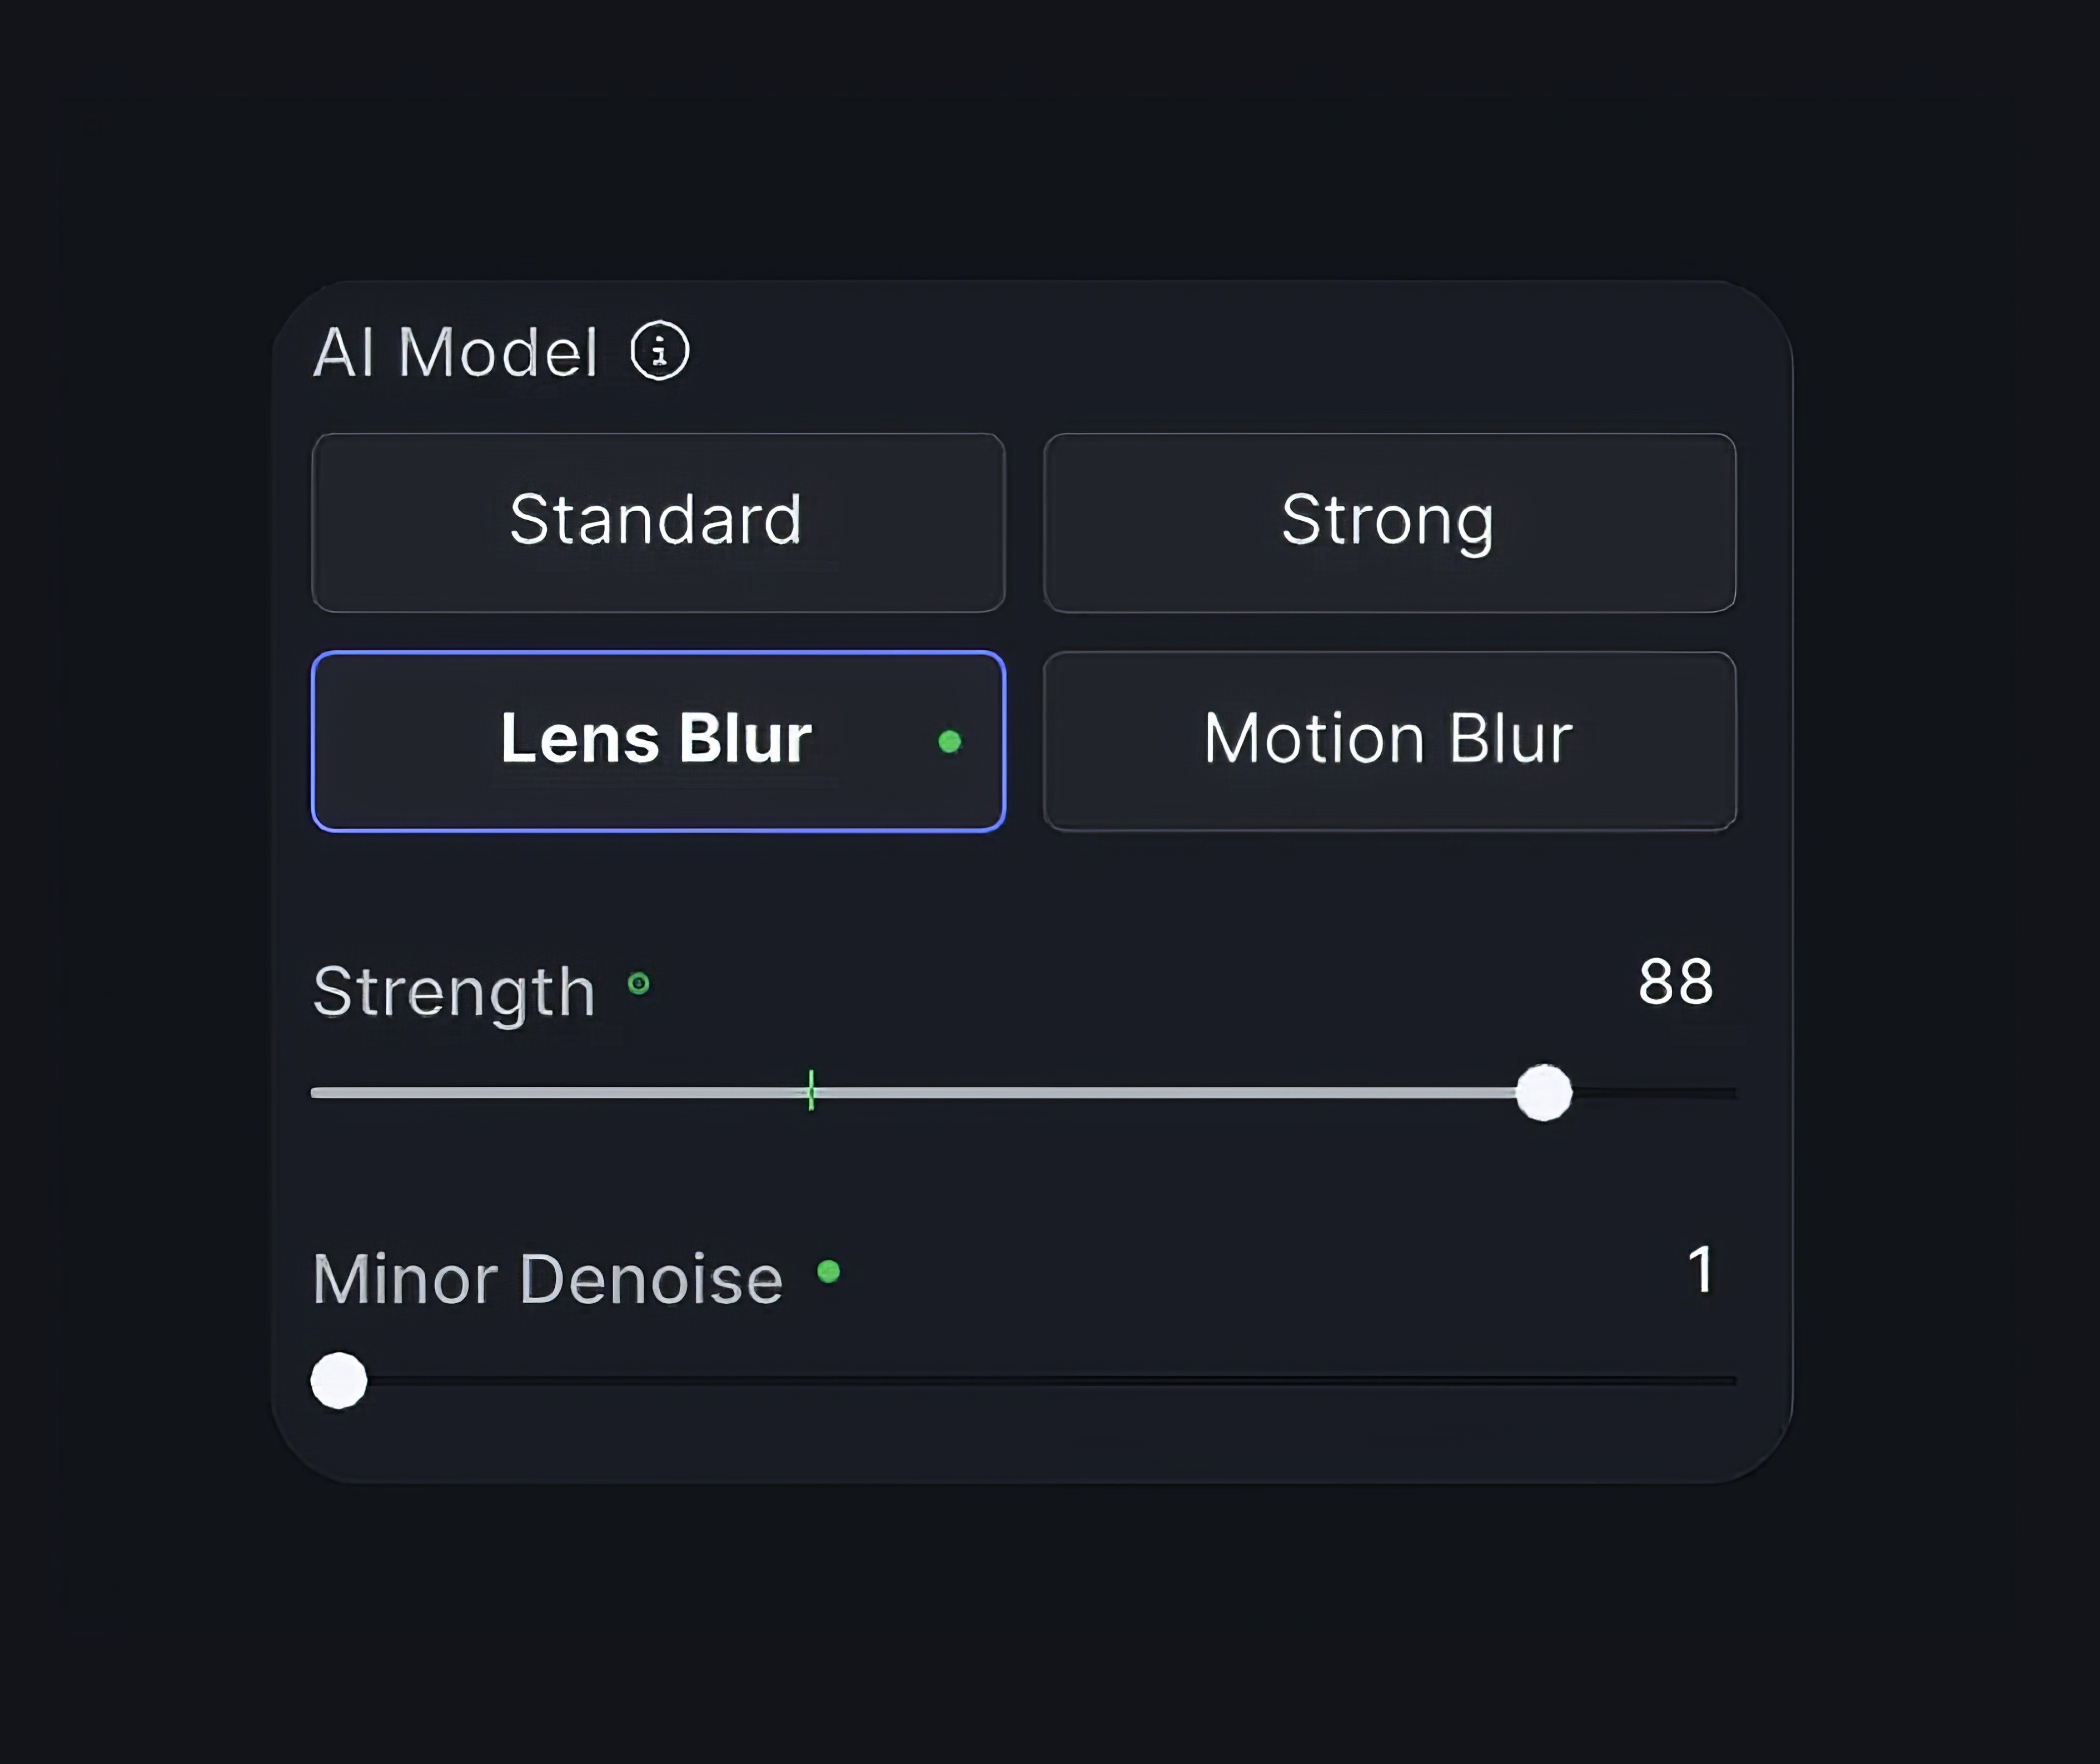
Strength
Use the Strength slider to control the degree to which the AI model sharpens the image. It increases the clarity of the details by making the edges and fine features more distinct.
Minor Denoise
Sharpening can accentuate noise in an image. Use the Minor Denoise slider to remove slight noise so the Sharpen filter can enhance the details without amplifying unwanted artifacts.
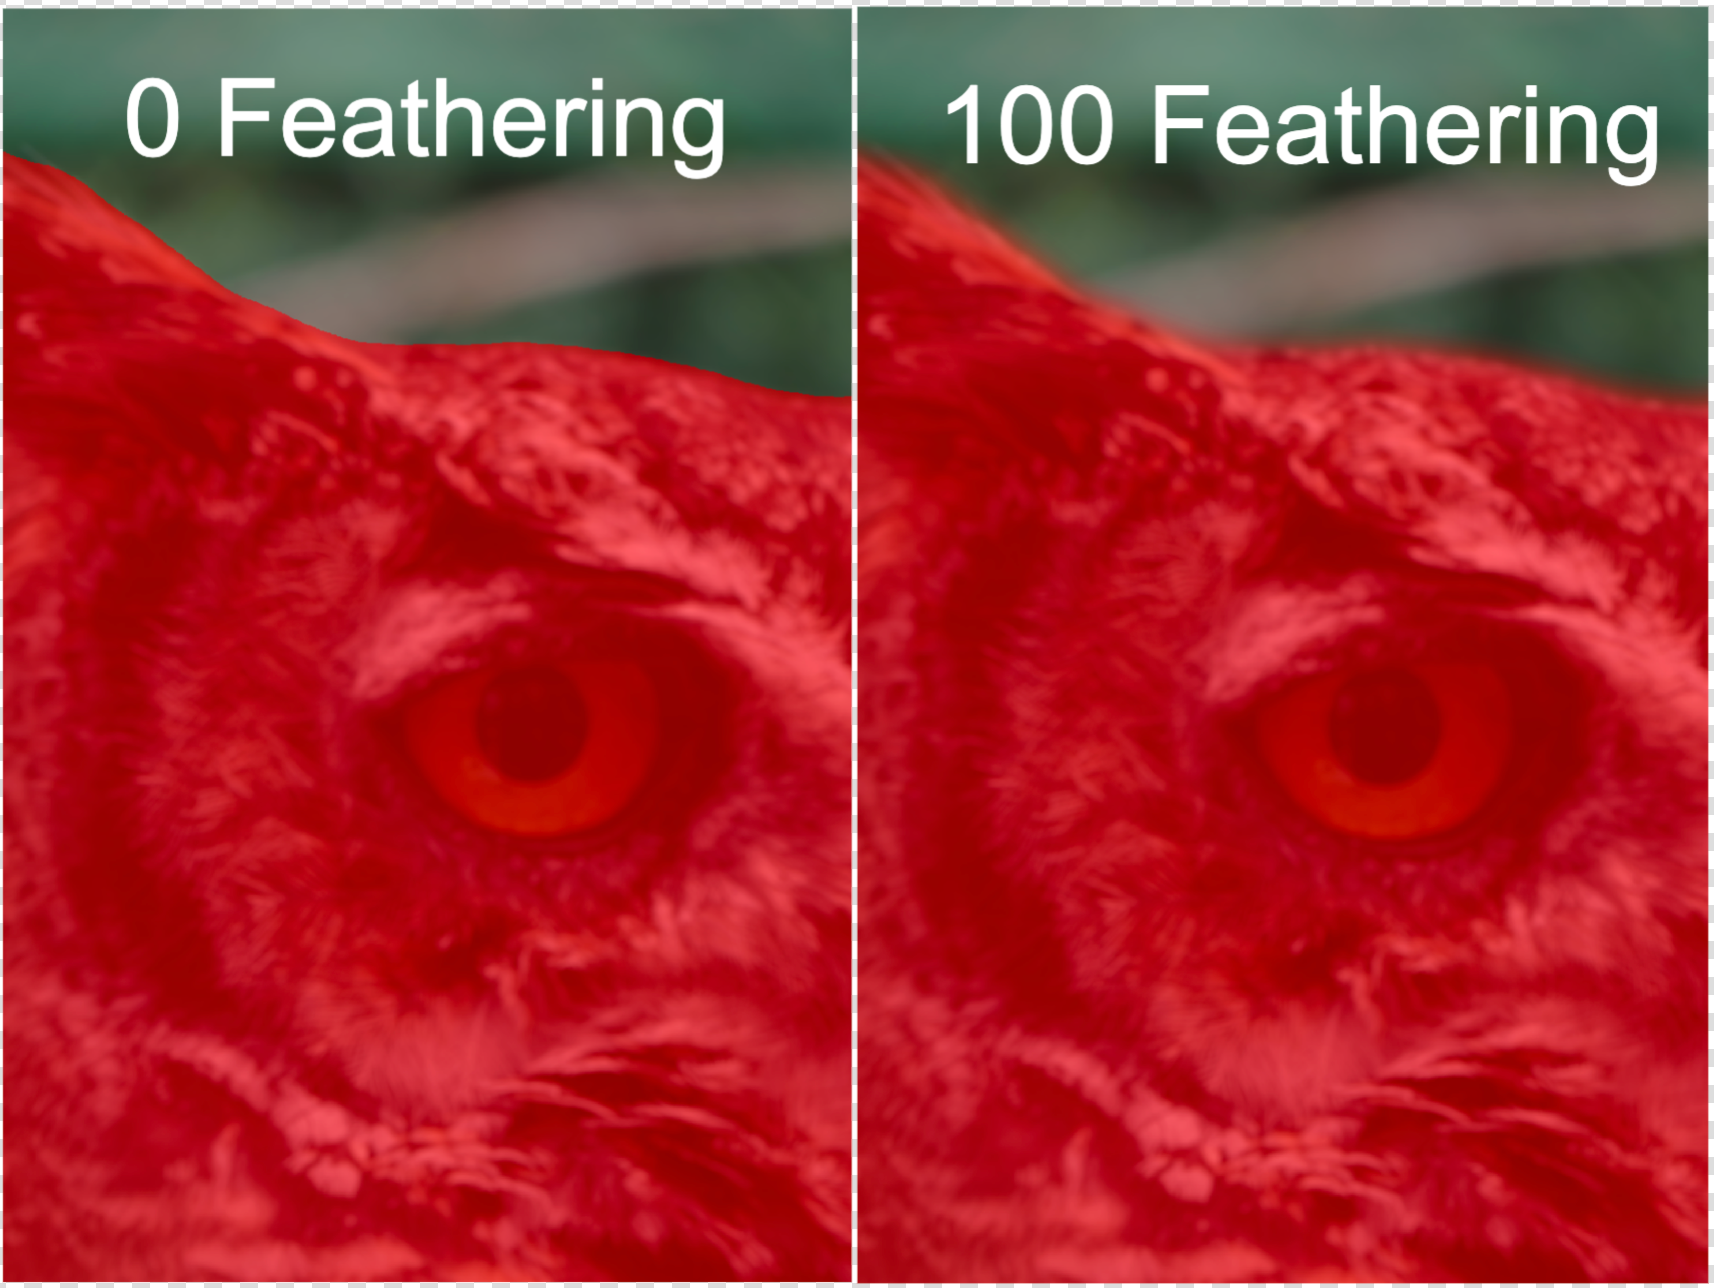
Feathering
Use the Feathering slider to soften and slightly extend the hard edges of the mask so it gradually blends with the rest of the image. Feathering helps avoid stark transitions between the focused and blurred areas.