Sharpen An Out-of-Focus Image
How do we sharpen images? Download the sample image, open it in Topaz Photo AI, and follow along.
Using Autopilot
Autopilot analyzes the sample image and will:
- detect the subject
- detect blur
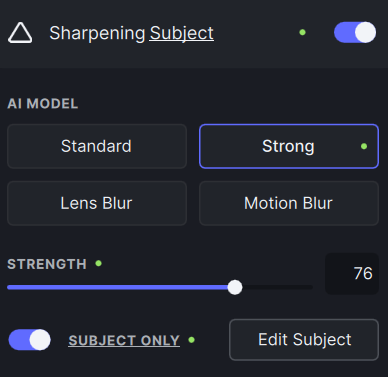
- turn on Sharpen
- select the Strong model
- set the slider for Strength automatically
The autopilot settings produces the below result (right).
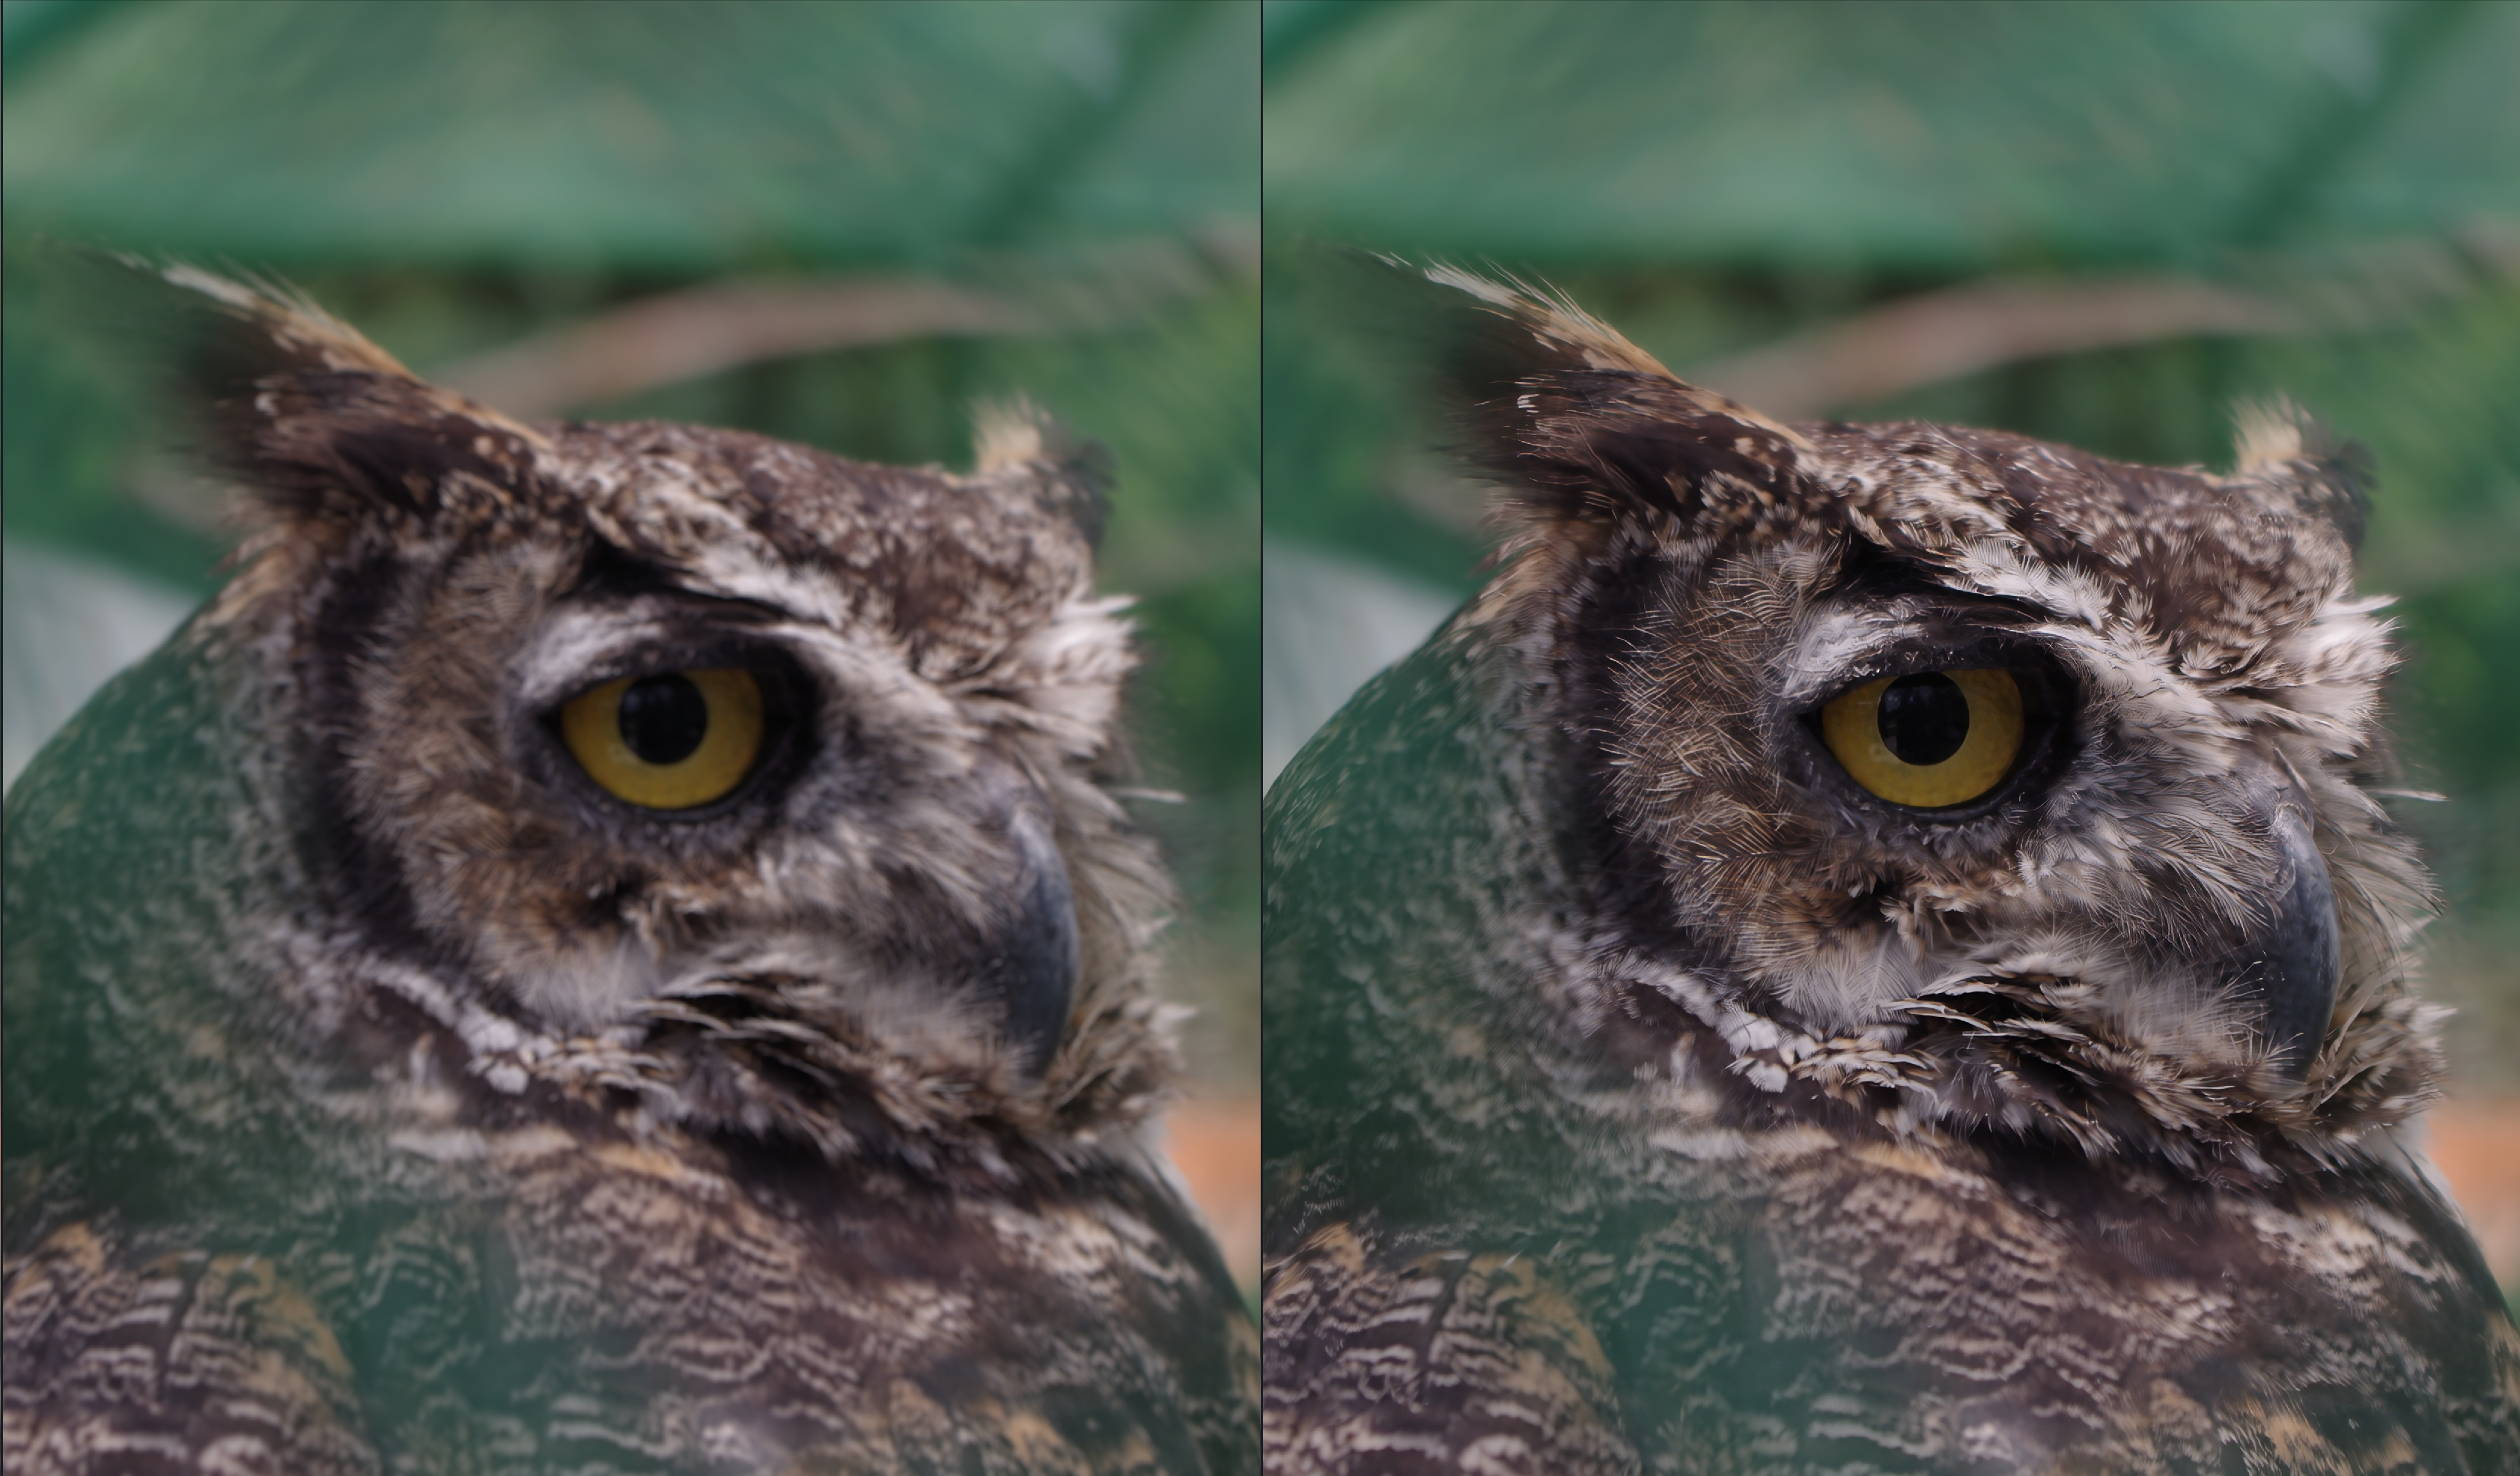
A green dot appears next to Sharpen and the sliders when you are using autopilot settings.
If you make manual changes to sharpening click the green arrow to return to Autopilot settings.

Subject Selection
Hover over the "Subject" text to view the mask created by the AI model.
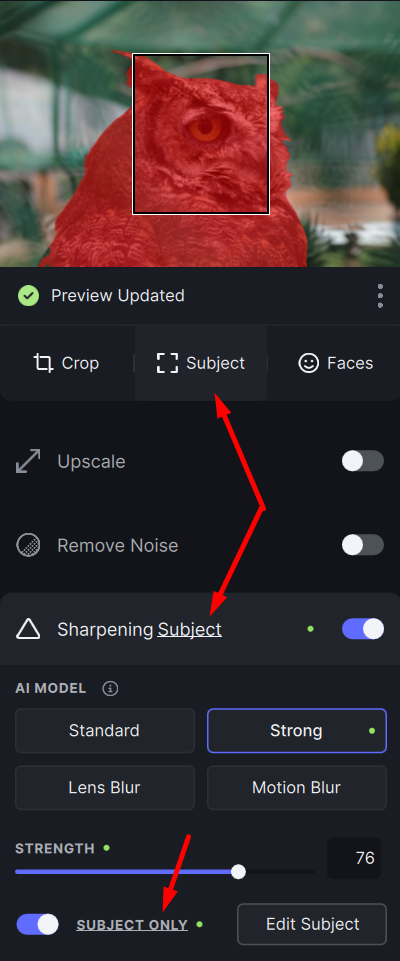
To improve the mask manually, click the Subject button below the preview or the Edit Subject button.
Here you can select the AI model used for subject detection and manually mask the image yourself.
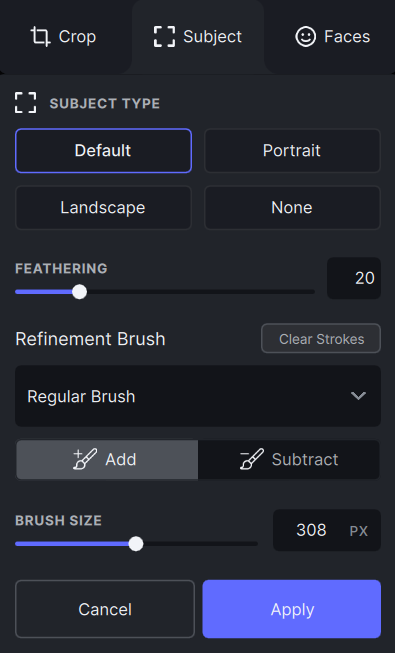
Pick the AI model based on the subject in your image. Change the Feathering slider to soften and slightly extend edges of the mask.
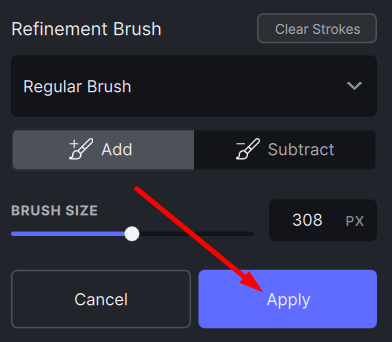
To manually mask your image, use the AI brush or simple brush. Switch with the toggle.
- The AI brush breaks up the image into pieces for fast masking.
- The basic brush is a circular with size control for easy masking.
Apply your masking changes by clicking the Done button at the bottom.
Manual Controls
Click the toggle to manually disable/enable Sharpen.

By default, the subject is sharpened. To sharpen the entire image, toggle Subject Only.
- The Strength slider controls the amount of sharpening applied.
- The Clean slider controls minor denoising. The Strong model does not have this.
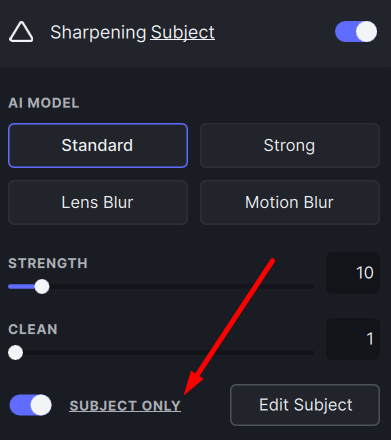
- Standard model is best for low and medium blur.
- Strong model is best for medium and high blur.
- Lens Blur is for out-of-focus images.
- Motion Blur is for streaking in images.