User Interface
Understand the Topaz Photo AI user interface.
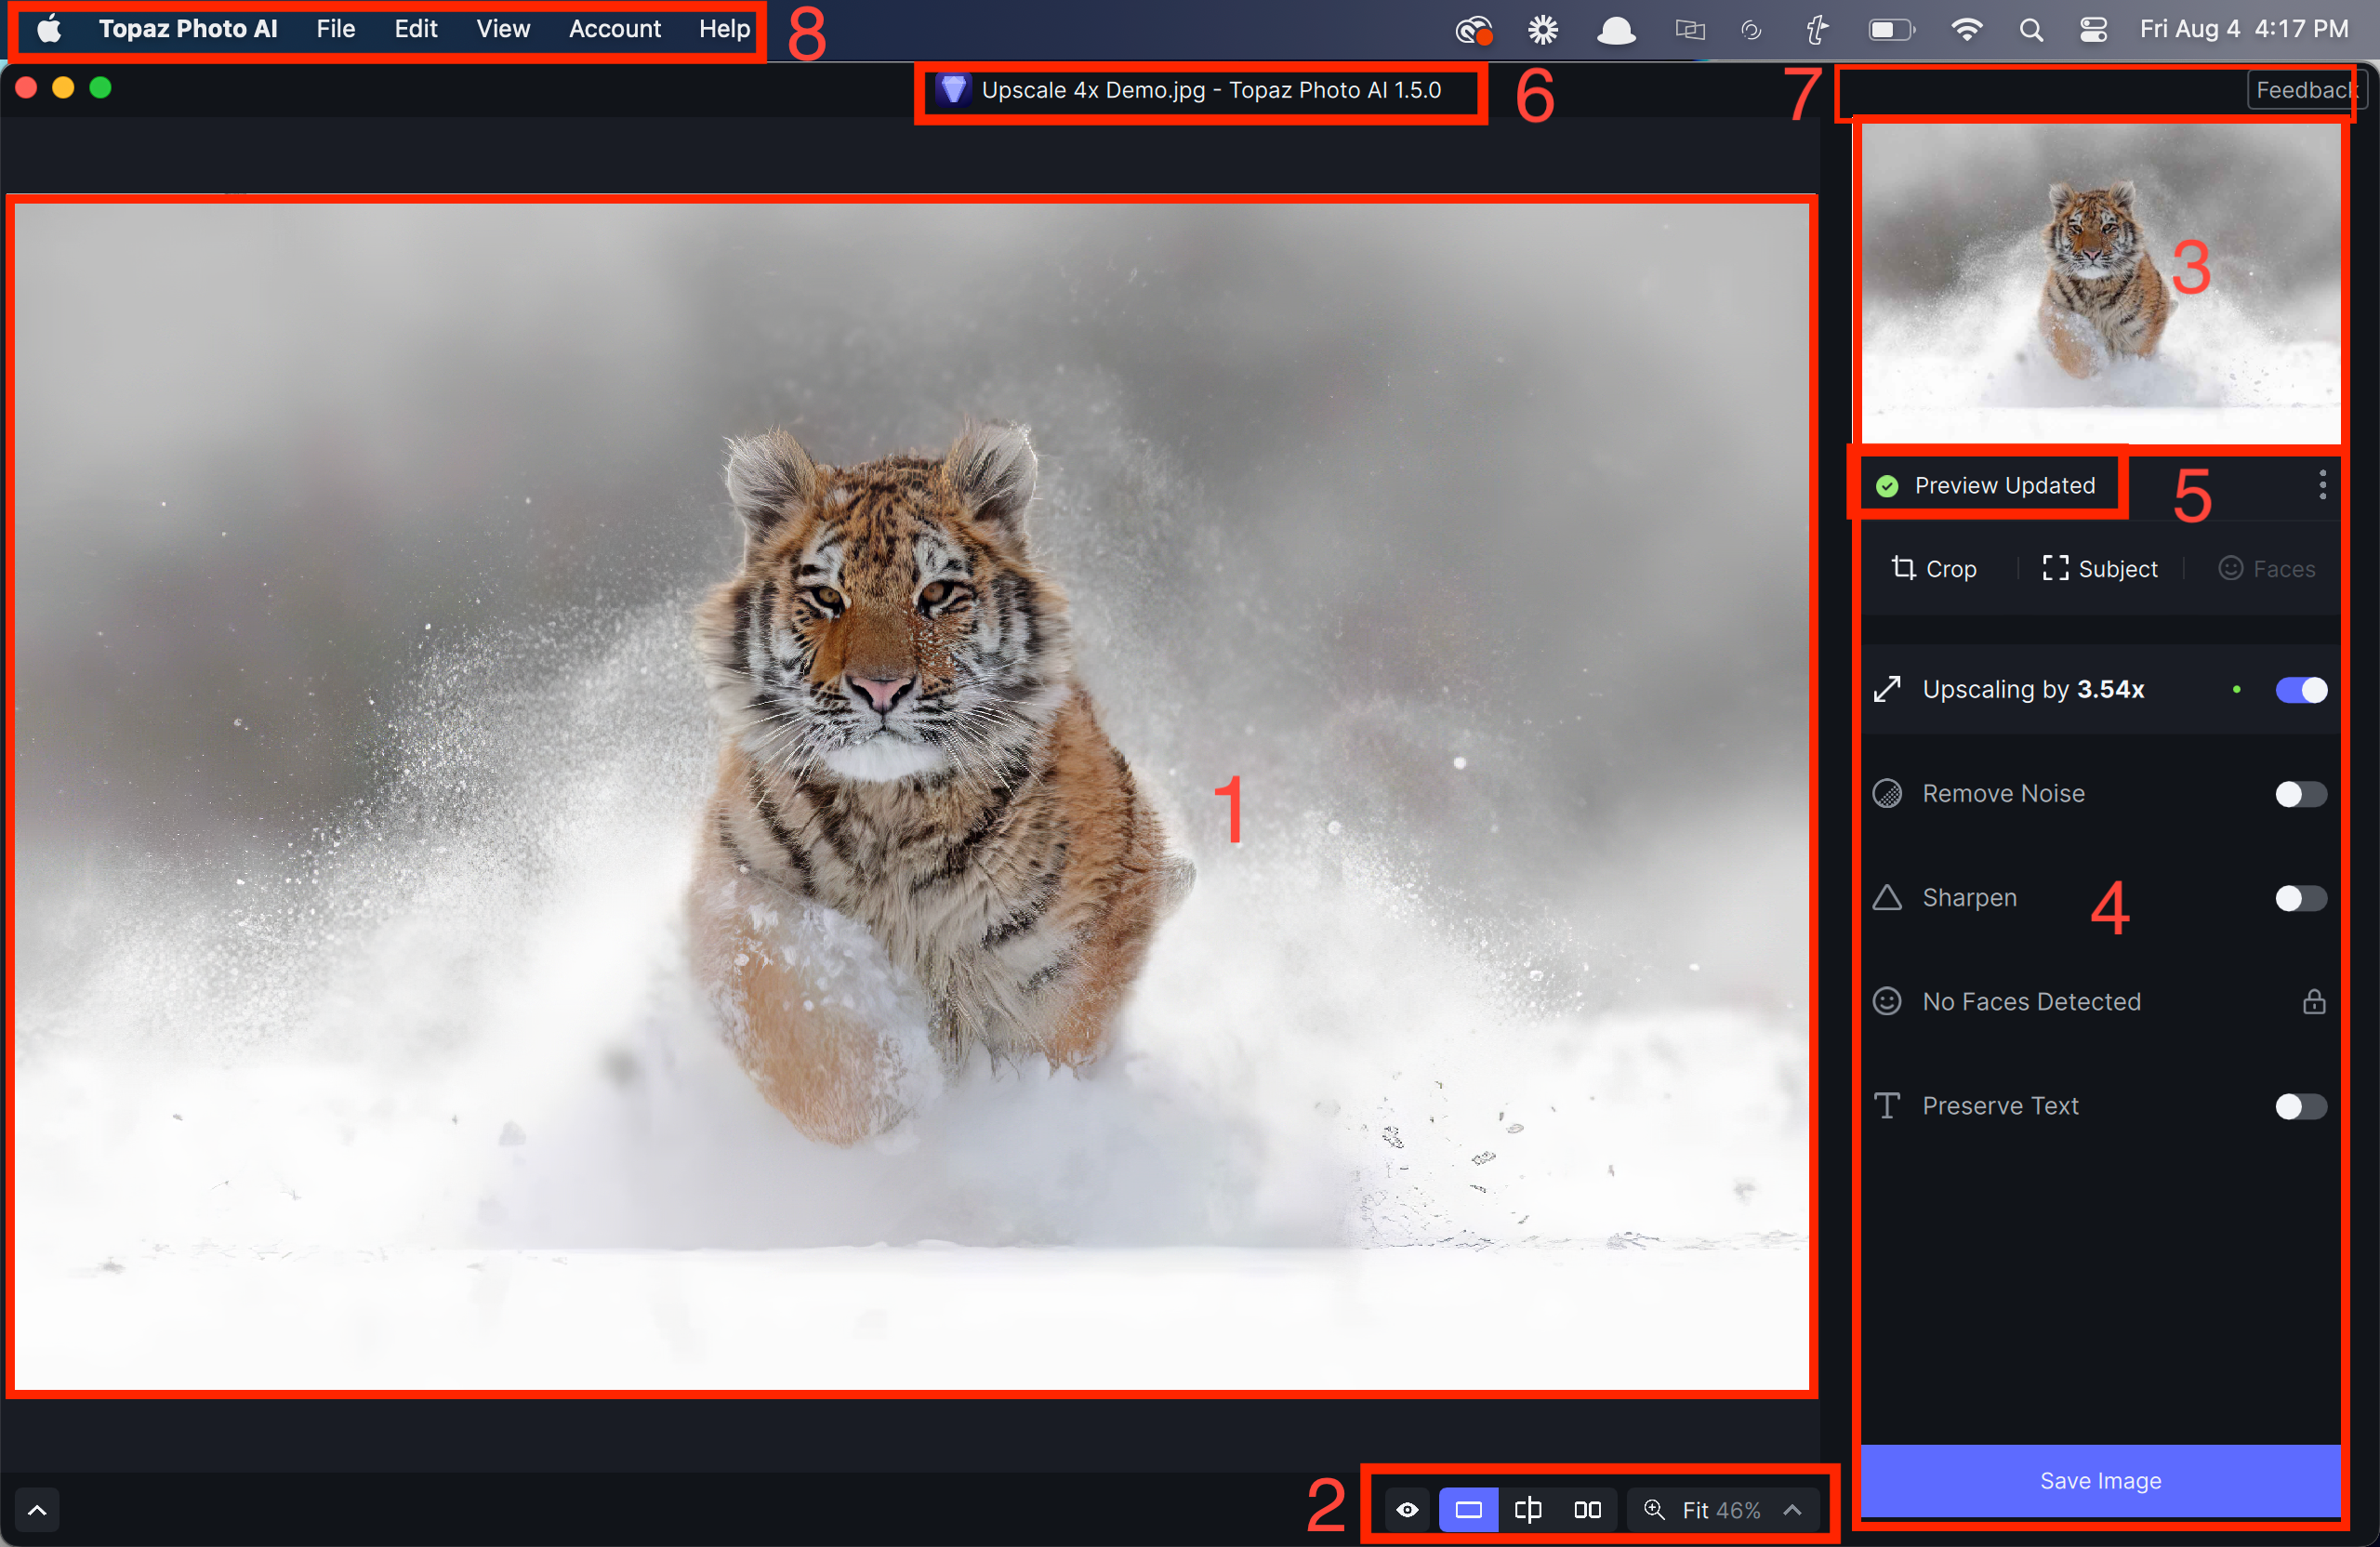
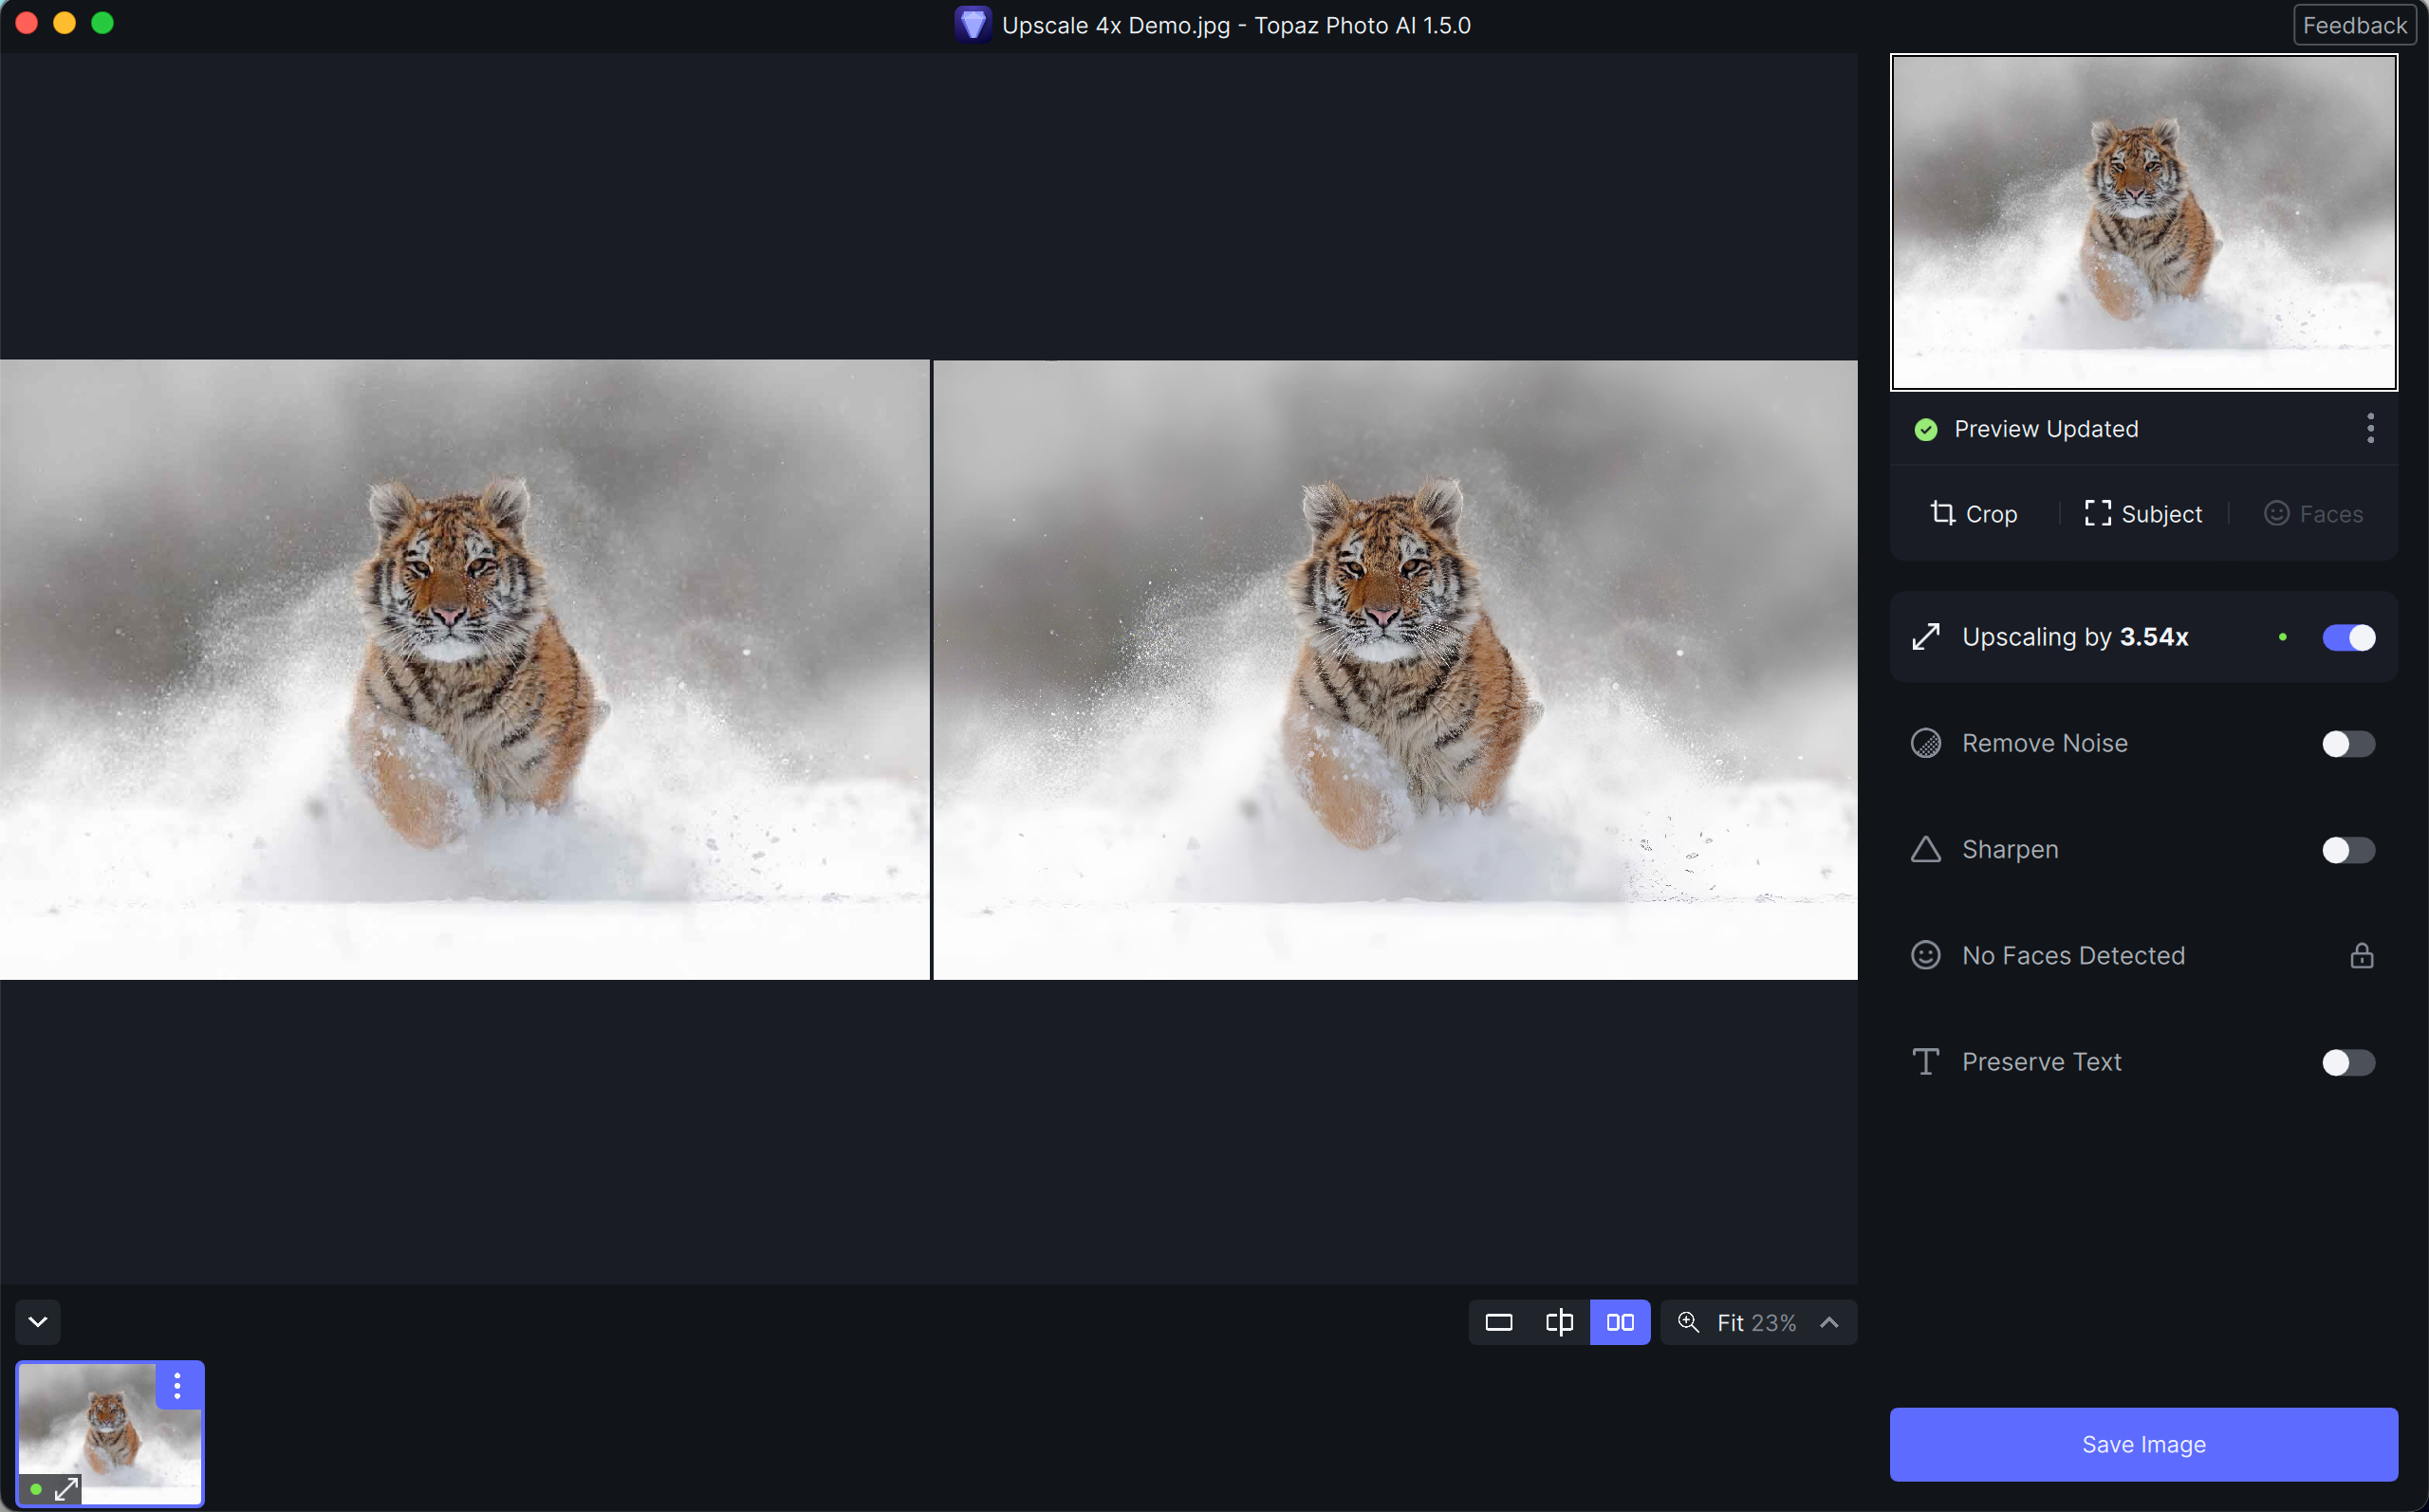
The interface is divided into 8 sections.
- Preview
- Preview Display Mode & Zoom
- Mini Preview
- Image Settings
- Preview Status
- Software Name & Version Number
- In-App Updater
- Menu Options
Preview
The preview will show the changes made to the original image when the preview is done processing.
You can zoom in/out with the scroll wheel and drag the view to inspect parts of the image.
Click and hold the preview or hit the spacebar to view the original image.
Preview Display Mode & Zoom
Use the scroll wheel to zoom or change the zoom with the dropdown menu.
Click the Eye to view the original.
Select how to display the preview from the menu on the bottom right. There are 3 configurations.
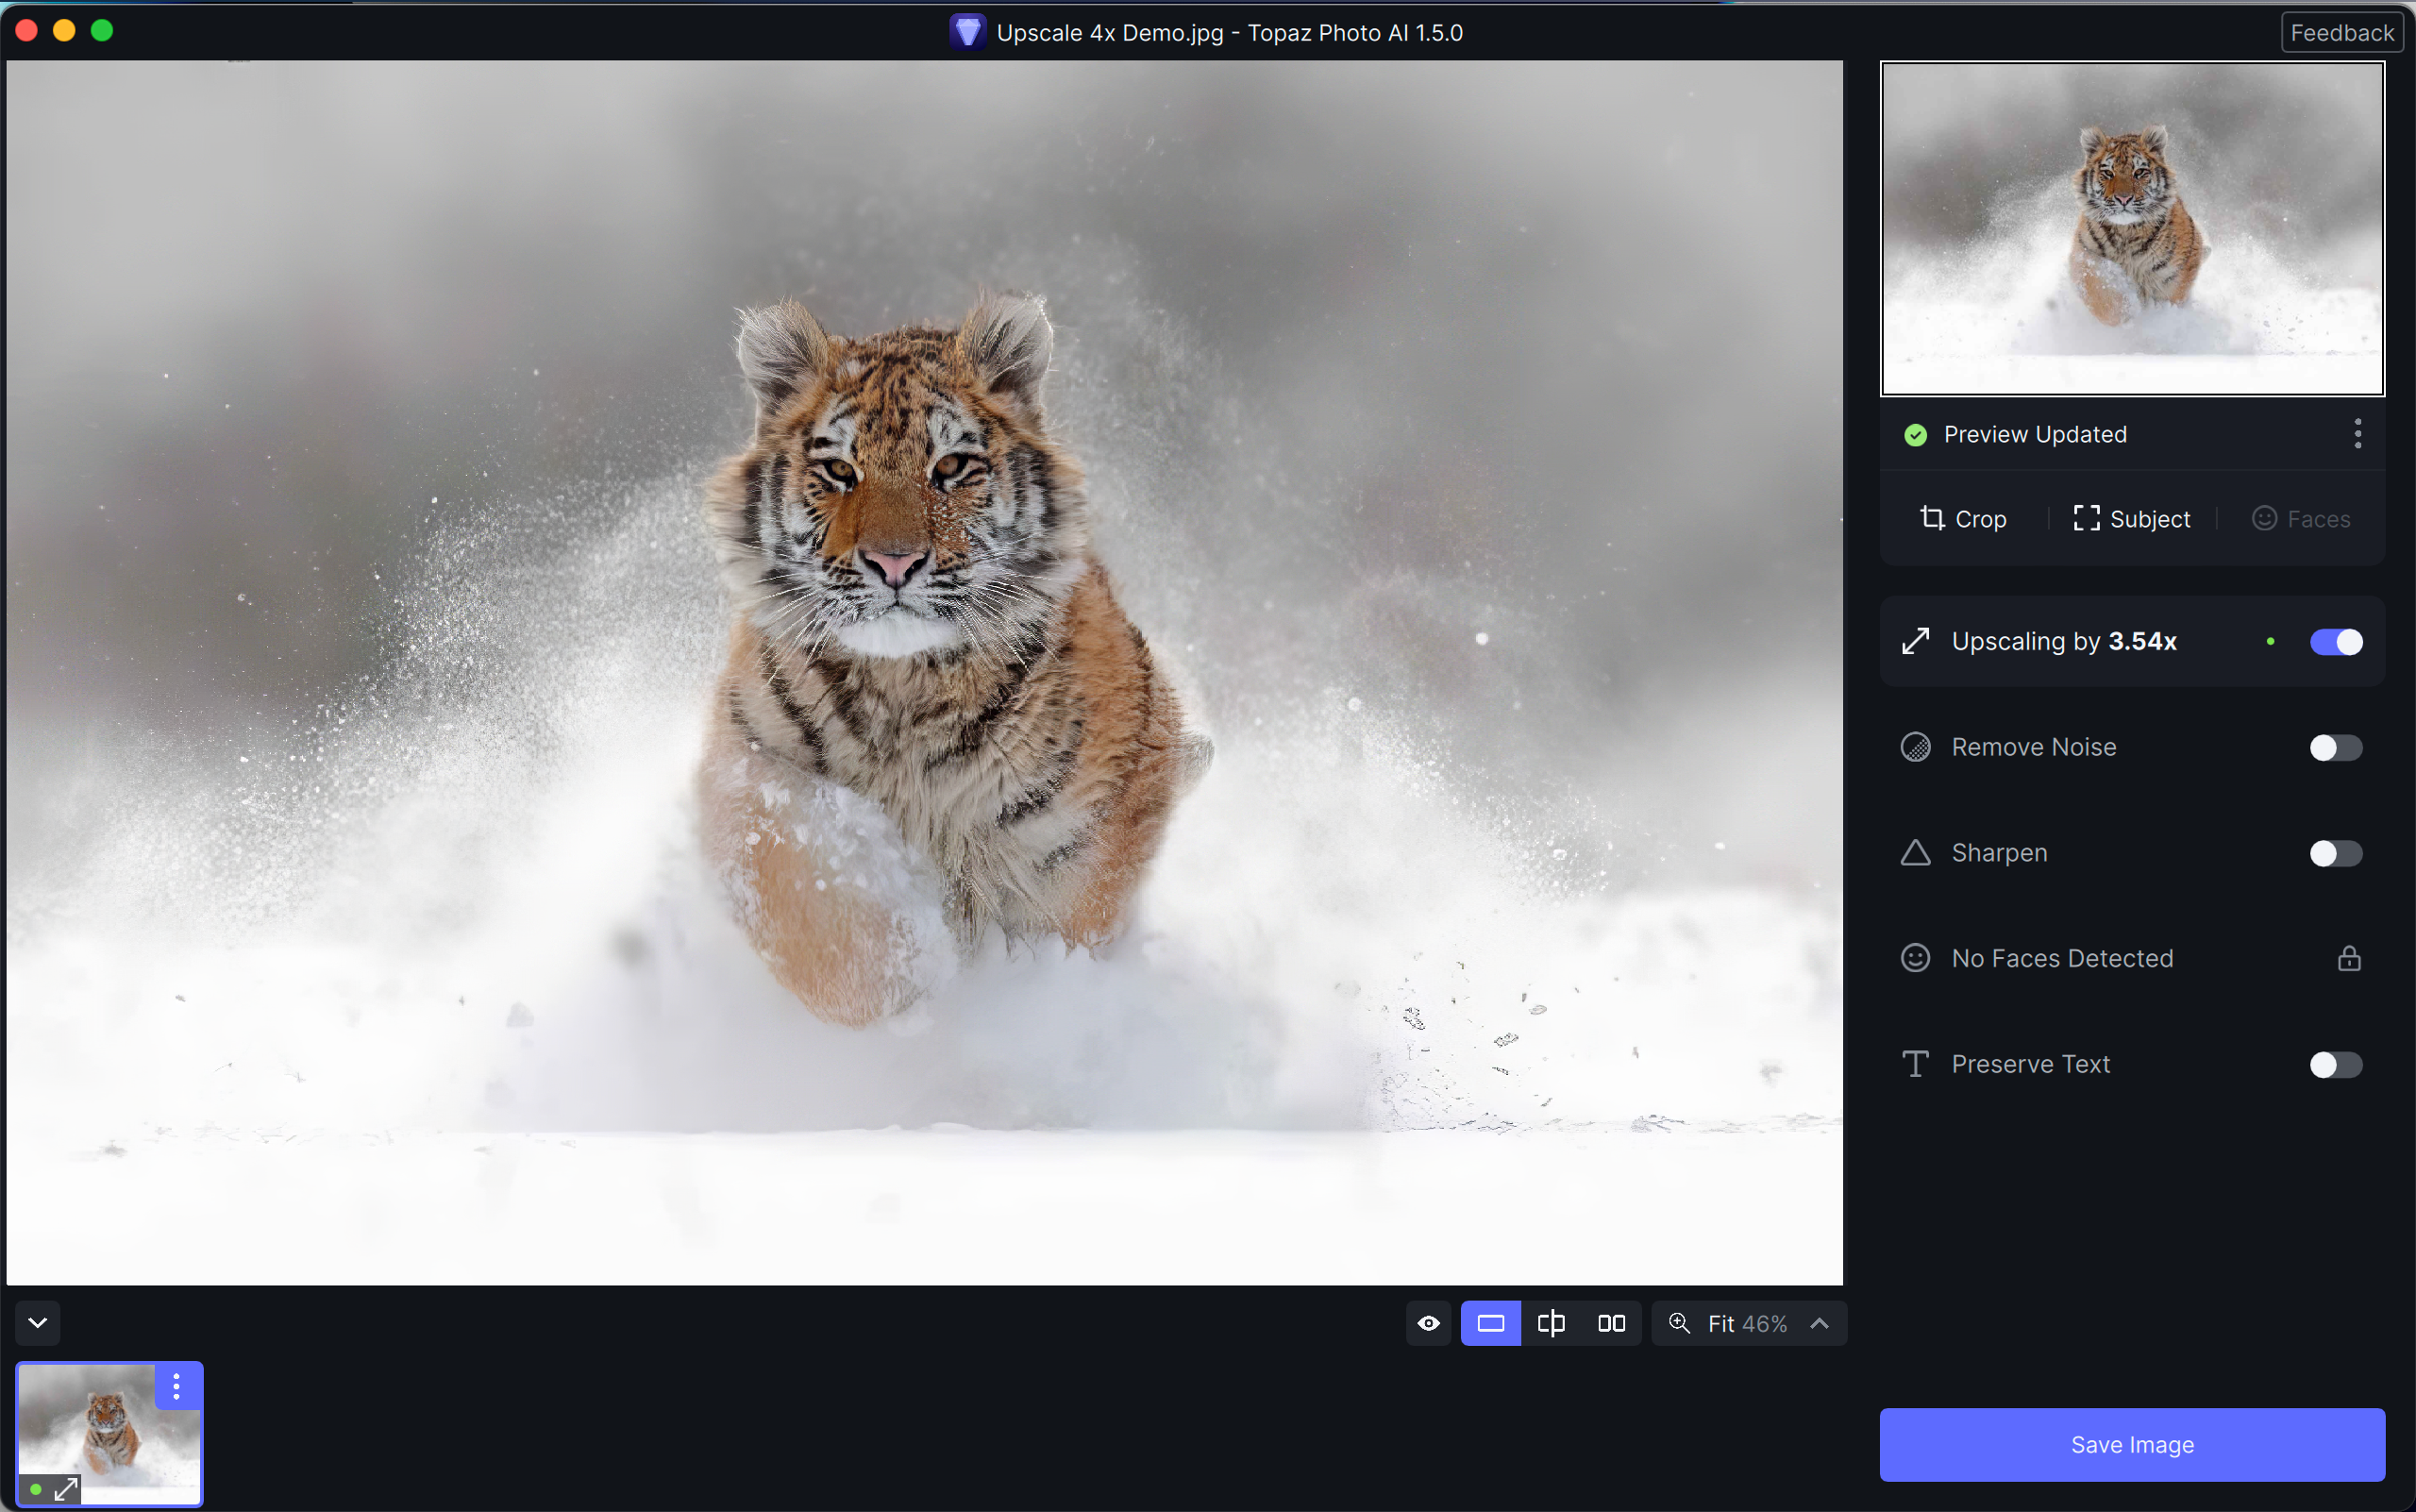
Single View
The entire preview is populated by the edited version.
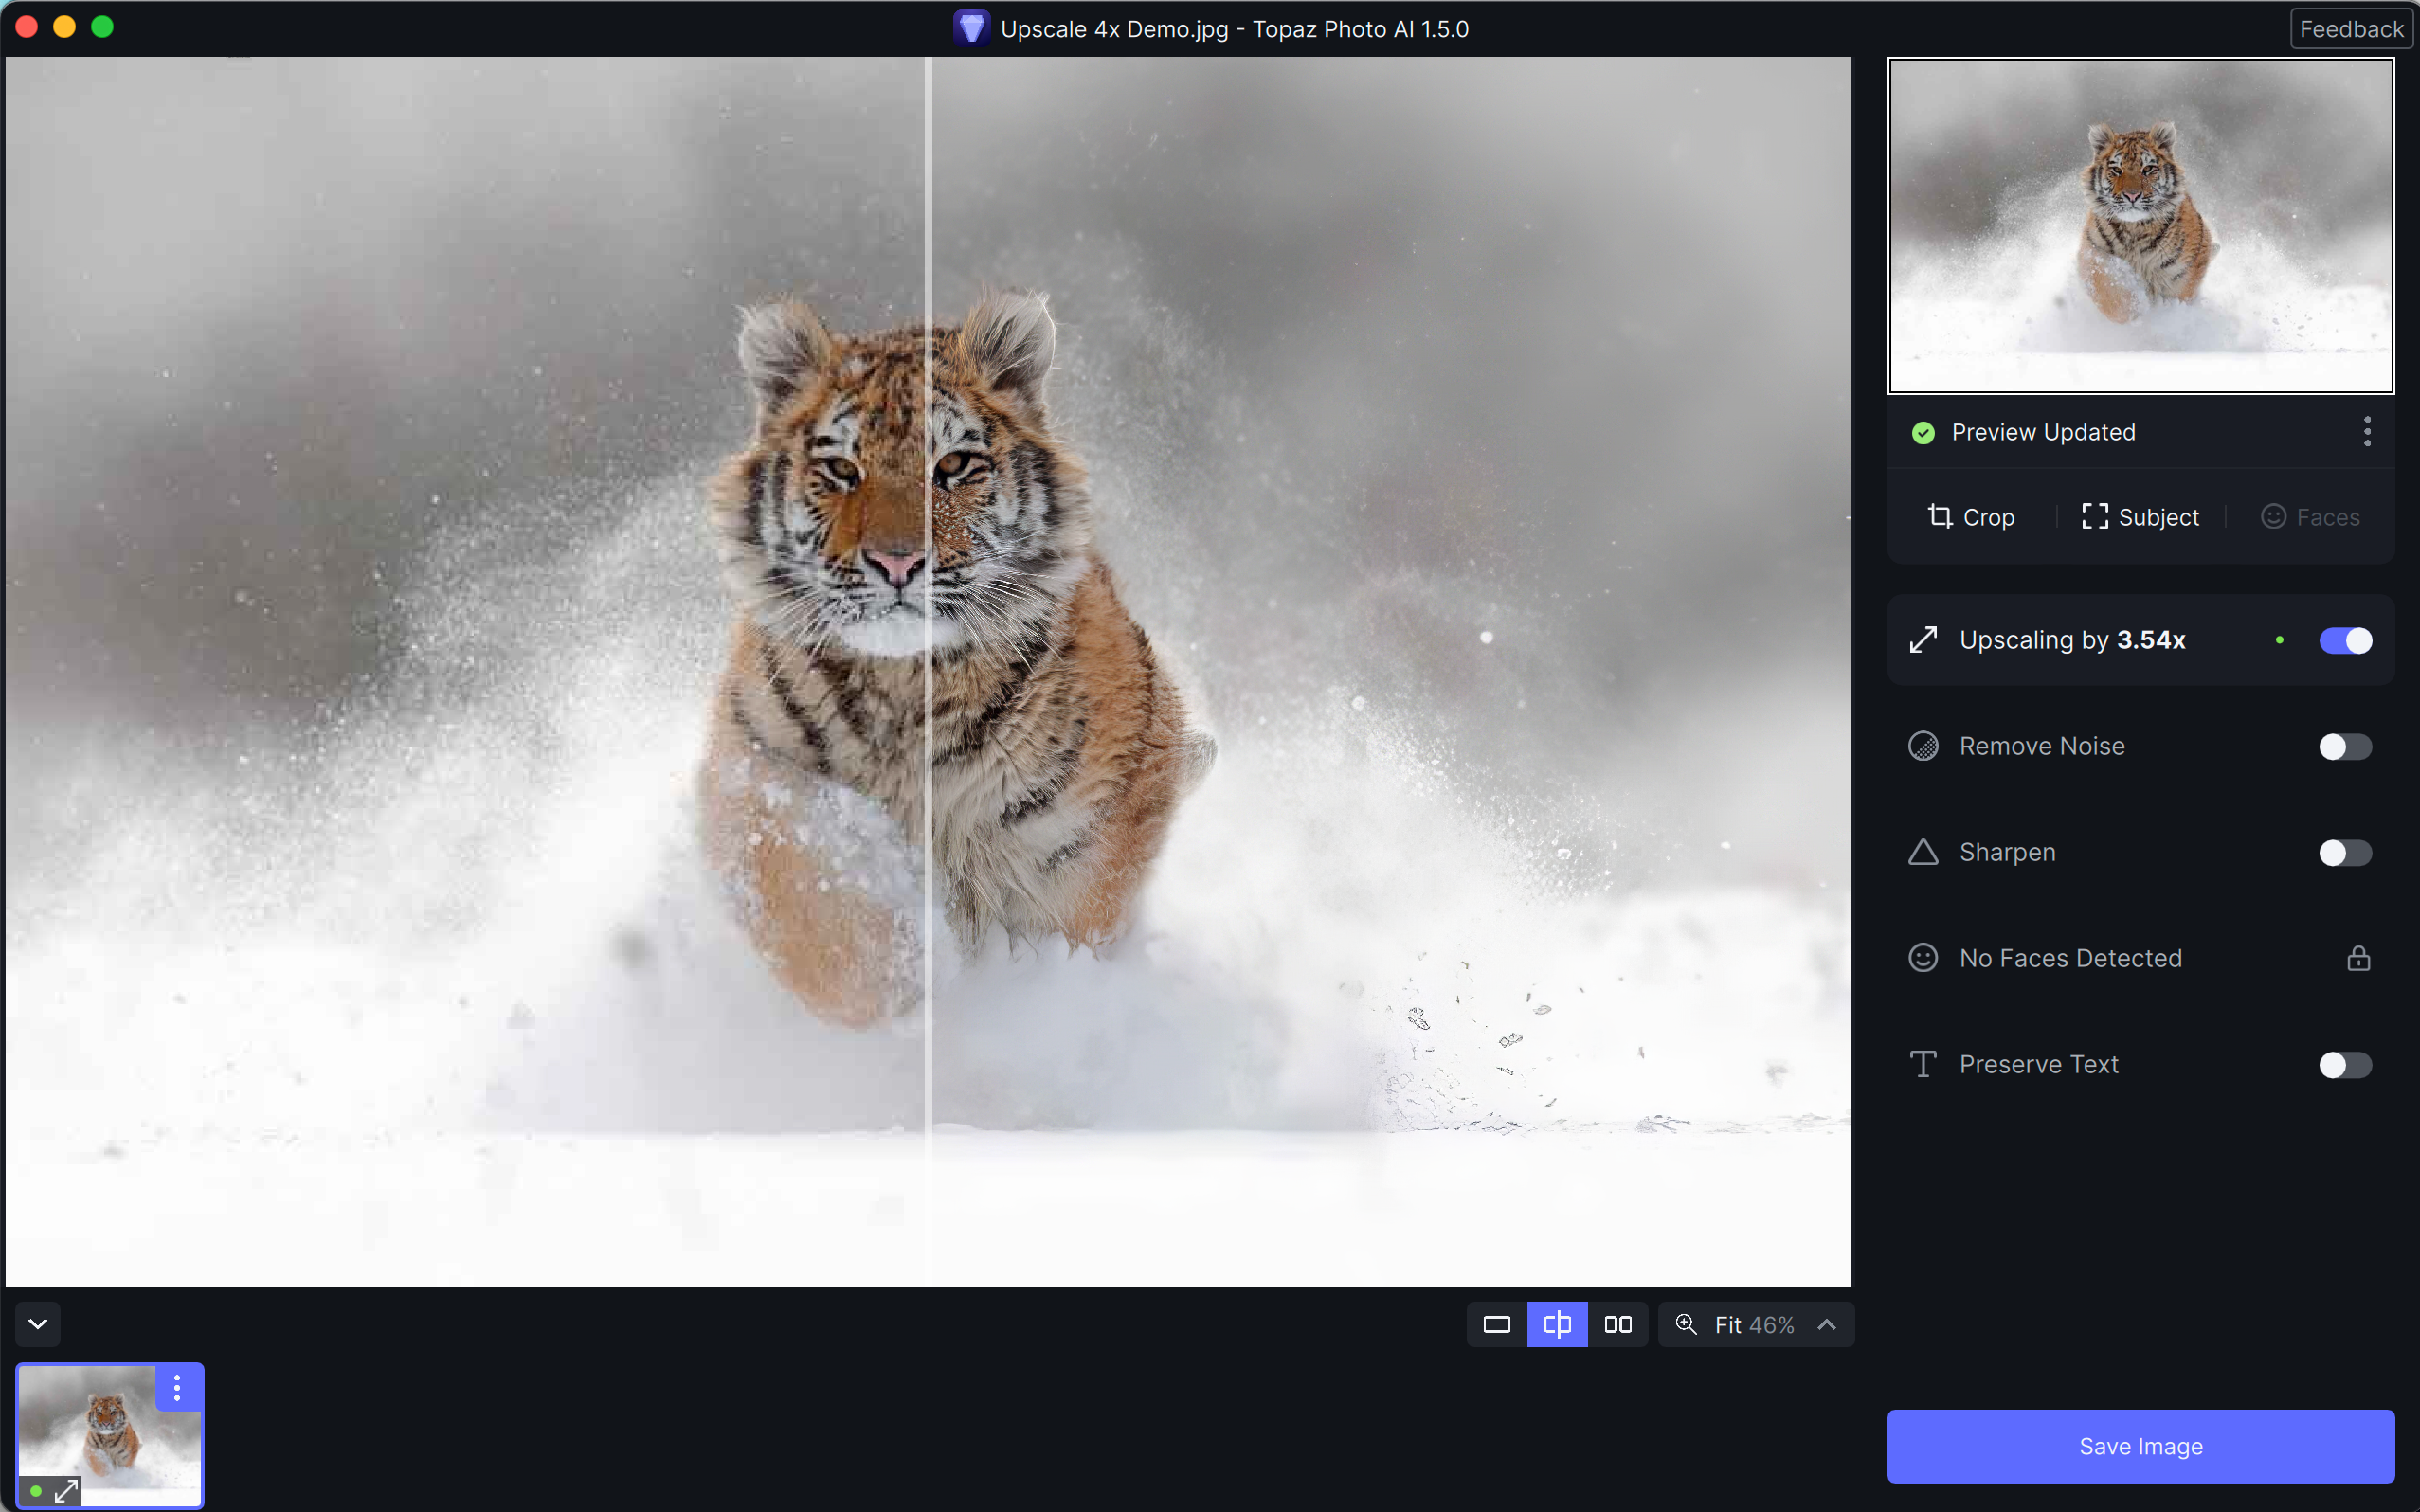
Split View
The image is split by a white line, with the original version displayed on the left and the edited version on the right. Click and drag the line across the image to view the edit.
Side-by-Side View
You can view the original version and the edited version side-by-side to compare them.
Mini Preview
The mini preview displays the entire image and is an easy way to pan around the image to sections you want to view.
Image Settings
This section displays three important sections: Autopilot, image quality, and upscale settings. Adjust the filters in this panel to edit the image.
Preview Status
This indicates the state of the preview, if it's currently processing or completed. Change a filter setting or moving the view will force the preview to reprocess.
File Name & Software Version Number
This will indicate which file is selected and the software you are using. It'll also display the software version number.
In-App Updater
This button will indicate if there is an update available. Click it to view the release notes and update Topaz Photo AI.
Menu Options
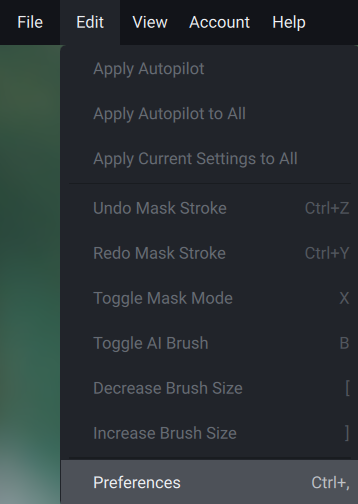
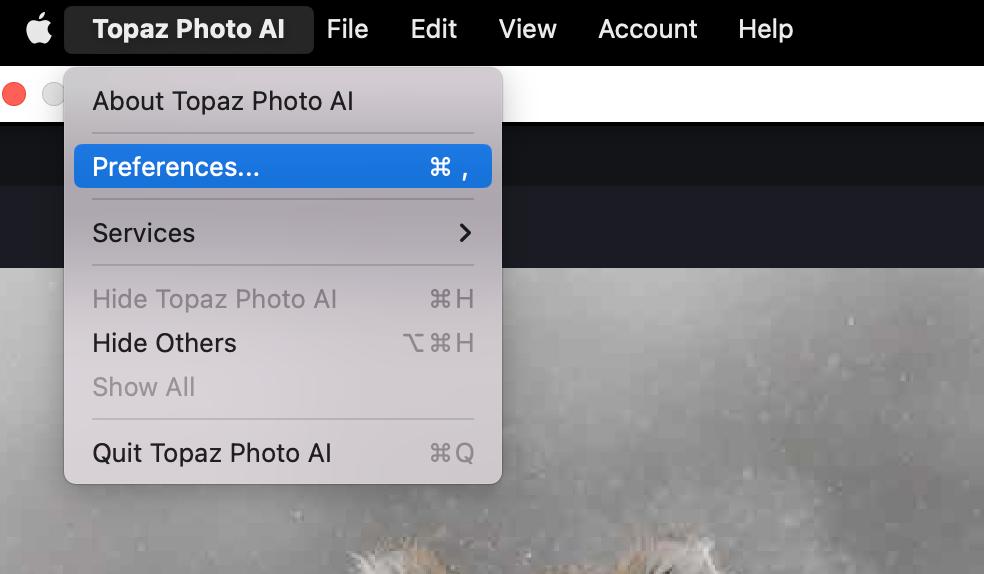
Preferences Menu
Find this in the Edit > Preferences menu.
Find this in the Topaz Photo AI > Preferences menu.
The Preferences menu allows you to toggle on/off various settings and configure the app to your needs.
The Autopilot tab controls the AI filters and strength automatically applied to images. Learn about the Autopilot and controls here in the Autopilot article.
The General tab settings are below.
- AI Processor: Select which processor you want to use to run the software
- Lens Correction: This corrects optical distortions introduced by camera lenses to produce a more accurate image.
- Close Images After Saving: Automatically close the image file after you save it to streamline your workflow.
- Show Help Prompts: Receive helpful tips when relevant with suggestions on how to improve your experience.
File
You can open and close images and locate them in your computer.

Edit
By default, none of the image editing options in “Edit” are available until an action has been performed on the image.
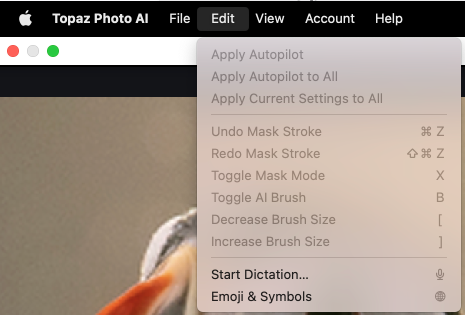
In the “Edit” option, you can manage the Mask and Autopilot settings, which become visible once you make adjustments in the image settings panel on the side.
View
You can zoom in and out, as well as zoom to fit your page.
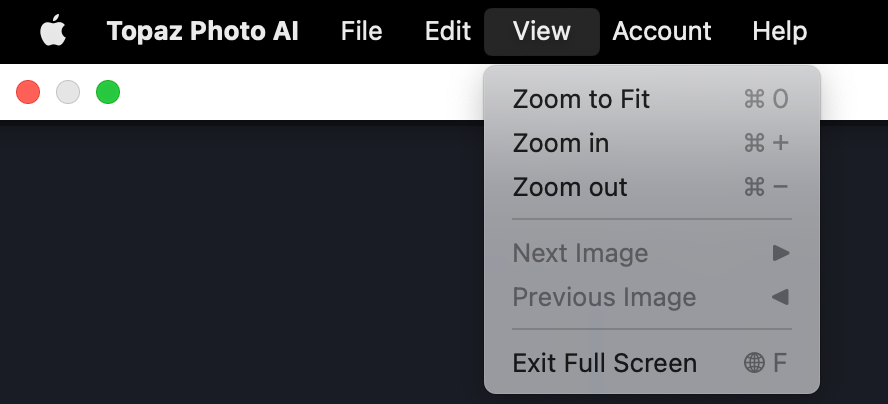
In addition to the “View” option, there are 2 other ways to zoom in and out of the image.
- Choose your preferred zoom percentage from the dropdown menu located at the bottom right corner.
- Scrolling on your mouse will also allow you to zoom in the same increments as the dropdown menu.
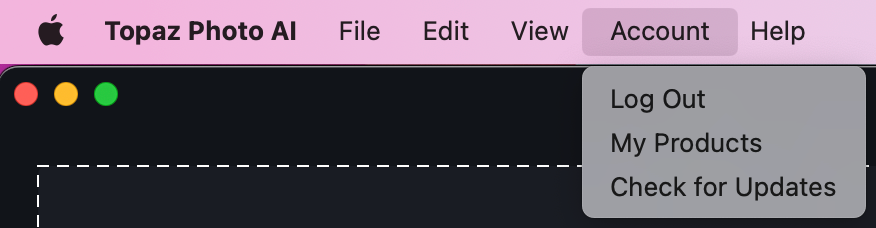
Account
You can log out or check for updates.
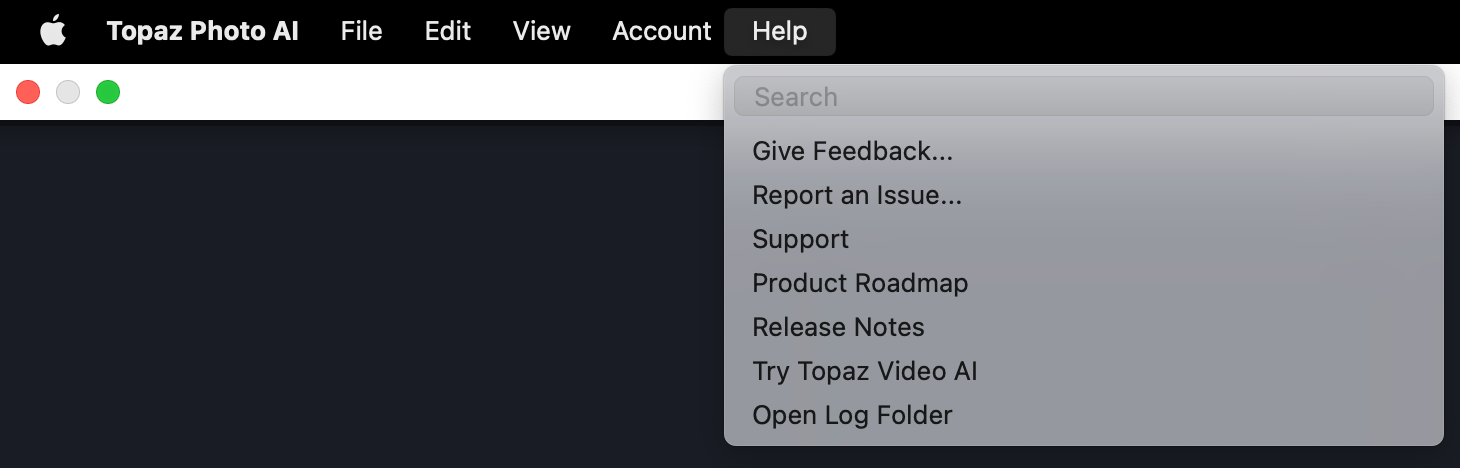
Help
The “Help” option is where you can access tools to assist with using the software.
- Give Feedback: This directs you to the general section of the community forum page.
- Report An Issue: This directs you to a section of the community forum to report details for bugs.
- Technical Support: This directs you to articles with instructions and advice for particular issues.
- Product Roadmap: This directs you to descriptions of product updates.
- Release Notes: This directs you to the technical documentation produced and distributed alongside the launch of a new update.
- Open Log Folder: This opens the file that contains data about usage patterns, activities, and operations within the software.