Export (Legacy)
Use Photo AI as a standalone product to control the file name, file format, and export location.
These save options are unavailable when using Topaz Photo AI as a plugin for another application, such as Photoshop or Lightroom Classic. The image saves back to the host editor.
Queue
The queue provides a visual representation of processed and pending files for saving. Preview the file name, size, and format.
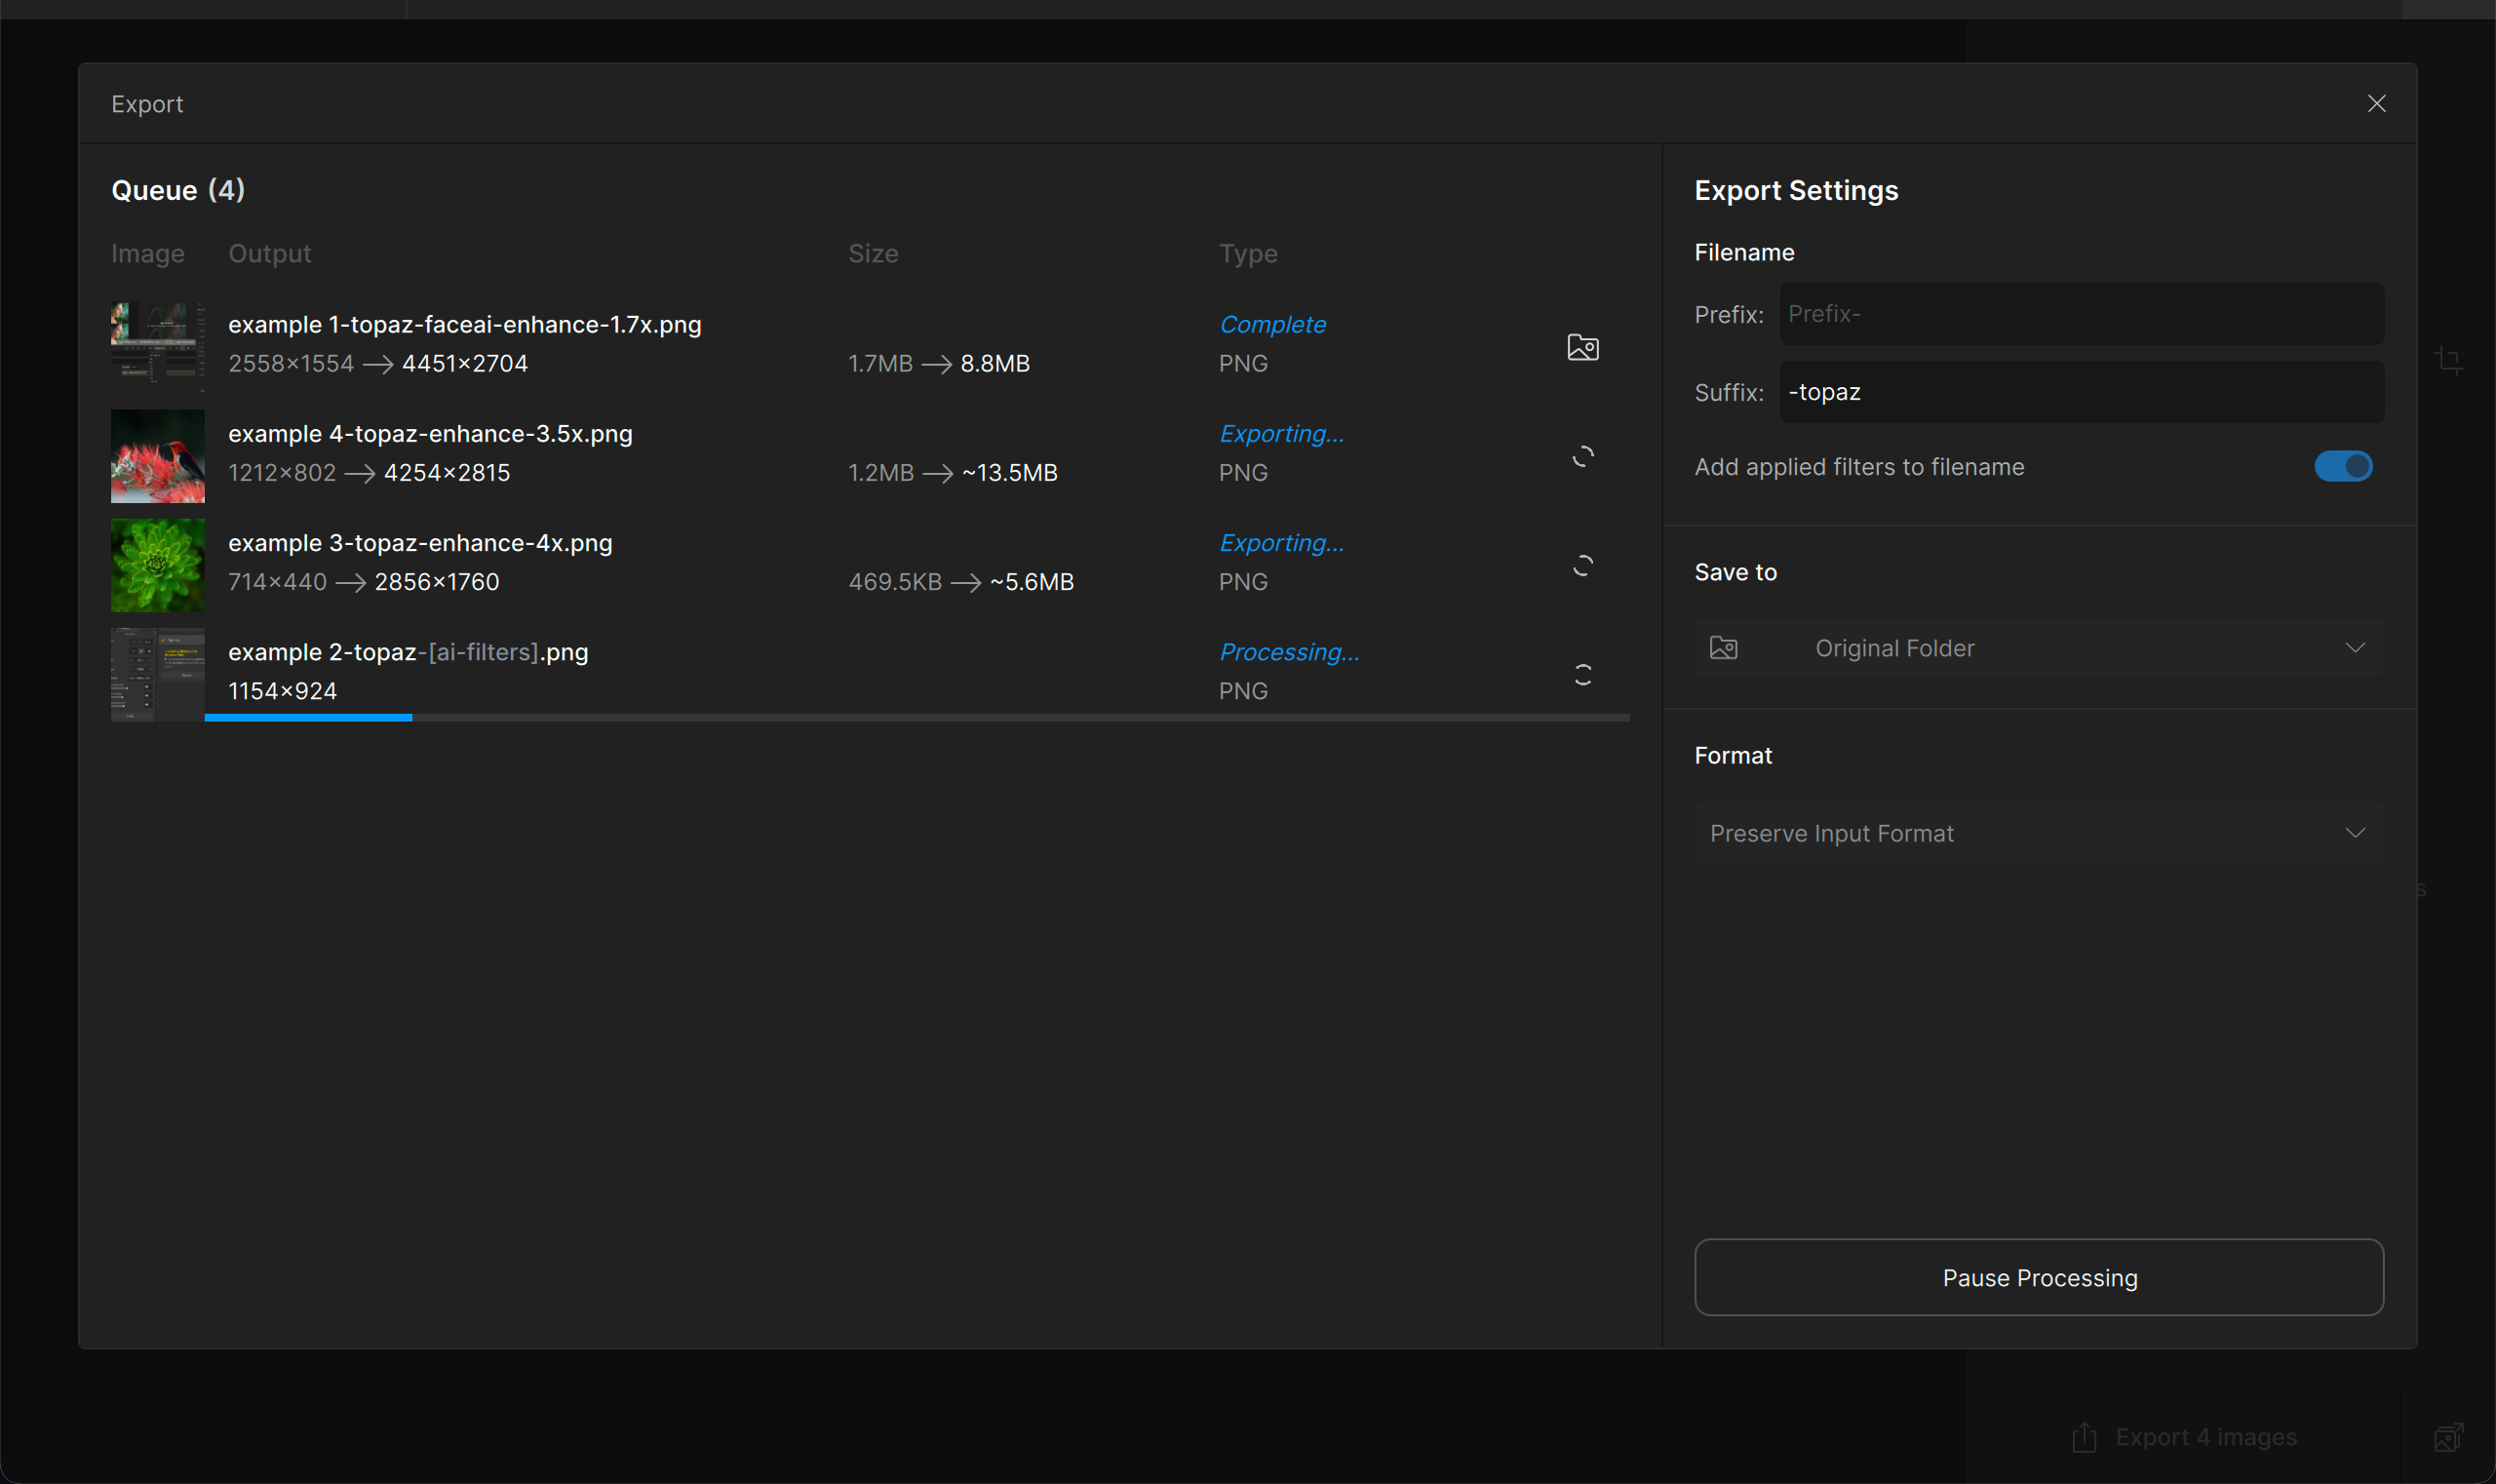
Export Settings
Use the export settings to customize the file name, file format, and export location of the final output based on your preferences or intended use of the images.
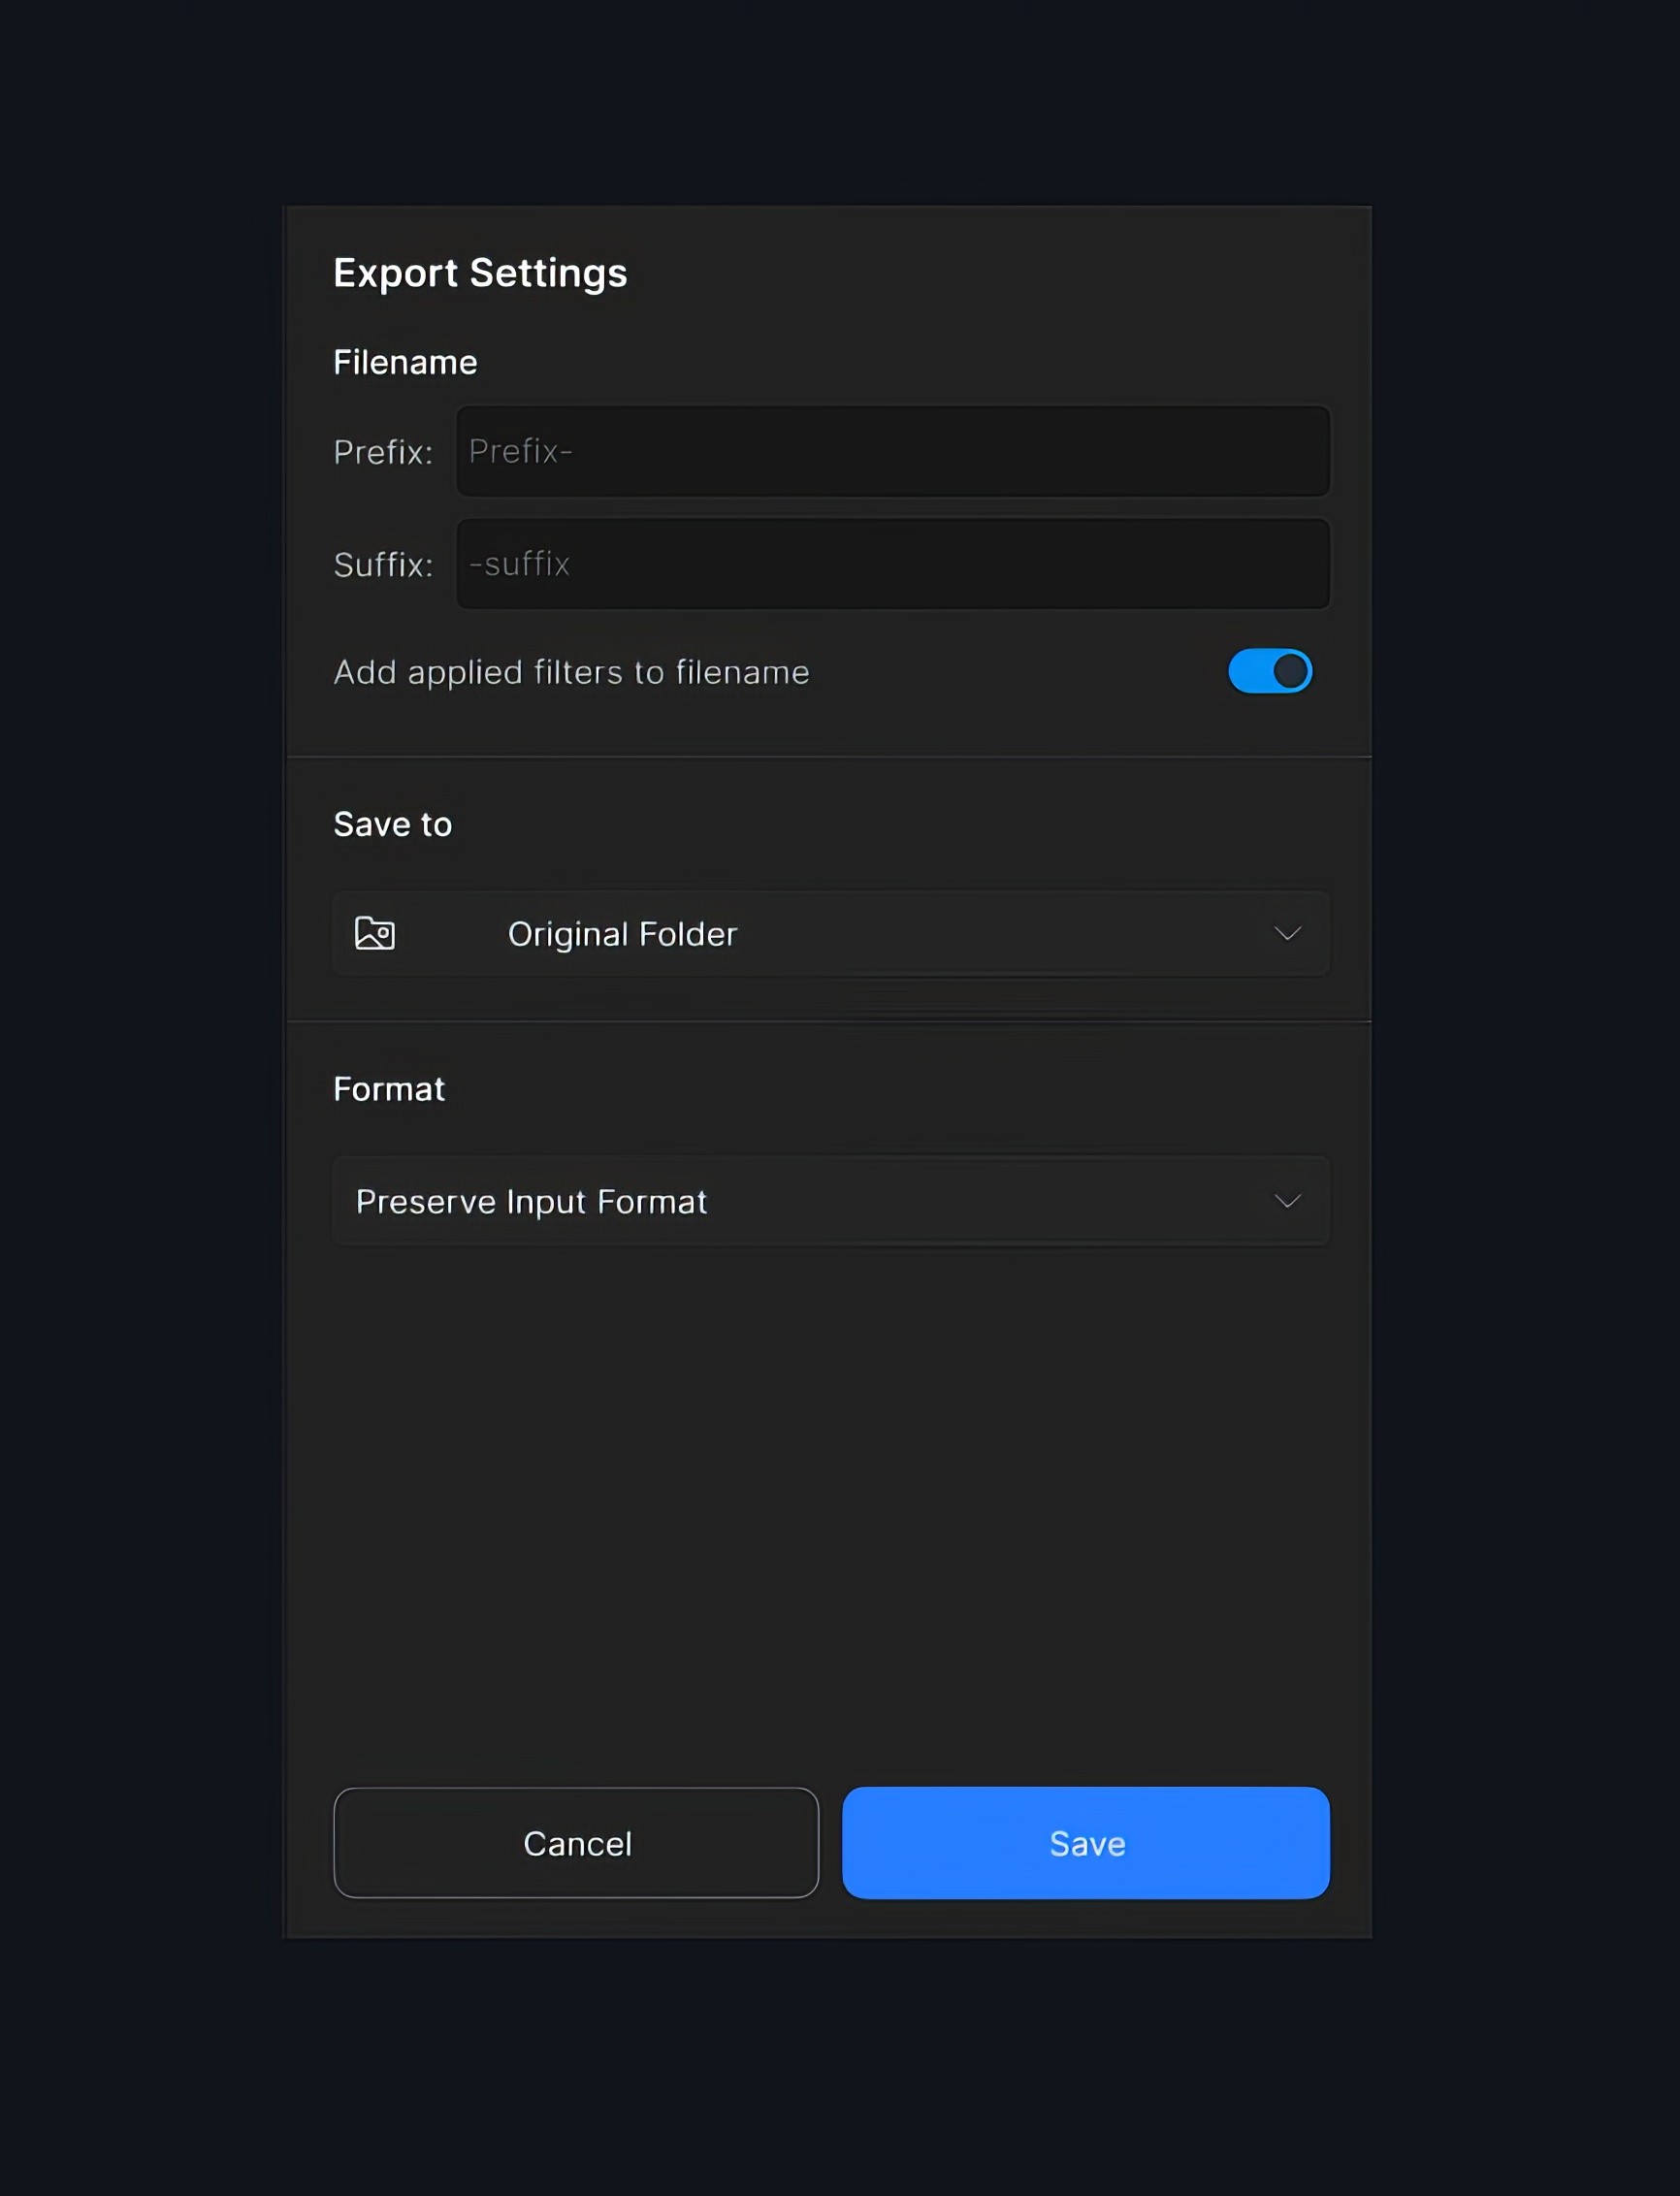
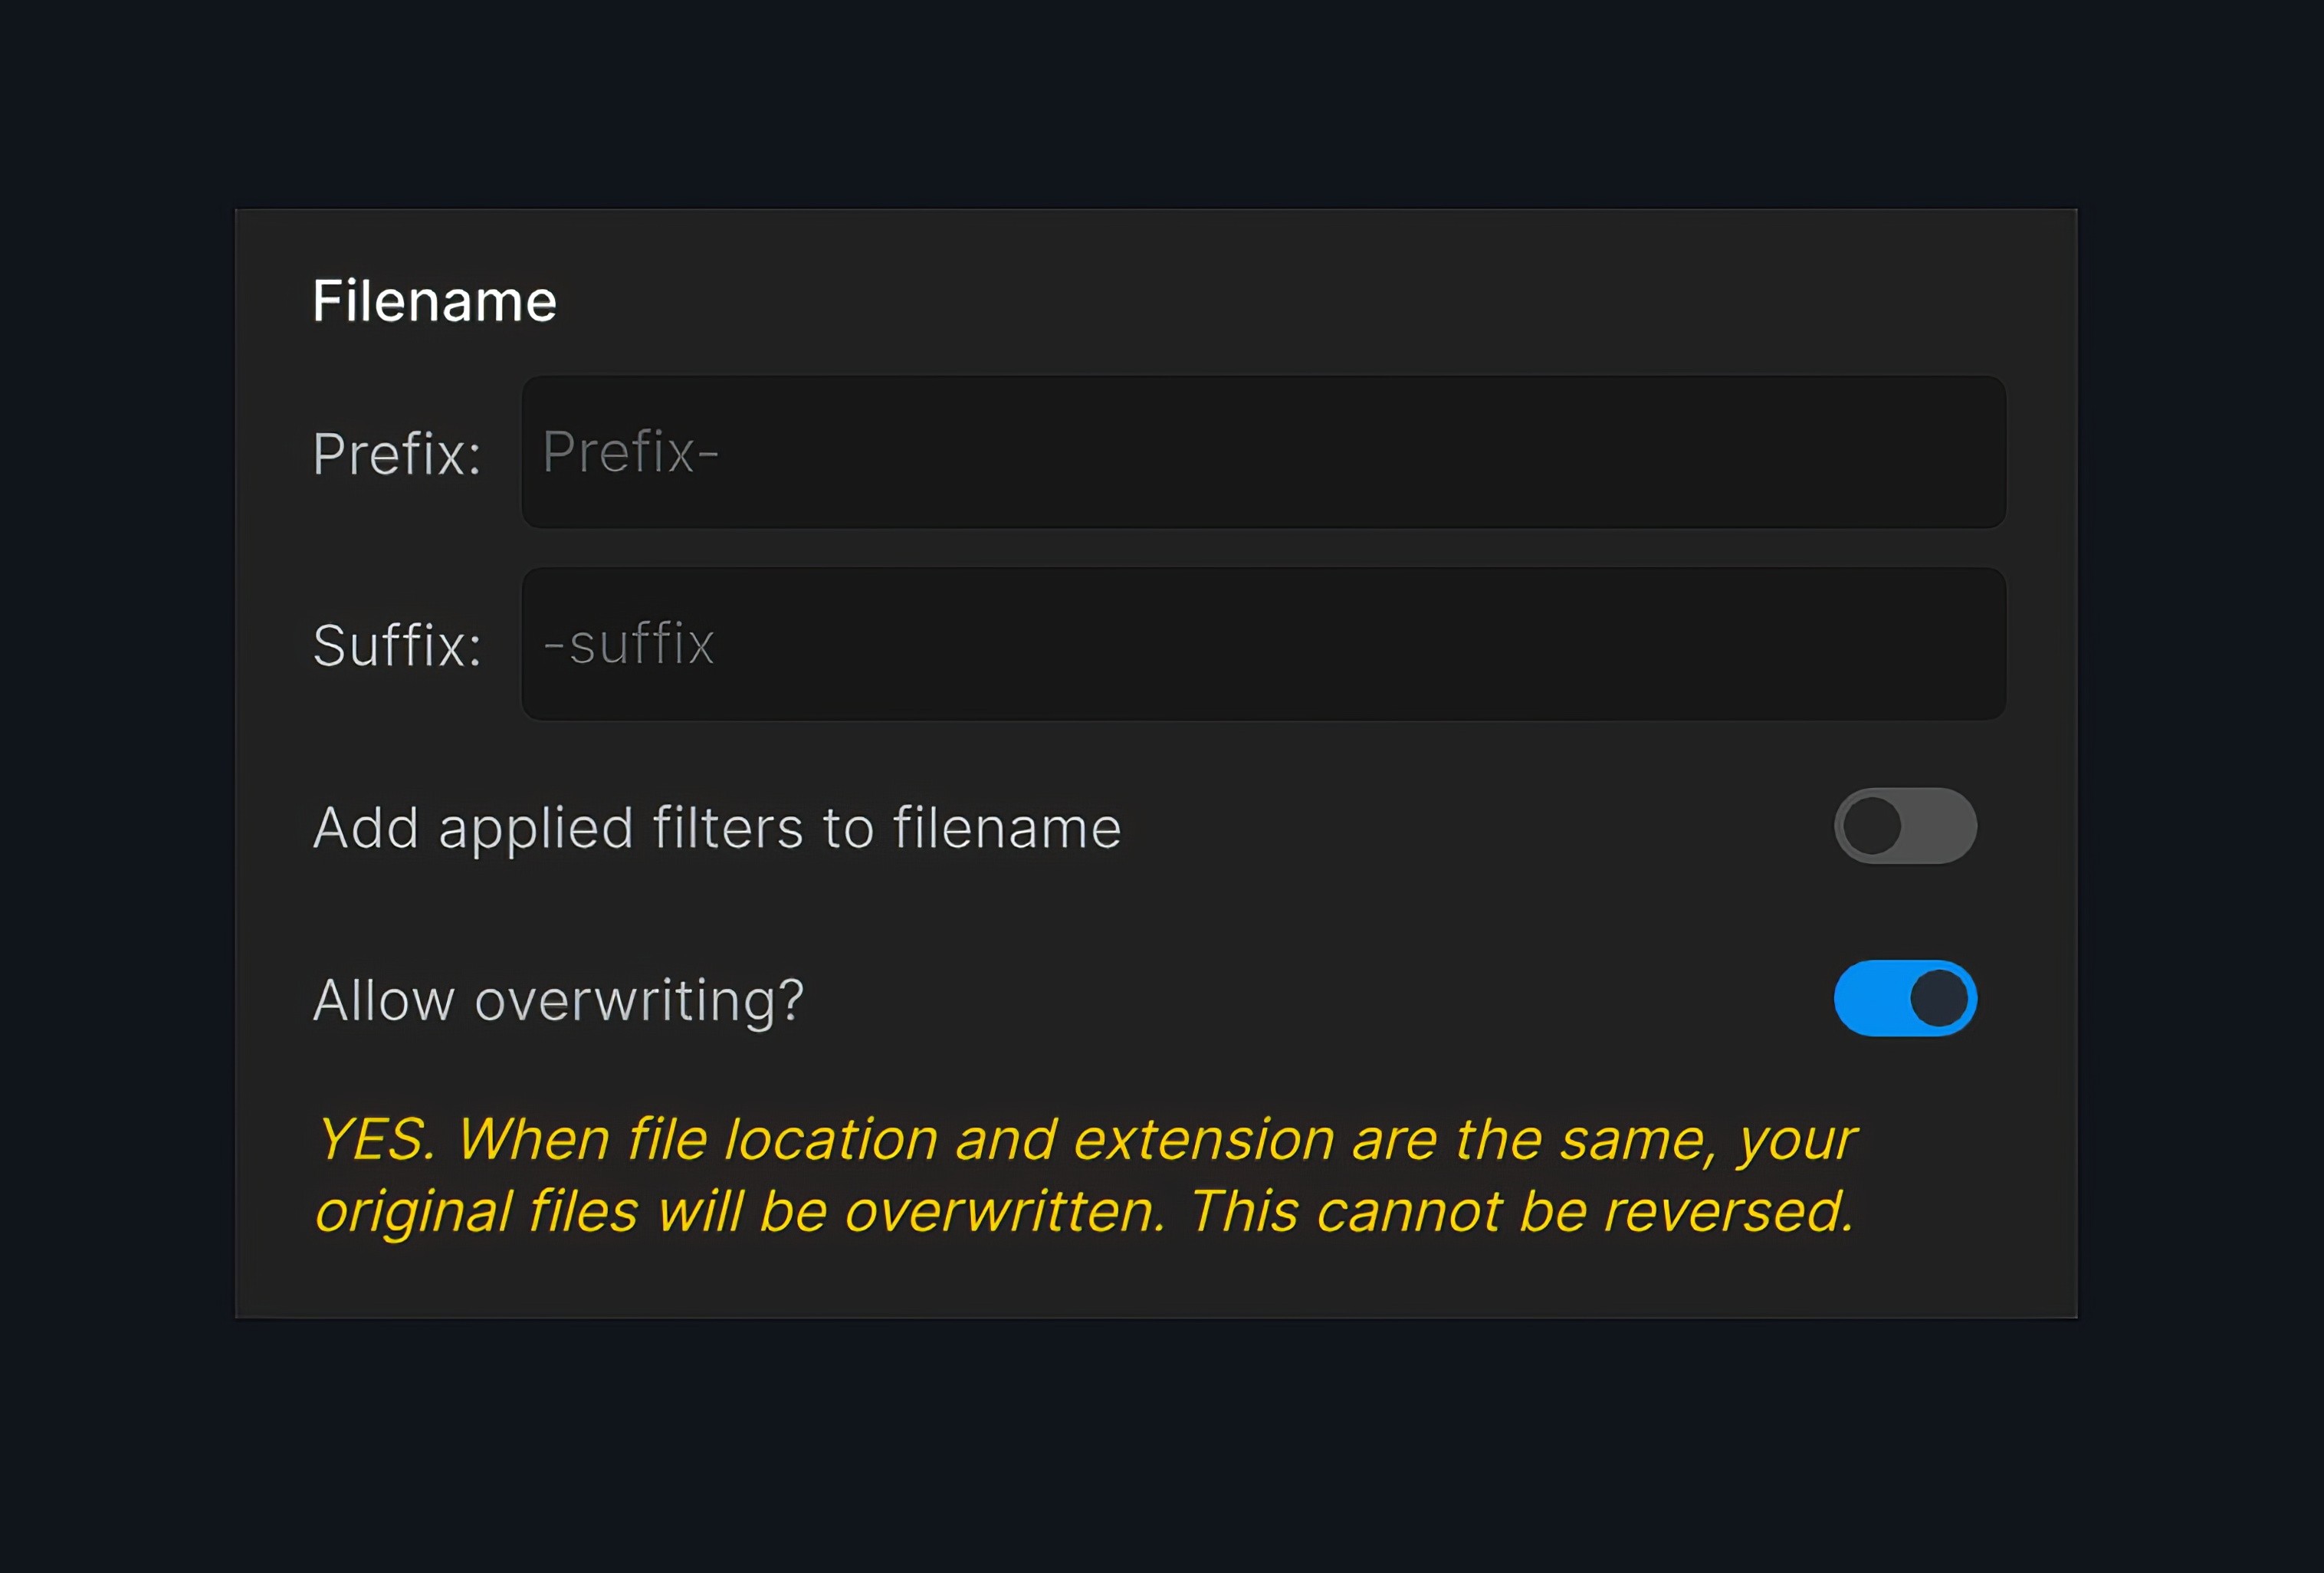
Filename
The Prefix and Suffix fields add text to the exported file name to make locating them easier. Toggle the "Add applied filters to filename" to indicate the AI filters used to process the image.
- Prefix: This is added to the beginning of the original filename. Use it to include information such as project names, dates, or any other relevant details.
- Suffix: This is added to the end of the original file name. Use it to include information such as version numbers, annotations, or edit history.
The Allow Overwriting toggle will appear when the Prefix and Suffix are blank and "Add applied filters to filename" is toggled off. Toggle it on to irreversibly replace the original image with the exported image.
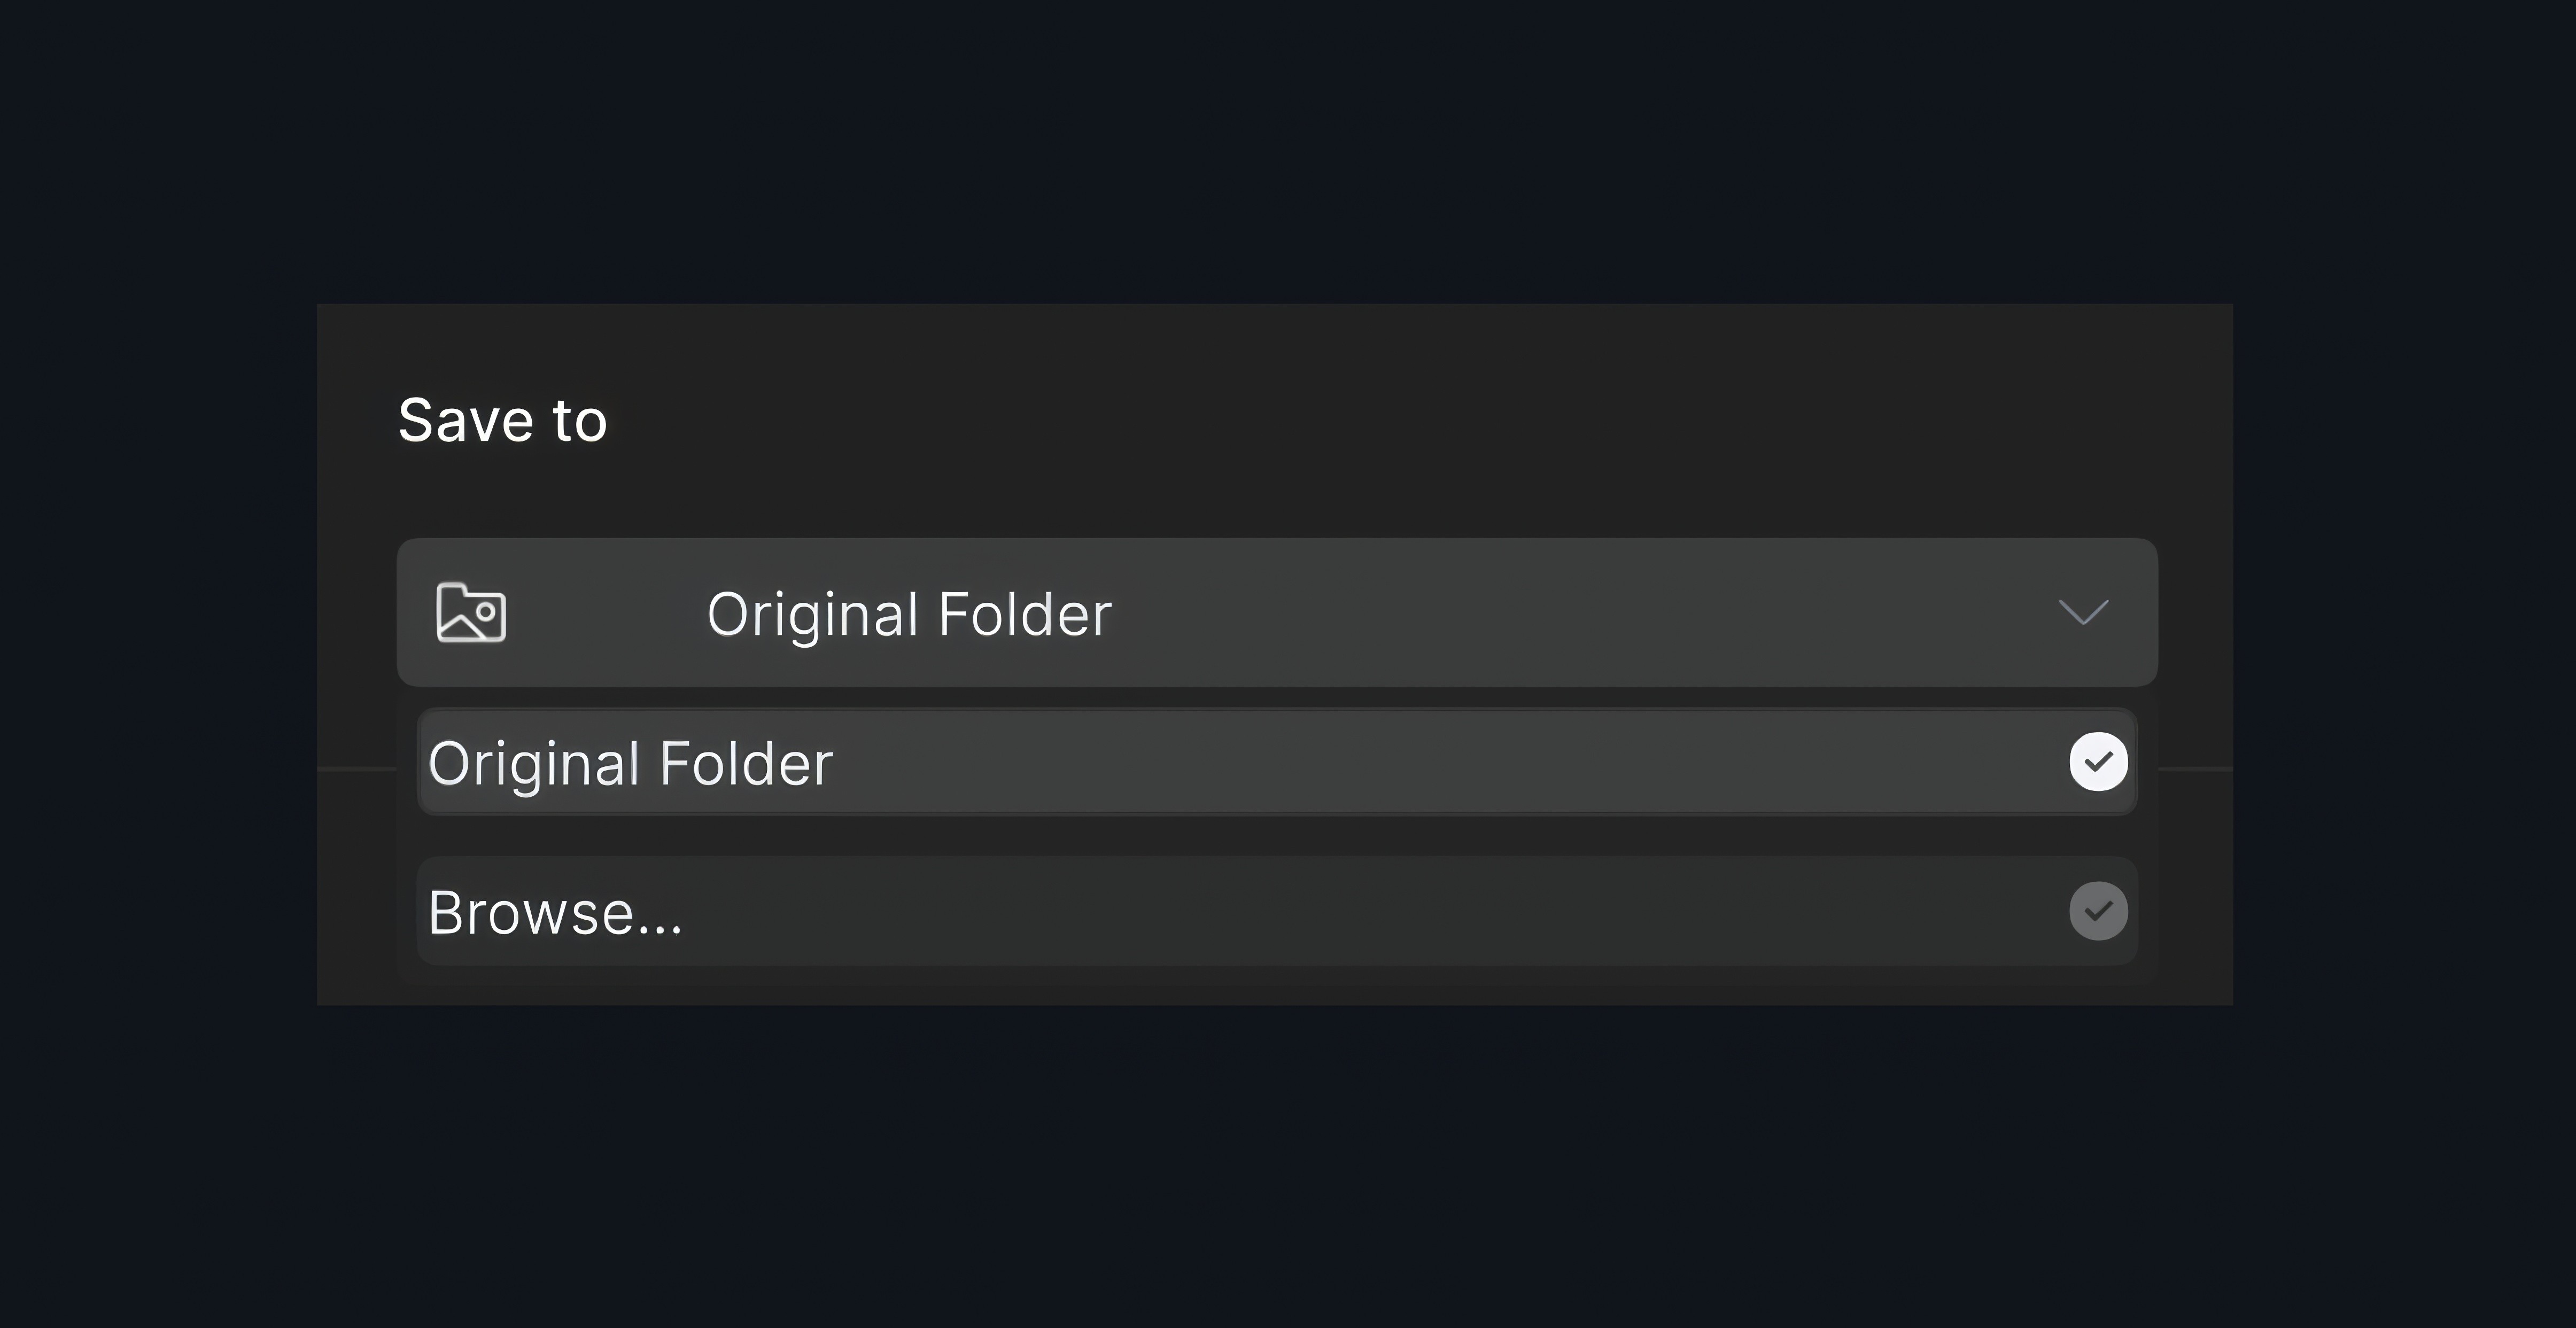
Save To
Use this setting to select the export location. Save to the original folder or select a new location from the dropdown menu.
Format
Use this setting to control the file format of the output image. Choose between the options below.
Preserve Input Format
- Output images will export as the same type as the original.
- RAW is exported as DNG (an open-source RAW file type).
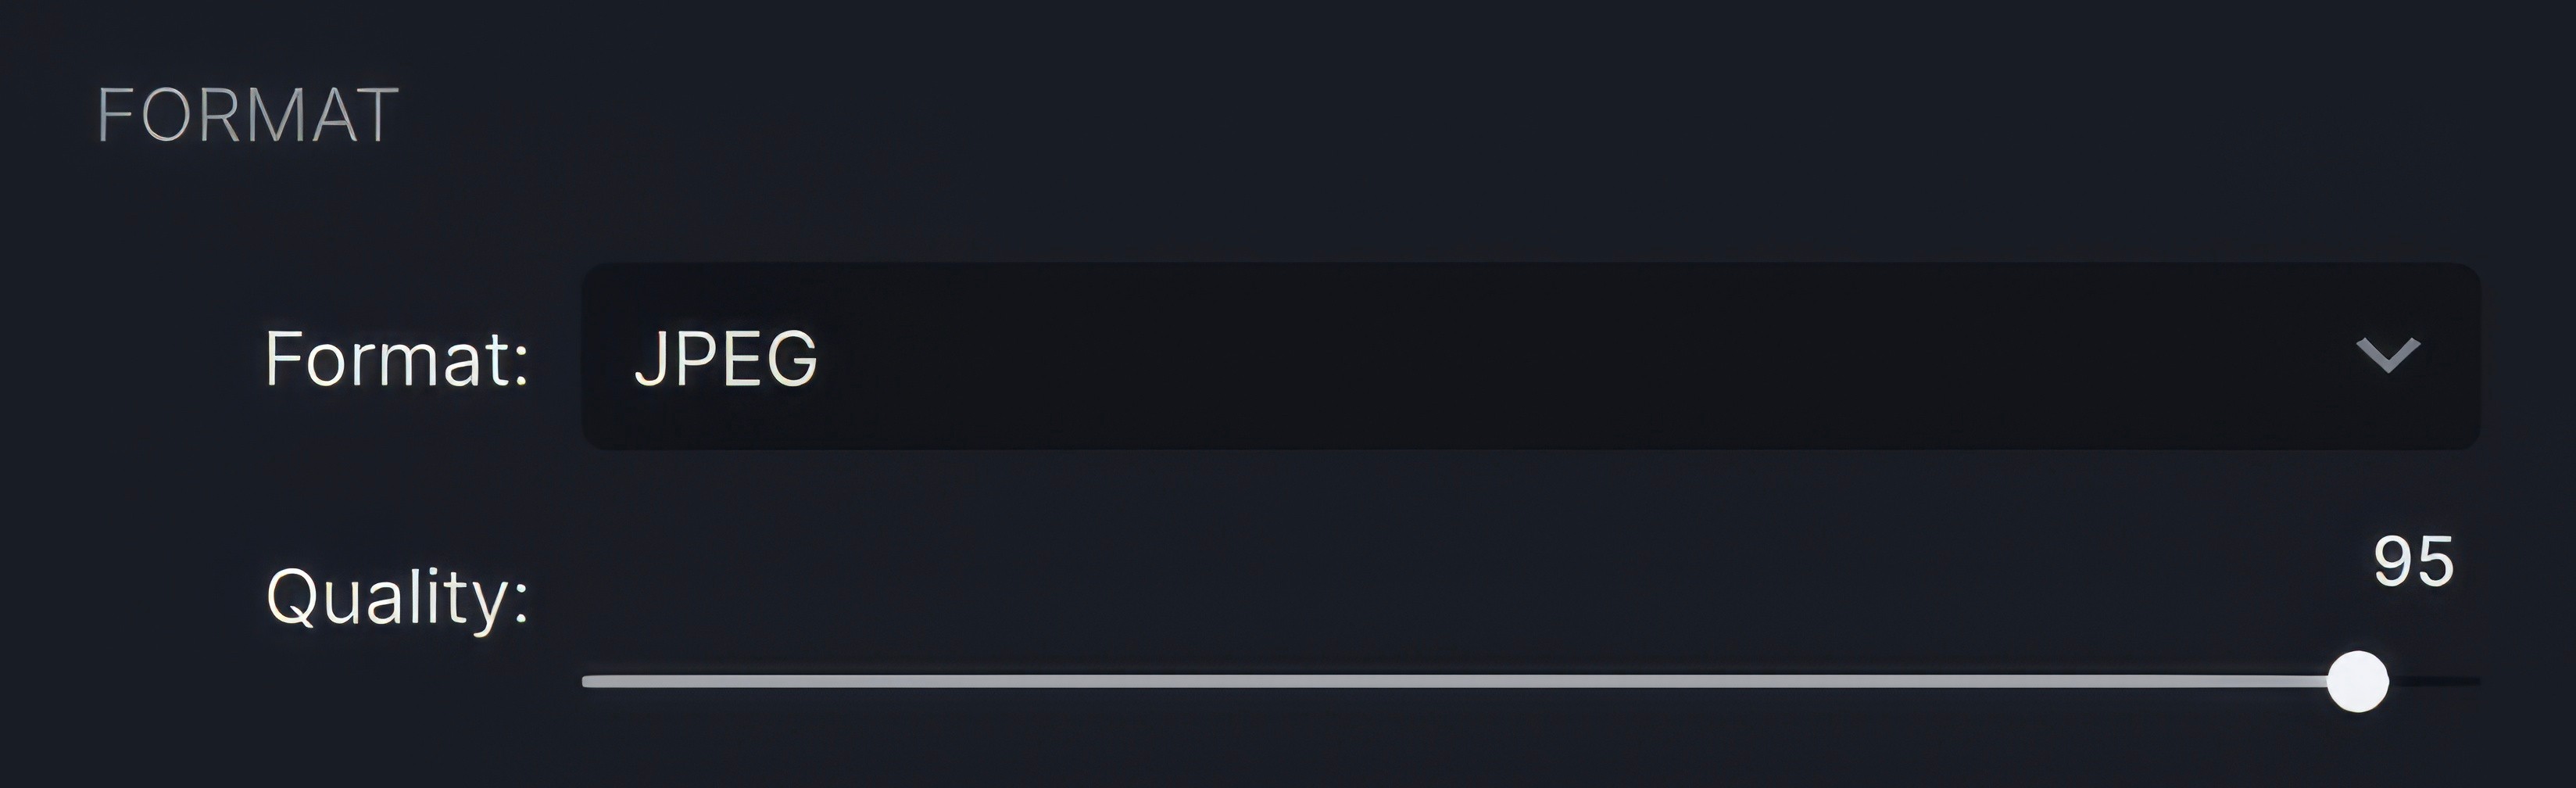
JPEG
- The default JPEG quality is 95%. That is the most space-efficient without sacrificing quality.
- Lower quality decreases image size dramatically and creates compression artifacts.
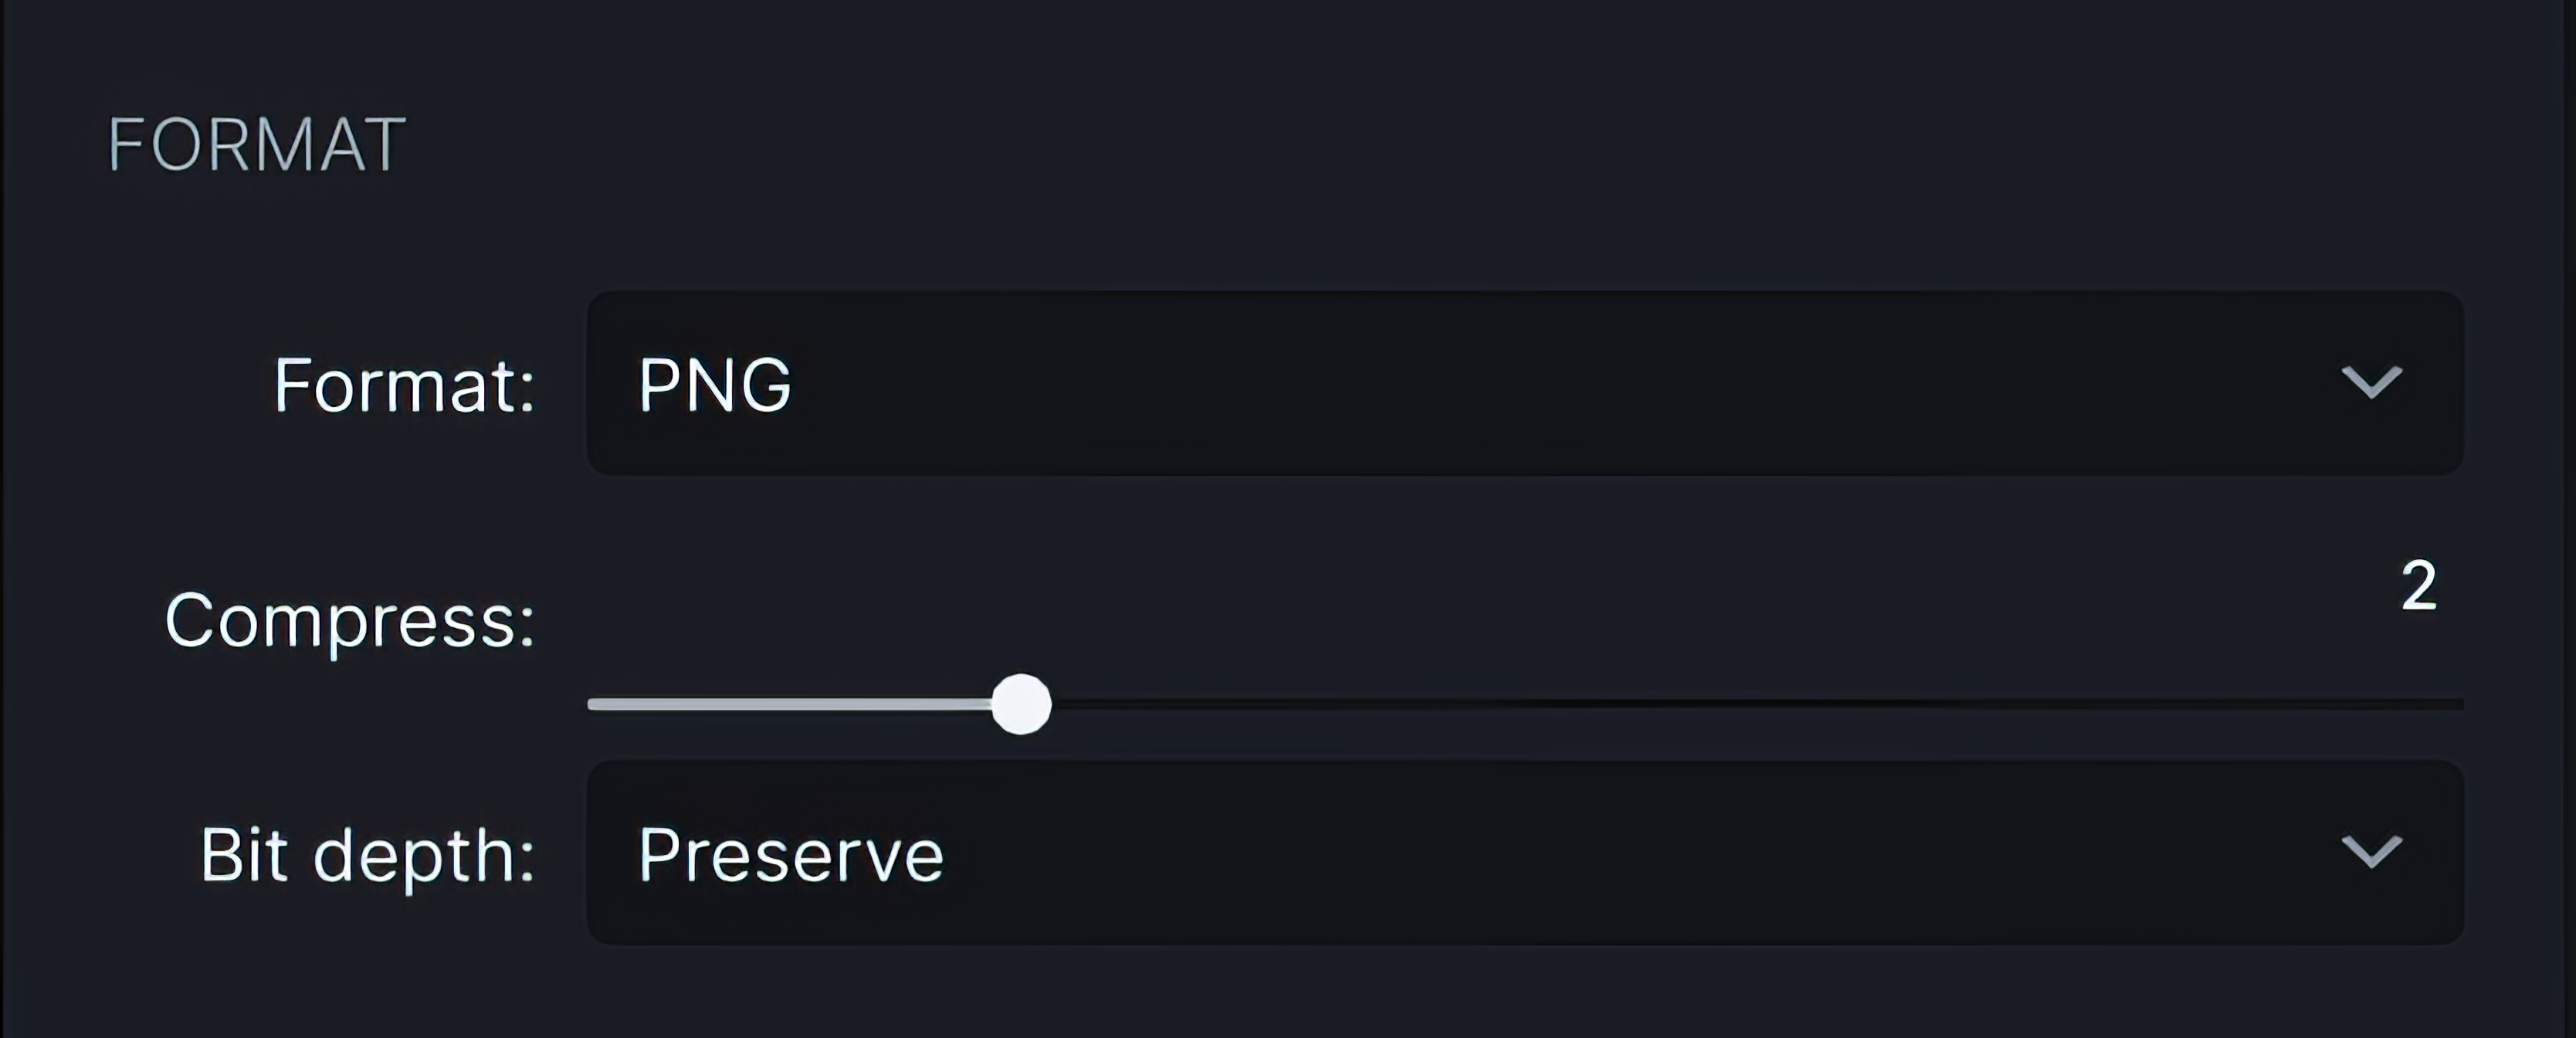
PNG
- Use the Compress slider to decrease image size without decreasing quality.
- Use Bit depth to alter the range of colors or shades of gray available to represent each pixel.
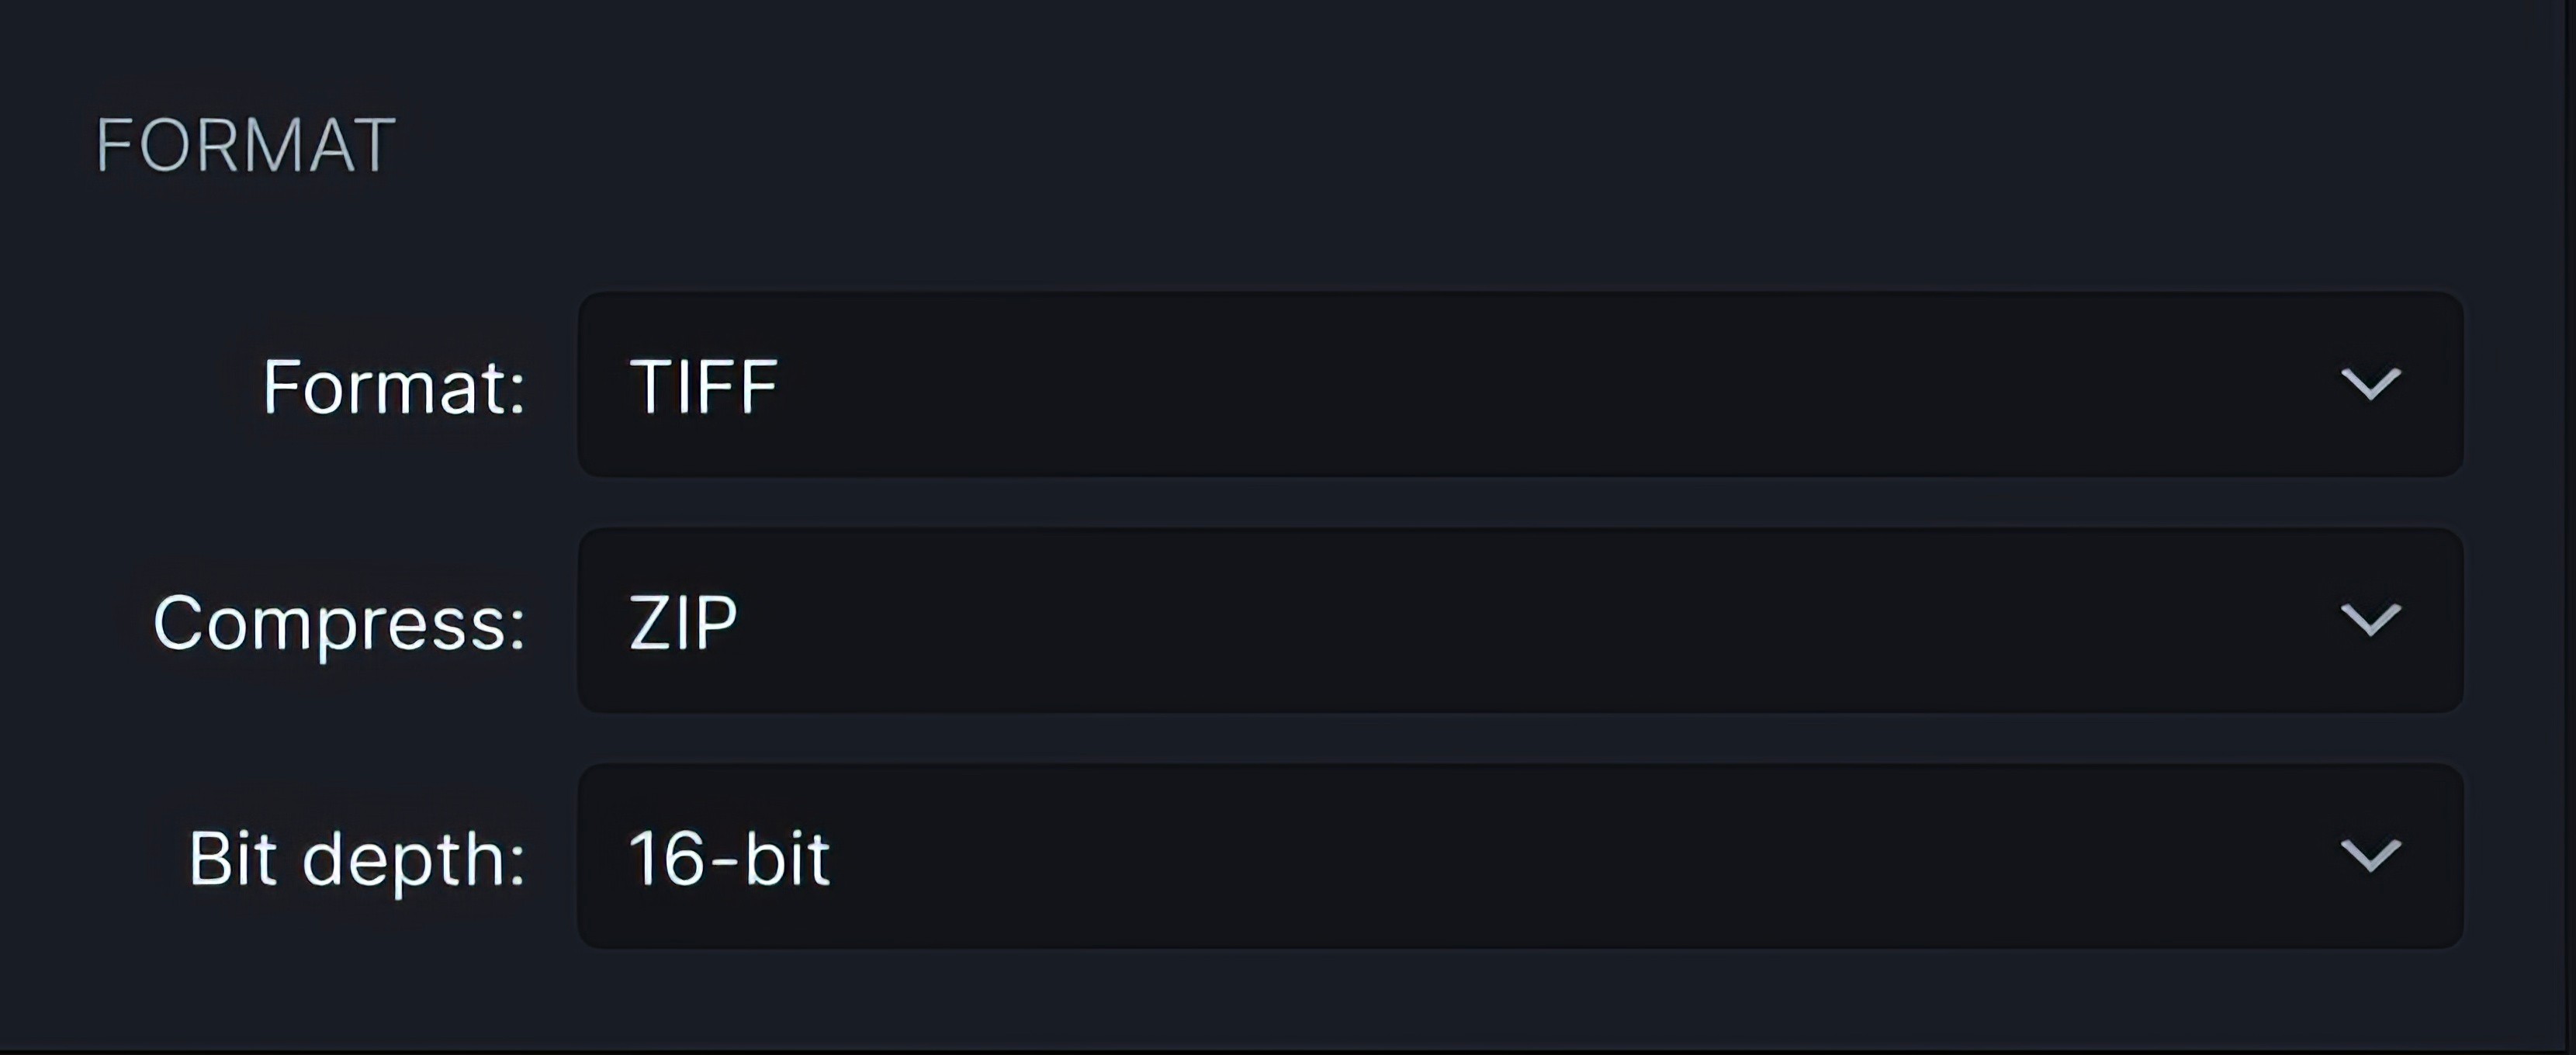
TIFF
- Use Bit depth to alter the range of colors or shades of gray available to represent each pixel.
- Use ZIP compression for higher compression levels; use LZW for faster processing.
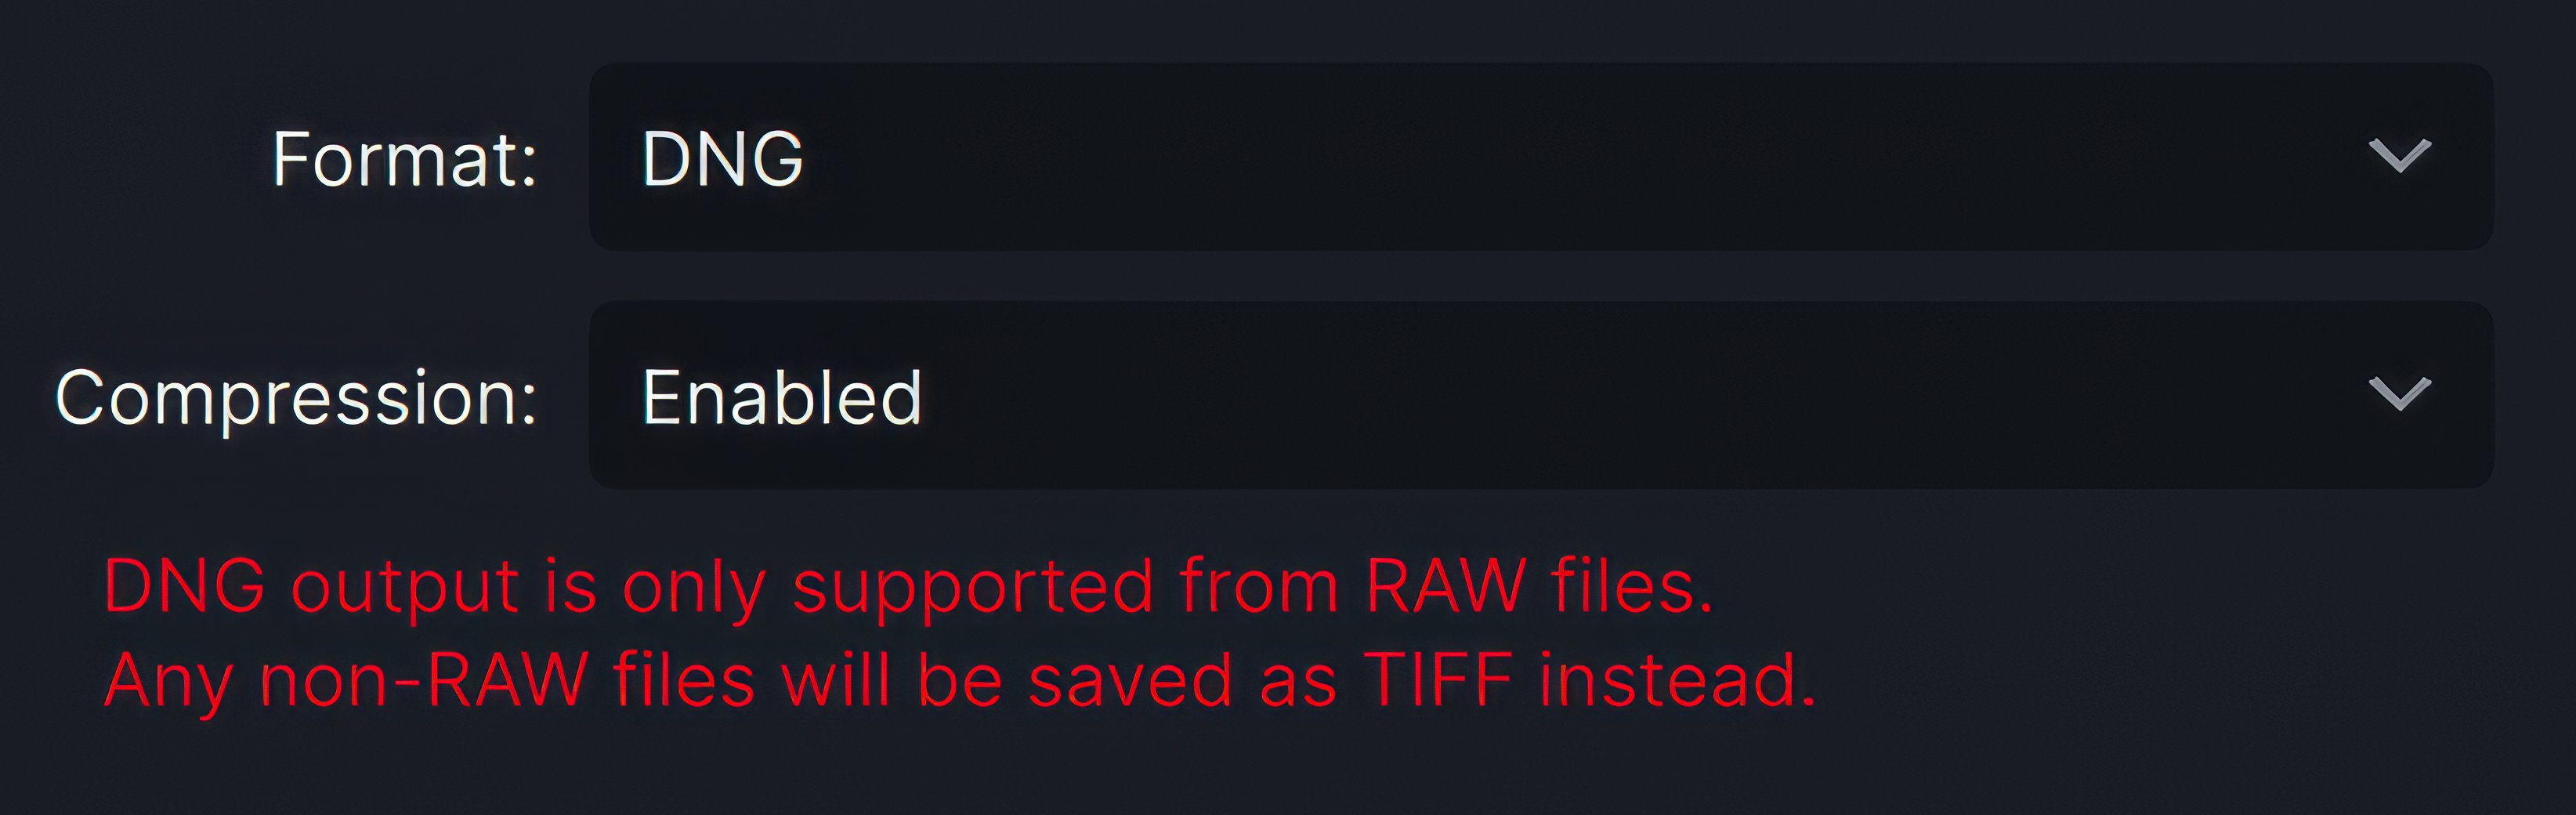
DNG
- Use the DNG format for RAW input images. Any non-RAW files will be saved as TIFF instead.
- The program uses lossless compression to decrease the output file size without losing image data.
Locate Saved Files
Click the folder icon to open the folder that contains your processed image.
