Trim and Crop
You can quickly set In and Out points, trim clips in the Timeline, crop, and more.
Trim
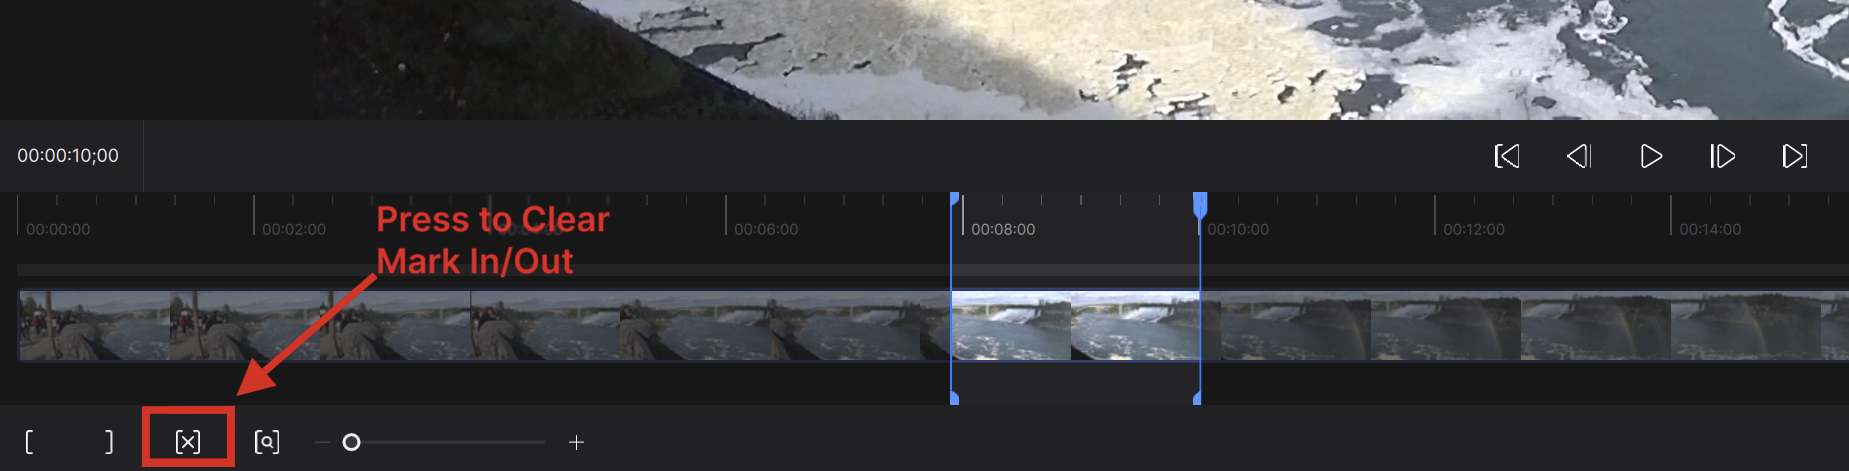
To trim, use the [ ] buttons on the left side of the app's timeline.
- The in-point in the sequence where the clip begins and the out-point in the sequence where the clip ends.
Using Frame Number vs. Timecode
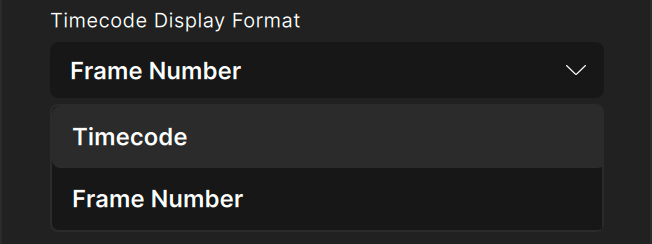
To set the trim by frame number, select frame number instead of timecode in the preferences menu.
- Allows for more precise control over the range of the selected video.
- This setting will also change the length of Previews in Topaz Video to be displayed in frames instead of seconds.
Crop and Transform
Crop
Crop allows the extraction of a user defined area from the original video. This tool allows the user to set an aspect ratio or a custom height/width.
Transform
Transform tools allows the manipulation of how the video will be displayed via rotation and flips.
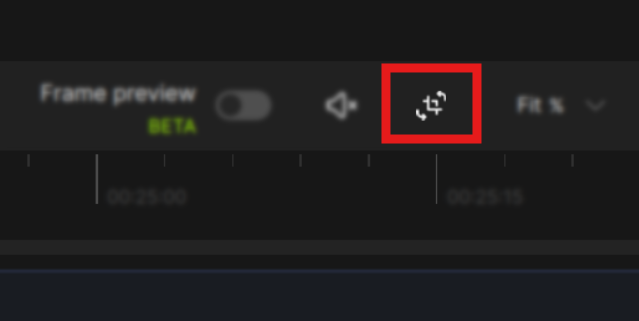
Crop and Transform share the same icon and working page. To do a crop or transformation operation, you will need to open the "pop up" workspace. This button is identified with the a crop symbol with rotations. The button is located on the upper right-hand side of the Timeline.
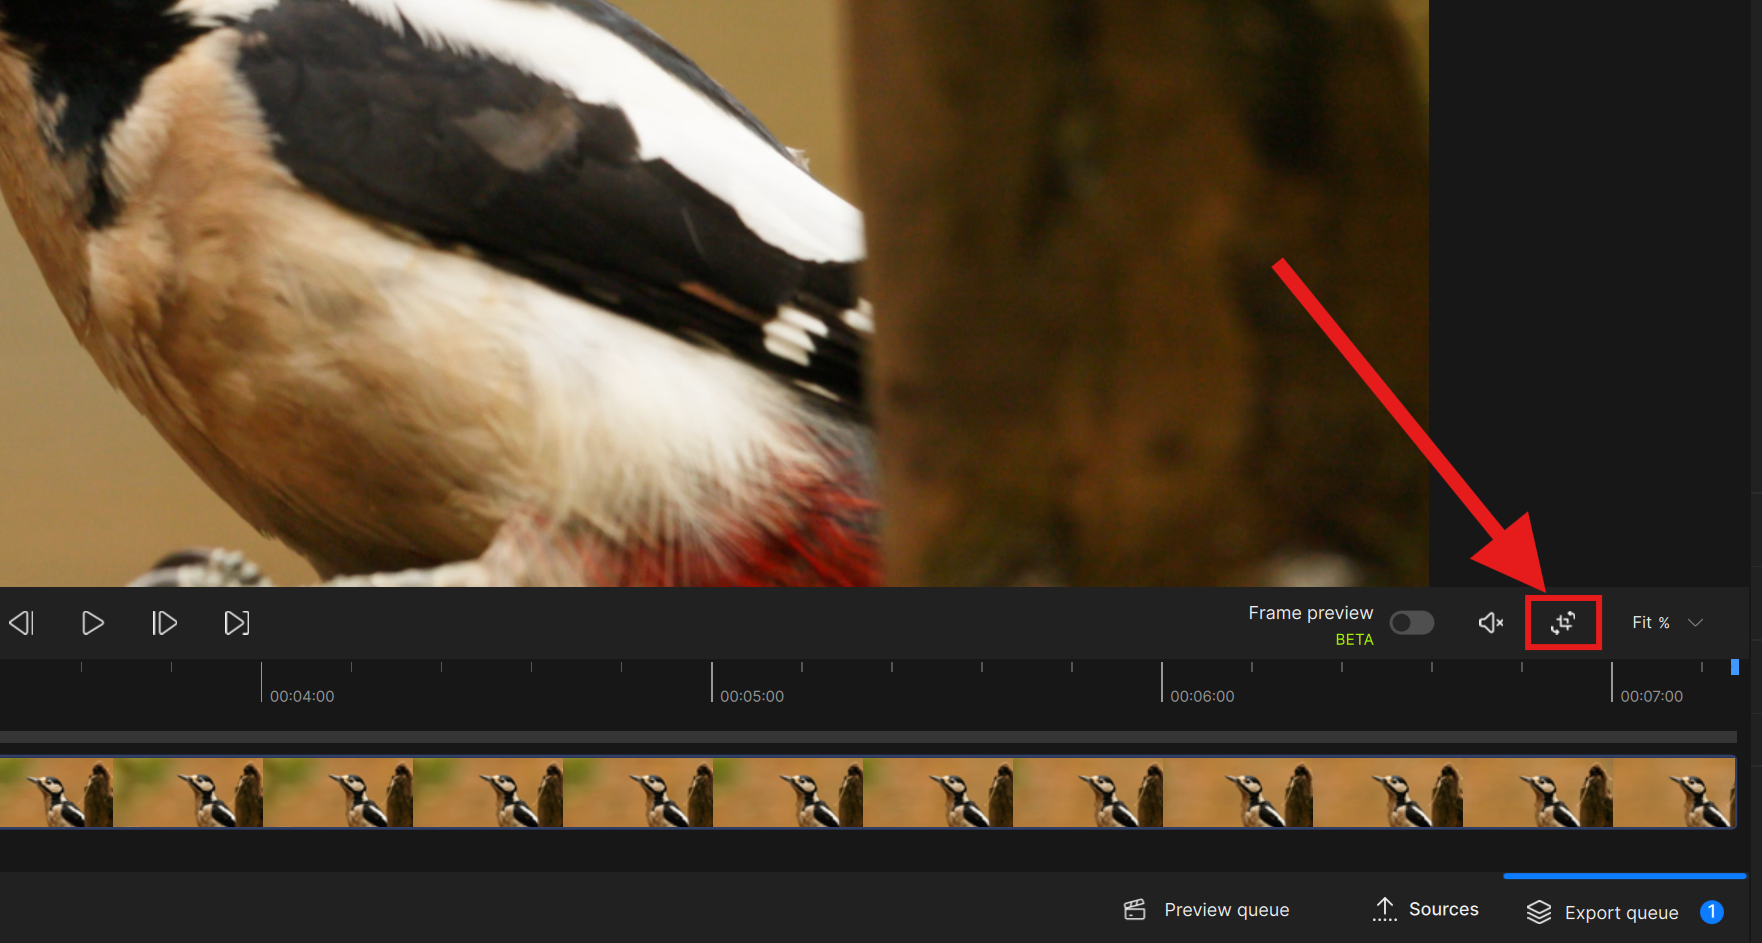
This button will open the following working space:
Within the Crop and transform workspace, it has the following features.
Transform
Transform allows the manipulation of how the video will be displayed with tools that allow adjustment with rotation, and flips.
Crop
Crop allows the extraction of a user defined area from the original video. This tool allows the user to set an aspect ratio or a custom height/width.
The crop menu has the following features.
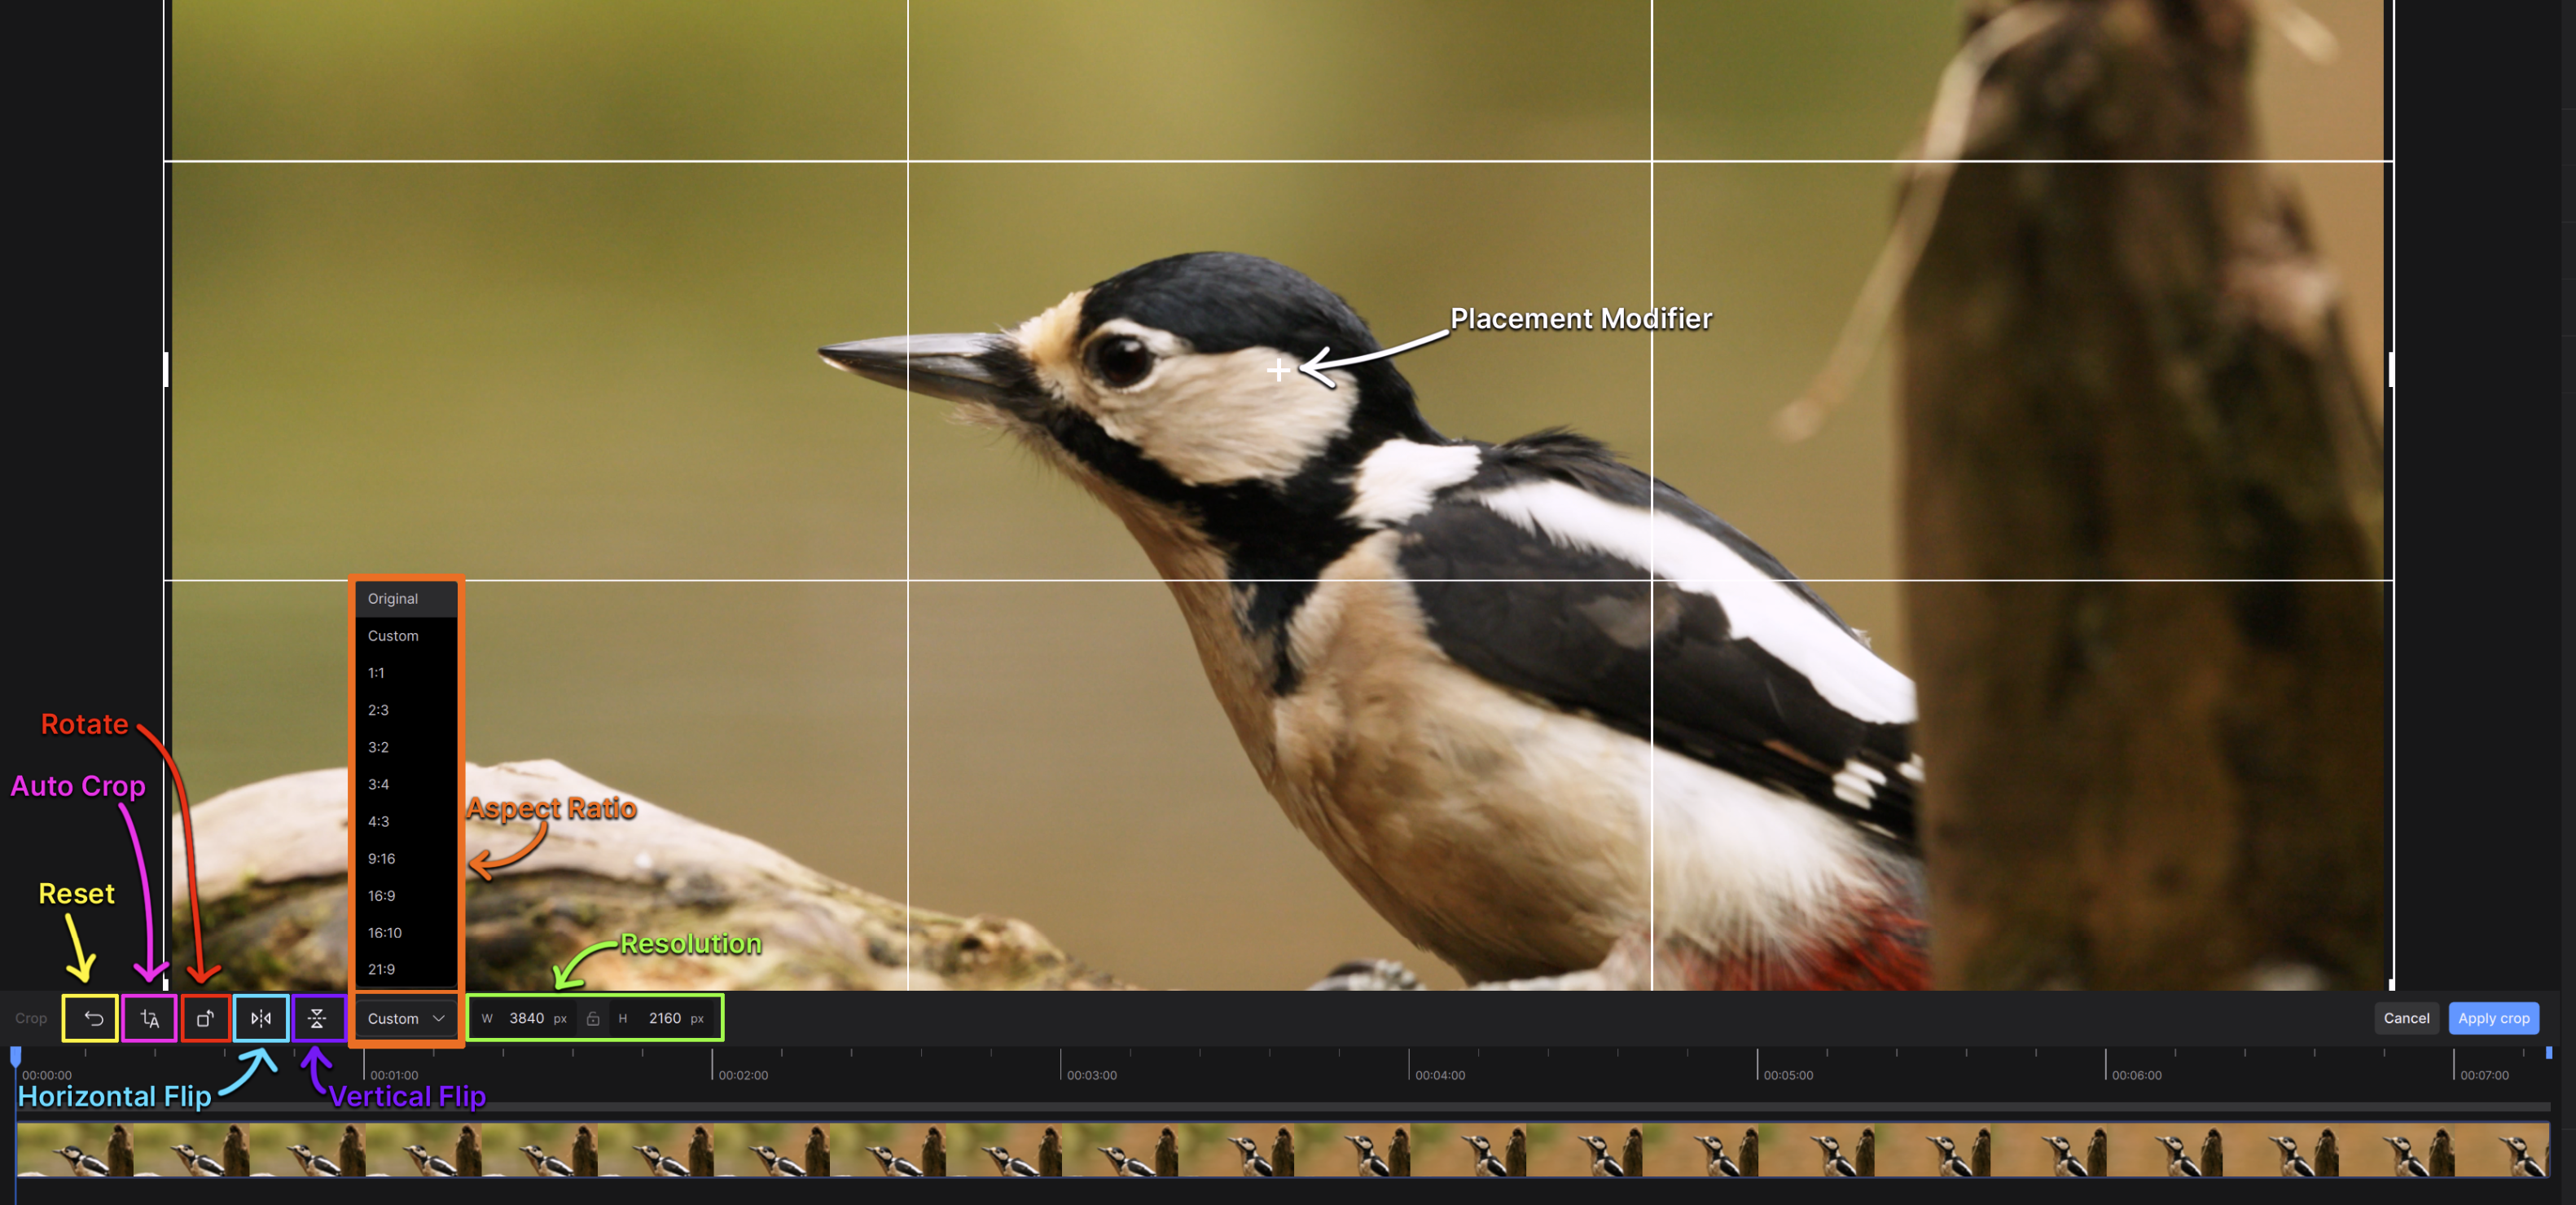
- Auto Crop: Automatically detects top/bottom bars along the perimeter of the footage and sets the crop dimensions to fill the screen.
- Reset Crop: Any changes made in the Crop Menu can be reverted to the original settings.
- Horizontal Flip:
- Vertical Flip:
- Aspect Ratio: This is the ratio result based on a video’s width and height. This determines the shape of the video. Note that this will not scale up, any change will be cropped into the original dimensions.
- Resolution: This requires the width and height dimensions to determine the size and aspect ratio of the video. Note that this will not scale up, any change will be cropped into the original dimensions.
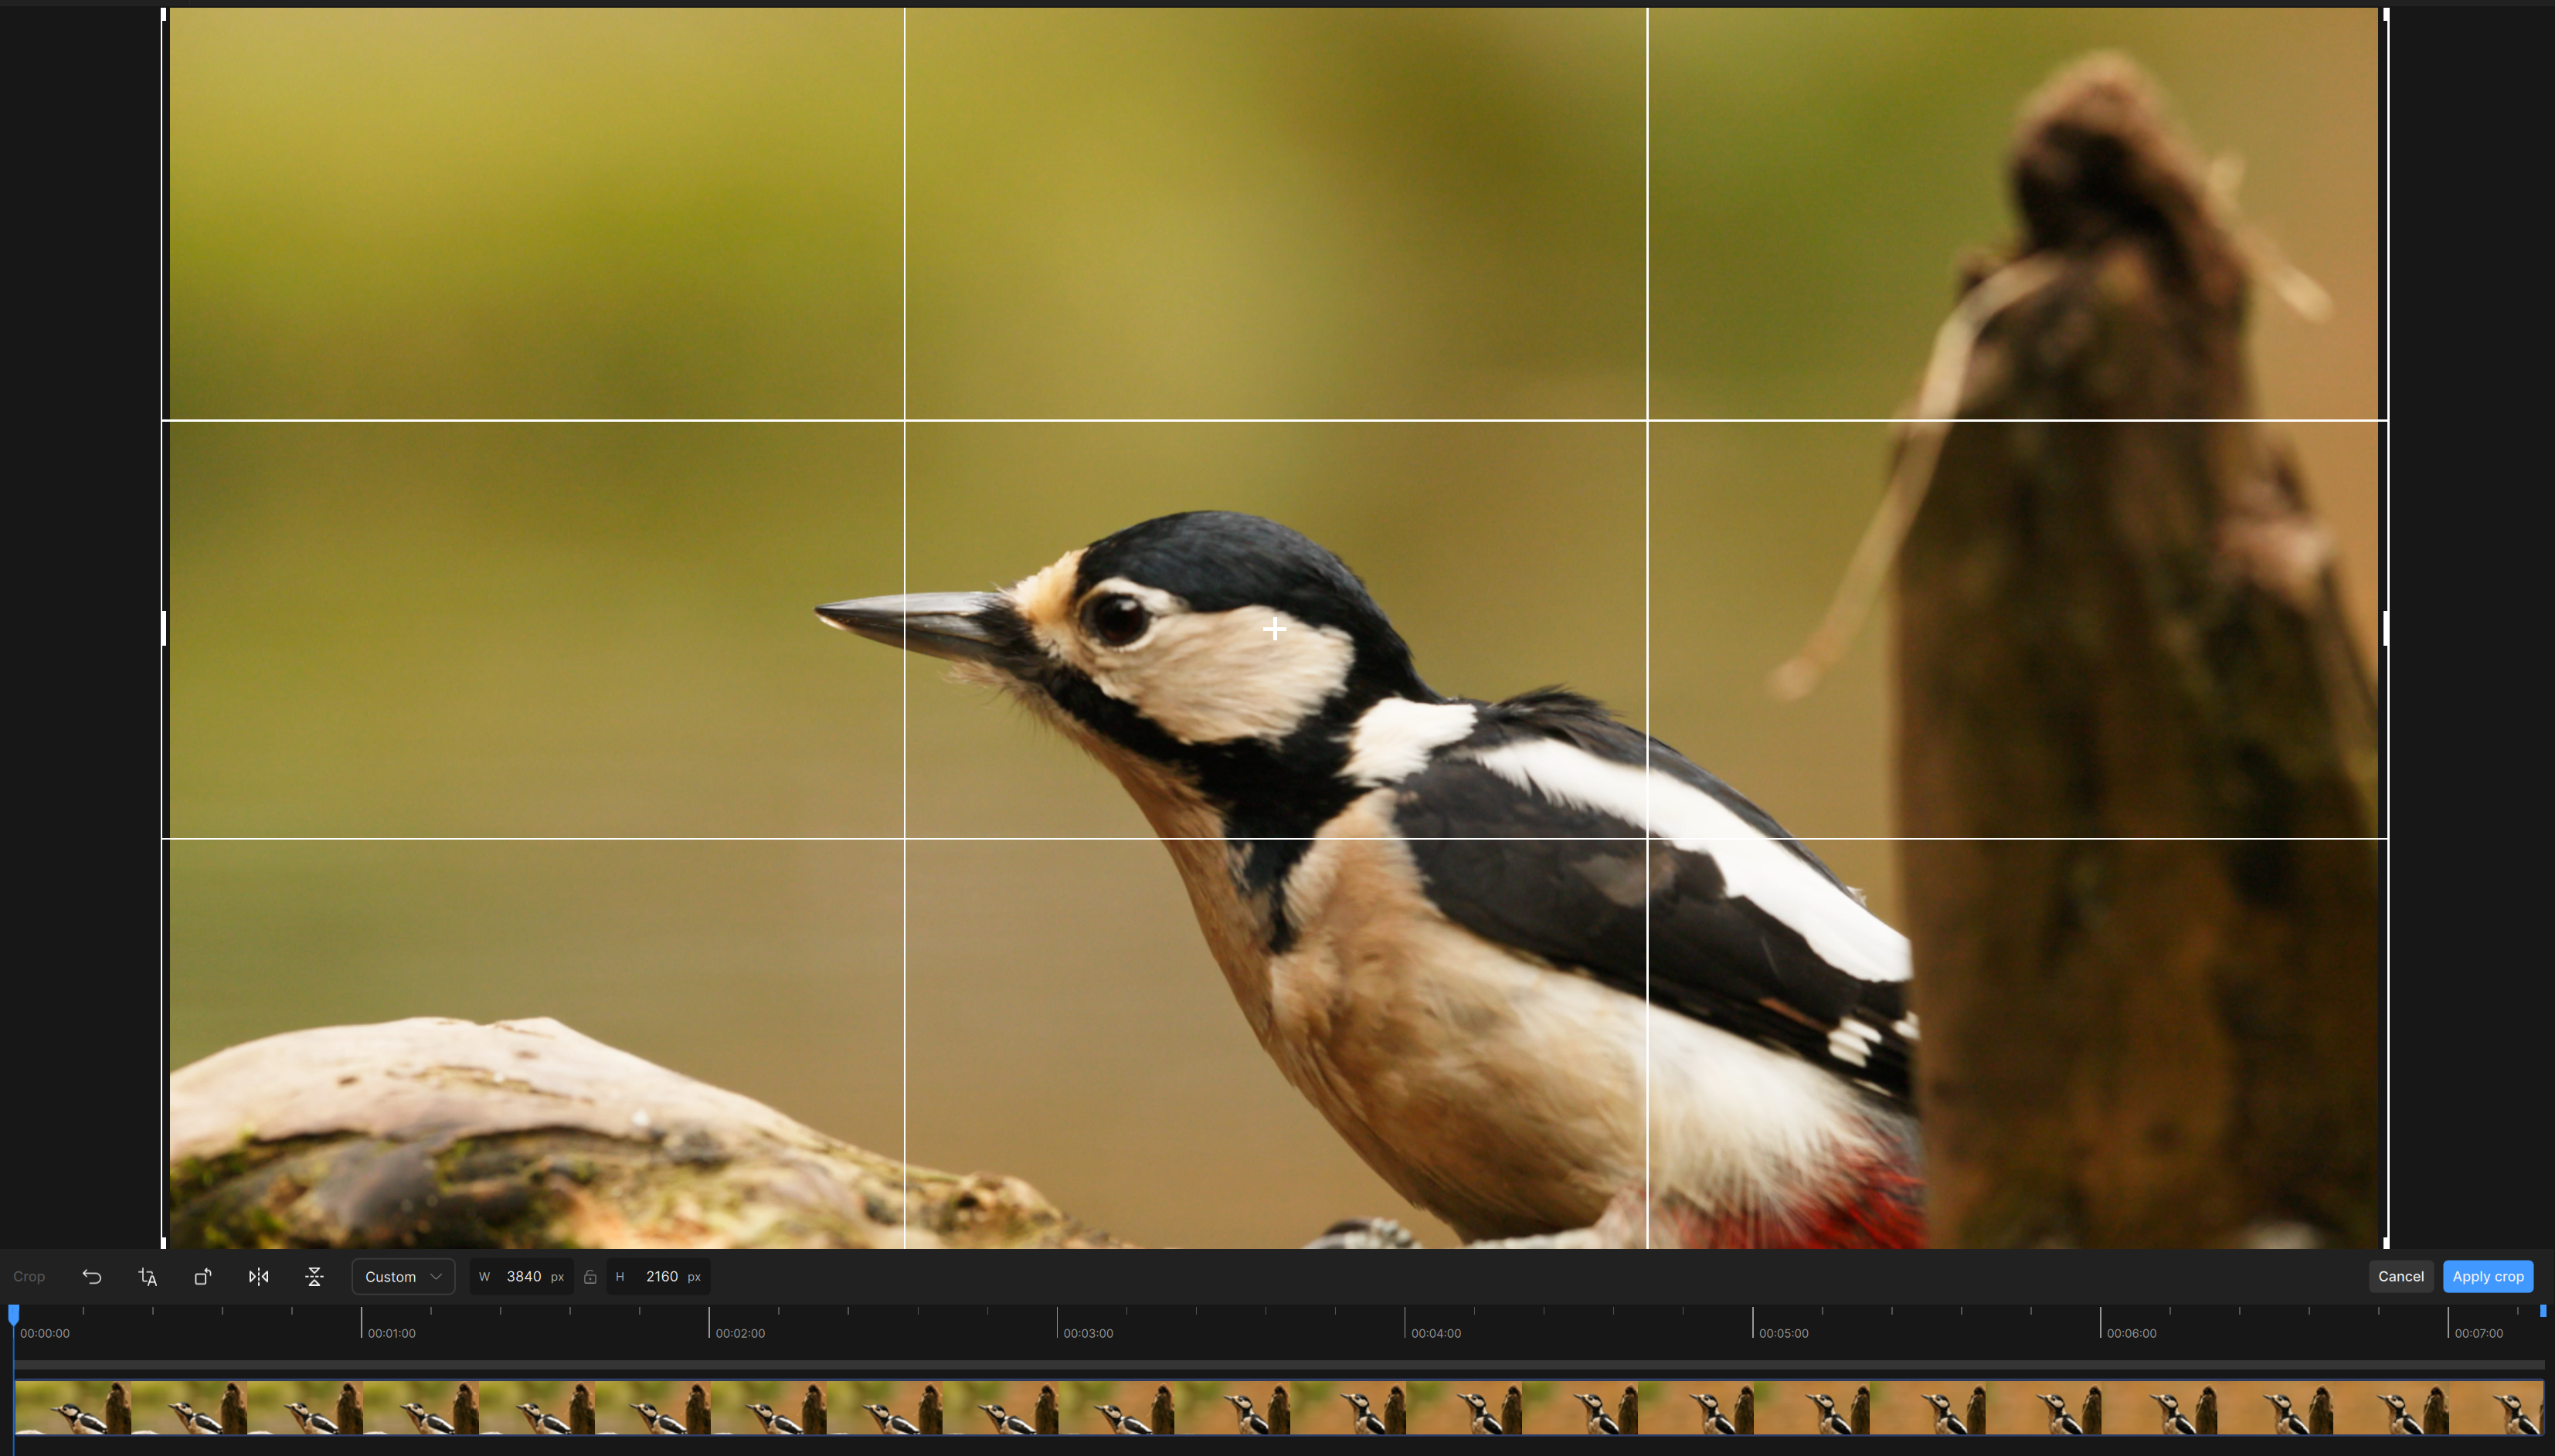
- Crop Placement: The grid, is the crop extraction. If you chose a resolution or aspect ratio smaller than the original source, you are able to change the placement of the crop. At default this would be a centered extraction, with the “X” and “Y” values set to “0”.
- Placement Modifier: If you chose a resolution or aspect ratio smaller than the original source, you are able to change the placement of the crop. You can use the blue cross hair “+” to move the crop grid manually.
- Cancel: This allows you to fully cancel in modifications made in the Crop Menu
- Apply Crop: This actually applies any and all Crop or Transform adjustments to your Video. Please note that the newly established dimensions will be considered original resolution within the application.
Keep in Mind:
- To save, press the Apply Crop button.
- To cancel, press the Cancel button.
- To reset, press the the curved arrow Reset icon next to the Auto Crop button icon.
- Any previously cached previews on the original input resolution will be removed since there is now a new input resolution.
Example Crop Tutorial
For this example, there will be a center extraction based on an aspect ratio of 16:9 from a file that originates as 1200x480.
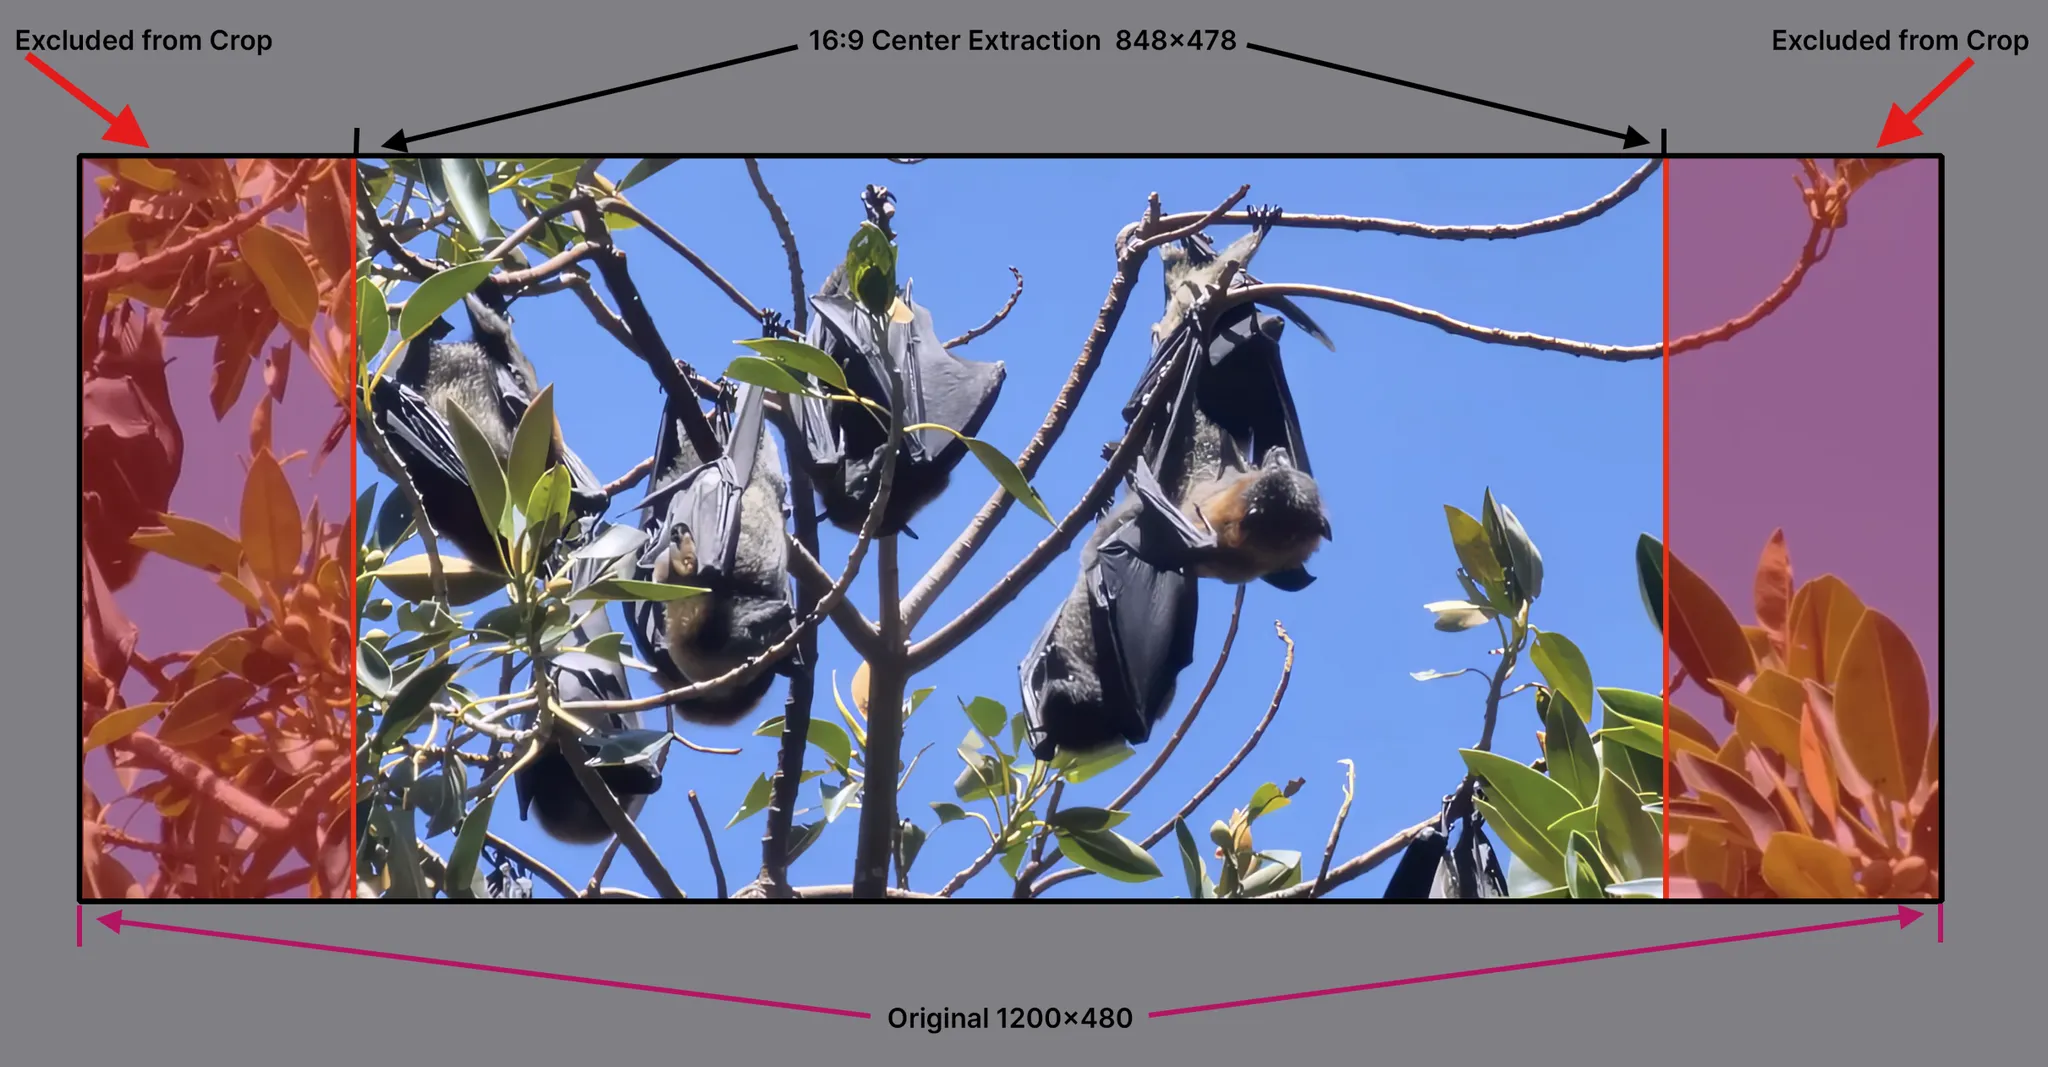
- The original source was a custom 1200x480
- On the far left, change the aspect ratio to 16:9. This will change the resolution to 848x477.
- Here the user is able to move the crop by utilizing the center "cross hair" to the preferred spot. At default the crop will be a center extraction.
- The "Apply Crop" is clicked to save.
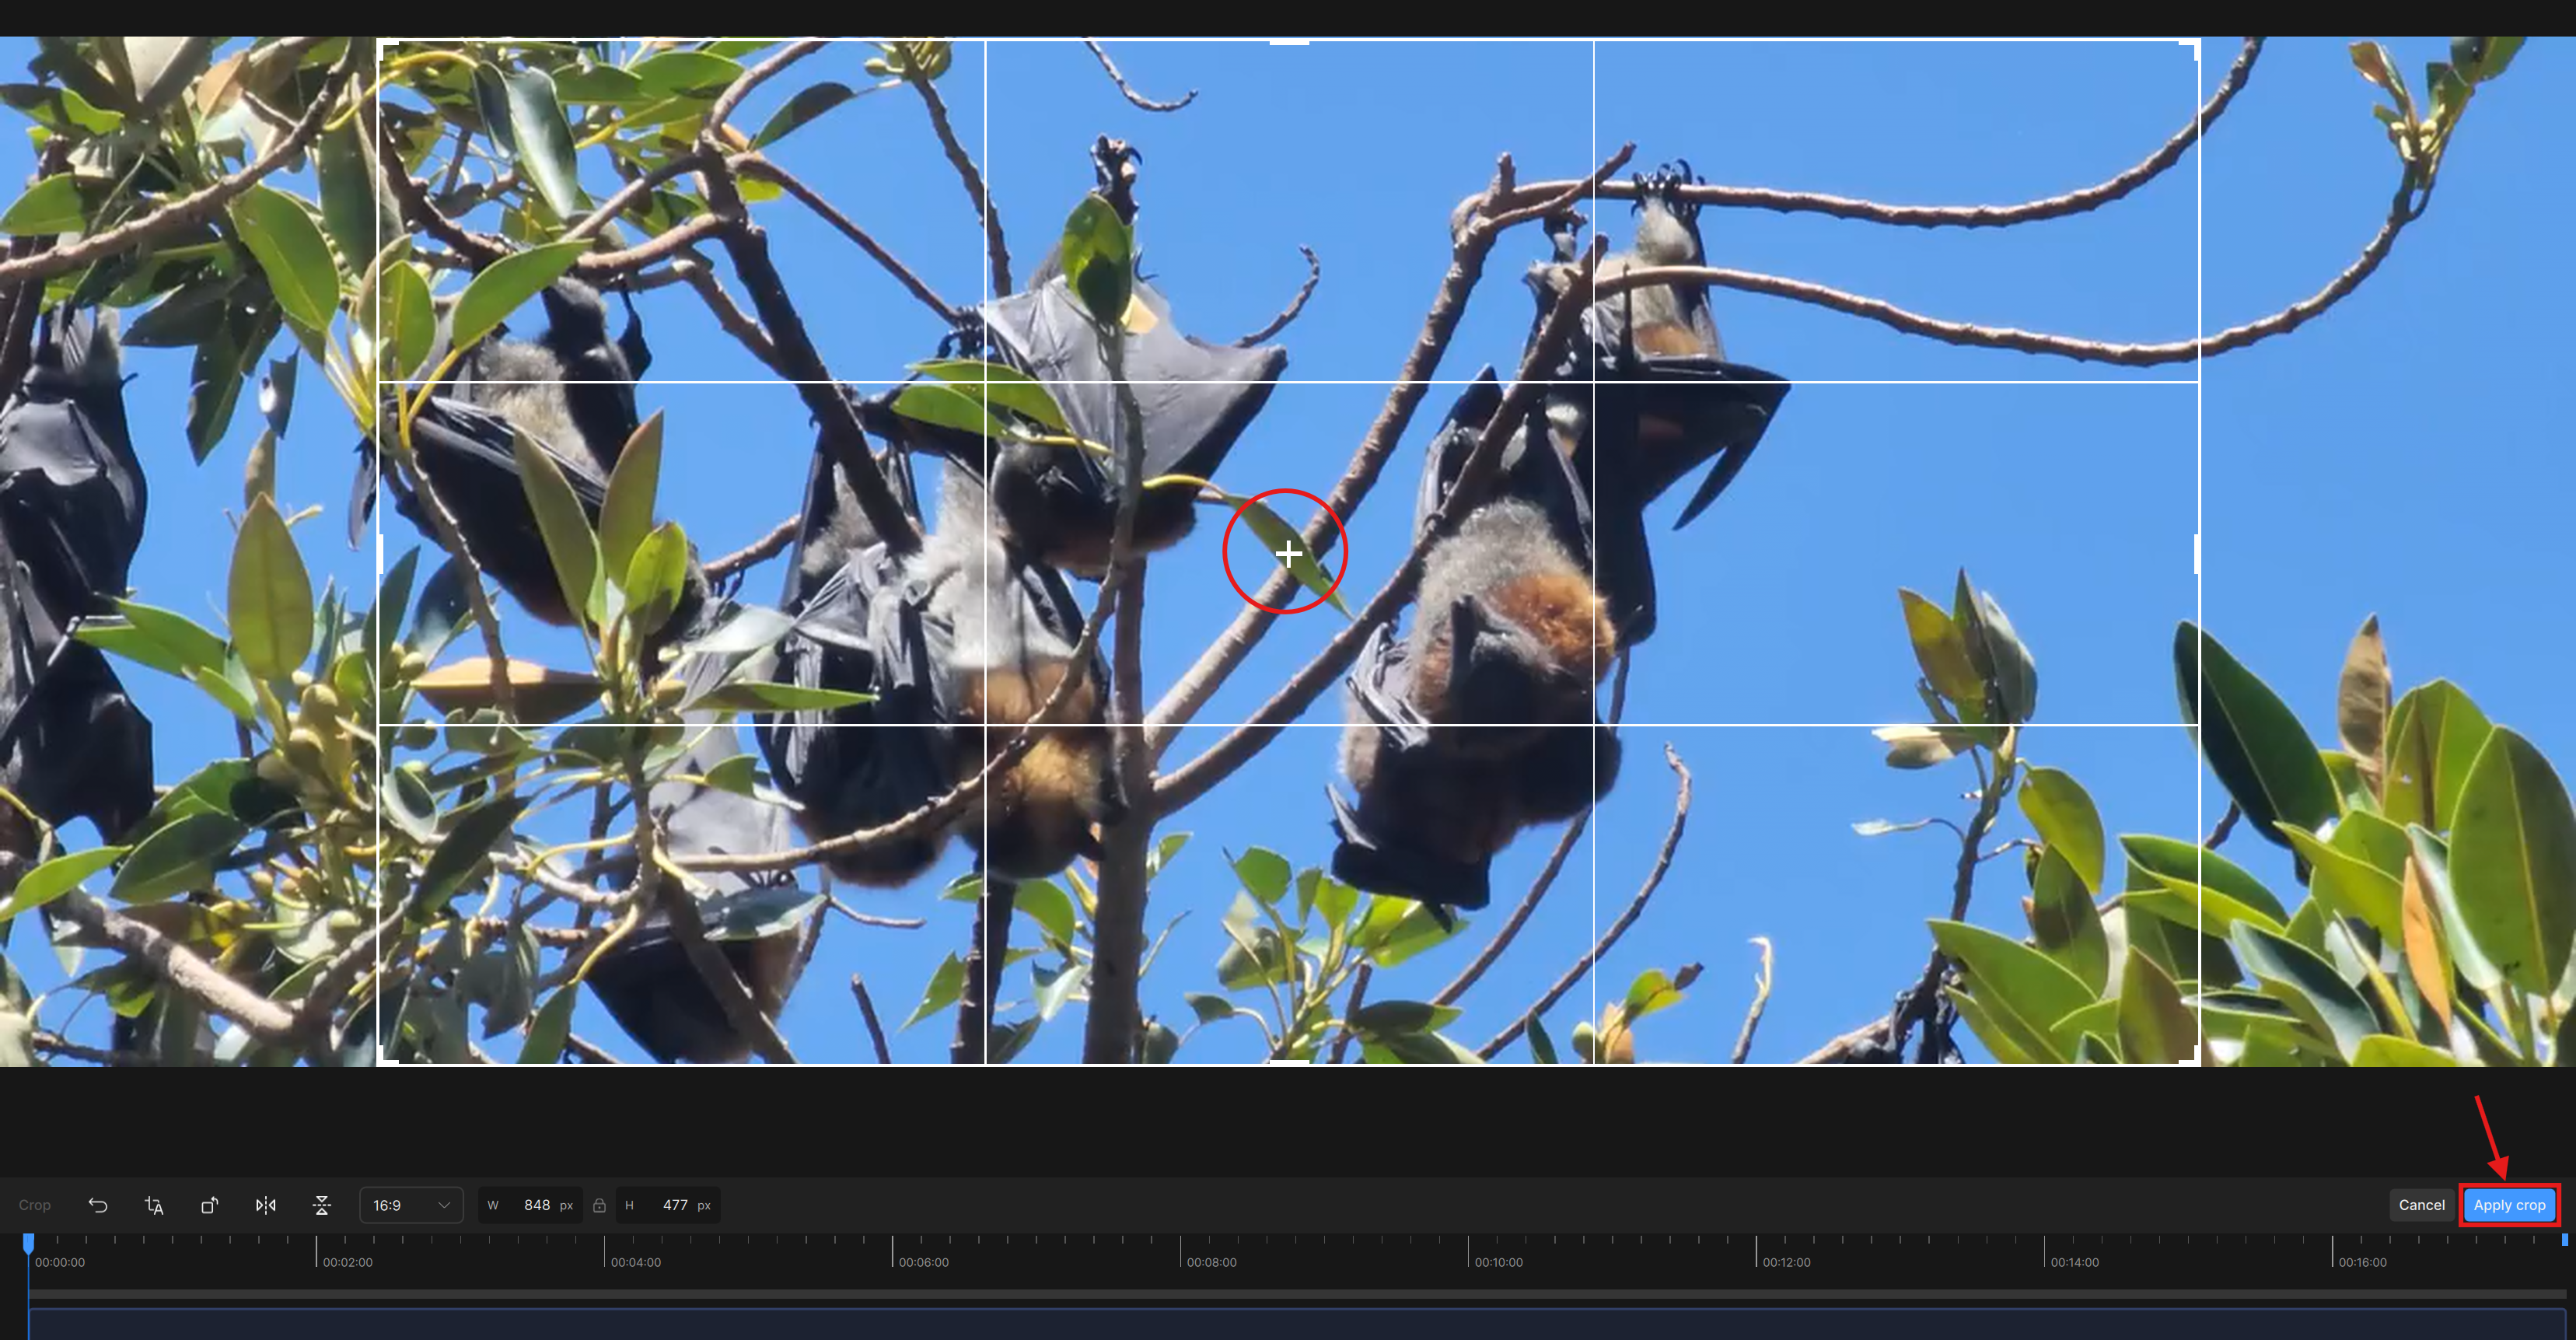
- Once saved, the new resolution is 848x478 and considered as "original" within the application.
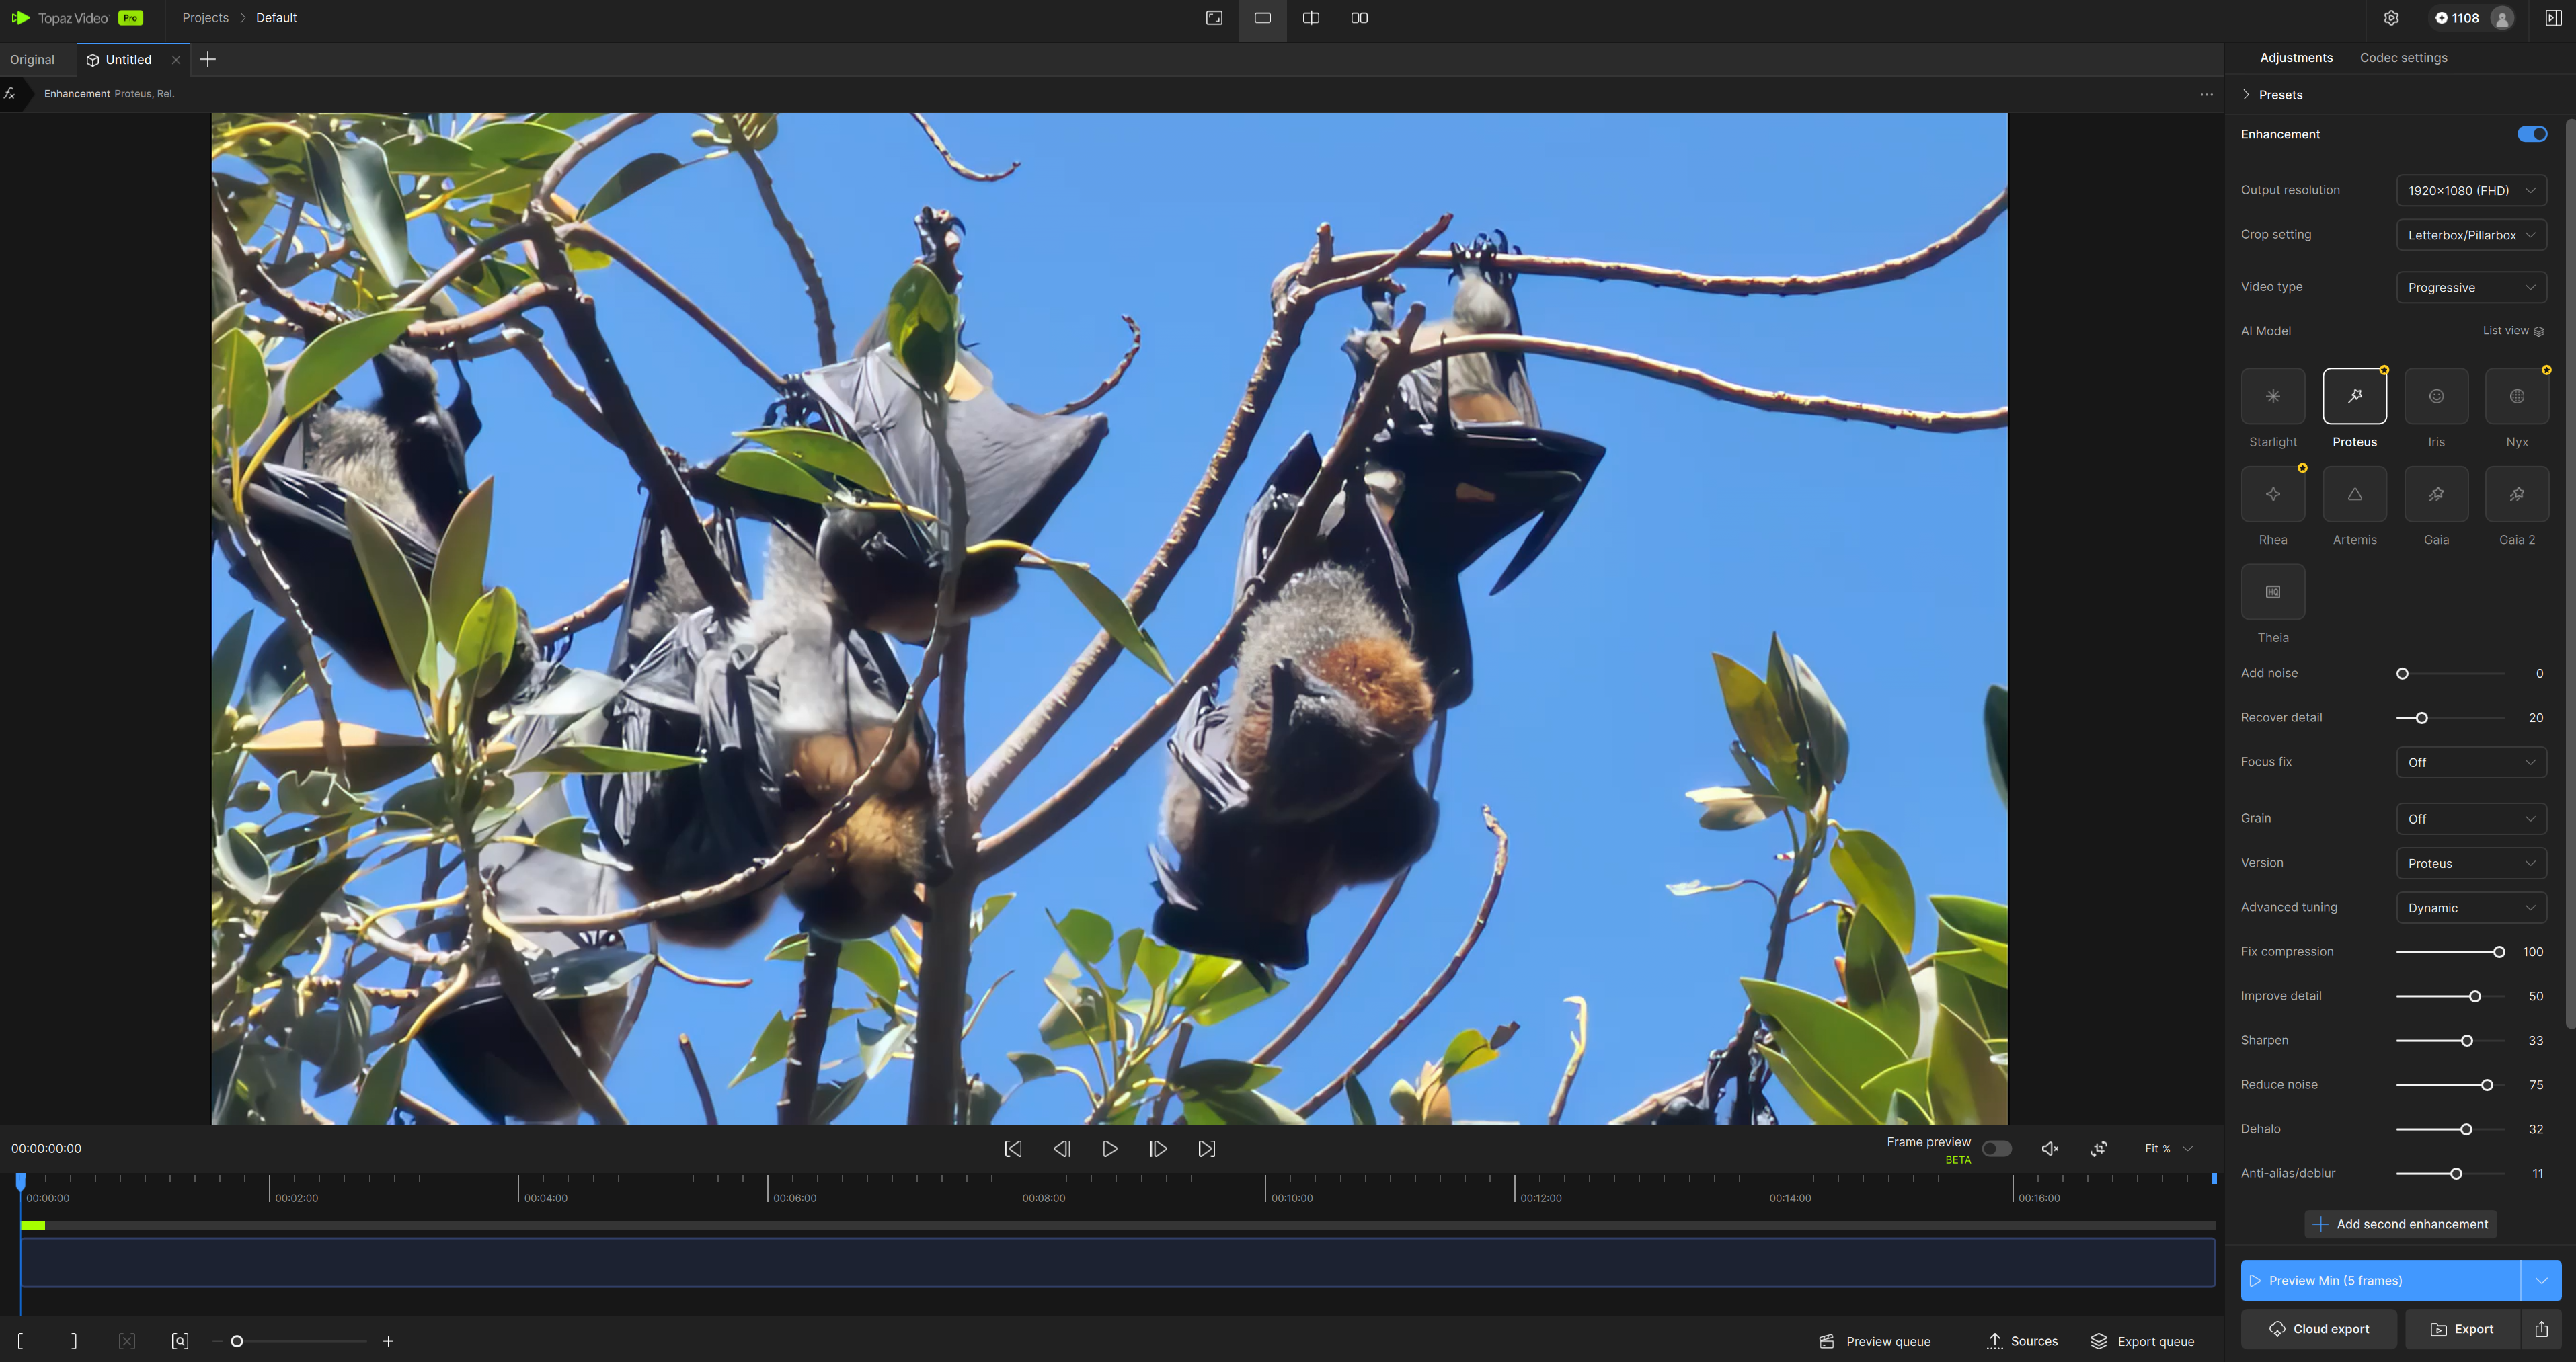
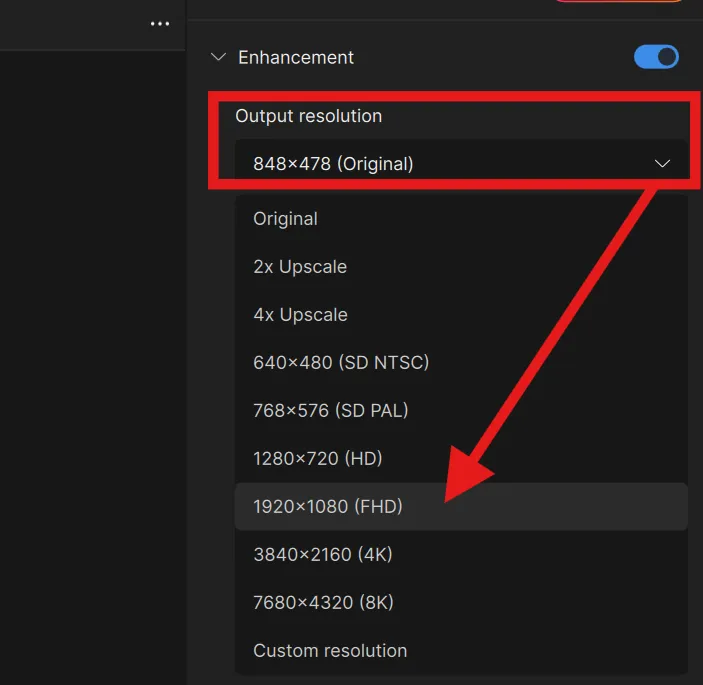
- As a new “original” resolution, Enhancements and scale ups can be done. Here, the Output Resolution is set to 1920x1080 (FHD).
Below shows the result of the new resolution upscaled and enhanced with Proteus using some custom Dynamic Settings.