Upscale & Resize
The Upscale enhancement can do multiple things:
- CHANGE IMAGE SIZE: Change the size of your image to be up to 600% times bigger (1) or downscale the image to be a smaller size (0.5x for example) while preserving the intricate details from the original image.
- CHANGE FILE RESOLUTION: In the Dimensions options, if you change the size to be shown in inches or centimeters, you will see the Resolution field appear (will be in px/inch or px/cm). If left unchanged, Topaz Photo will retain the resolution of the original file.
- FIX ARTIFACTS: Upscale AI Models can also be used to help fix compression and/or resolution artifacts present in small low resolution files or files taken from a cellphone for example. Test the different AI Models to find the one best suited for your image's type of artifacts.
(1) Upscaling 6 times the original size will only be available if the original image is small. The "Max" scale for the image will be dependent on the starting image size. The "Max" will be 32 000 pixels on the longest side (about 8 feet wide, depending on the file resolution - dpi) or 2GB of file size, whichever is attained first.
Tips and Tricks
Processing a very large upscale will take up a lot of graphic memory and processing time to export. Here are tips to optimize your upscale:
- Very important: Double-check that you only upscale to the needed size. If you don't need the image bigger in size and only want the compression/resolution artifacts fixed, choose 1x scale.
- Test exporting the file to TIFF or JPEG, as exporting to a RAW/DNG will use up more memory.
- Export the file locally, and not on a hard drive to optimize processing time and avoid hard drive conflicts or writing issues.
- Make sure the machine meets the Recommended Specifications. Even with these specifications, a very large upscale could go over what the machine can handle.
Scale/Dimensions/Resolution
Use the Upscale Controls Panel to adjust the Scale, Dimensions and Resolution.
- SCALE: Choose the scale factor here. Make sure to only upscale to a file size you need. If you don't need the image bigger in size and only want the compression/resolution artifacts fixed, choose 1x scale.
If you do not see any Scale options, you may be using the Photoshop plugin in Filters > Topaz Photo, which will not allow size changes. Make sure from Photoshop to use the File > Automate plugin instead, which will allow size changes.
- DIMENSIONS: If you need a specific size, you can change the size in the Dimensions field. You can toggle from Pixel, to inches, to centimeters.
- RESOLUTION: Choose from pixels, inches, or centimeters to specify dimensions. Set values for each side or enter the overall DPI (dots per inch) or PPI (pixels per inch). Use this tool to define dimensions for printing purposes. The pixels/inch and pixels/centimeter textboxes only appear when the dimensions are set to those units. Example, to see the DPI and set it to 300 dpi (dots per inch), make sure to select the Dimensions to be in inches.
AI Models
The AI models rely heavily on existing image quality. They may generate unwanted artifacts if the resolution of the starting image is too low. Upscale from an original image whenever possible rather than a copy that has been compressed.
Make sure to use the appropriate model for your image. The models are not interchangeable and using the wrong model may deliver unwanted results.
Standard
Standard (v1): Best for general use on medium-quality images. Ideal for point-and-shoot cameras, older smartphones, and detailed AI-generated images where you want a reliable, natural-looking upscale.
Standard (v2): Best for images where a more generative enhancement is desired. Produces stronger detail creation than v1, helping improve perceived sharpness and structure on softer or lower-quality images.
High Fidelity
High Fidelity (v1): Best for enhancing already high-quality images while preserving natural detail. Ideal for DSLR and modern smartphone photos where you want a clean upscale without altering the original look.
High Fidelity (v2): Best for high-quality images where you want to retain original character such as grain or noise. Produces a slightly more stylized result while still preserving detail, useful for artistic or aesthetic intent.
High Fidelity (v3): New, released in Topaz Photo v1.5.0. Best for high-resolution, detail-rich images where maximum realism is needed. Enhances fine textures, reduces repetitive artifacts, and produces sharper, more natural results at larger upscale sizes while staying true to the original image.
Low Resolution
The Low Resolution model prioritizes preserving overall quality rather than fine details. Use it to upscale low-quality images that have been highly compressed.
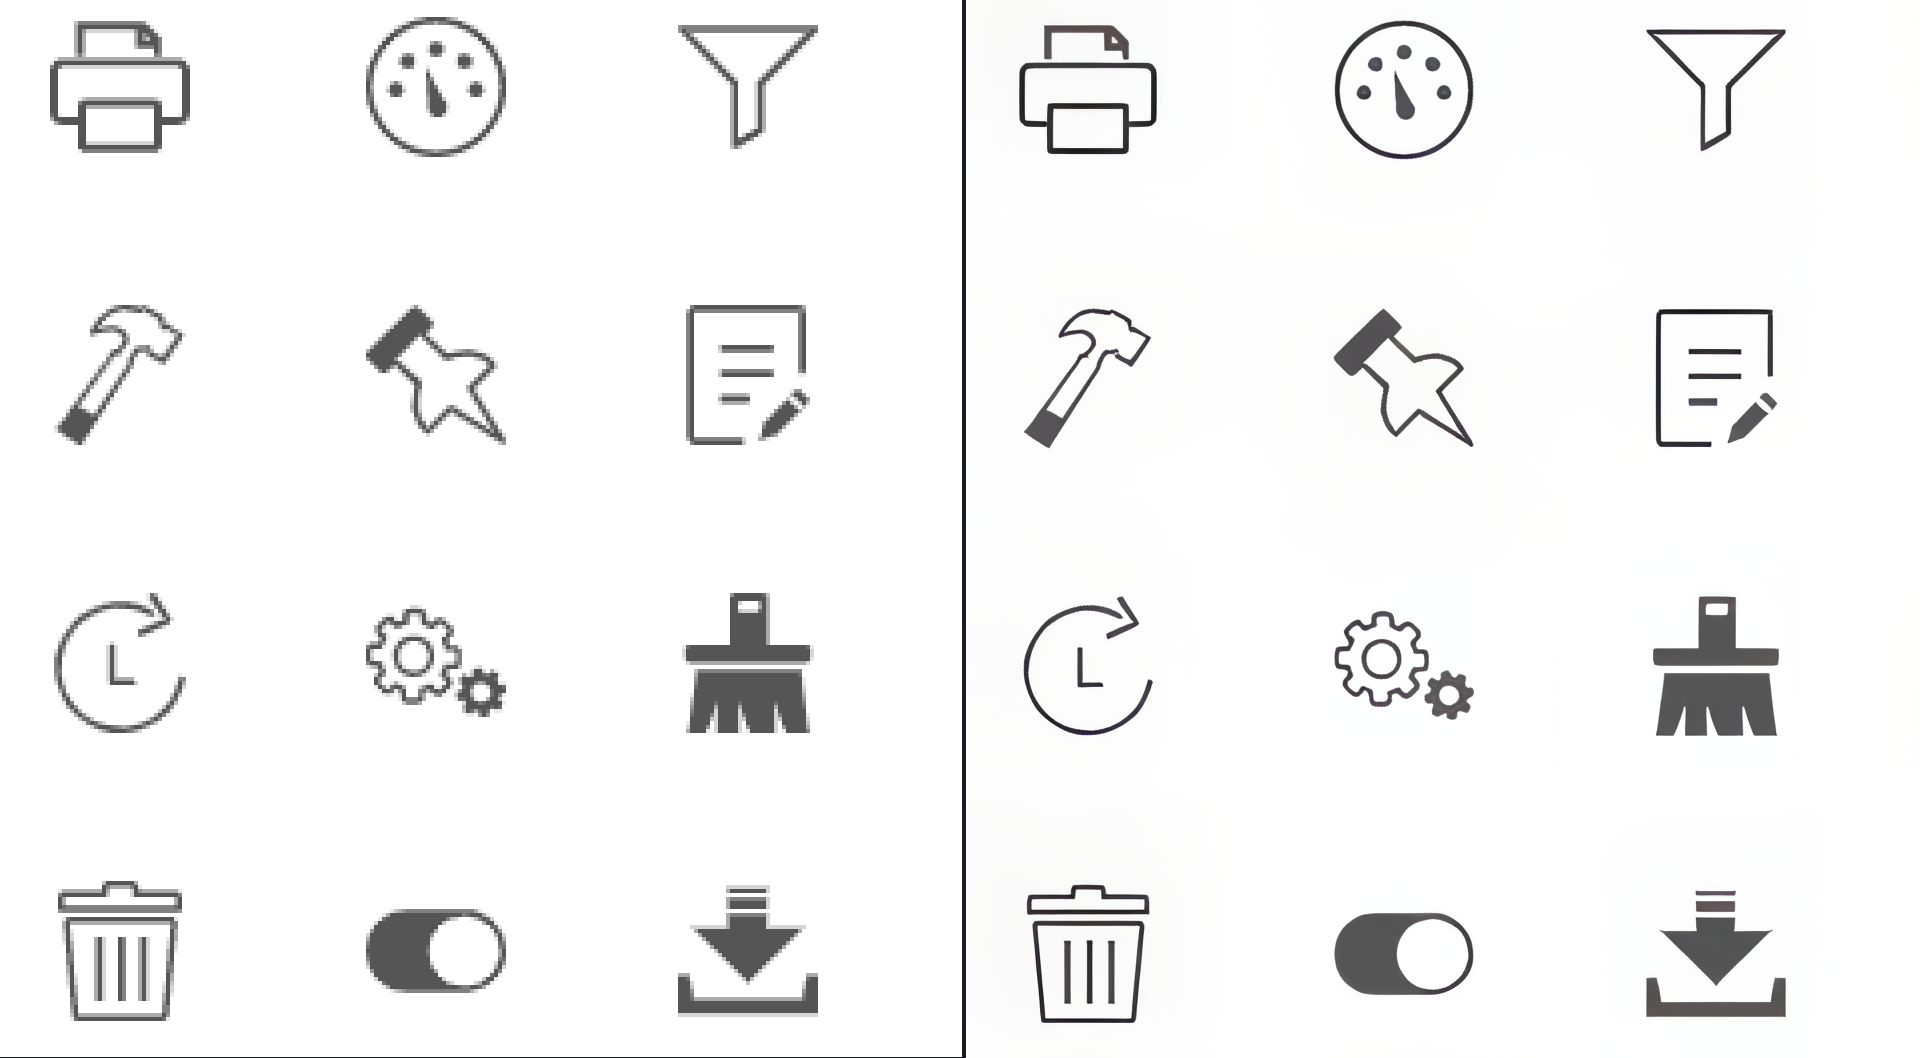
Graphics
The Graphics model upscales simple illustrations such as cartoons.
Standard MAX
This model is built on new architecture, producing very high-quality outputs similar to generative upscaling models in Gigapixel AI while significantly lowering the hardware requirements and high processing time. Standard MAX can run on a wide range of devices — making advanced restoration more accessible than ever.
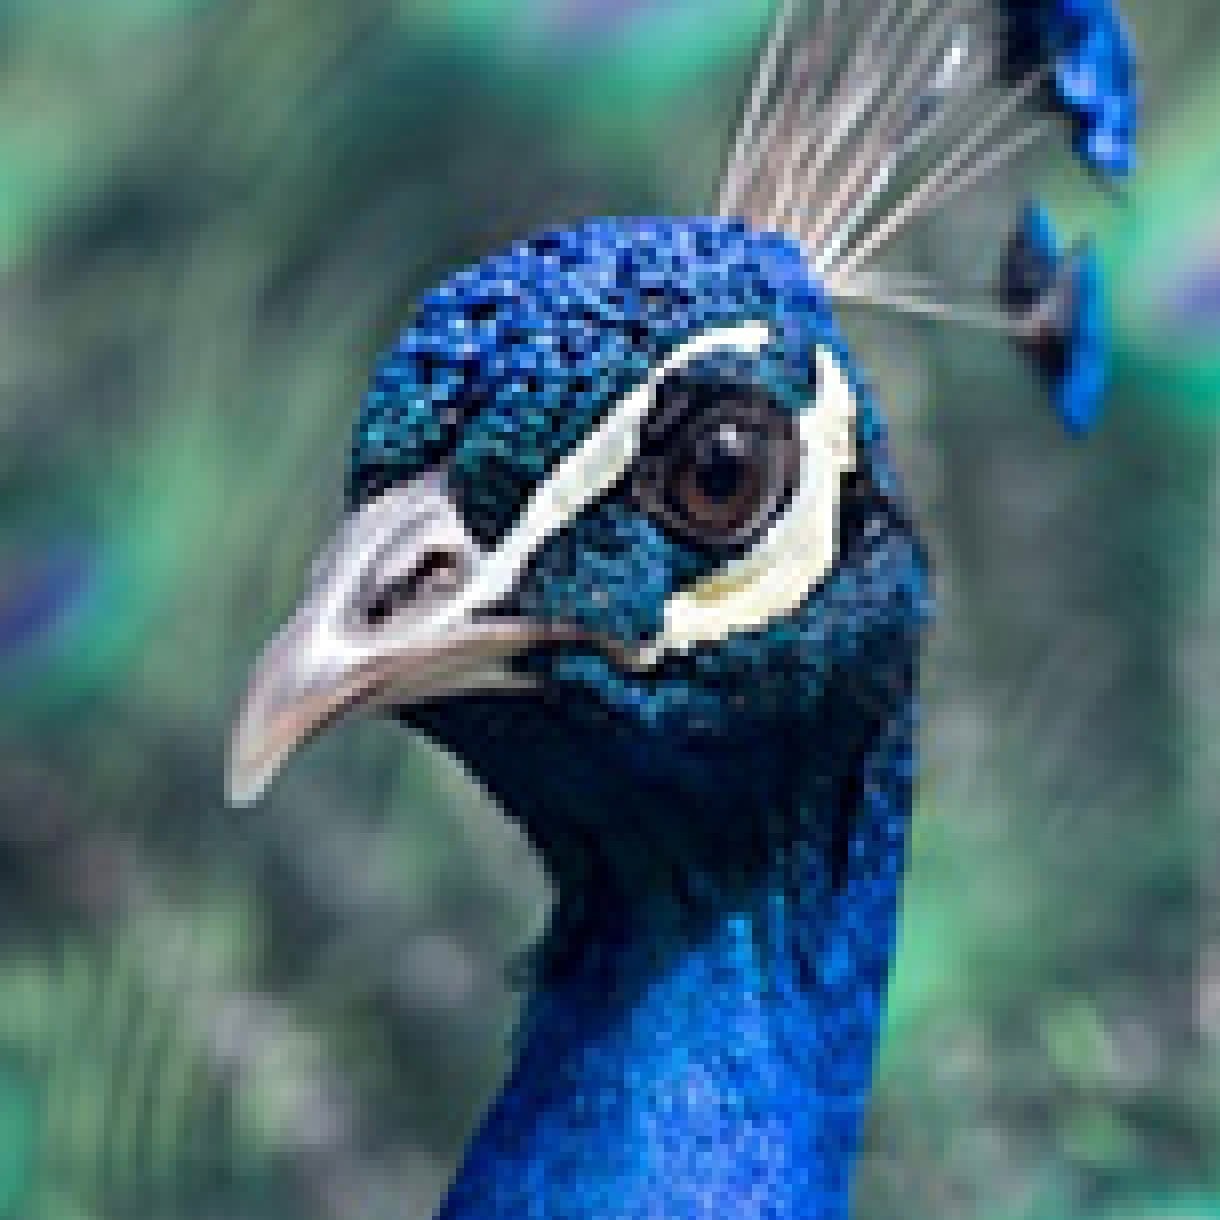
Standard MAX delivers outstanding results across all types of input images, but it truly shines on low-resolution photos where it generates incredible photorealistic detail that surpasses anything currently available in Topaz Photo. The results are clean and natural, with refined textures that are hard to achieve in other AI upscaling models. While we highly recommend trying it on low-res images for truly jaw-dropping outputs, Standard Max also performs exceptionally well on medium and high-quality images, making it a versatile and powerful choice for a wide range of upscaling needs.
Before and after on a low resolution image
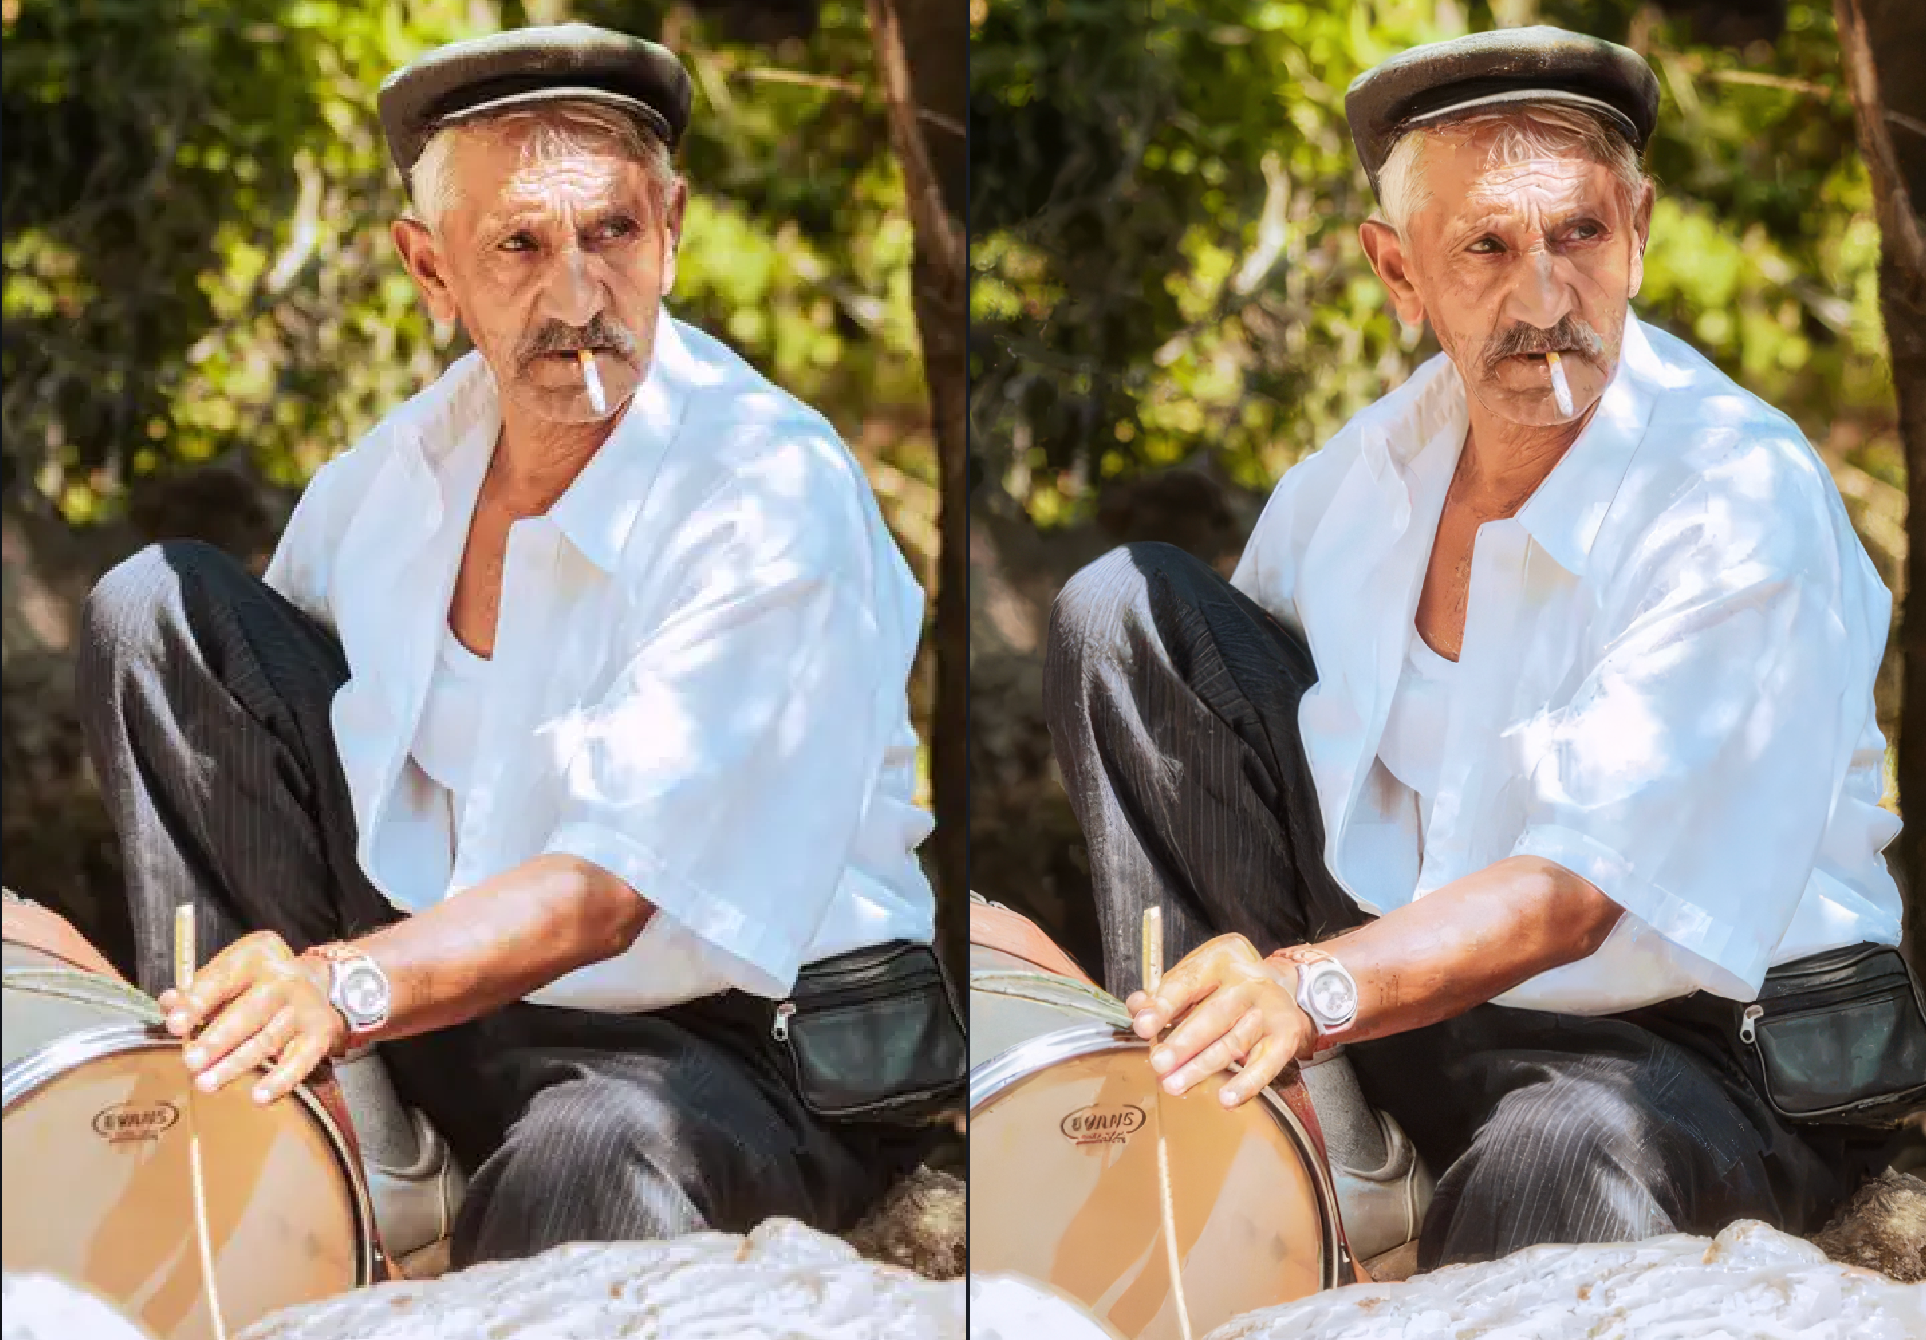
Recover V3
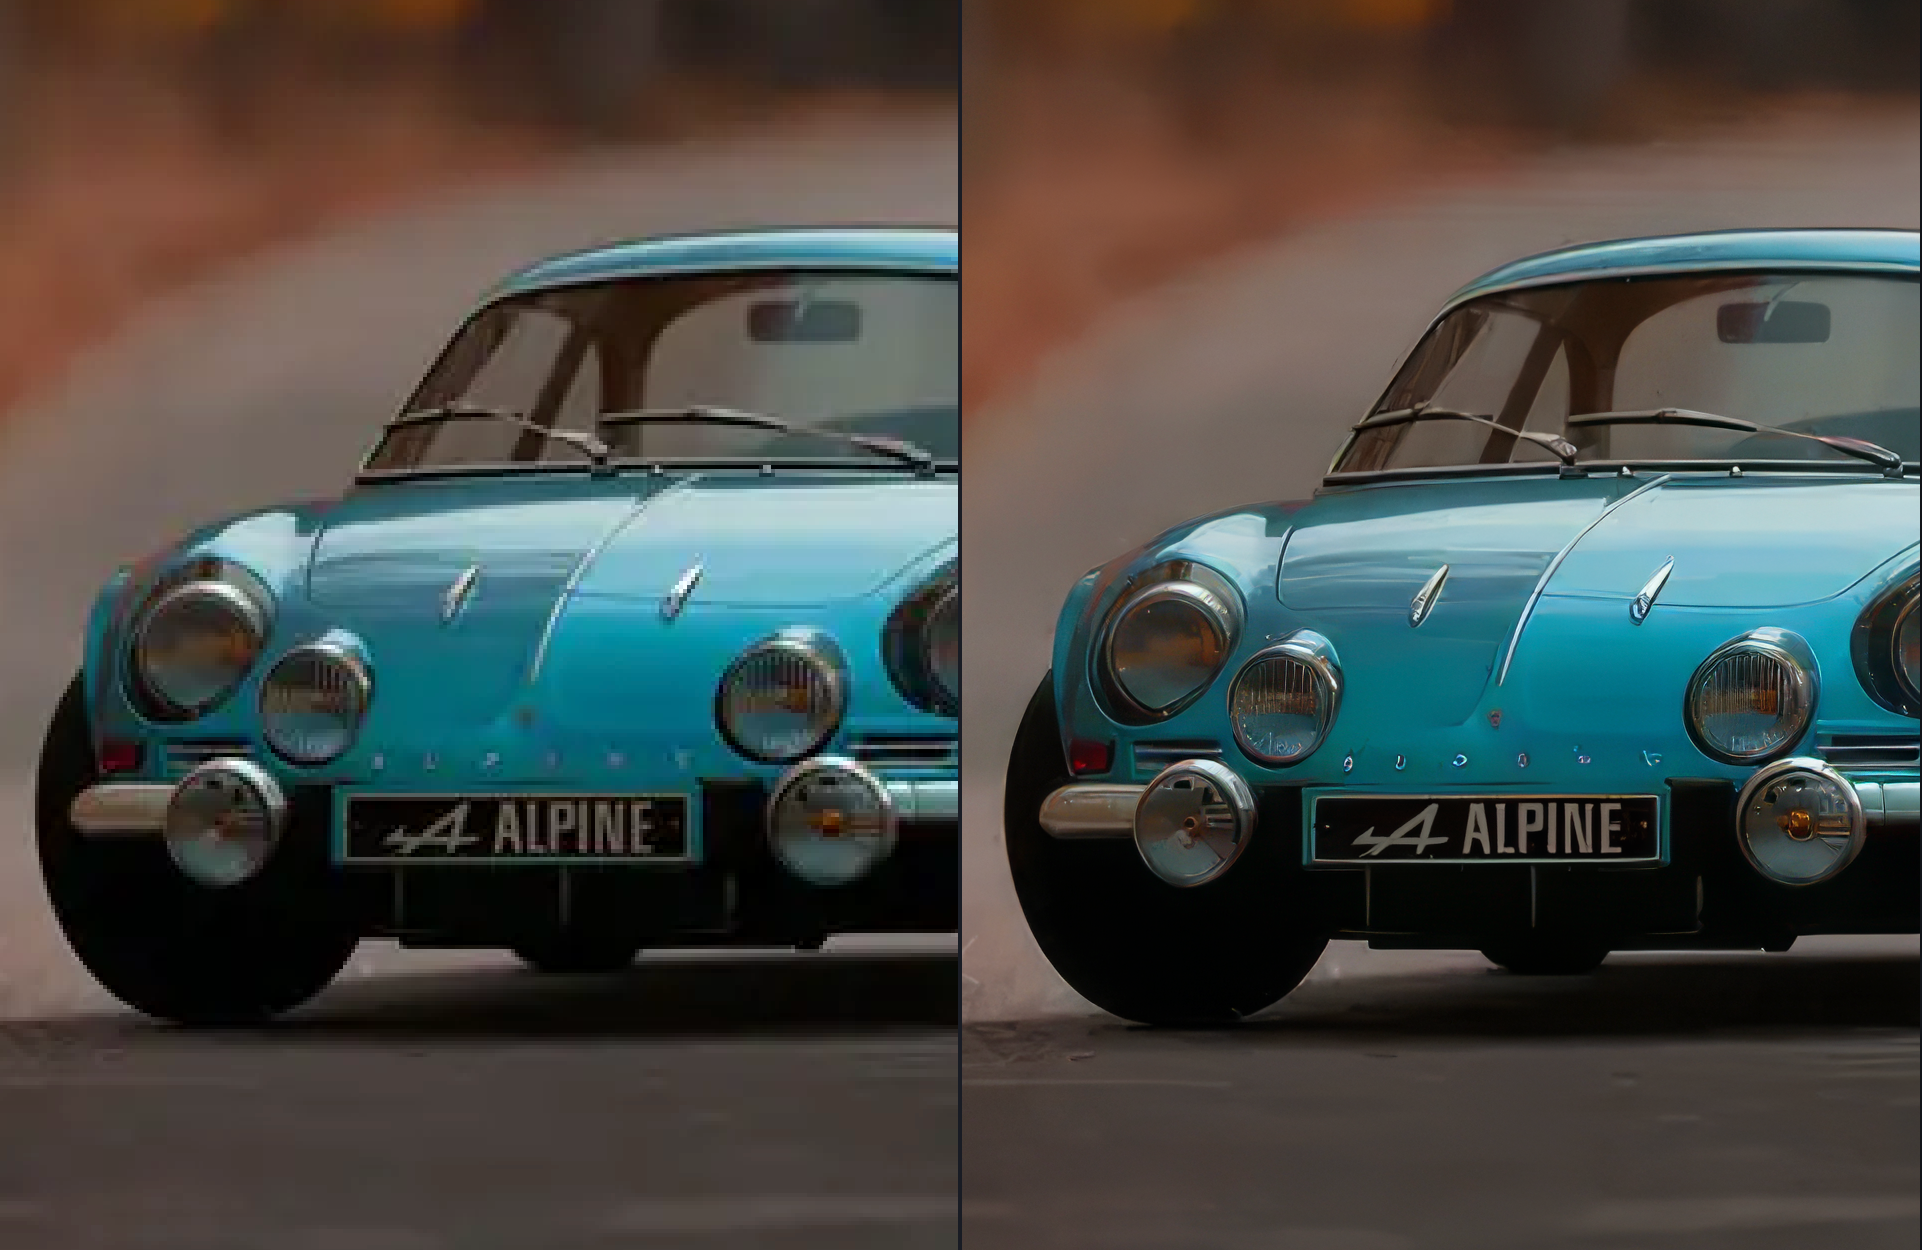
Released in Topaz Photo v1.2.0, Recover v3 represents our highest quality approach to AI upscaling. It’s built to produce realistic photographic texture, not artificial sharpening or overly processed results.
Instead of simply increasing resolution, Recover 3 focuses on reconstructing fine surface detail for things like fur, skin texture, foliage patterns, and fabric structure. This makes it especially strong for nature photography, wildlife, and portraits, where realism matters most.
Availability
Recover v3 is the newest model available within the Upscale models. Recover 3 works with batch processing, and can run both locally and in the cloud. For most users, cloud rendering is recommended for speed. Local processing is ideal when privacy, offline workflows, or unattended batch jobs are more important than raw performance.
Here are the Recover v3 System Requirements:
For Windows
- Local Processing: Supported on machines that meet the Recommended System Specifications, and is not compatible for Windows ARM devices due to hardware constraints.
- Cloud Processing: Supported on machines that meet the Minimum System Requirements and have a stable, high-speed internet connection
For macOS
- Local Processing: Supported on machines that meet the Recommended System Specifications, except M1 machines that are on OS 26/Tahoe.
- Cloud Processing: Supported on machines that meet the Minimum System Requirements and have a stable, high-speed internet connection
Recommended usage
- Optimal input size: 1024 × 1024 or smaller
- Works best on lower-quality images that still contain usable detail.
- Larger images are supported, but renders more slowly
- Not recommended for highly structured, high-grain, or high-resolution images. Isn’t ideal for images dominated by text or logos, which diffusion models still struggle to reproduce accurately.
Creativity Control
The Creativity Control lets you decide how aggressively the model adds texture. Lower settings keep results conservative and natural, while higher settings push more fine detail into the image.
This flexibility gives you control depending on the source quality and the look you’re trying to achieve. Keep in mind that higher creativity levels can introduce background artifacts, so it’s best used intentionally.
Wonder
The Wonder Model is a generative upscaling model that has it's own separate Docs page.
Additional Settings
Minor Denoise
Low light conditions, sensor limitations, or compression artifacts can cause slight noise. The Minor Denoise setting removes this noise before the image is upscaled.
Minor Deblur
Use the Minor Deblur setting to avoid emphasizing existing blurriness caused by camera shake, motion blur, or a lack of focus when the image is captured.
Fix Compression
Visual distortions and artifacts may appear when images are compressed to make them more space-efficient.