Quick Start
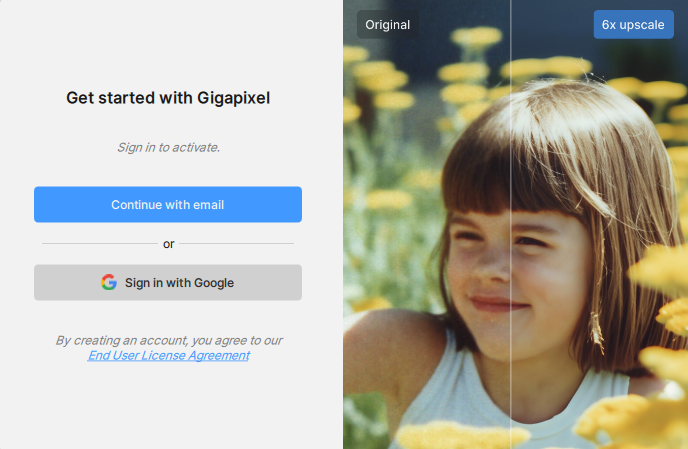
Topaz Gigapixel is a powerful desktop application that uses advanced AI to upscale images, graphics, and artwork up to 6x while preserving detail and clarity.
It can be used as a standalone version or as a plugin from these supported programs.
Installation
Your computer must have an internet connection to install, activate, and update Gigapixel.
Our model files are protected and may trigger alerts from certain security applications. We recommend temporarily disabling antivirus, firewall, VPN, or proxy before installation, as they can cause model download errors.
- Download the Topaz Gigapixel installer from your Account
- Run the installer and follow the prompts during installation
Activation
Sign in with the email address used at checkout.
Import
You can import a file by dragging and dropping it into the app or selecting Browse images at the center of the window.
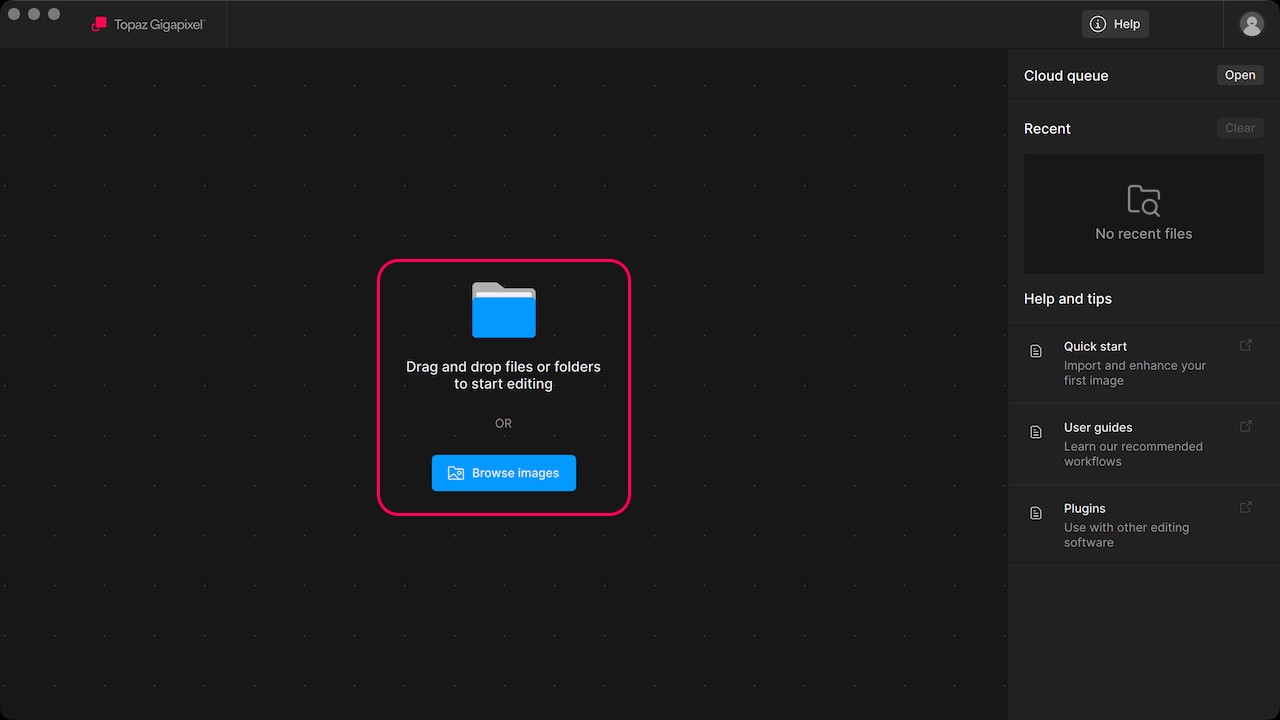
Imported images will appear in the file list below the image preview. Multiple images can be imported and added to the file list for batch processing.
User Interface
You can review legacy licenses from your Legacy page and your studio subscriptions on your Apps page
Take a tour below and learn the different components of the Topaz Gigapixel interface.
Windows: File > Preferences > General > Color Scheme
Mac: Topaz Gigapixel menu > Preferences > General > Color Scheme
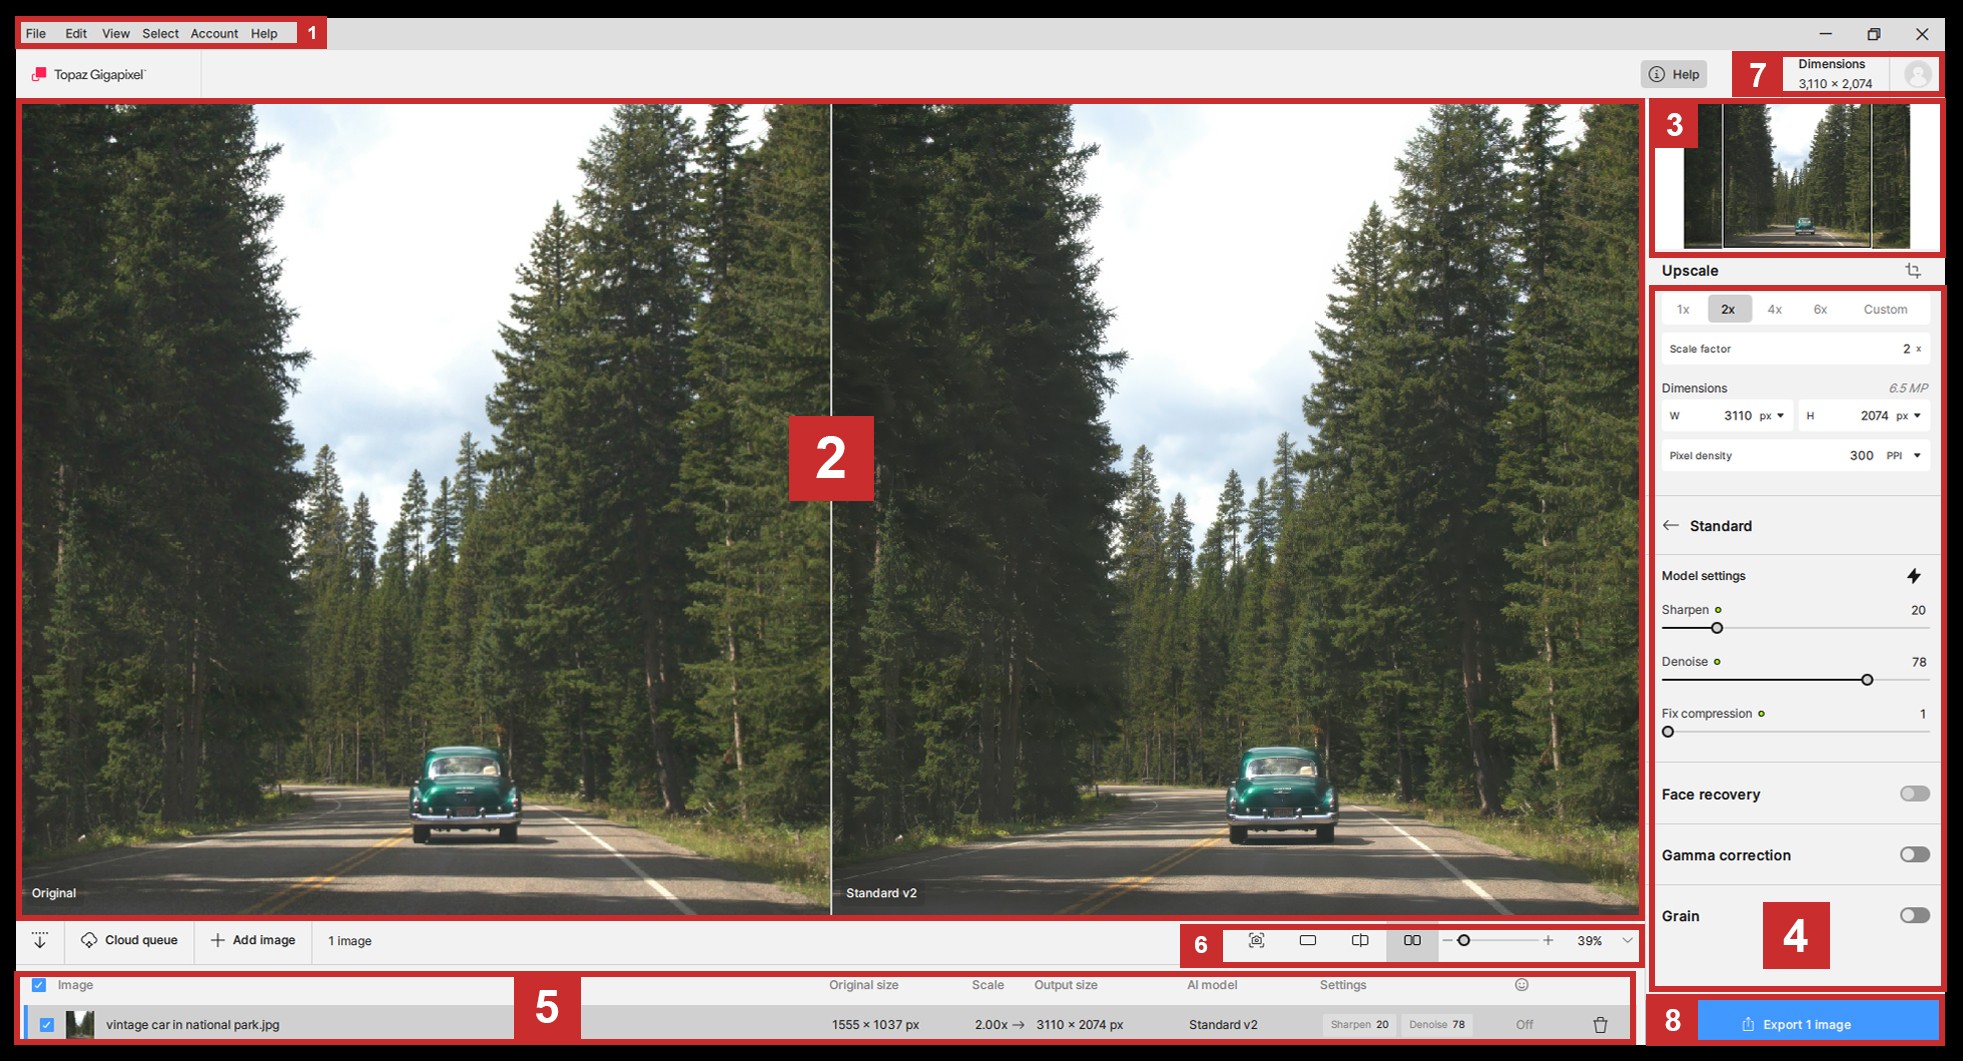
[1] - Menu Options
- Use these settings for file management, view customization, the Preferences menu, the Help menu, and Account management.
[2] - Preview Area
- View the comparison between the original and the processed result of your image here.
[3] - Navigation
- When zoomed into your Preview (Item number [2] above), this navigation will help you locate the area being previewed.
- Click on an area in the navigation to jump to this specific area in your Preview.
[4] - Enhancement Panel
- Adjust the scale factor or dimensions.
- Adjust the pixel density.
- Click the Lighting symbol to activate Auto mode.
- Select the models and their settings.
- Toggle Face Recovery, Gamma Correction and Grain.
[5] - File List
- Manage one or multiple images that are imported.
- The selected image in the file list will be active in the Preview area.
- Select multiple files manually or click the check box in the header row beside Image to select all.
- Right-Click on one of the images to see more options.
- Exported images will remain in the file list. Change this in Preferences:
Preferences > Export > enable "Close images after exporting" > Click Save.
[6] - Zoom and Preview Options
- The camera icon will allow you to take a snapshot of the before/after results of what is currently displayed in the Preview (with current Zoom). Once you click on it you can Select "View in File Explorer" to see the snapshot.
- The dynamic Progress bar shows: the Processing Status, Width and Height of image in pixels and the Zoom Percentage.
- Topaz Gigapixel will import by default at 100% to show pixel size for print. Selecting Fit will show the entire image.
- For the preview, choose between Single, Split, and Side-by Side views.
[7] - Dimensions
- This will show you the original and output dimensions
- The "person" logo in the corner gives you access to your account settings.
[8] - Export/Save Options
- After editing, click "Export image" and set your export settings to save your image.
- See more details about Export below.
How to use Topaz Gigapixel
If you want to use the Auto mode:
- click the lightning bolt icon⚡to the right of the section headers to let the program choose the recommended model and settings.
- RECOMMENDED will appear on one of the model.
- Click on that model to open the settings. You can select click the lighting bolt icon from inside the settings to let the app choose the best settings according to the analysis of the image.
If you want to manually choose your model:
- Choose a models located on the right panel to upscale and adjust the settings.
- From inside the setting panel, you can also click the lighting bolt to let the app choose the best one according to the analysis of the image.
Gigapixel models explained
Upscale settings
Export Process
There is two options to export the image in Gigapixel
- Export locally, using the computer's graphics card
- Cloud rendering, using our servers
Export locally
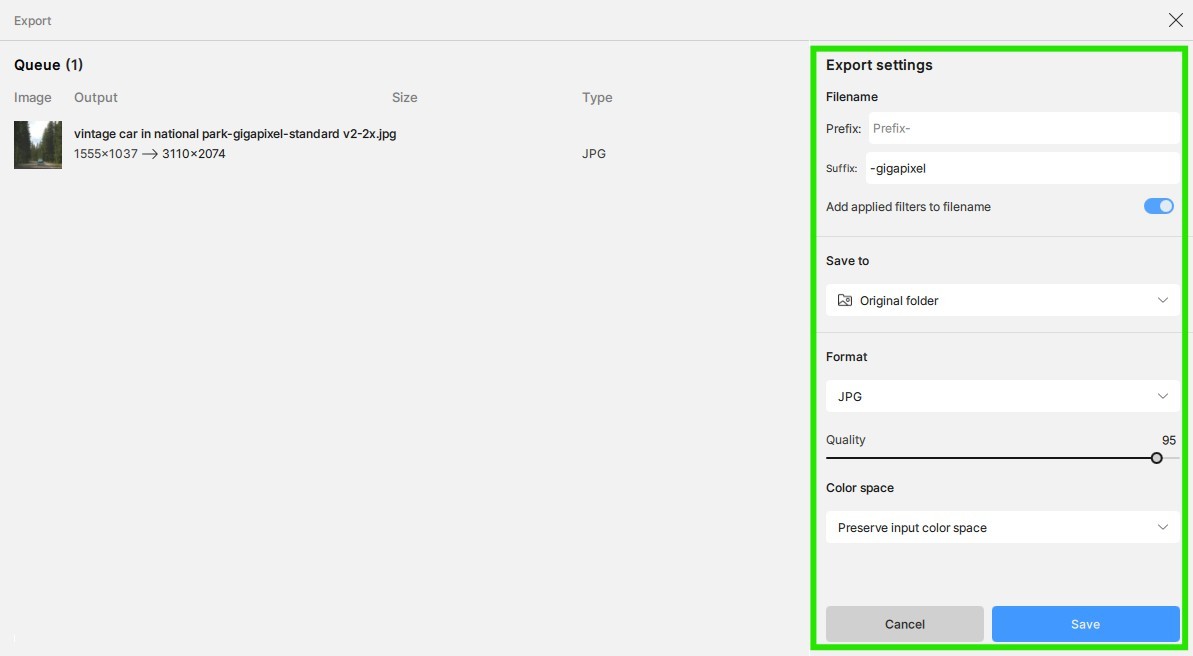
Click the Export image button and the export window allows you to set the file name, file format, and export location.
- Leave the Prefix and Suffix fields empty if you do not want any added on the file name.
- The Add applied filters to filename option is on by default. Toggle it off to avoid having the enhancements you used be named in the file name of the exported file.
- The Save To will give you control on where the file is saved on your computer or hard drive. To quickly find your Topaz export, look into saving the files into a subfolder that you can create.
- The Format options will give you control on the file format and compression options. Read this article for more information on the Export process and all the available export formats.
Click the Save button when finished. The files will queue for processing and export.
Cloud Rendering
Click the Cloud render button (if available) to send the images to our servers. This allow for quick and easy rendering using our servers. This leaves your graphics card for performing other jobs while rendering.
What is Color Space?
Preserve or change the color space of your exported file. Color space defines the range of colors that an image can reproduce. Changing the color space of the output file may affect its appearance depending on your monitor’s calibration.
Choose from common options in the drop-down menu. If you are unsure which one to use, select “Preserve input color space” to maintain the same color space that was used in the original file.
There are seven options to choose from:
- Preserve input color space - maintain the same color space as your original file
- ProPhoto - primarily a working/archival space for editing RAW photos, capturing the widest gamut from cameras
- sRGB IEC61966-2-1 black scaled - for web, monitors, digital displays, and most consumer printers
- Adobe RGB (1998) - for RGB workflow, before conversion to CMYK
- Apple RGB - for working with older Apple displays or legacy desktop publishing files
- Wide Gamut - often associated with P3 or Rec2020 displays
- CMYK U.S. Web Coated (SWOP) v2 - used for web offset publications
Need help?
To contact us directly, email support@topazlabs.com. Provide as much information as possible, including your System Profile and Screenshots of any errors you encounter. We can then troubleshoot with you!
If you want help elaborating the best workflow and get the best possible results efficiently, send us an email to support@topazlabs.com on your current workflow, what programs you use other then Topaz Gigapixel, and the file types you edit and we can have a look.
You can also check out our Troubleshooting Docs page below: