Plugins
Plugins
Upon installation, the Plugins are available to be downloaded. If there are any issues with the initial installation, the plugins are available within the Topaz Video application.
In App installation
To install the plugin, follow these steps:
Windows + macOS
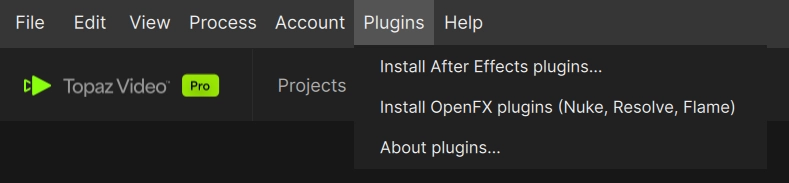
- Open Topaz Video.
- Make sure you are signed in.
- Click Plugins > "Install After Effects/OpenFX/FCP Plugin"
- A pop-up menu for “elevator.exe” will populate. Click on “Yes”
C:\Program Files\Common Files\OFX\Plugins on Windows or /Library/OFX/Plugins on MacOS.Third Party Application Considerations
When you’re using Plugins for other applications, there are a few things to consider.
- Many of these applications work in timelines or setups where a resolution may be fixed at the beginning for your project.
- If you are upscaling 2x or larger, the video will upscale accordingly. Note, that the project or timeline will not take effect. Depending on the other application’s workflow, you will need to adjust as needed.
- Performance and UI responsiveness may be reduced when upscaling to 3-4x.
- A third party application is not built with the same foundation/architecture as Topaz Video. There may be some slight difference in output expectations and processing when compared to the standalone Topaz Video desktop app. Please consider this when building your workflows.
- In general, take great consideration with the amount and types of operations you are doing. Many of these models are using heavy algorithms to produce the desired outputs. Too many compounded operations can stall or crash your session.
- This greatly depends on the resources required by the third party application in addition to those needed for the plugin model(s) themselves.
After Effects
Topaz Video is now available as a plugin for Adobe After Effects.
To install the plugin, follow these steps:
Windows
- Open Topaz Video.
- Make sure you are signed in.
- Click Plugins > "Install After Effects Plugins..."
macOS
To install the After Effects plugin on macOS after installing the main app, re-run the .pkg installer for Topaz Video and be sure to select the plugin item during the "Installation Type" step:
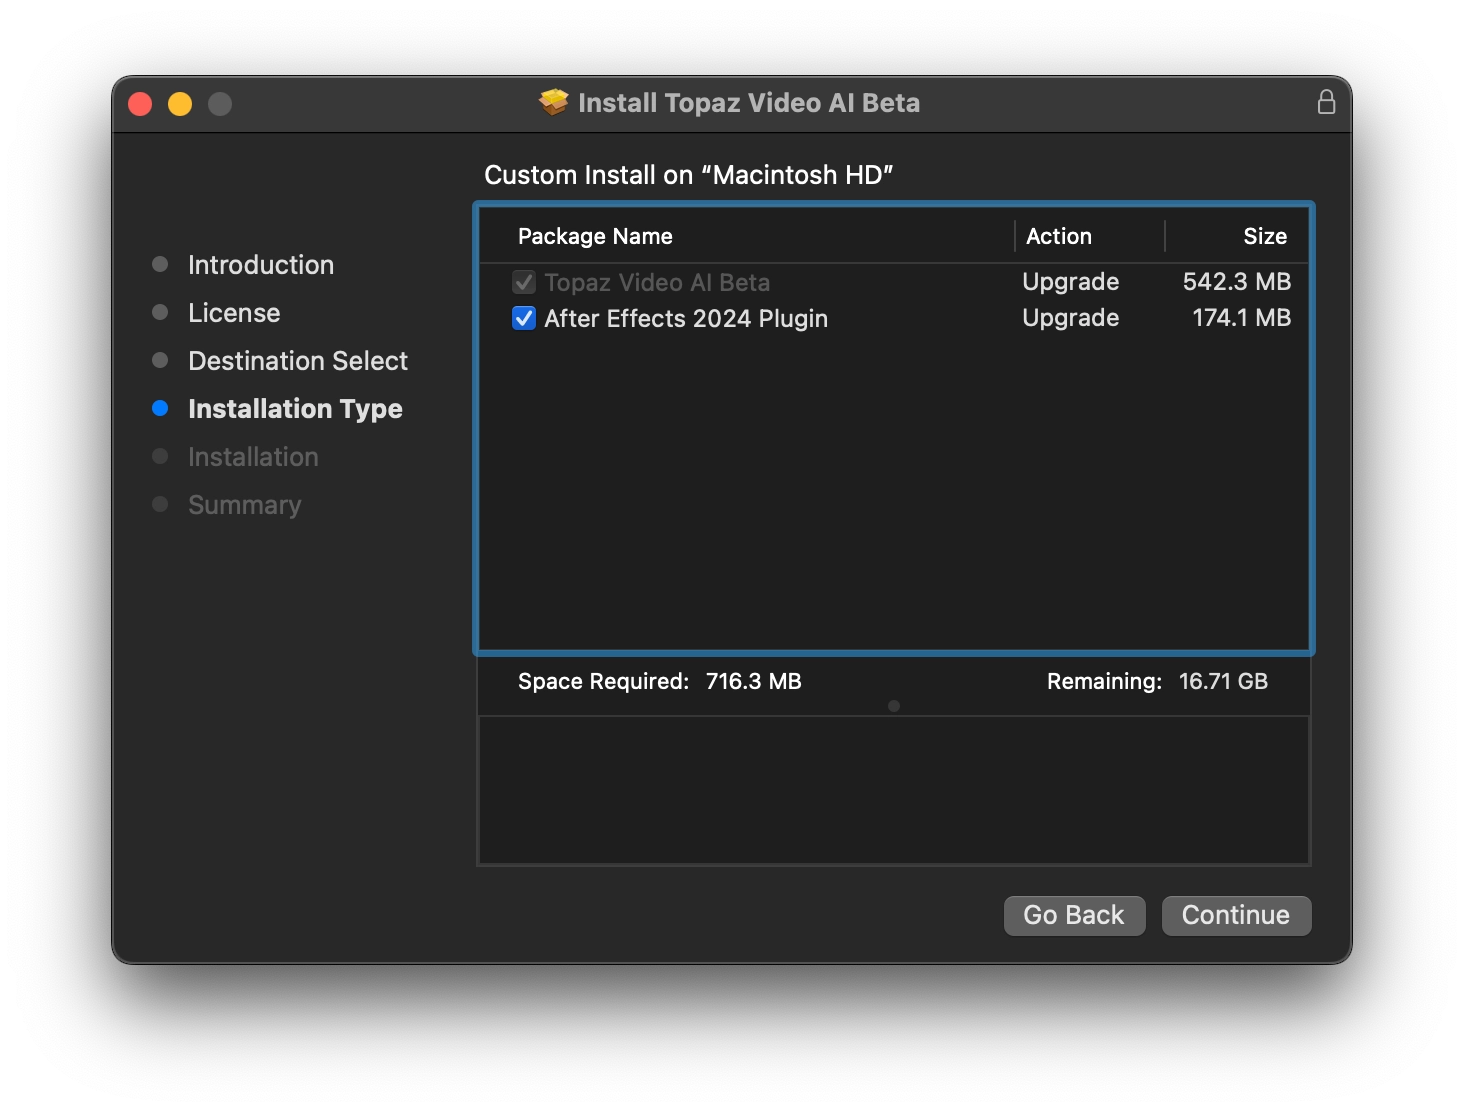
Manual Adobe After Effects Enable Option
Sometimes After Effects may have disabled the plugins from working even though they may have been installed.
Please follow the following steps to ensure that the plugins are enabled, but additionally that they are being recognized by After Effects.
Step 1: First open the Creative Cloud app.
Step 2: Hold down the Ctrl + Alt + Shift keys (or Command + Option + Shift keys on a Mac), click to open Adobe After Effects.
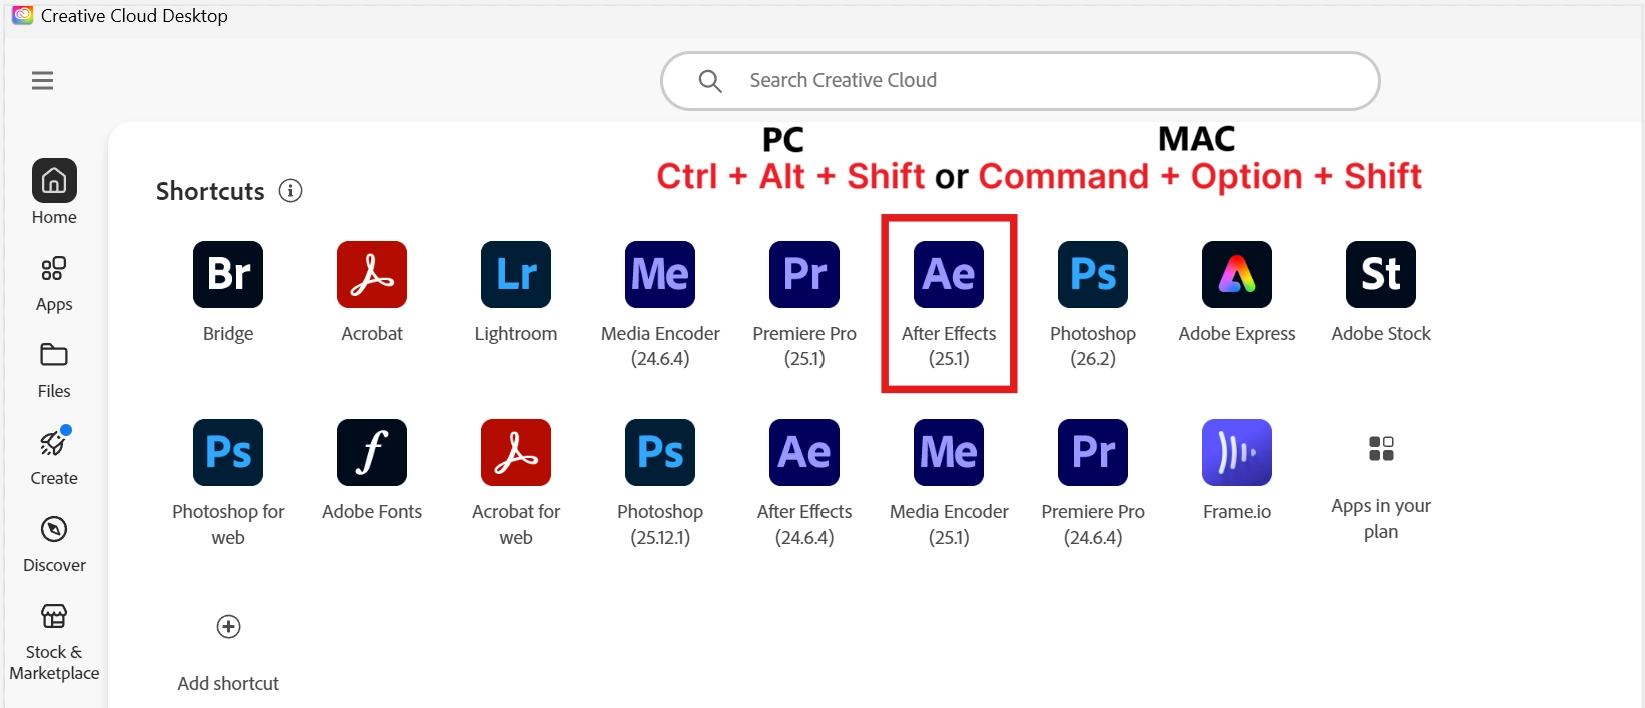
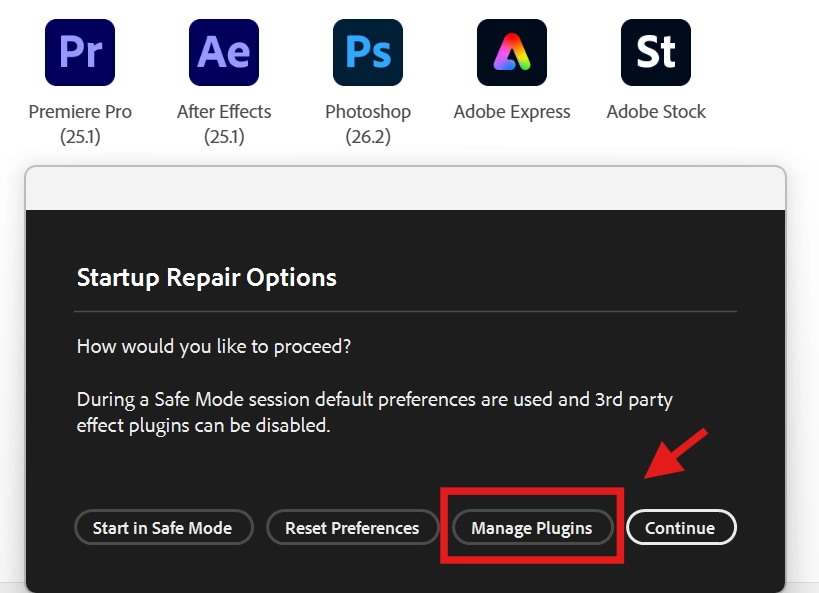
Step 3: This will open up a menu. After Effects will present you with an option to "Delete Preferences" and allow you to "Manage Plug-Ins". Please note that this menu was under the creative cloud page, so if you don't see it, that's why. Click the "Manage Plug-Ins" button.
Step 4: This opens Adobe After Effects and the Effect Manager menu will appear. Here, you should find the Topaz plugins. My image includes BETA versions, but you should just see Enhance and Frame Interpolation. Here you can enable them if they were disabled. Be sure to hit Okay to save.
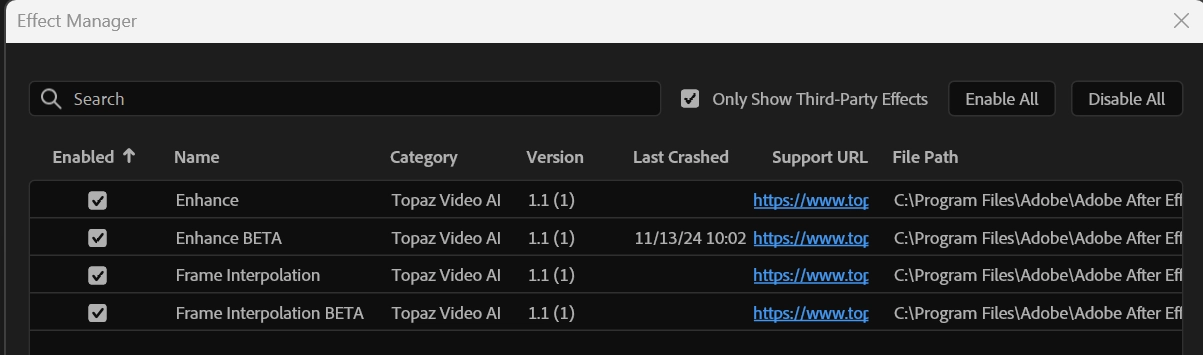
Manual Adobe After Effects Installation from Previous Version Folder
In rare instances, the After Effects plugin may be installed within the plugin folder of an older version of After Effects if you have two versions installed on your machine.
Simply navigate to the older Plugins folder and copy and paste the plugins from the older folder to the new plugins folder.

Using Topaz Video from within After Effects
For now, there are some important notes for users working with the After Effects plug-in:
- Performance and UI responsiveness may be reduced when upscaling to 3-4x.
- Activation of the plug-in must be completed through the main Topaz Video application.
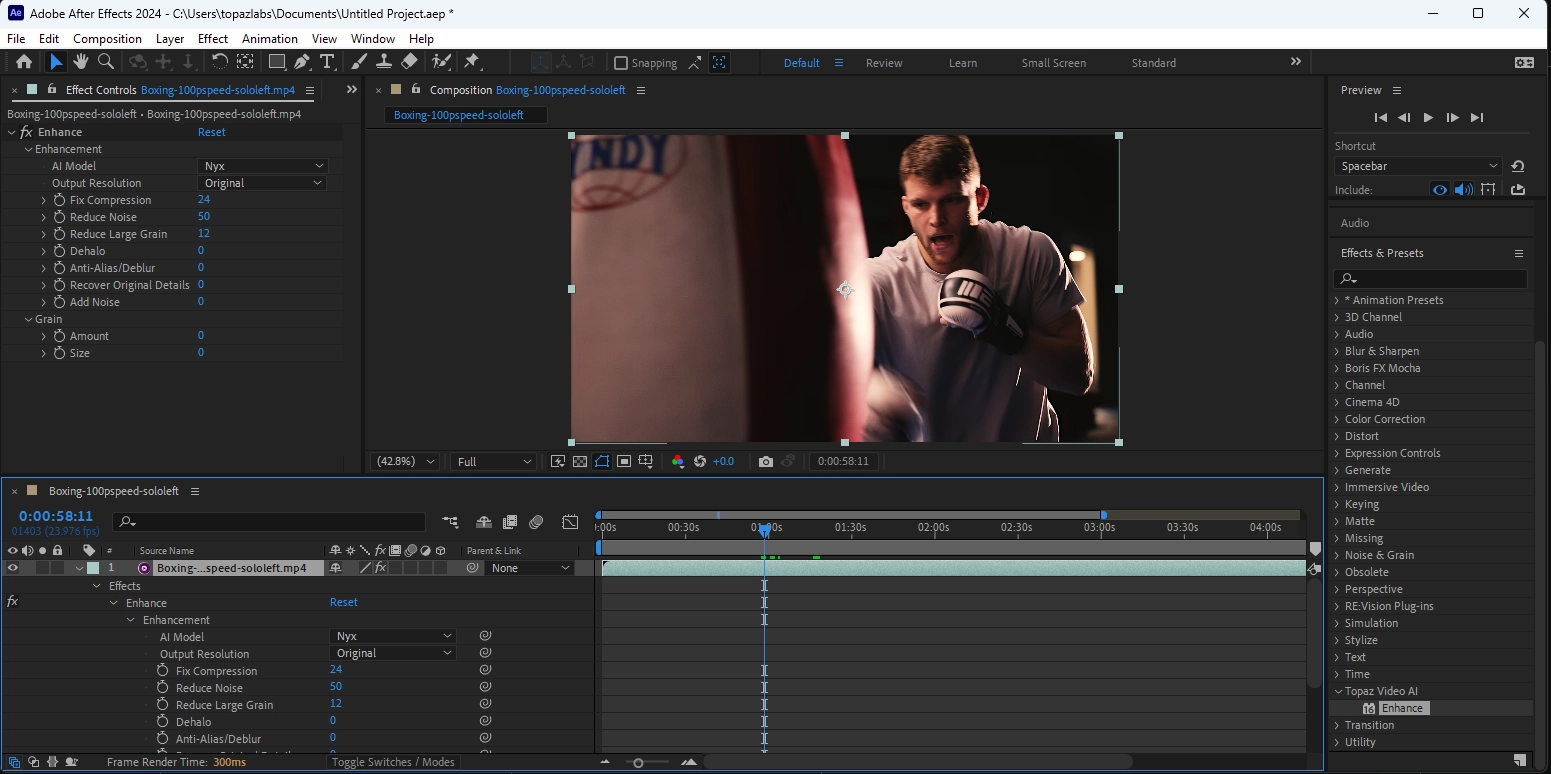
After installation, a new plug-in folder called "Topaz Video" will be available in the Effects & Presets panel:
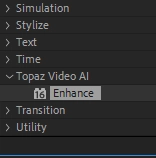
Adding this effect to a layer will reveal parameter controls for the selected AI model along with keyframe toggles.
Davinci Resolve
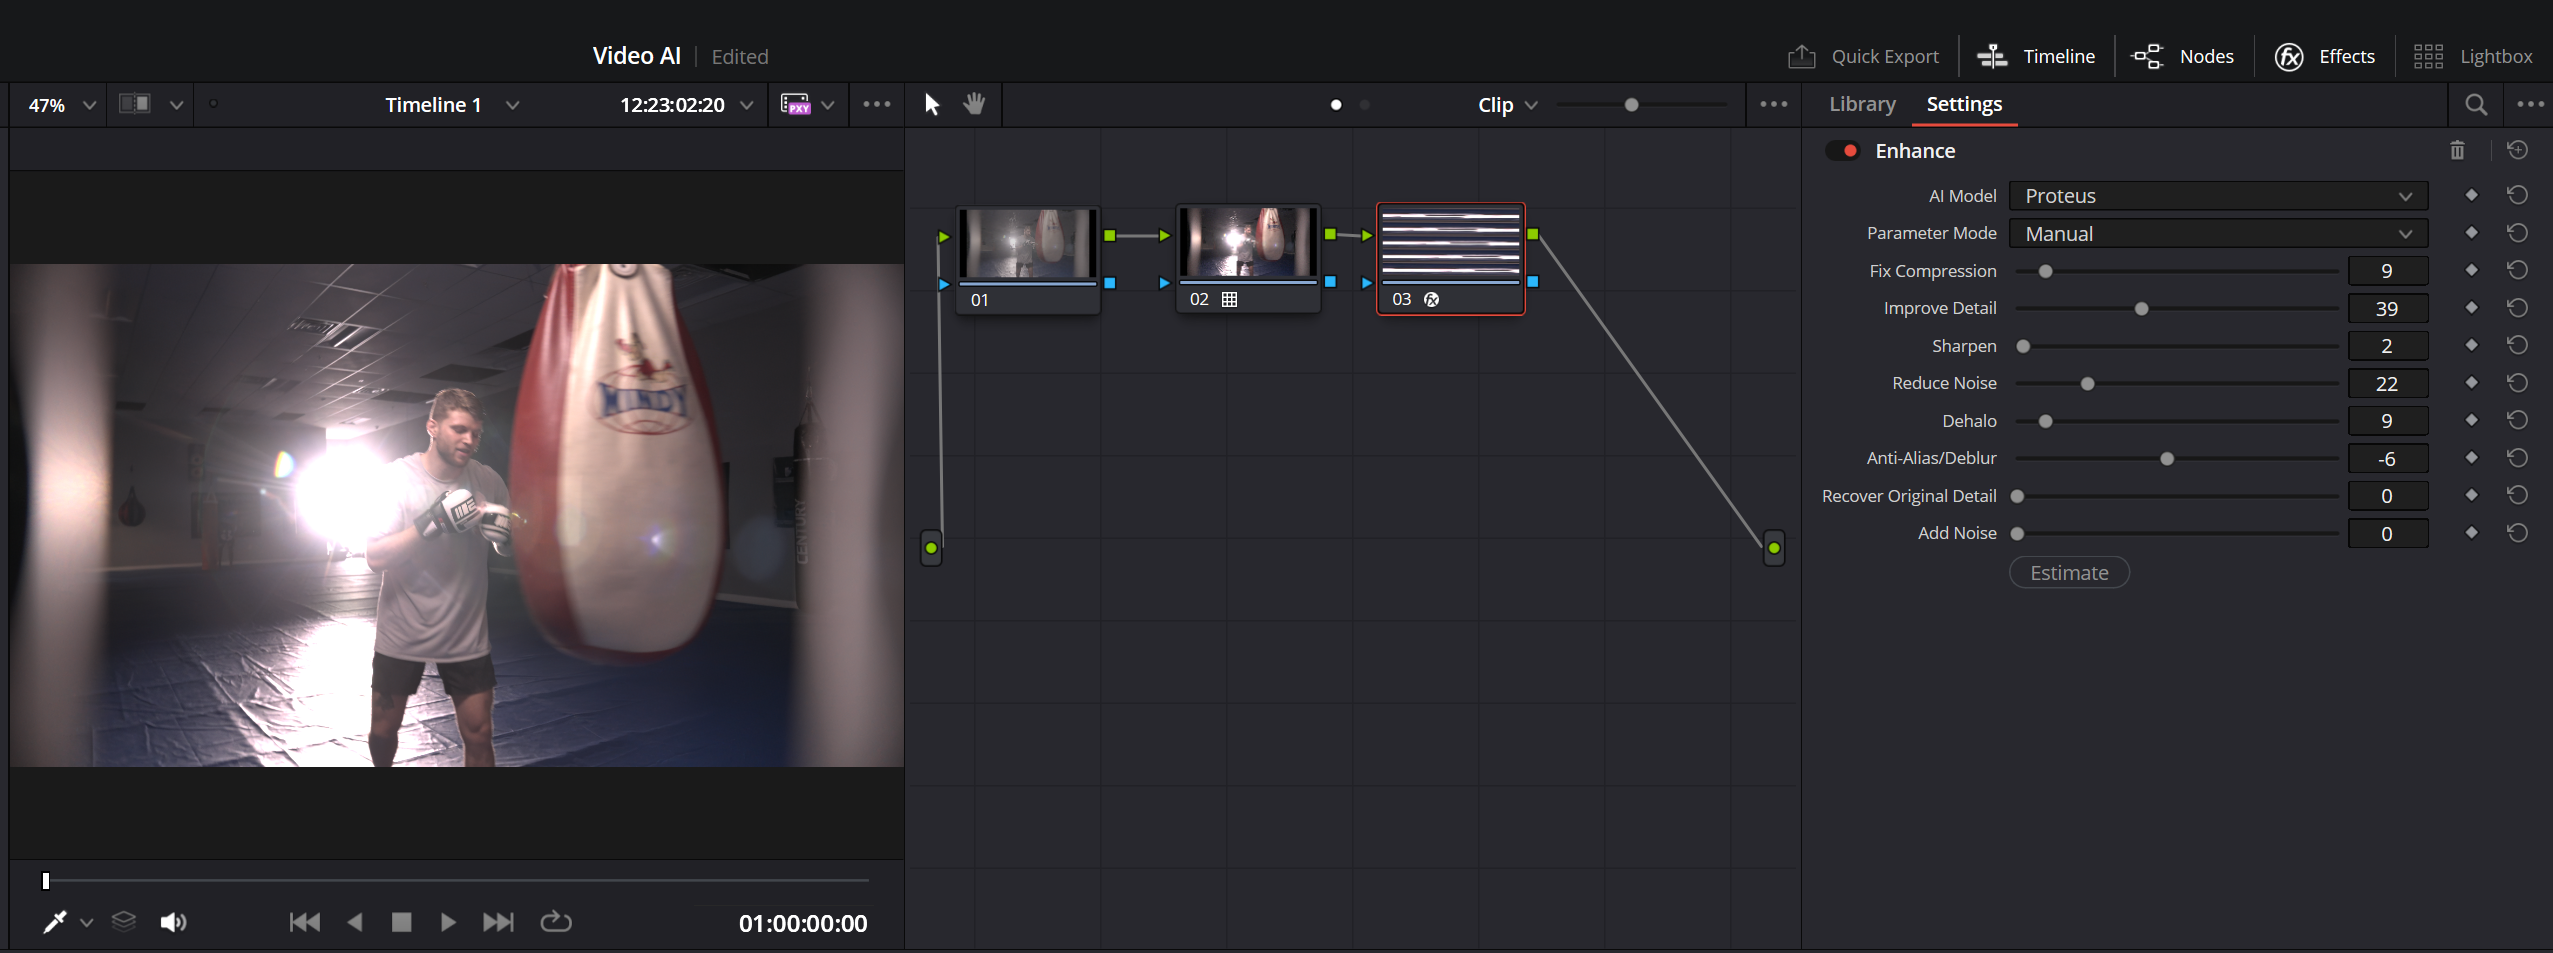
Topaz in Davinci Resolve
Topaz Video is available as a plugin for DaVinci Resolve Studio.
For now, there are some important notes for users working with the Resolve plug-in:
- Activation of the plug-in must be completed through the main Topaz Video application installation or via the plugin drop down.
- DaVinci Resolve Studio is required, and the free version will not load/run the plugin.
- Performance and UI responsiveness may be reduced when upscaling to 3-4x.
Upon installation, the OFX file will be available to be downloaded. If there are any issues with the initial installation. The plugin is available within the Topaz Video application in the upper left side under the “Plugin” tab.
Manual Davinci Resolve Installation Option
If for any reason, you encounter an issue installing the plugin, here is the manual method to address this.
Step 1: Make sure Davinci Resolve is not in use.
Step 2: Navigate to C:\Program Files\Topaz Labs LLC\Topaz Video AI\
Step 3: Copy the entire folder named "Topaz Video AI.ofx.bundle" to C:\Program Files\Common Files\OFX\Plugins\
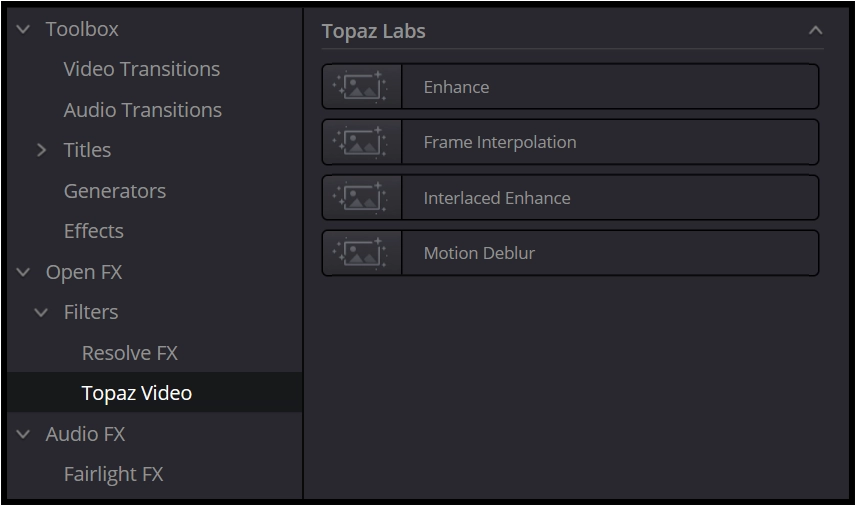
Step 4: Open Davinci Resolve and you should now find the Enhance and Interpolation effects within the OFX folder.
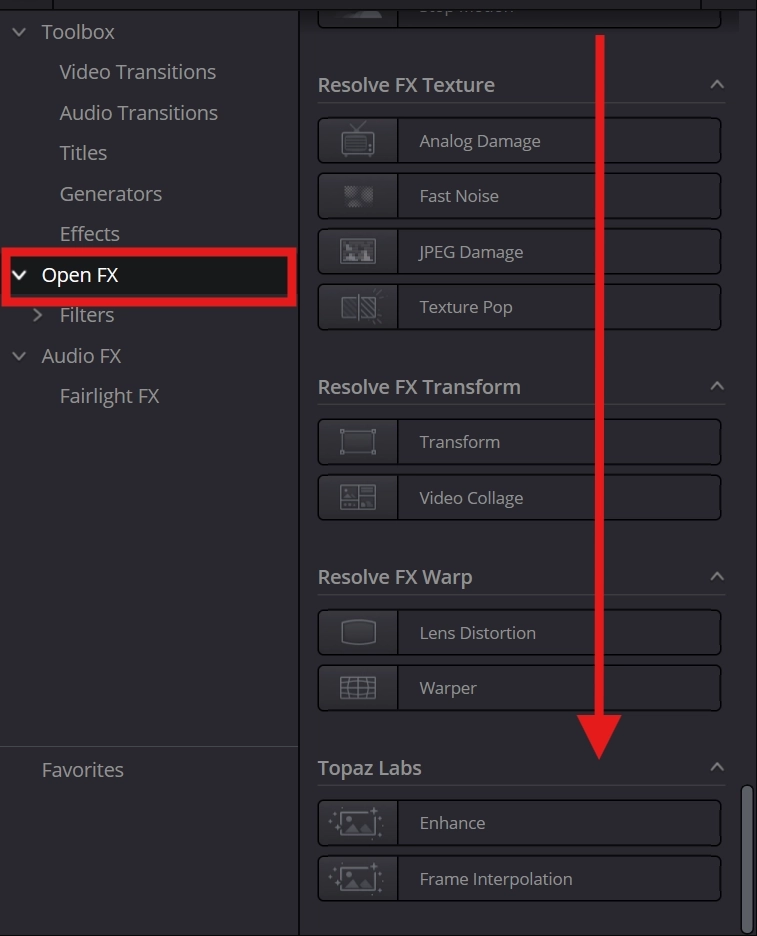
Step 5: If you followed steps 1-4 and one or both still don’t appear in Davinci Resolve, it’s possible that it's there, but just needs to be enabled within the Davinci software.
- Within Resolve, go to Davinci Resolve in the upper screen left corner, click to open the menu and navigate to Preferences. Click this.
- Go to Video Plugins . Here you will find all the installed plugins. This is where you may find one or both plugins that “failed to load”. All you’ll need to do is enable by clicking on the left check box. Be sure to save for this to take effect.
Using Topaz Video from within DaVinci Resolve
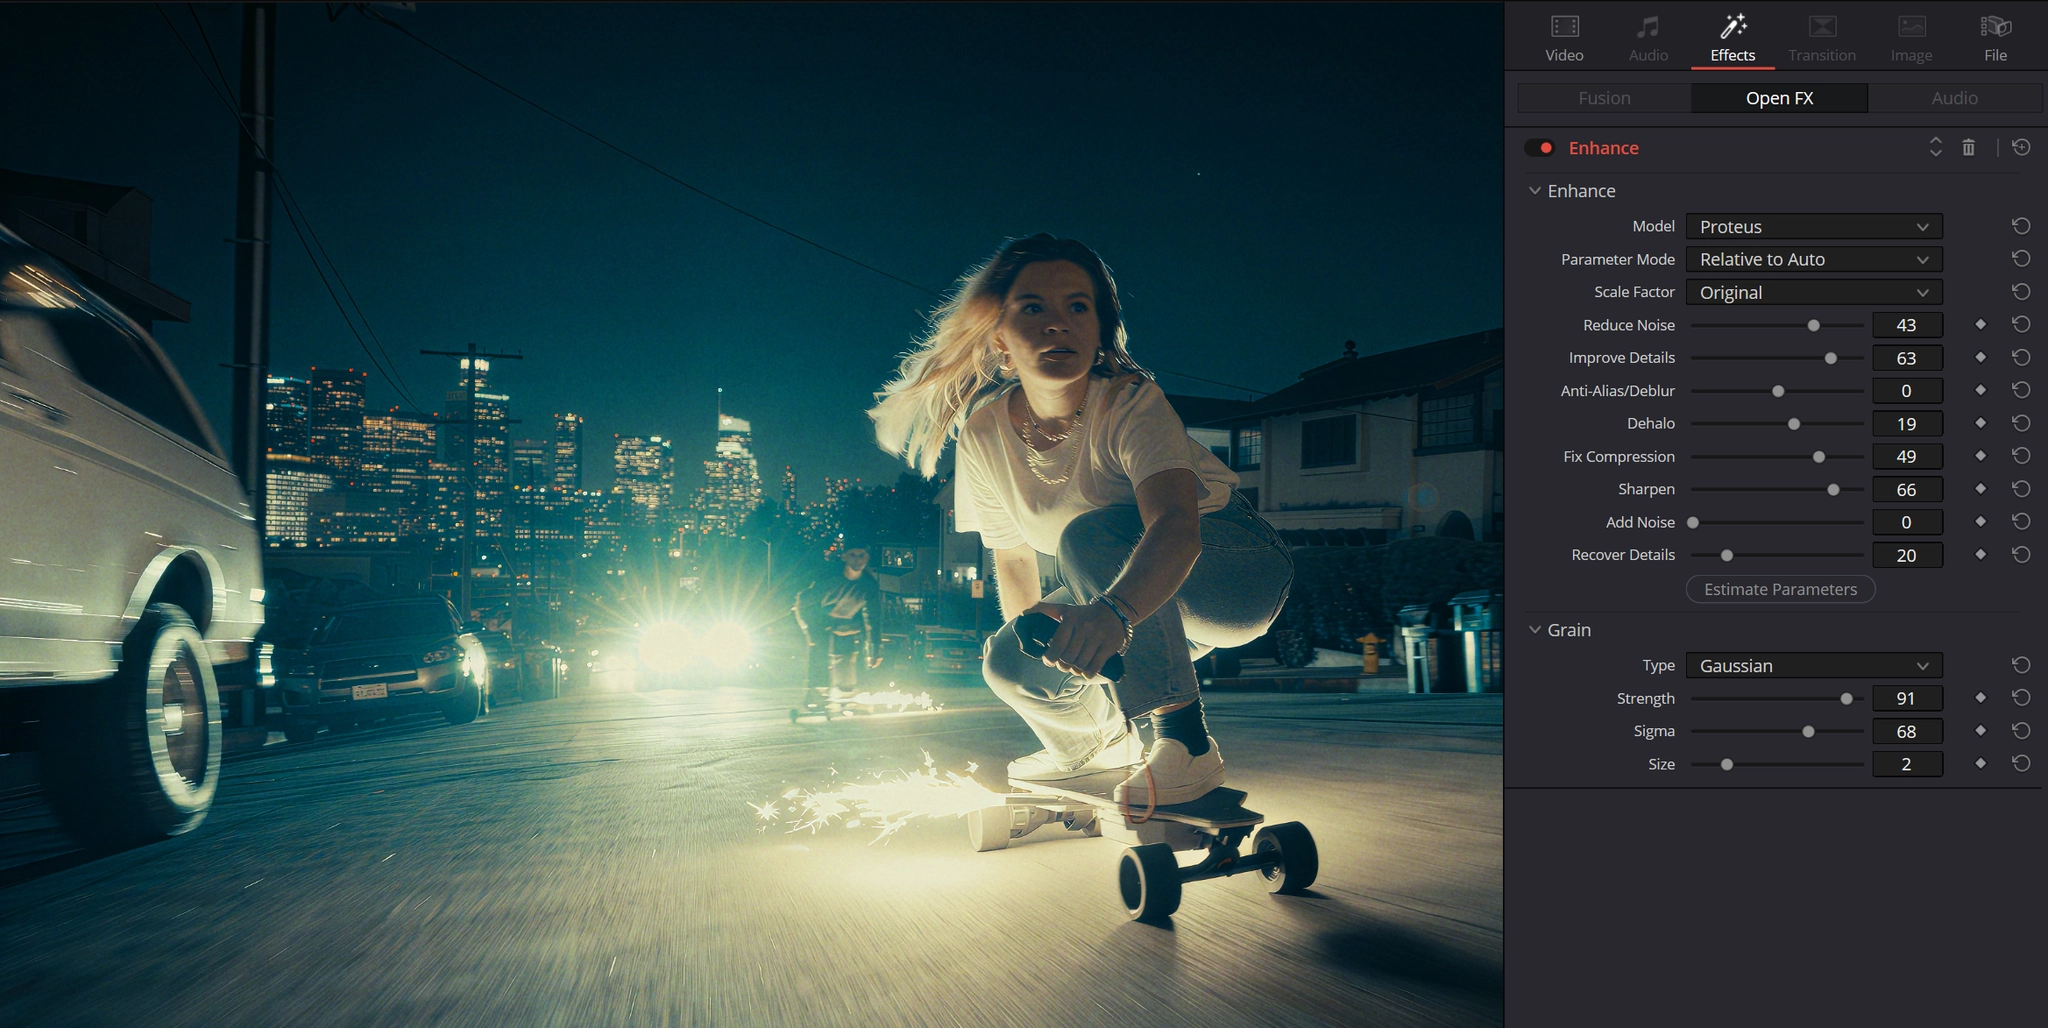
The Topaz Video plugin can be used from the Effects panel under the Open FX folder within the Edit workspace.
Adding this effect to a video will reveal parameter controls for the selected AI model along with keyframe toggles.
Final Cut Pro
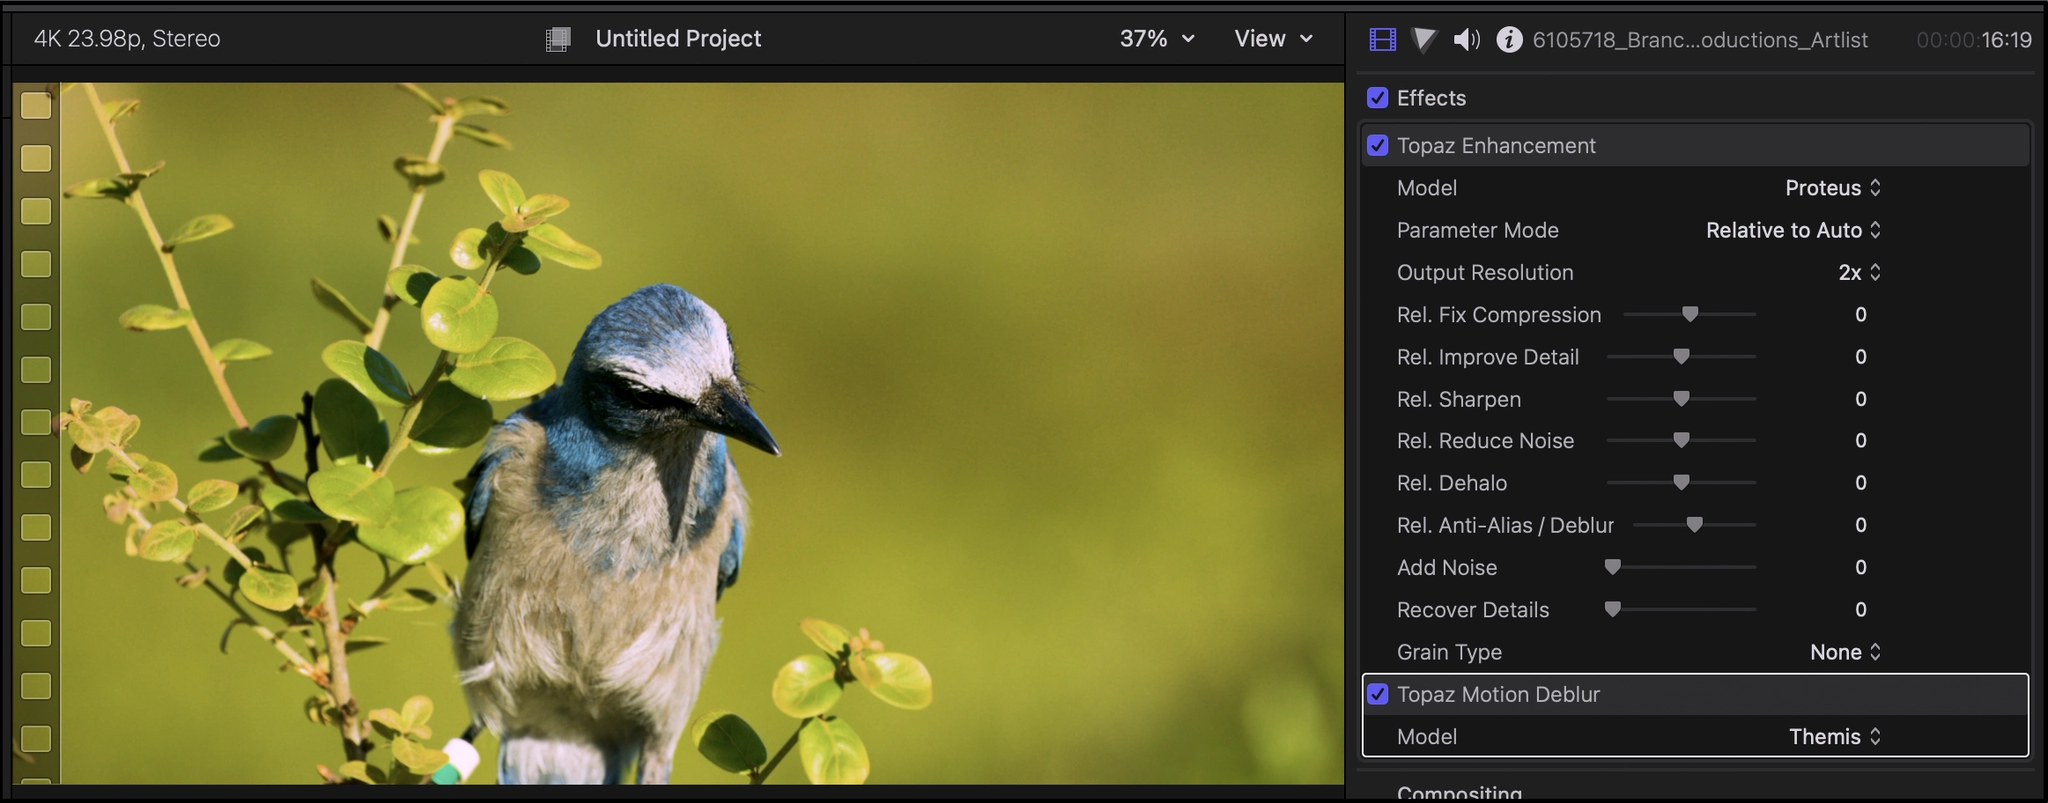
The Topaz plugin for Final Cut Pro (FCP) is now here! As an editor, one is now able to take advantage of some of Topaz’ famous models directly from the FCP environment.
Upon installation, the FCP file will be available to download. If there are any issues with the initial installation. You can quickly access the plugin within the Topaz Video application in the upper left side under the “Plugin” Tab.
Topaz in FCP
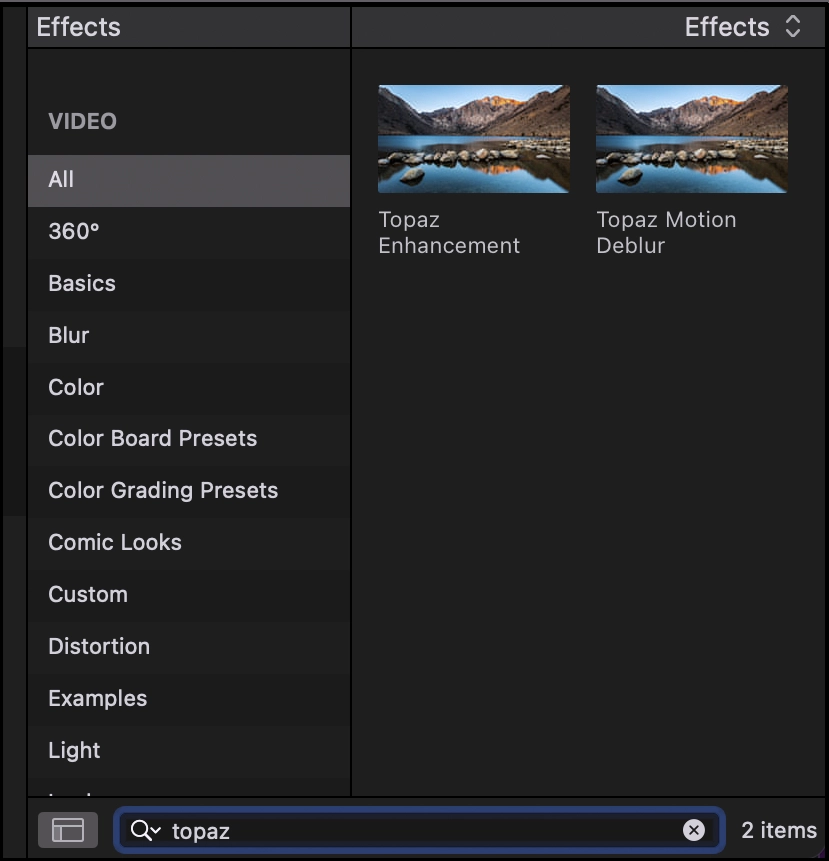
You can find the Topaz Enhancement in the “Effects” menu. You can easily type in “Topaz” in the search option.
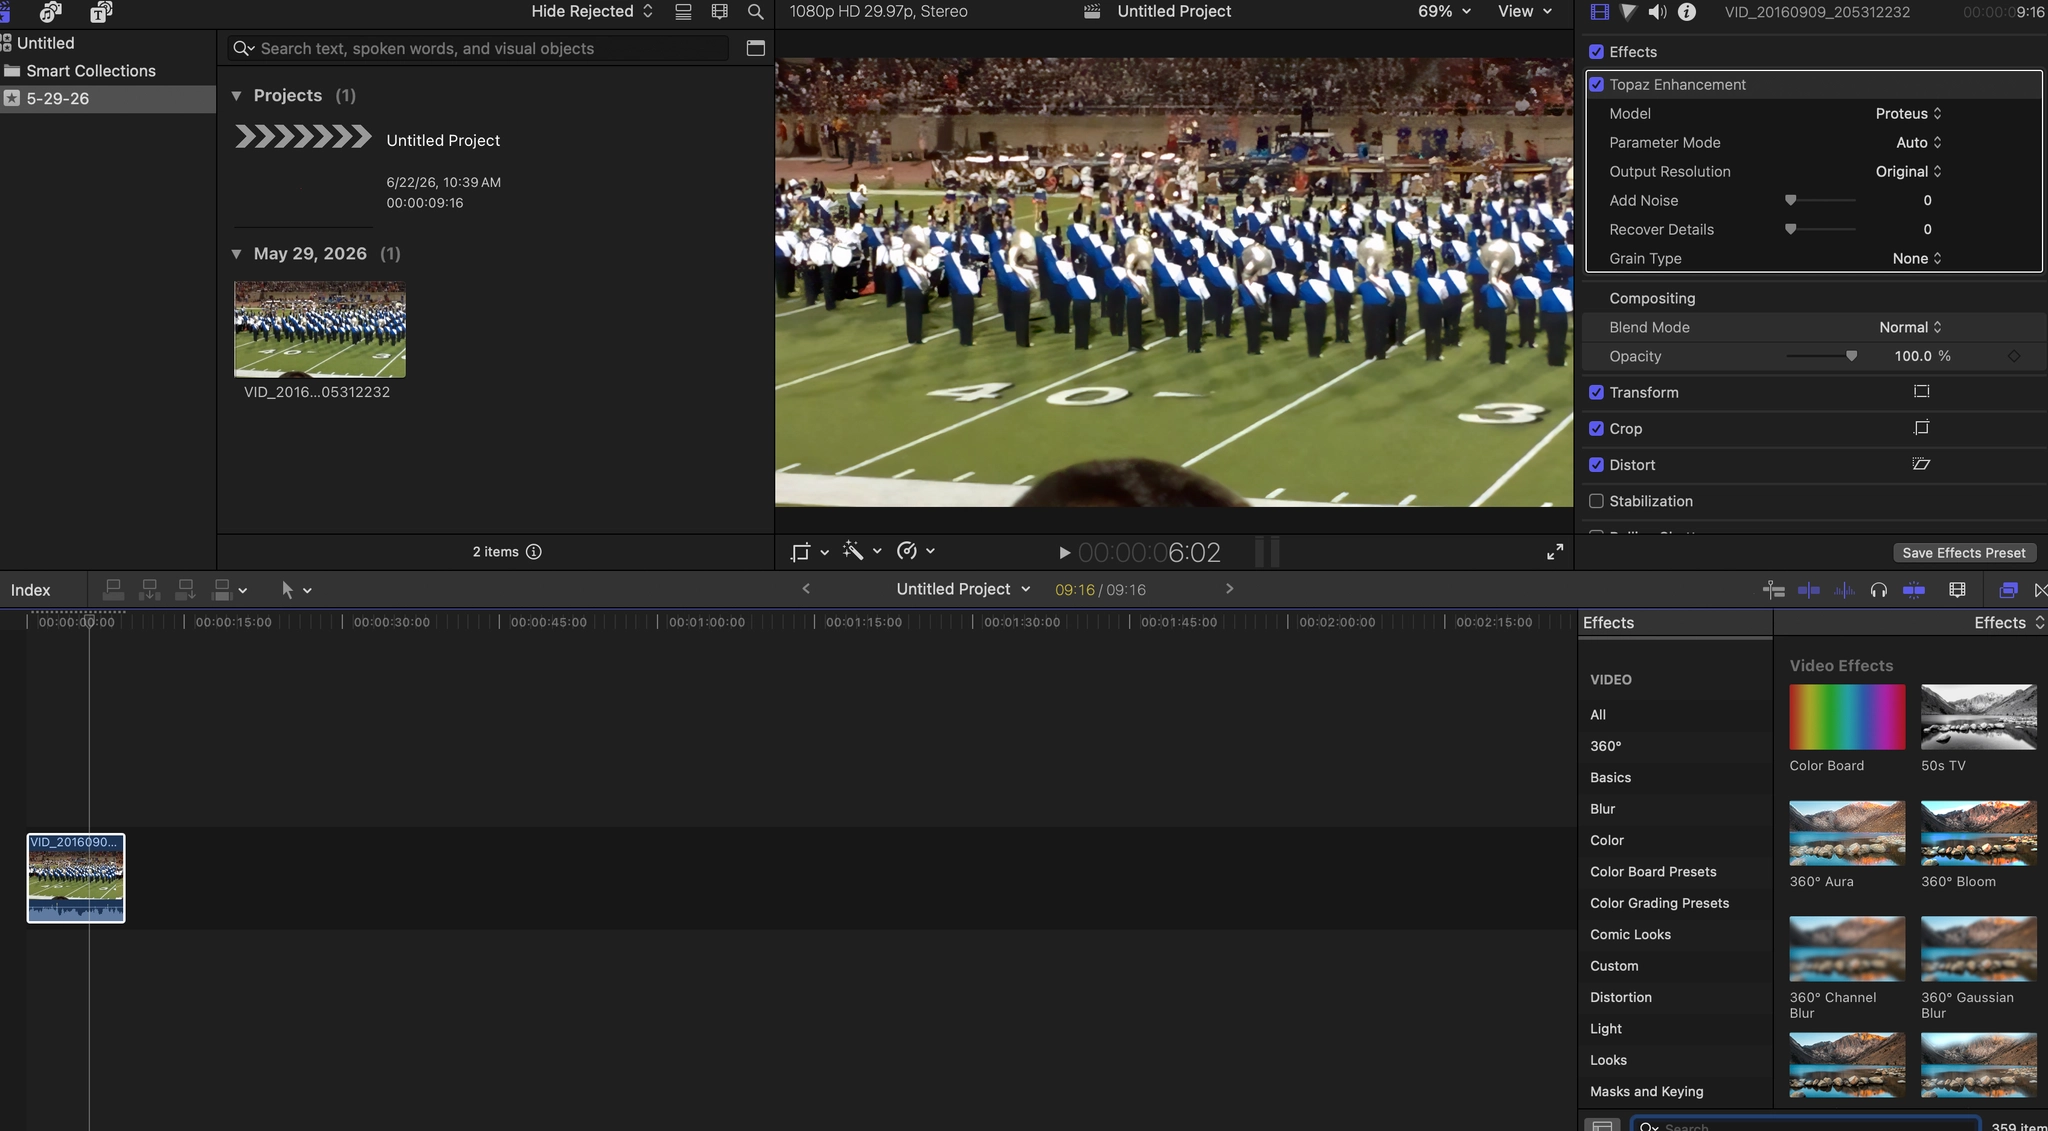
When working with the enhancement parameters, these modifiers are equivalent to working in manual mode within the desktop app.
Have fun working with the different model options on your footage!
Nuke
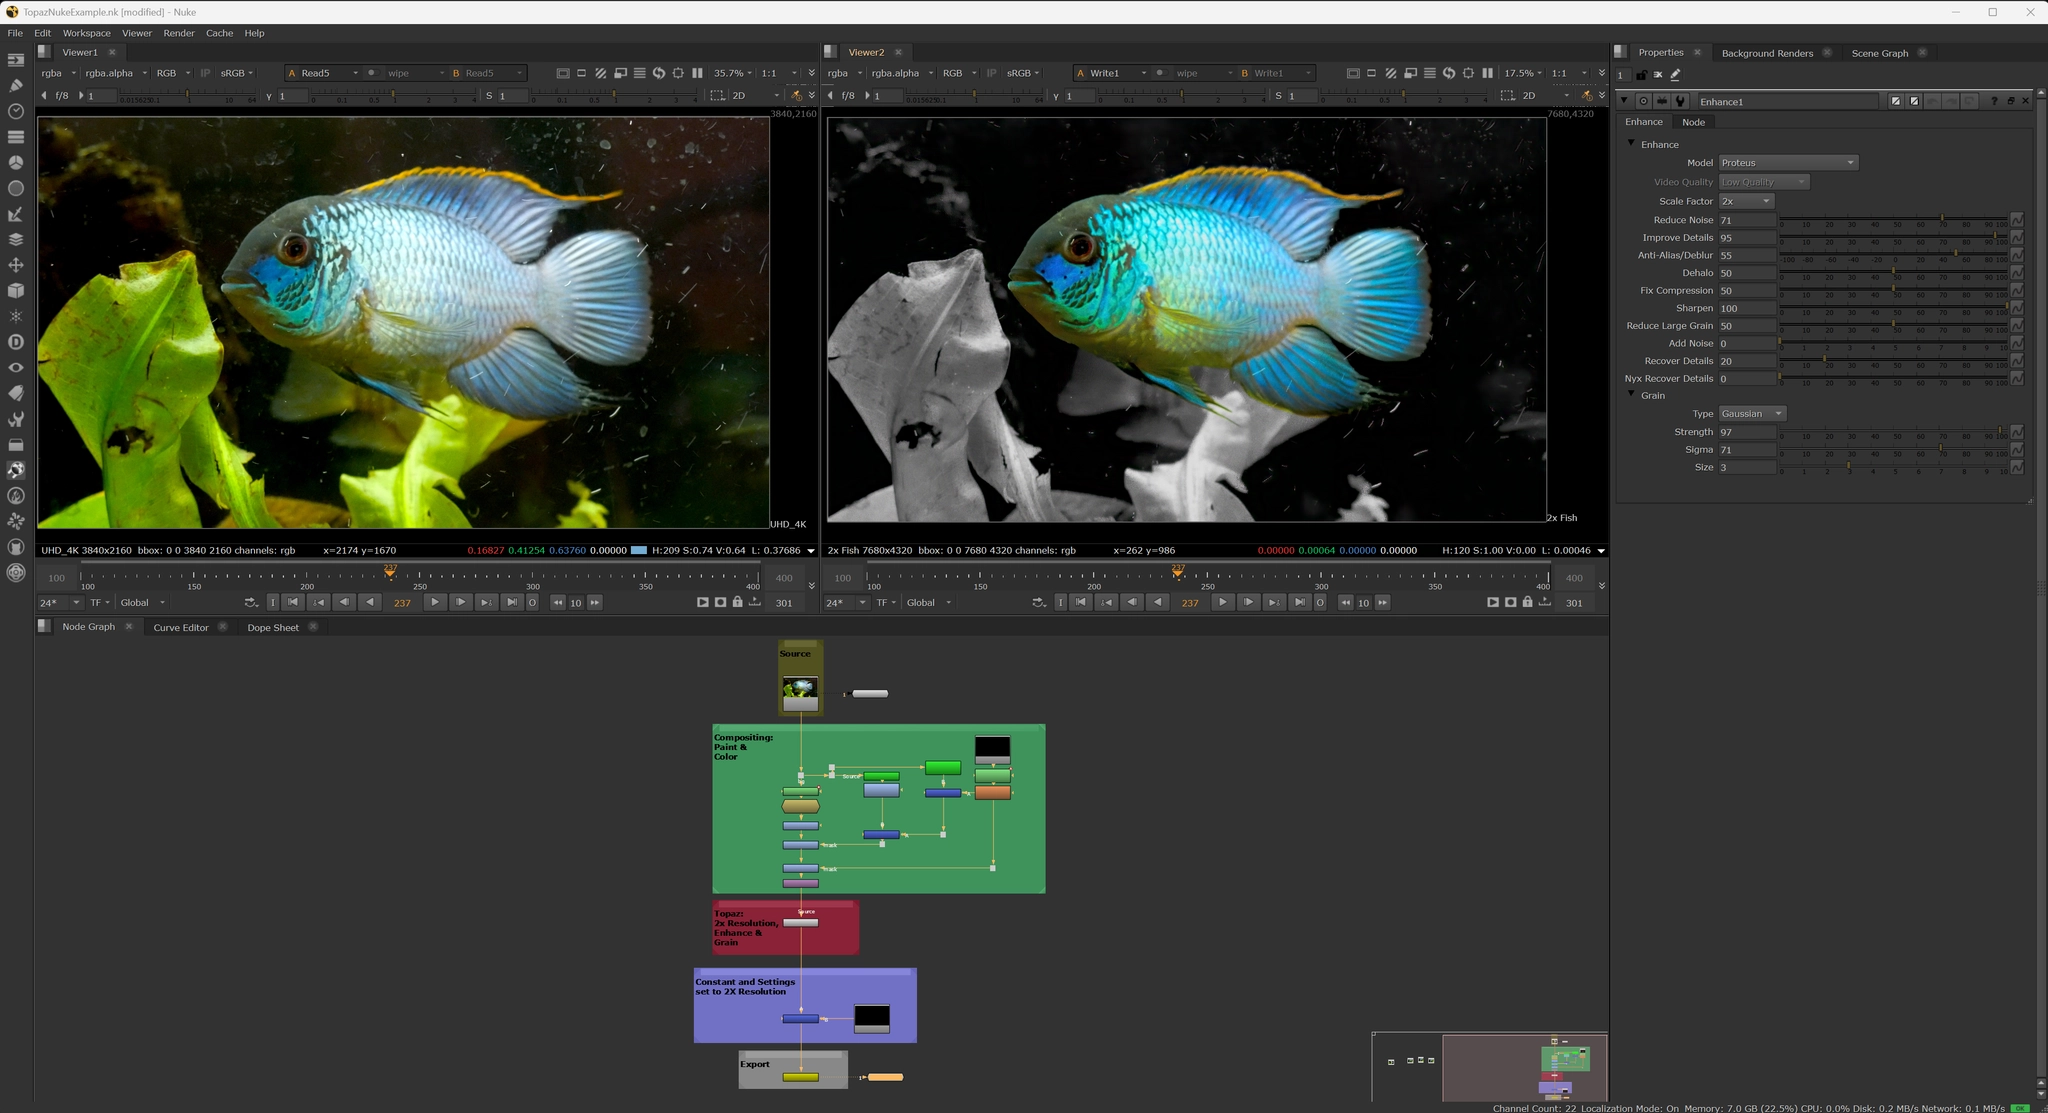
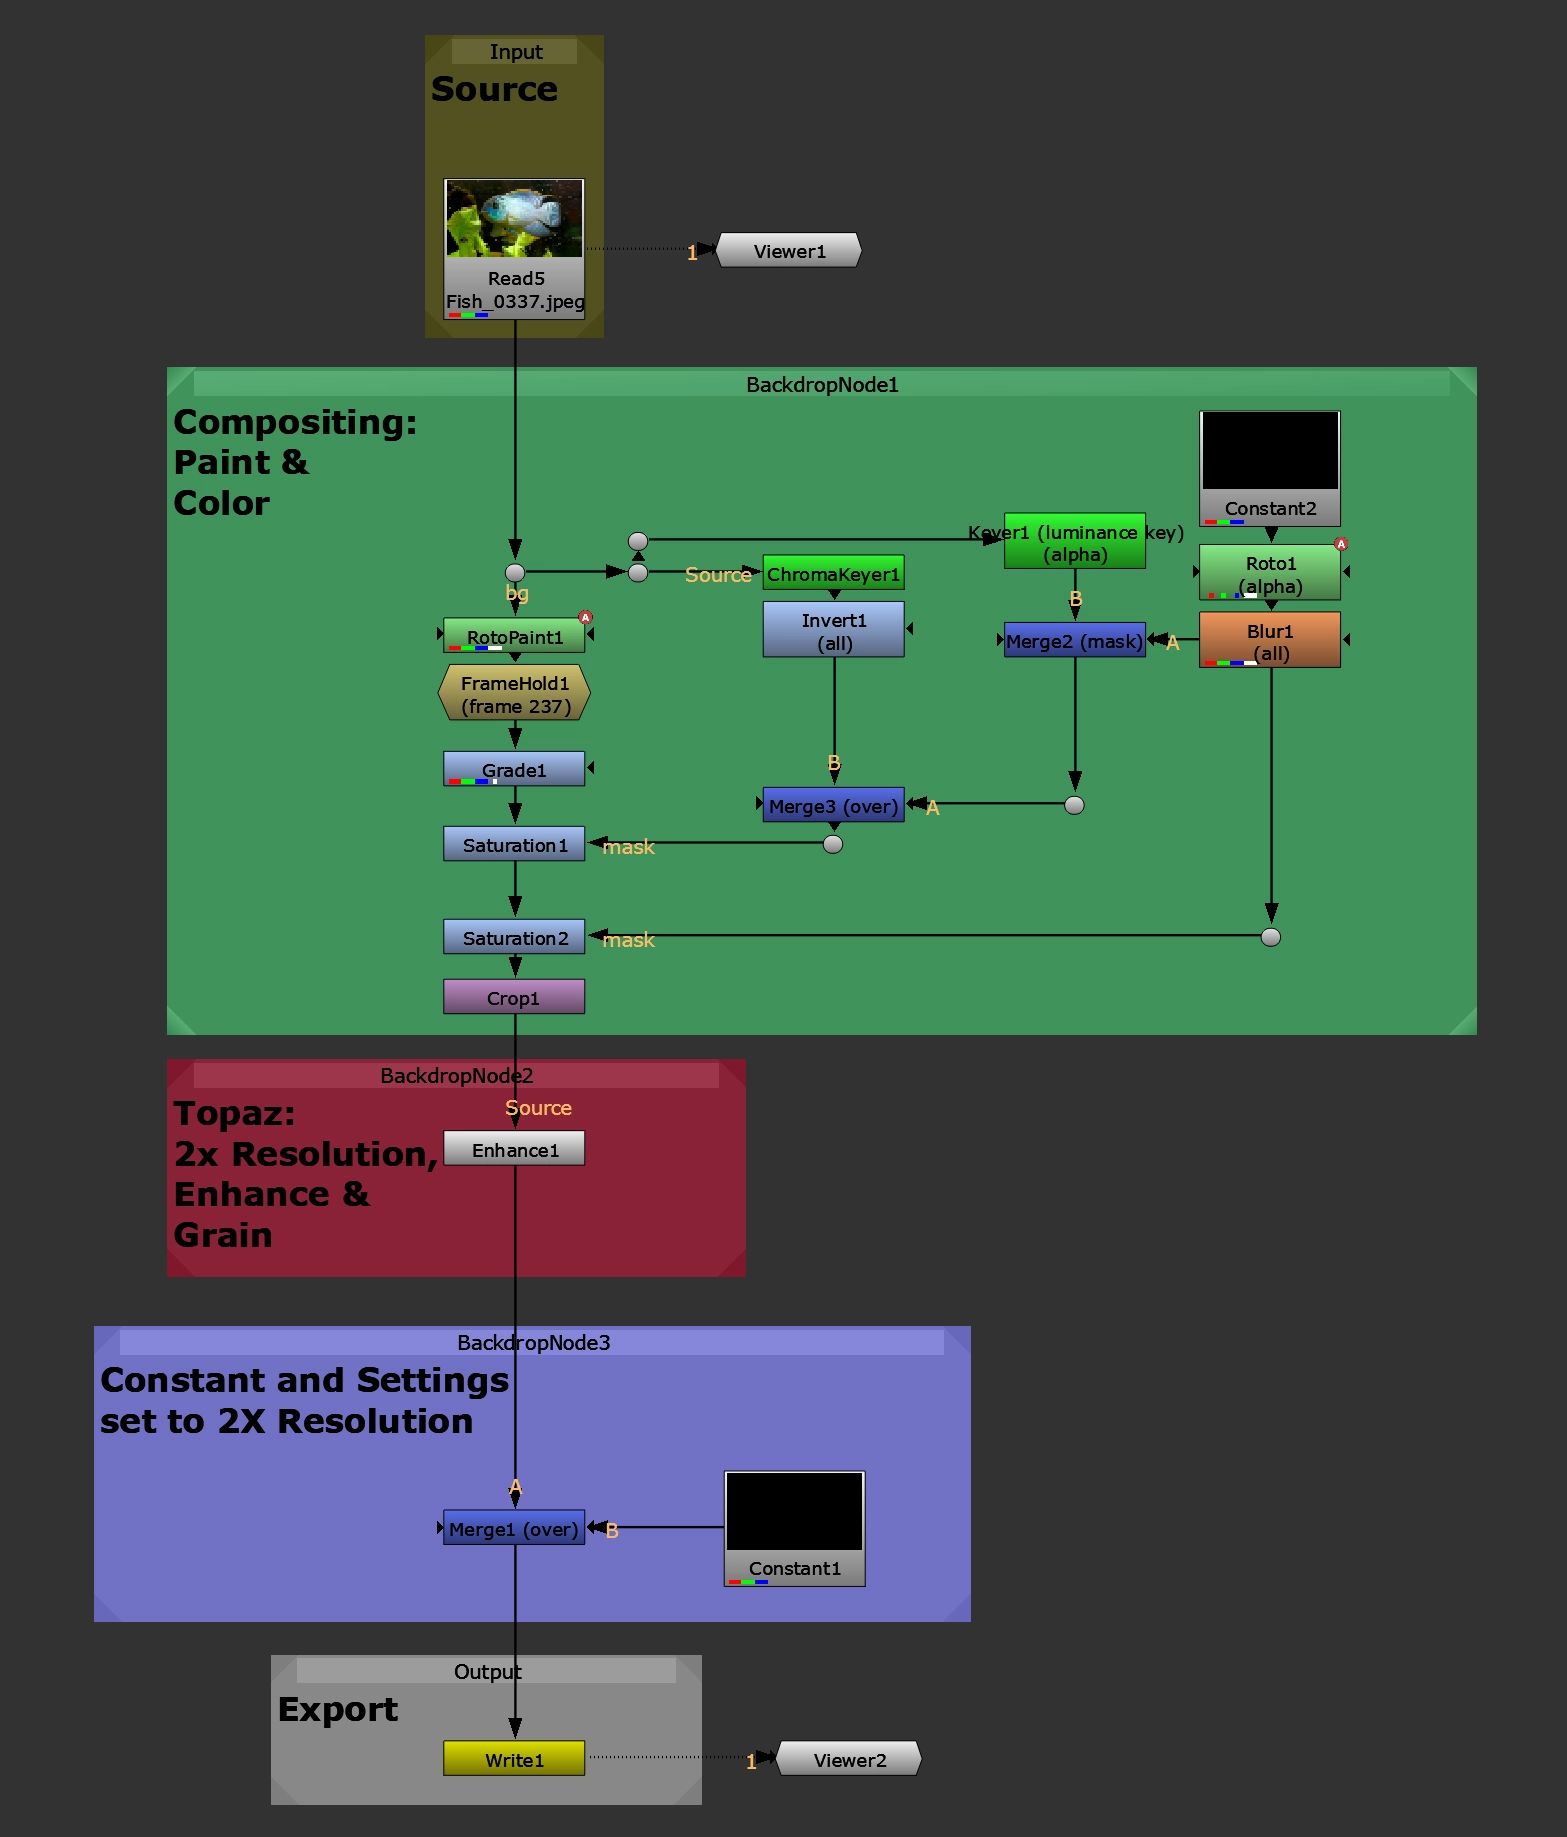
The very long awaited plugin is finally here! The Topaz plugin for Nuke is now a reality! As a Compositor or VFX artists, one is now able to take advantage of some of Topaz’ famous models right within the the Nuke working environment.
Upon installation, the OFX file will be available to be downloaded. If there are any issues with the initial installation. The plugin is available within the Topaz Video application in the upper left side under the “Plugin” drop down.
Topaz in Nuke
With the plugin installed, there are two places to access Topaz within Nuke.
Option 1: Via the left panel of icons, select the Topaz plugin icon to reveal the four plugin options.
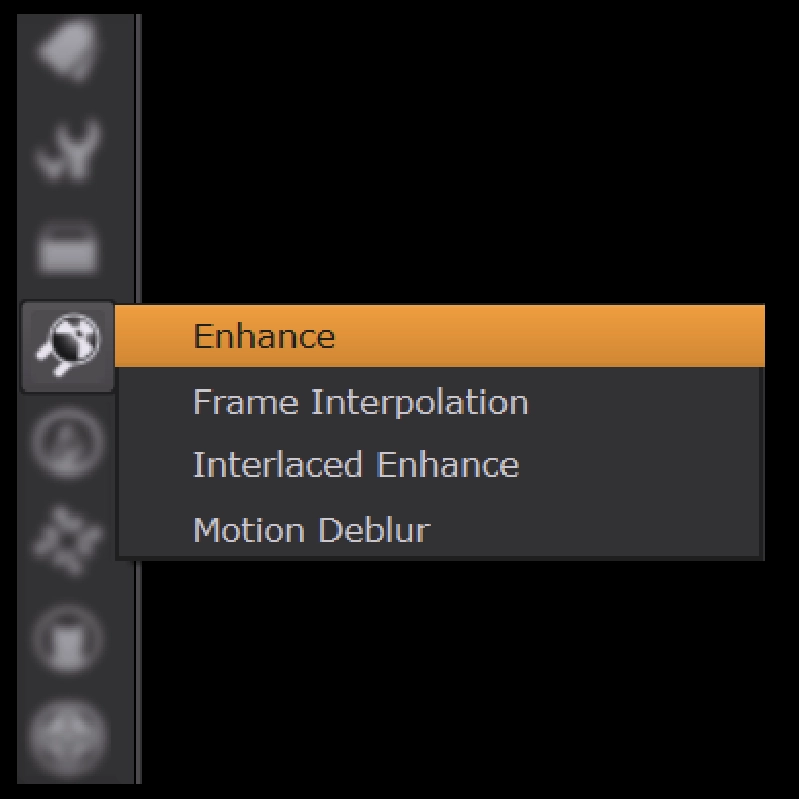
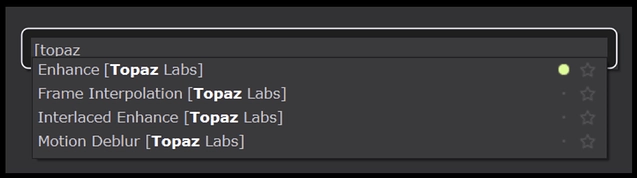
Option 2: Via the “Tab”, search for
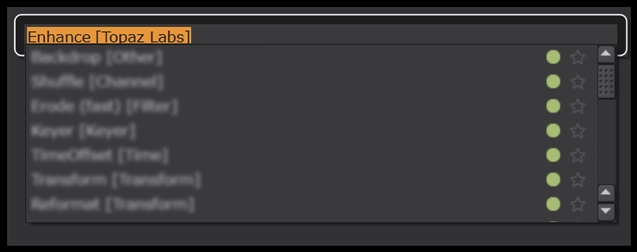
- Enhance [Topaz Labs]
- Frame Interpolation [Topaz Labs]
- Interlaced Enhance [Topaz Labs]
- Motion Deblur [Topaz Labs]
Or with the “Tab” search, instead type in “[topaz” to reveal all four Topaz plugins.
Have fun experimenting with the different model options with your footage!