Sharpen
The Sharpen filter produces clear images with crisp details. Unlike traditional sharpening that darkens or brightens pixel edges, it reverses the root causes of blurriness, such as camera shake, motion blur, and missed focus.
Controls
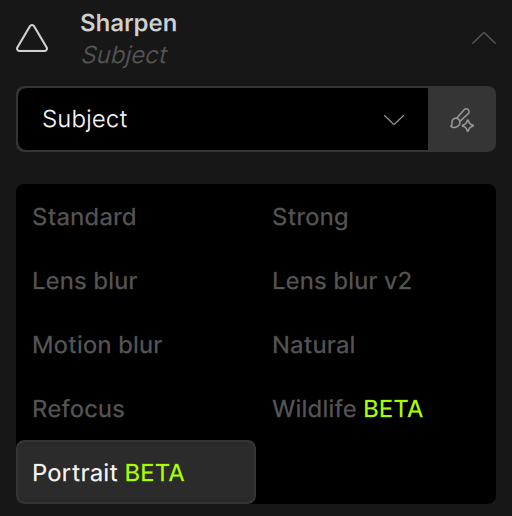
Use the Controls tab to select the AI model and adjust the settings. View the Selection article for more info on how to adjust the mask and select different parts of the image.
AI Models
Standard
Use the Standard model for all-purpose sharpening. It is intended for images with slight amounts of lens and motion blur.
Strong
Use the Strong model for very blurry and out-of-focus images. Try the Standard model before the Strong model to avoid over sharpening and generating unwanted artifacts.
Lens Blur
Apply the Lens Blur model to images affected by imperfections caused when the camera lens fails to focus correctly.
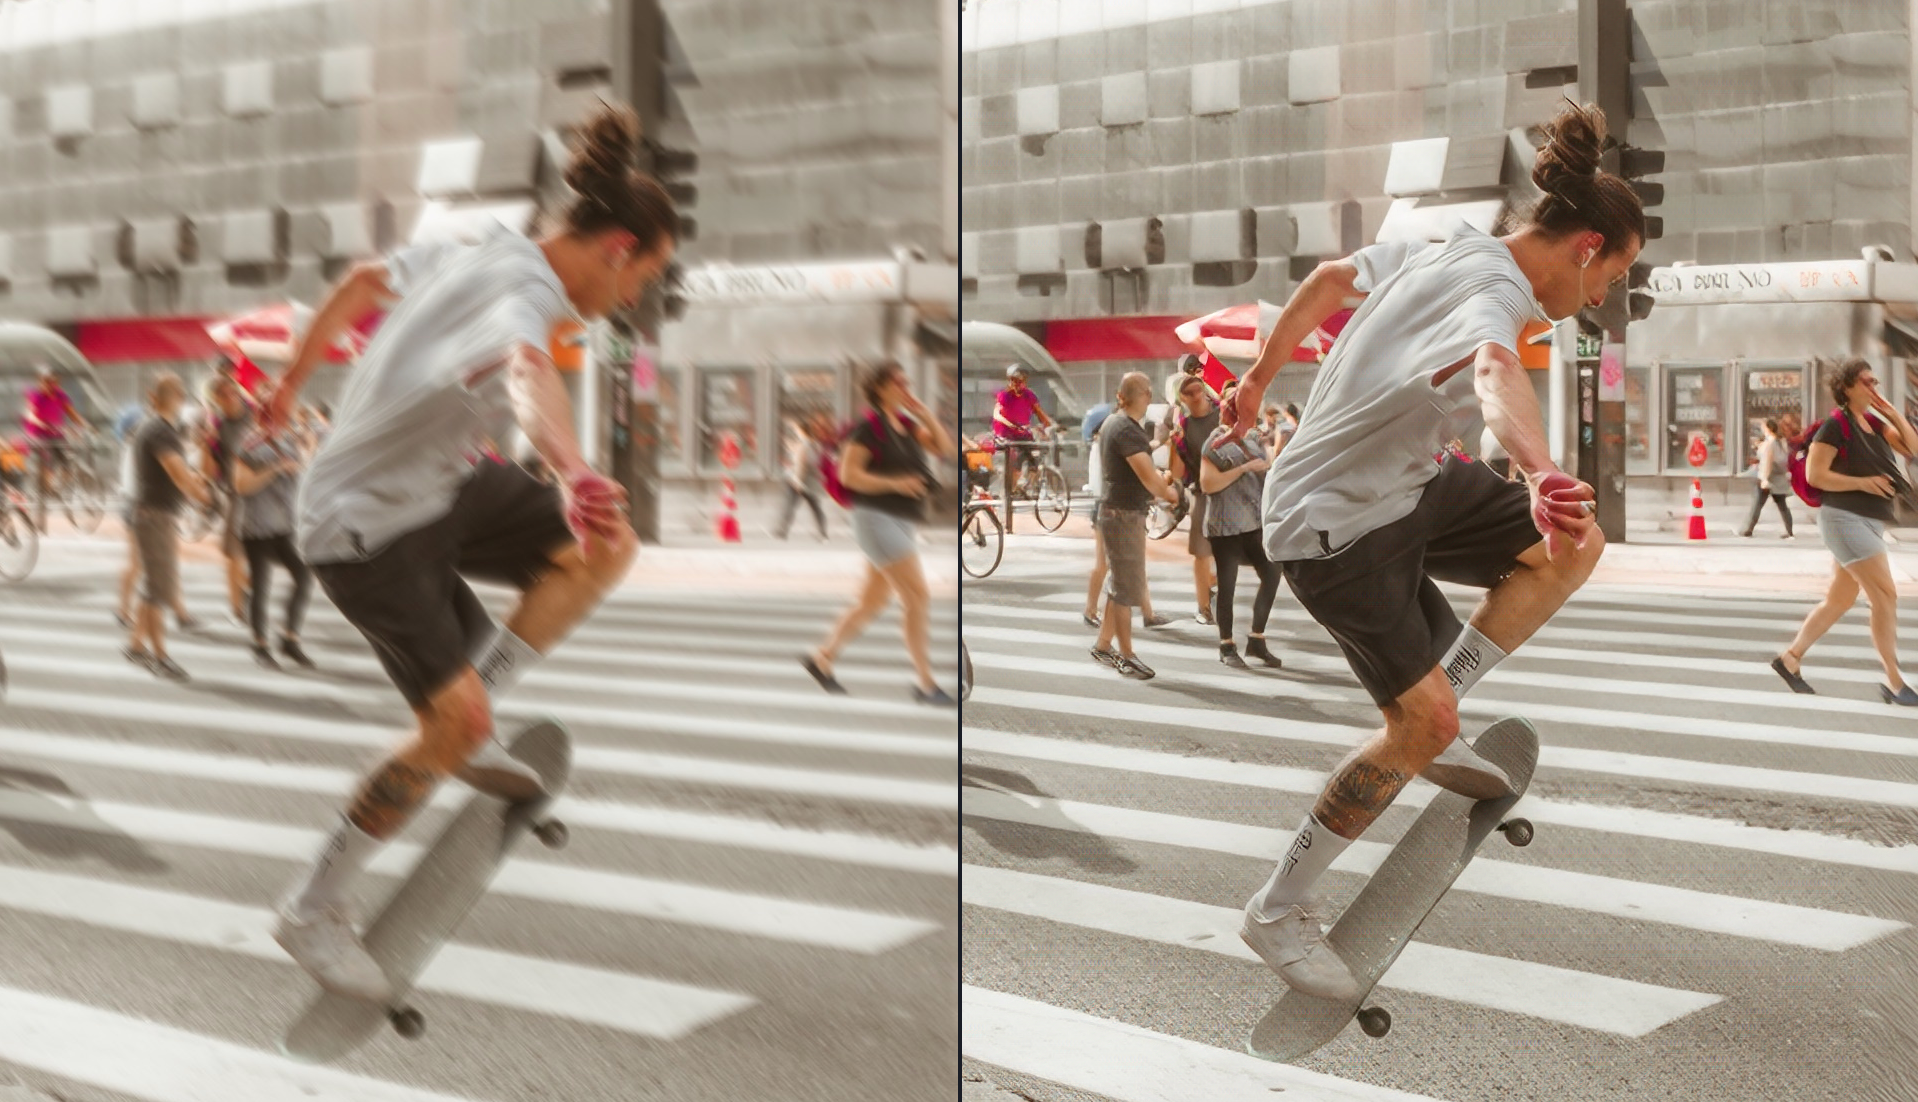
Motion Blur
Use the Motion Blur model to correct the streaked or smeared effect caused by the movement of either the camera or the subject during the exposure time.
Natural
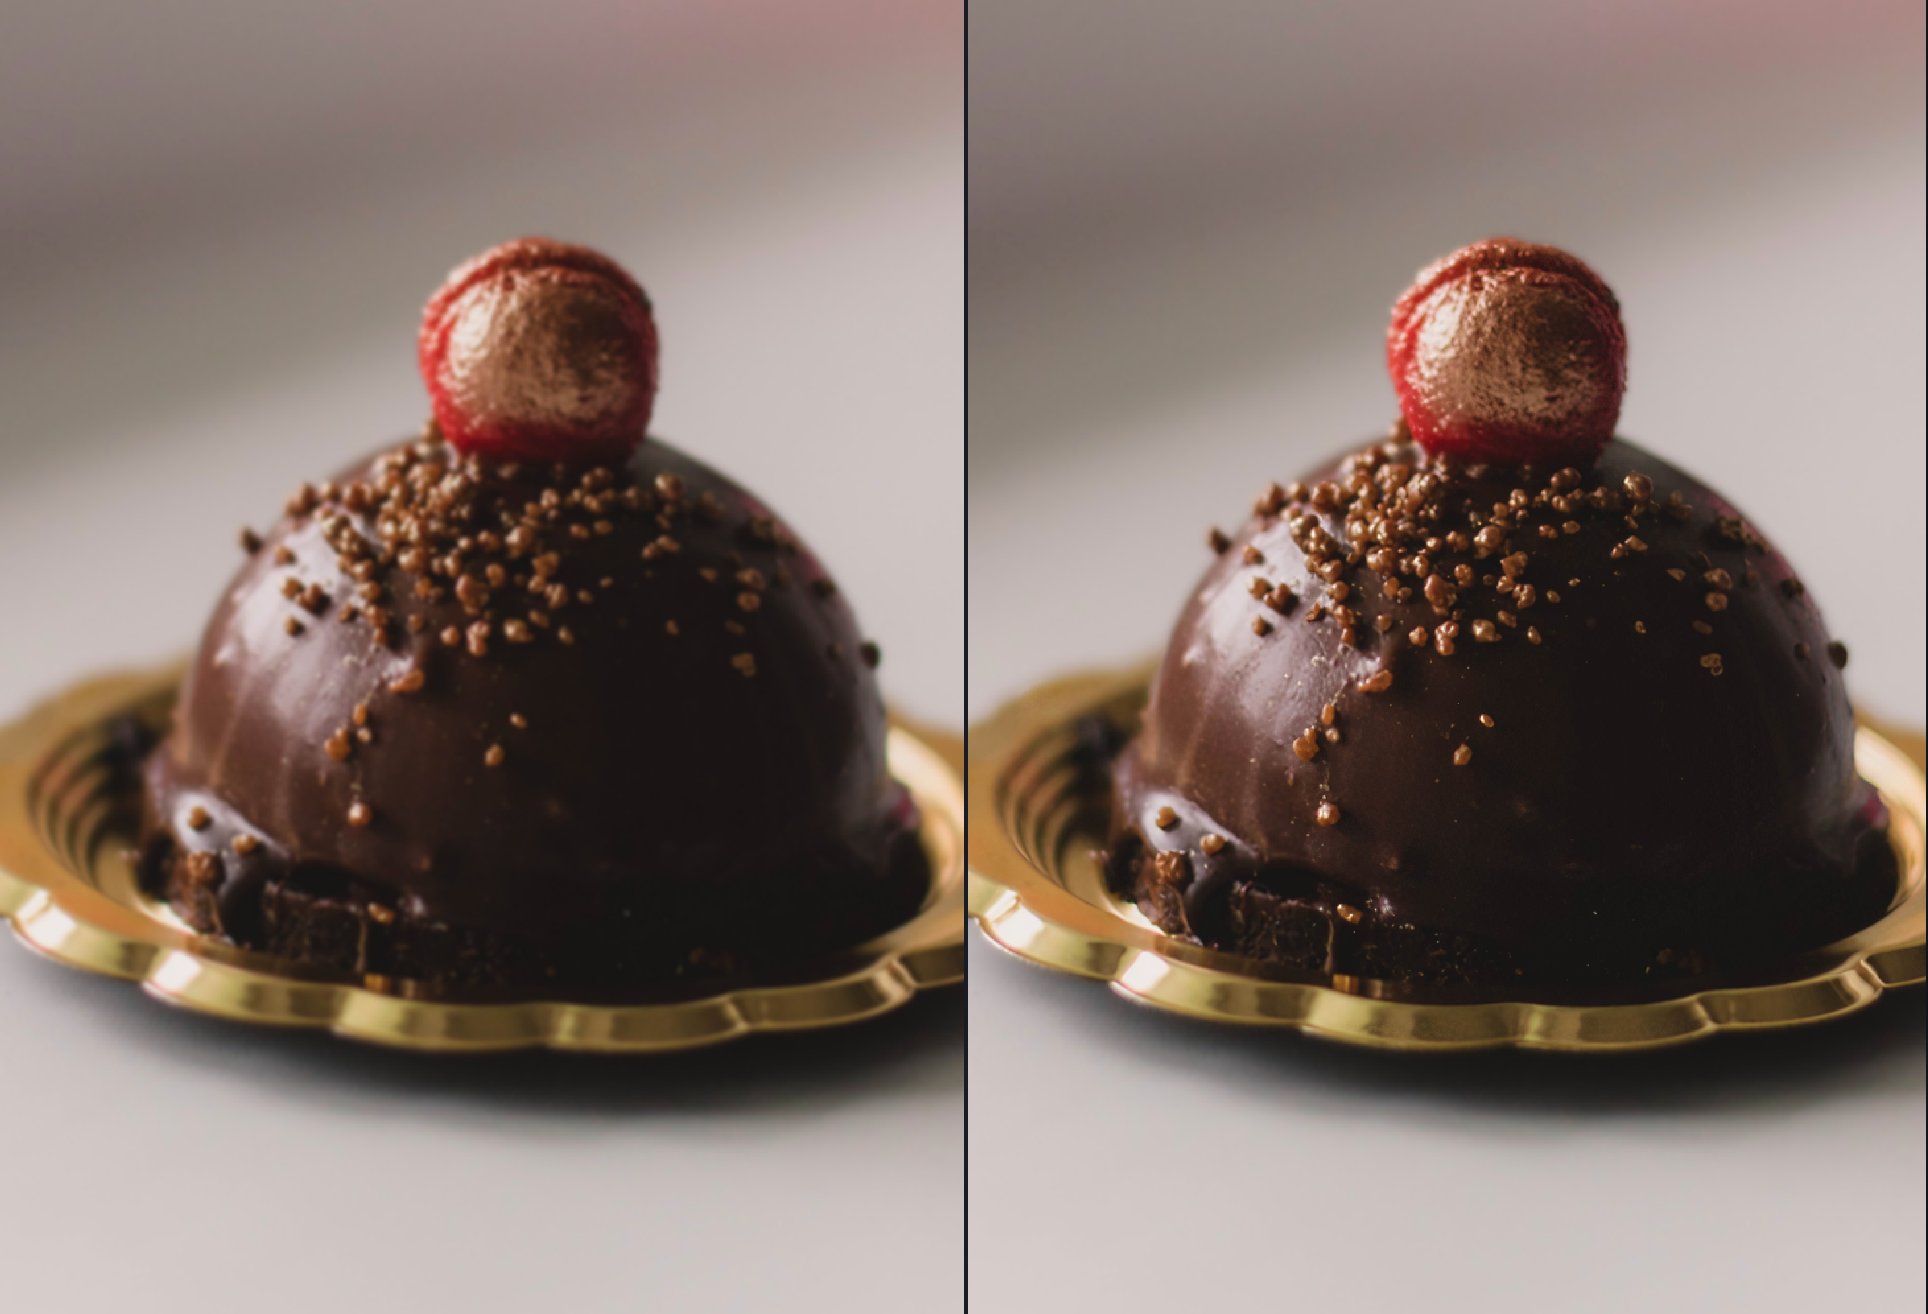
Use the Natural model to sharpen objects and keep texture looking natural.
Refocus
Use the Refocus model to emphasize details and bring out finer lines or texture.
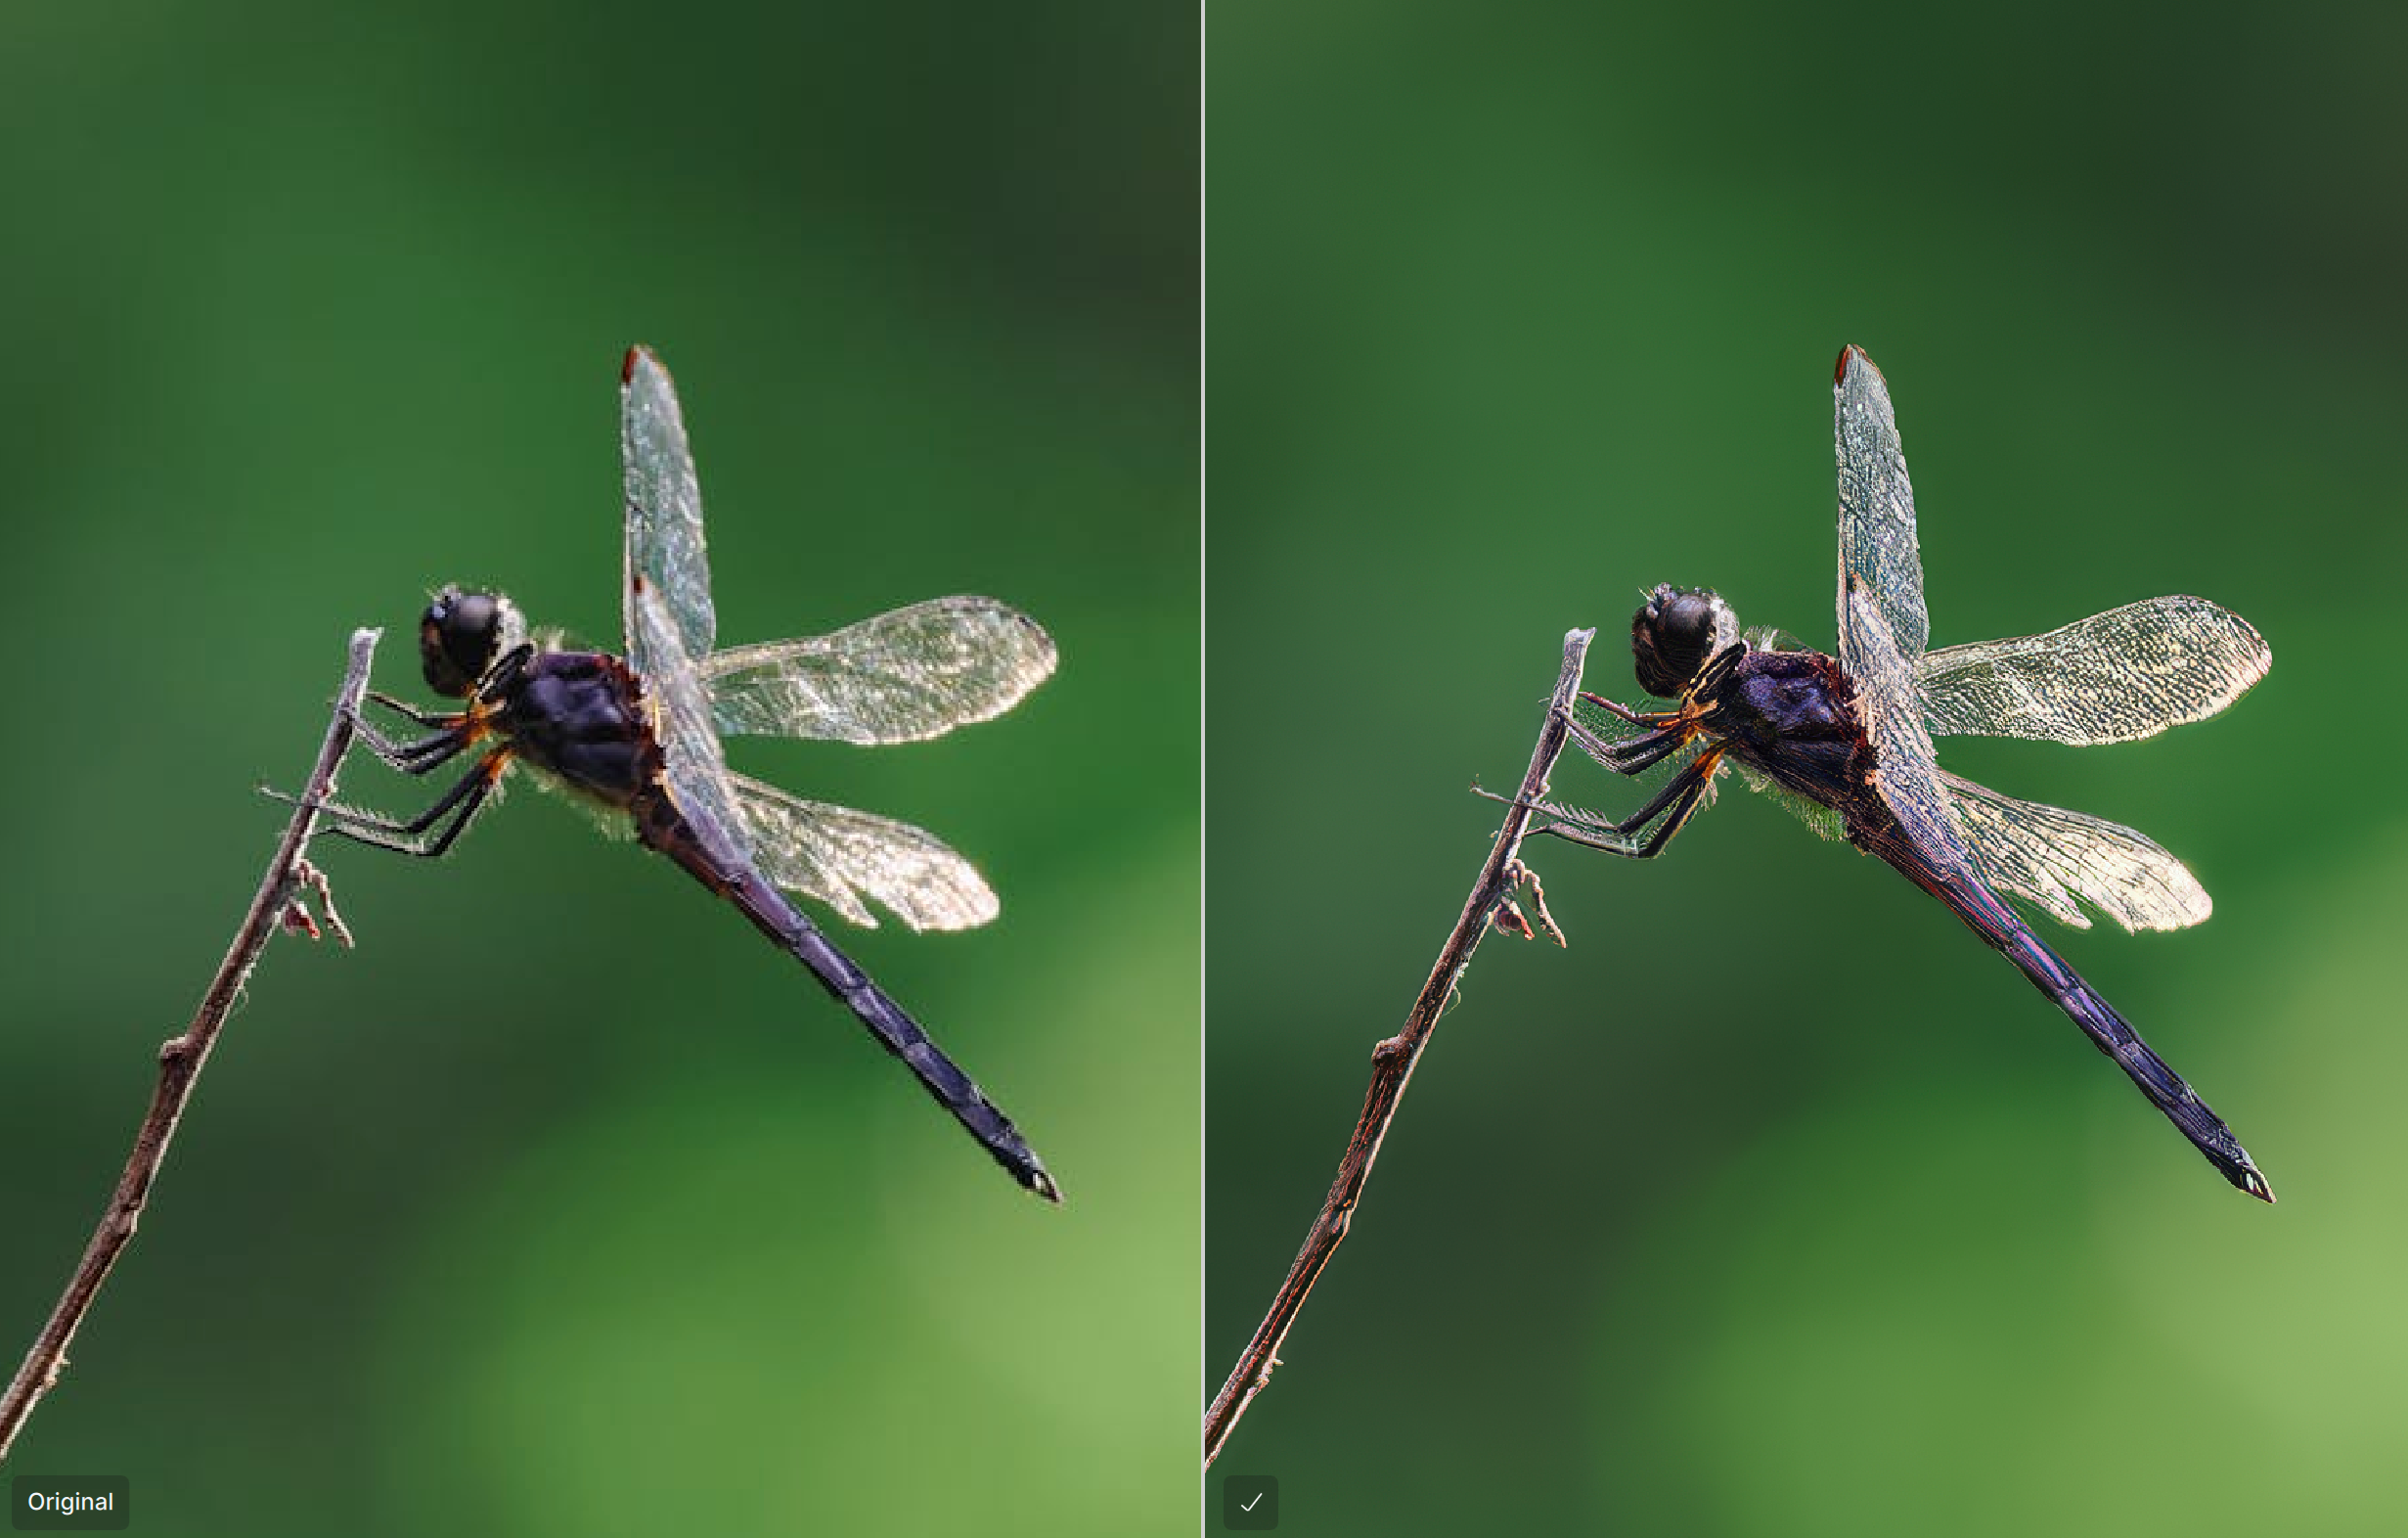
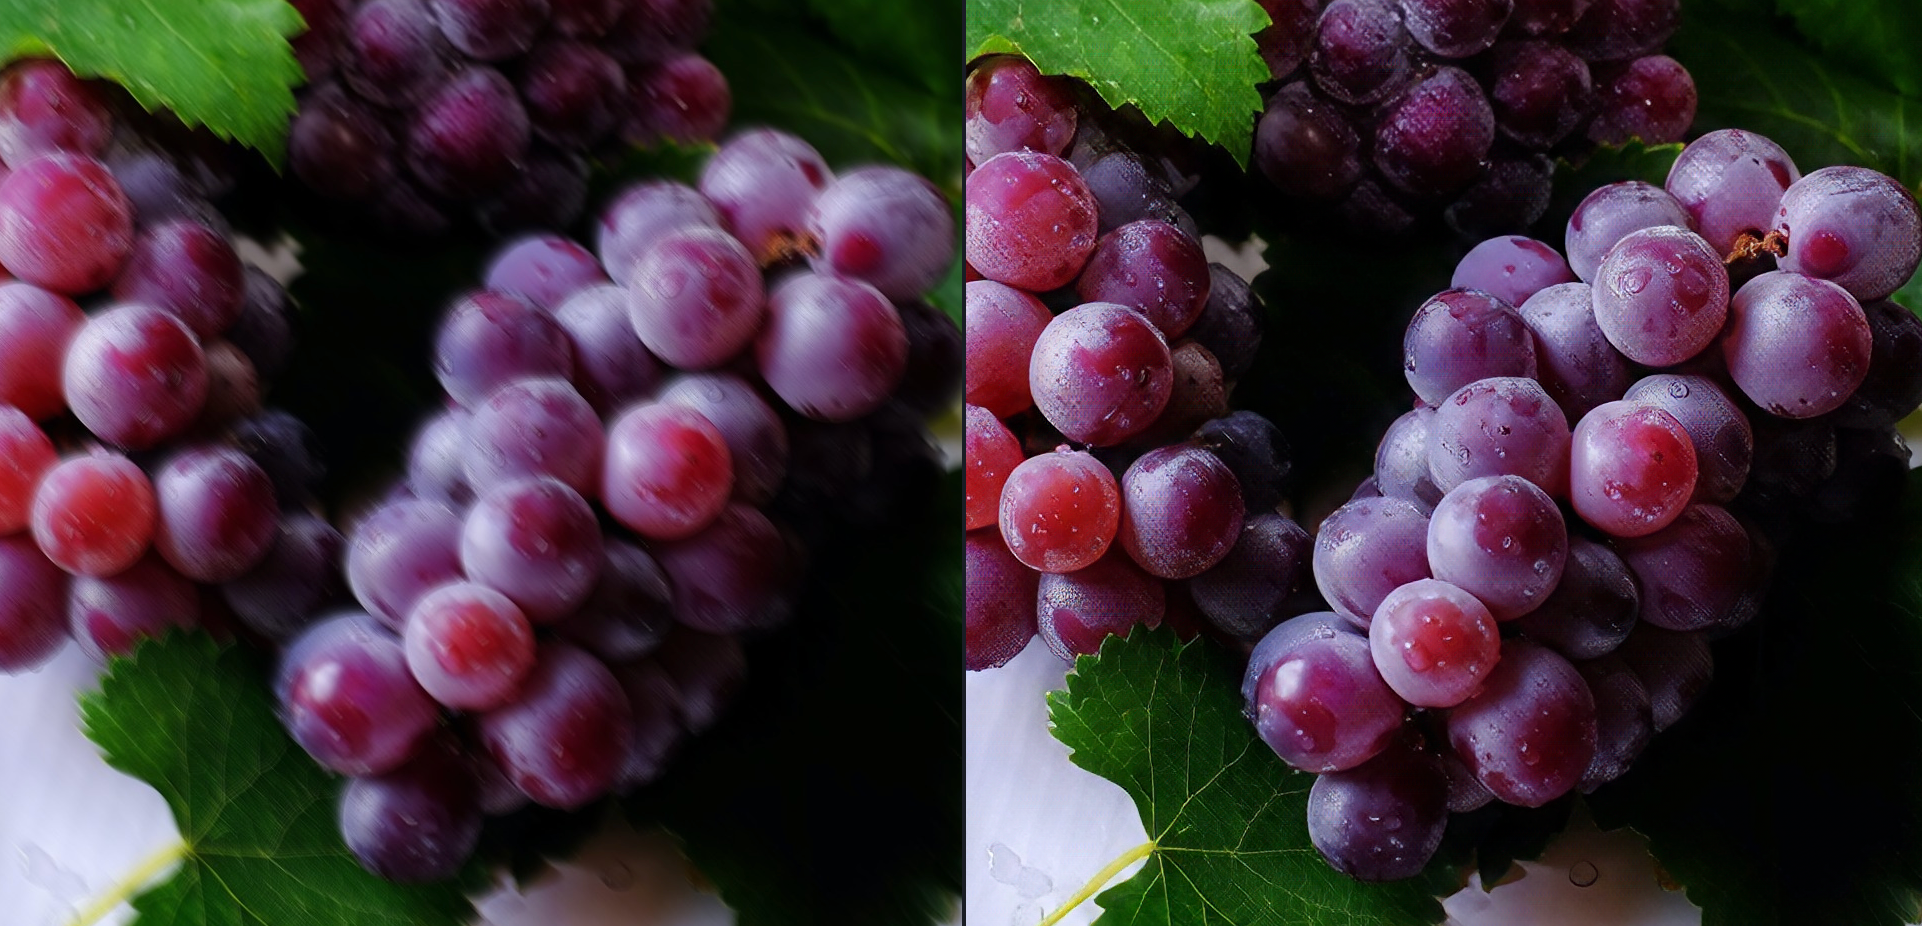
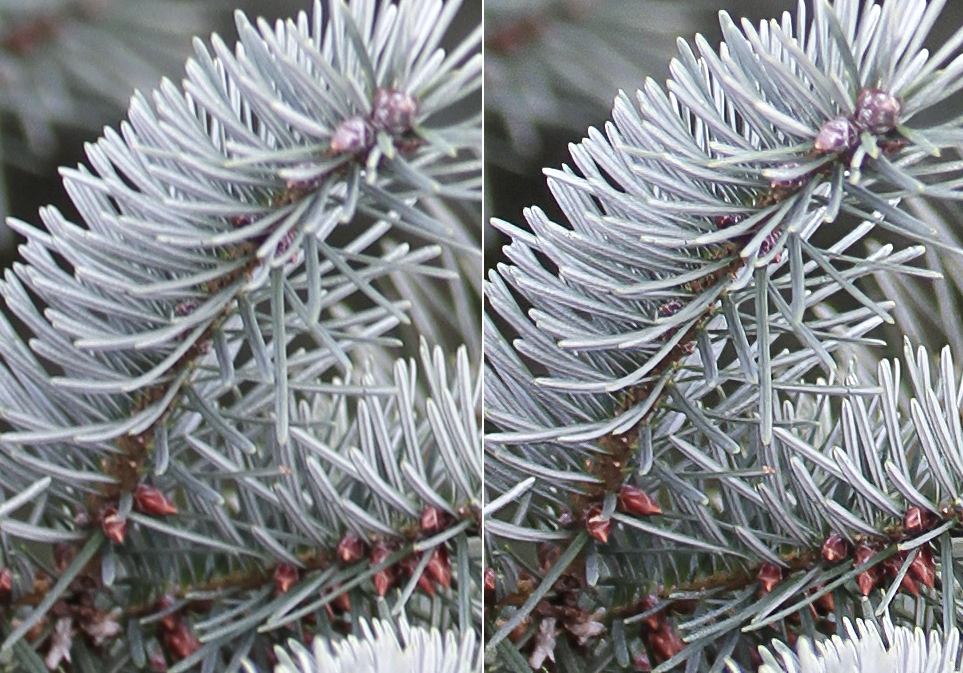
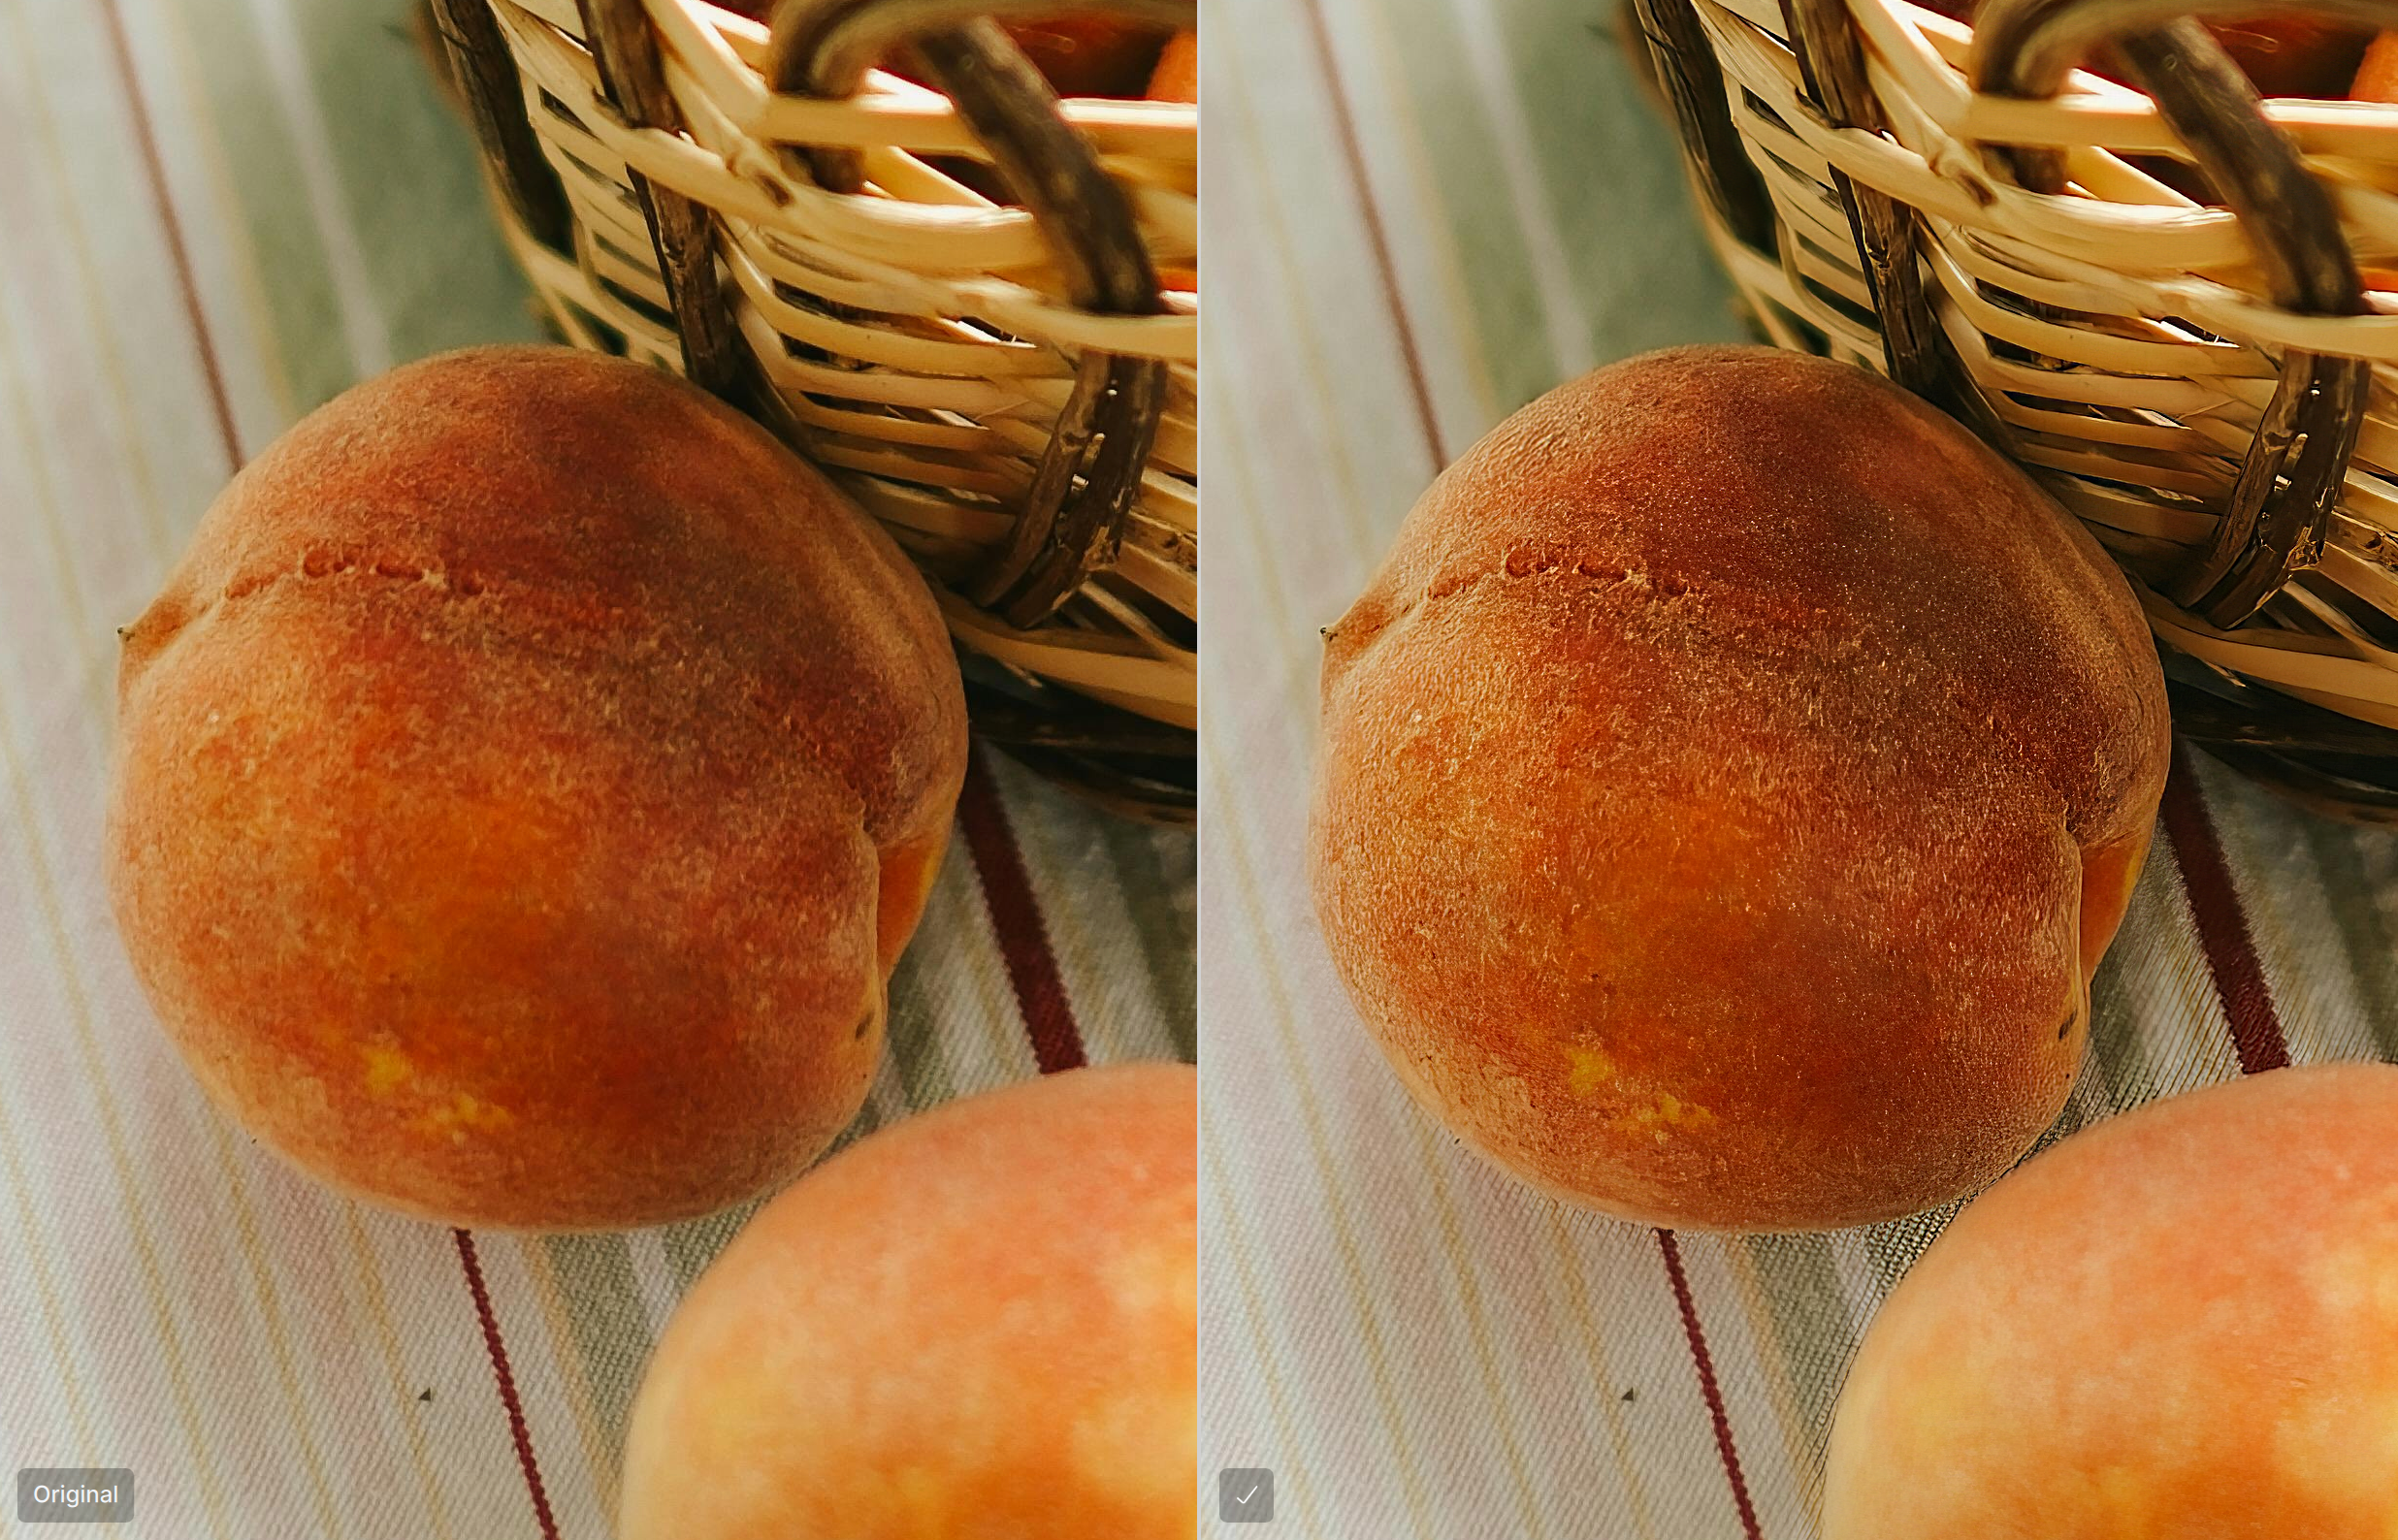
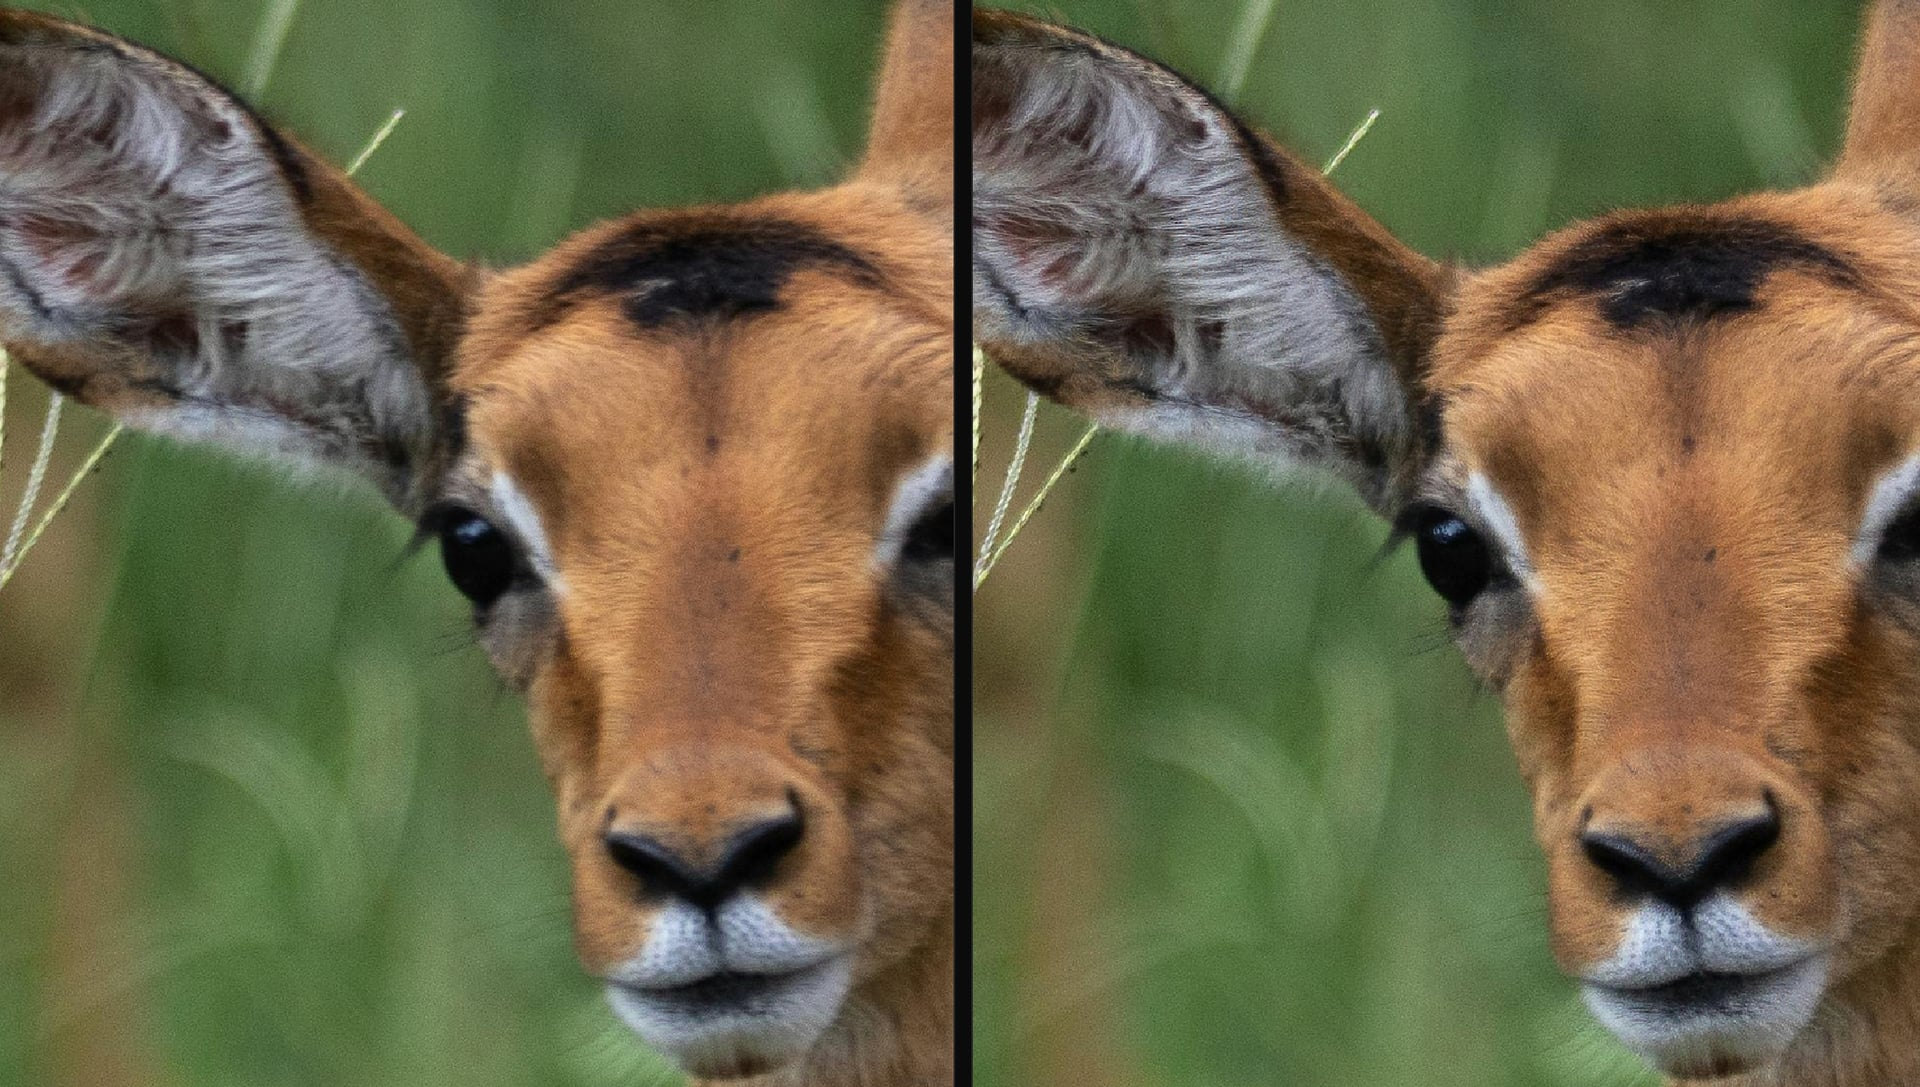
Wildlife Sharpen
Model designed specifically for fine, natural detail in wildlife photography. When researching places to improve Topaz Photo, better sharpening for wildlife comes up frequently in fur, feathers, whiskers, scales, and delicate textures.
Existing sharpen models in Topaz Photo are for general sharpening which smooths away these details, producing an artificial, plastic result. The Wildlife model aims to preserve lifelike textures while keeping larger structures crisp without that over-sharpened halo look.
Best practices for using the Wildlife model:
- Use on high-resolution images (5MP or higher) with low–medium blur to keep lifelike fur/feather detail and avoid “plastic” looks.
- Not for heavy blur recovery, the other sharpen models will be better for cases where the subject is significantly out of focus or smeared by motion.
- Treat as a finishing step once the image is in good shape, after denoise or other adjustments.
- For low-resolution files, Upscale first to increase resolution and generate enough pixels for the model, then apply the Sharpen - Wildlife model reveal convincing micro-detail.
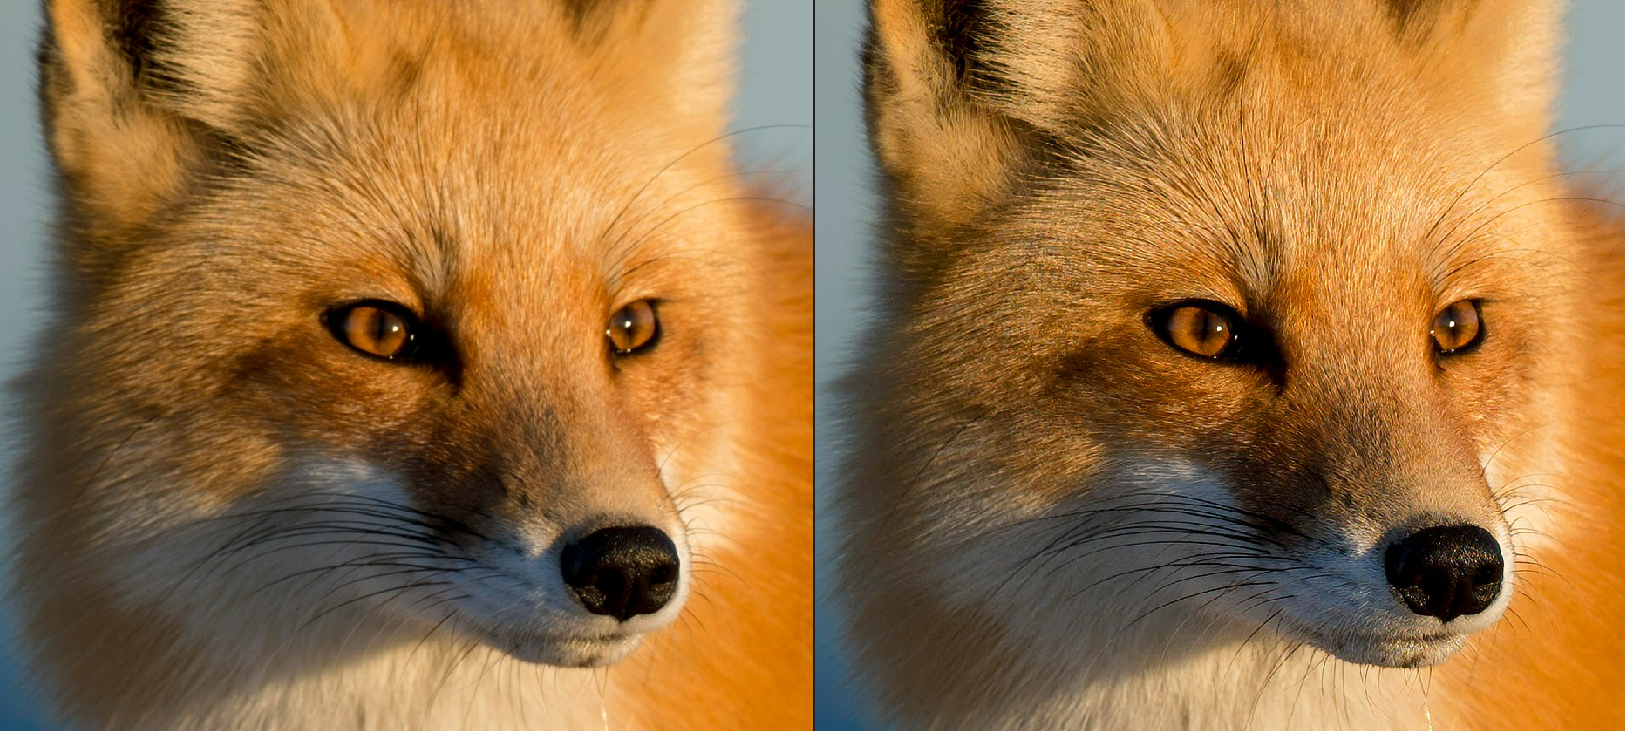
Portrait Sharpen
This model is trained specifically for portraits and people photography. Portraits make up a large percentage of the images processed in Topaz Photo, yet none of the previous Sharpen models were designed for this image type. Existing models often produce results that look smooth, artificial, or simply did not have noticeable improvement especially on medium and high-resolution photos.
The Portrait Sharpen model was trained on high-quality portrait images to better handle the fine details that make people look natural — hair texture, facial features, and clothing details. The goal is to deliver sharp, clean detail without exaggeration or the “plastic” effect that can appear with older models. To use it, add Sharpen then pick it from the model selector.
Best practices for using the Portrait model:
- This model should be used only on high-resolution (5MP or larger) portrait images that are already denoised and deblurred.
- RAW images are the best to use with Portrait Sharpen.
- We recommend running Denoise and Sharpen first to remove distractions and prepare the image before applying Portrait Sharpen.

Sharpen Noise-Aware
Traditional sharpening models enhance both detail and noise at the same time. In low light, high ISO, wildlife, sports, or nighttime photography, this can make digital noise and grain become distracting.
Noise-Aware is designed for these situations. Instead of sharpening the entire image equally, it separates image detail from noise before applying sharpening. This allows important subject details like fur, textures, facial features, and edges to become clearer while preserving the natural look of the original image.
This model works especially well on images where visible grain or noise is already present and part of the atmosphere of the shot.
Noise-Aware is an addition to the Sharpen lineup, not a replacement for existing sharpening models. For cleaner images with little to no noise, other sharpening models may still provide the best results.
Additional Settings
Strength
Use the Strength slider to control the degree to which the AI model sharpens the image. It increases the clarity of the details by making the edges and fine features more distinct.
Minor Denoise
Sharpening can accentuate noise in an image. Use the Minor Denoise slider to remove slight noise so the Sharpen filter can enhance the details without amplifying unwanted artifacts.
The Strong model does not have the Minor Denoise slider because it significantly sharpens all details. If there is noise that can be confused as detail, use the RAW Denoise enhancement (if RAW file) or the Denoise enhancement (for low-light noise) as a first step to remove it fully before sharpening the image.
Still blurry?
If your image still does not recover details using the Sharpen filter, consider using Super focus instead, for missed focus and soft focus cases.