Topaz Panel
Topaz Panel
The Topaz panel is a free UXP extension that connects to the Topaz Cloud for processing and batch rendering. It requires a Topaz Labs user account and cloud credits (paid).
Topaz Labs for Premiere (Adobe Premiere Panel)
Topaz Labs for Premiere is now available as a panel for Adobe Premiere.
The Topaz panel for Premiere is the first UXP extension that connects Adobe Premiere with the Topaz Cloud.
Installation steps: (same instructions for Windows or Mac)
- Download the Panel Installer
- Launch Adobe Premiere
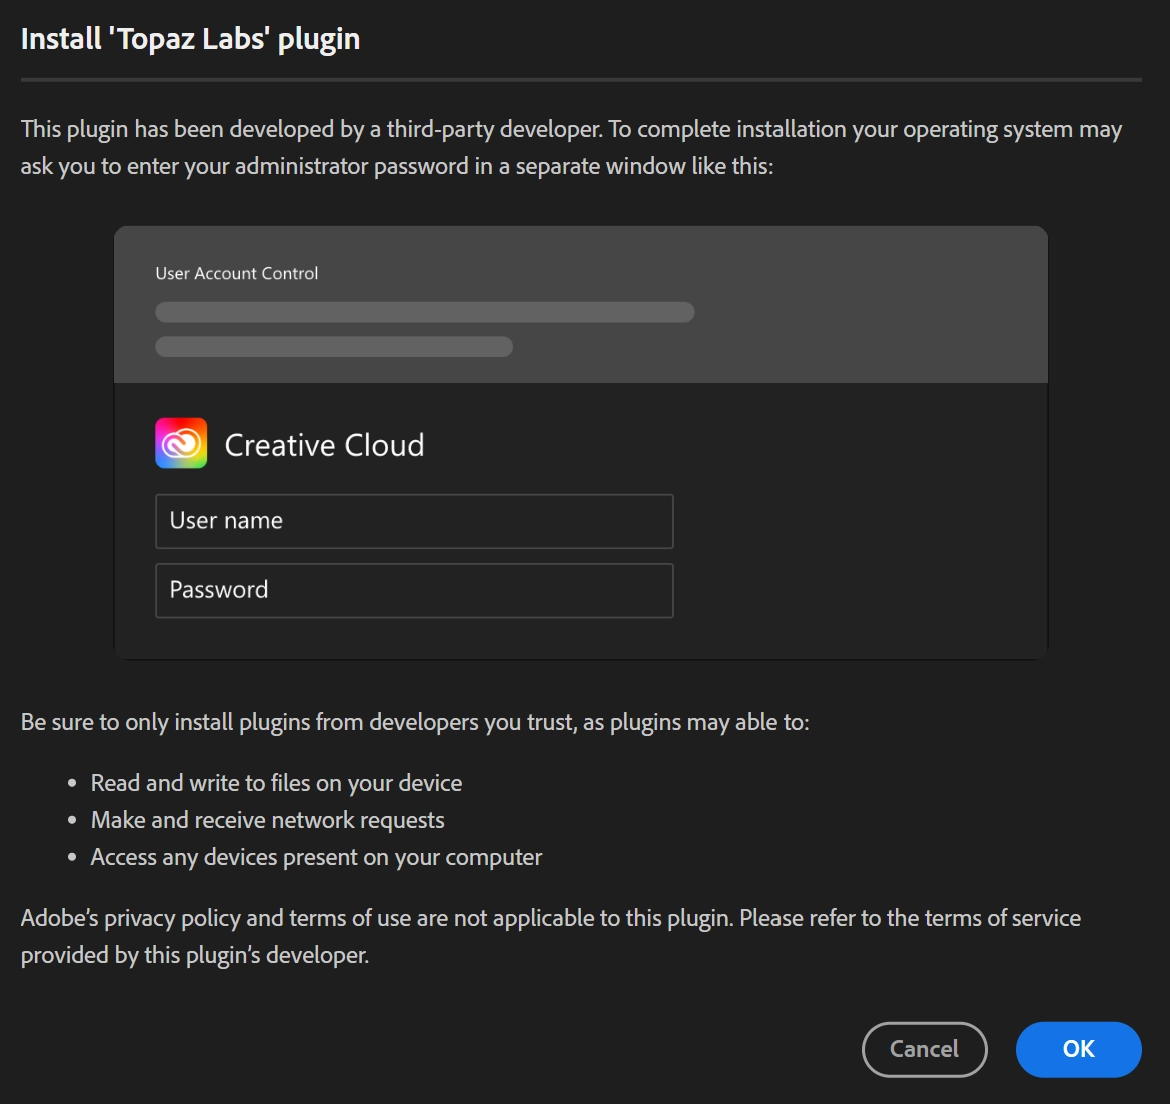
- Next, double click the .CCX installer from wherever you downloaded it.
- This will launch the Creative Cloud Desktop app. Click ok.
- This will open the Topaz panel in Premiere. We suggest you dock it in the source area in upper left
Logging in and cloud credits
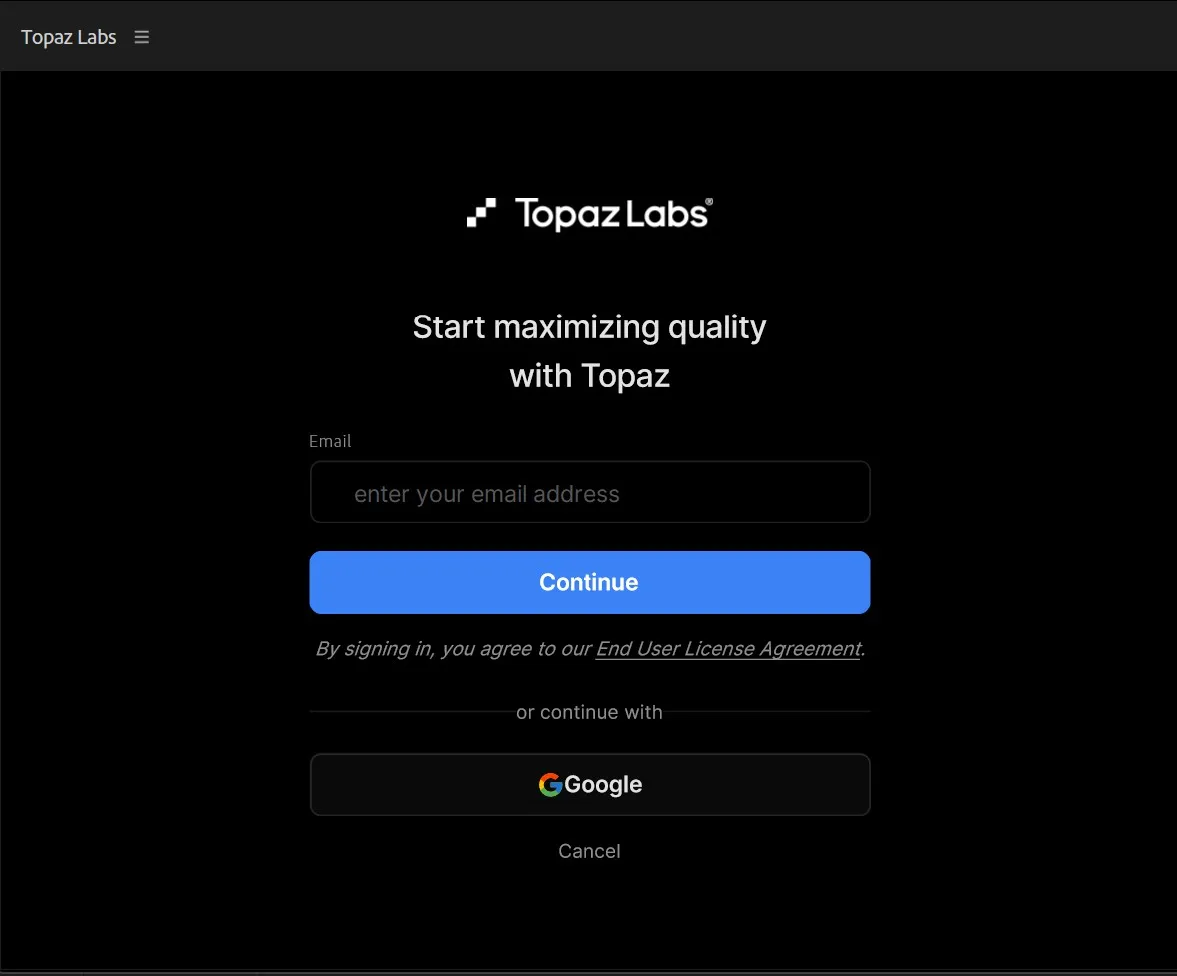
The panel requires you to have a Topaz user account and cloud credits.
Note: Topaz Studio and Topaz Video subscriptions include cloud credits. If you are a subscriber to either, you should have credits in your account.
- Log-in to your account
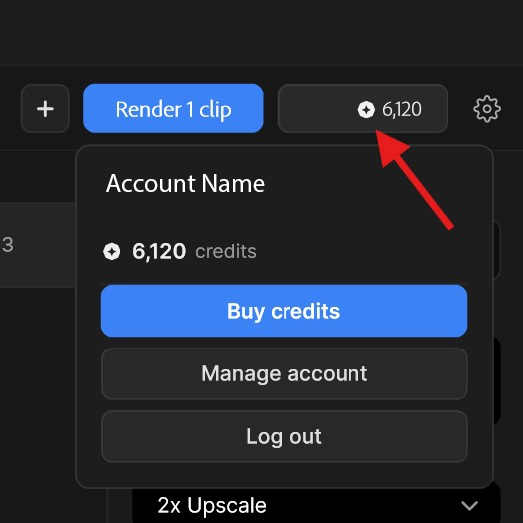
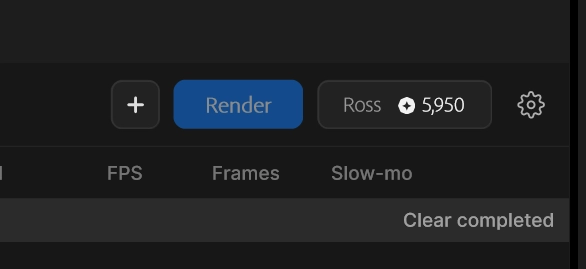
- Once logged in, you will see your credit balance in the interface and will also be able to buy more credits.
Getting Started
Adding to Enhancement Queue
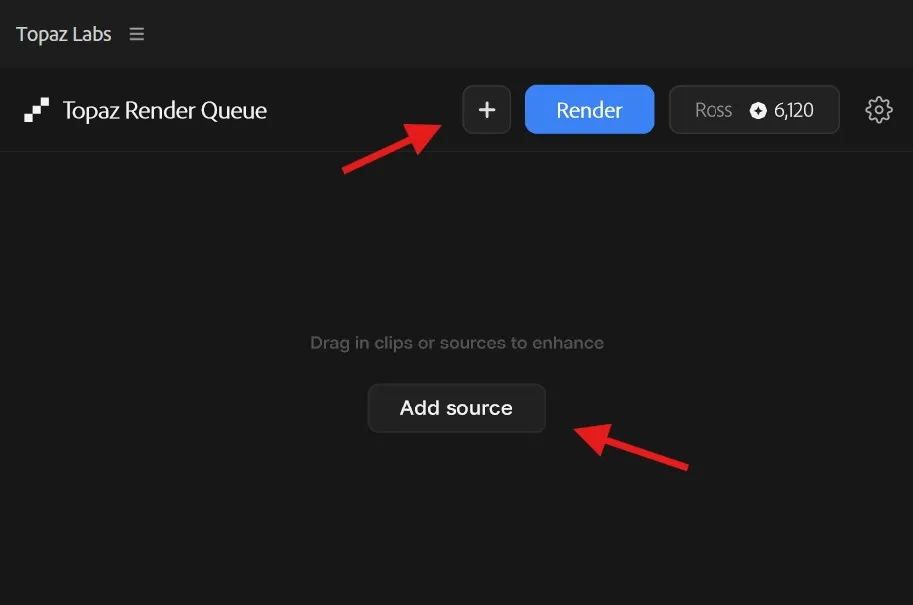
First you need to add your media to the Enhancement Queue. There are multiple ways to add your clips to the panel.
- Drag from Bin: Dragging a video clip or image from your bin to the Enhancement Queue or Multi-select and drag to add multiple clips.
- Add Selected button: Select clips in a bin and select the + Add Selected button in panel to add.
- Add from Timeline: you can also drag clips from the timeline or multi-select clips and use the Add selected button.
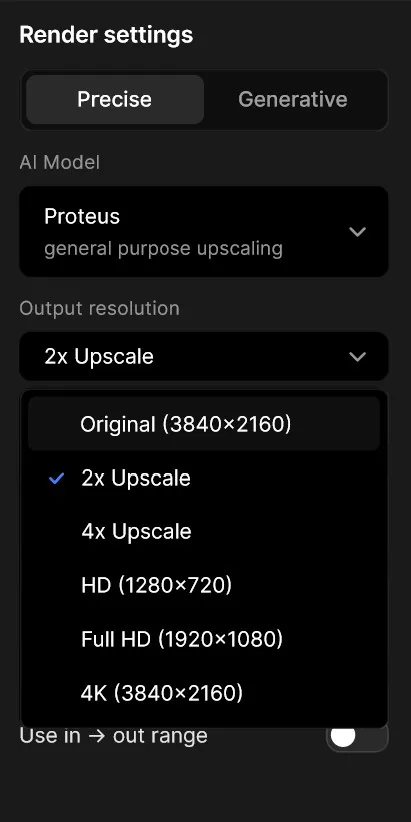
Selecting Enhancement options
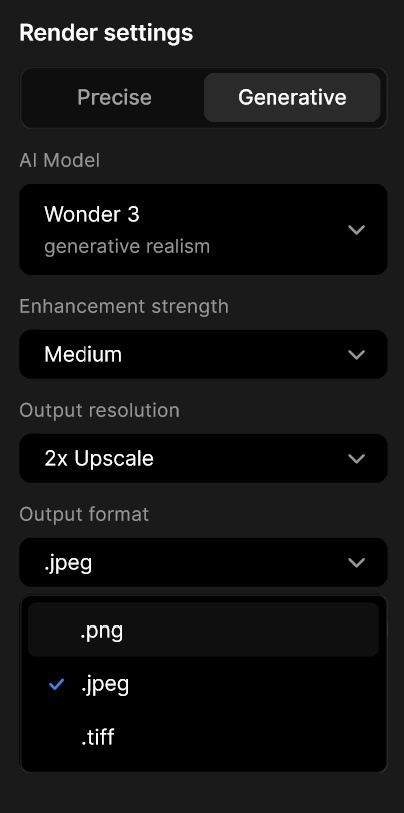
In the right side of panel, you can choose from Precision or Generative models. Choose desired Enhancement Model, Output Resolution, Frame Rate, or Slow Motion.
- AI Model: Choose desired AI Model. learn more about AI video models here. Note: the Topaz premiere Panel has less options than Topaz Video desktop application.
- Upscale Resolution - Choose 2x, 4x, HD, or 4K
- Frame Interpolation & Slow Motion: Convert frame rate or add slow motion.

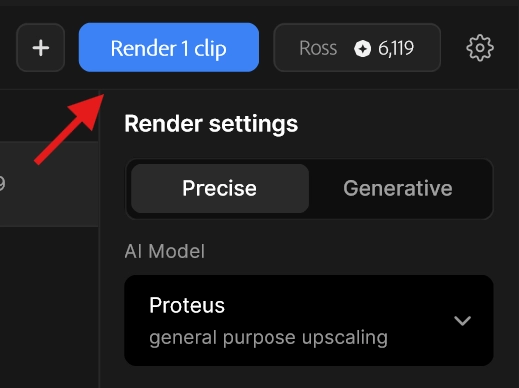
Select a Render
When Render is selected, any clips that are selected will be sent to the Topaz cloud. This is not an immediate process, however this happens in the background, freeing your system up to continue working.
Rendering using Source/In outs
- Load your source clip into the source window and mark in/out.
- Add this clip to the Enhancement Queue
- Make sure the "Export in/out range only” button is ticked on.

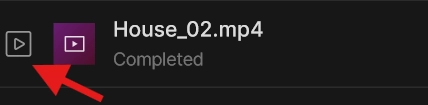
When a Render is Finished
When a clip is done, it will be marked completed in the interface. You can click the play button to load the clip into your source monitor.
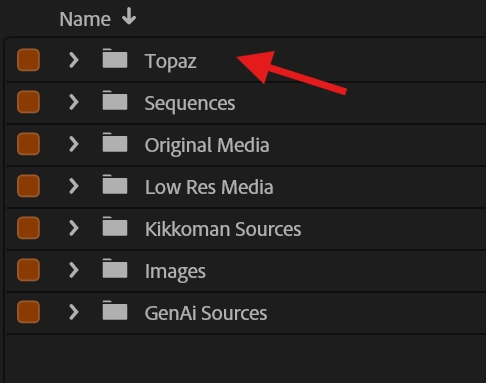
Additionally, all your rendered enhancements will be placed in a Topaz named folder in your Premiere project.
Rendering from the Timeline
Beyond upscaling clips from a bin, you can also upscale selected clips from a timeline with additional conform features.
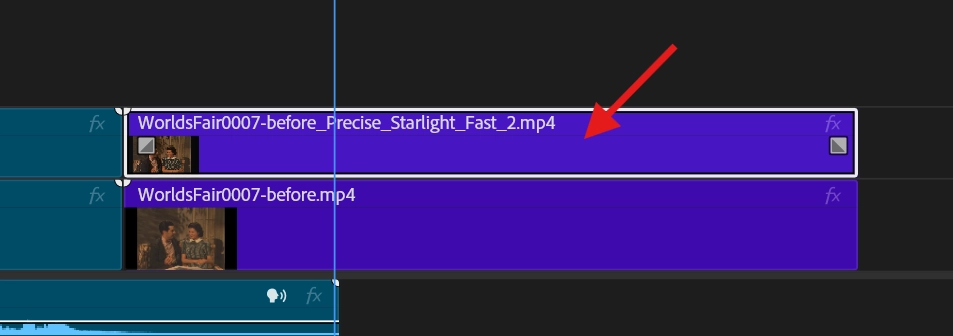
Note: After rendering from the timeline, the new, rendered clip will be added into the timeline one track above the selected source clip.
- Select a clip in timeline and choose Add Selected in Enhancement Queue
- Choose desired enhancement.
- When finished, the clip will automatically appear on the video track above your selected clip.
If you are upscaling from HD to 4K and want to use the “send to timeline” feature, we recommend leaving the timeline at HD, upscaling to 4K, then changing the sequence settings to 4K when the clips are rendered.*
Enhancing Images
The panel will also work with images.
- Select a jpeg, png or tiff file from timeline and drag to Enhancement Queue.
- Select desired AI Model, Output Resolution, and Output Format.
Clearing the Queue
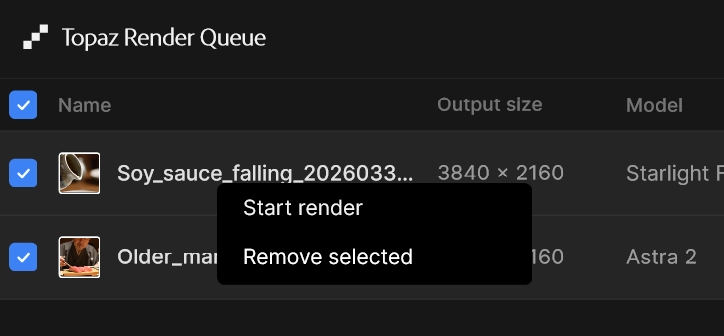
Right click on a clip to remove or multi-select to remove selected.
To clear finished clips, click Clear completed.
Setting Preferences
Setting preferences is pretty easy.
Click the gear icon to view the panel preferences
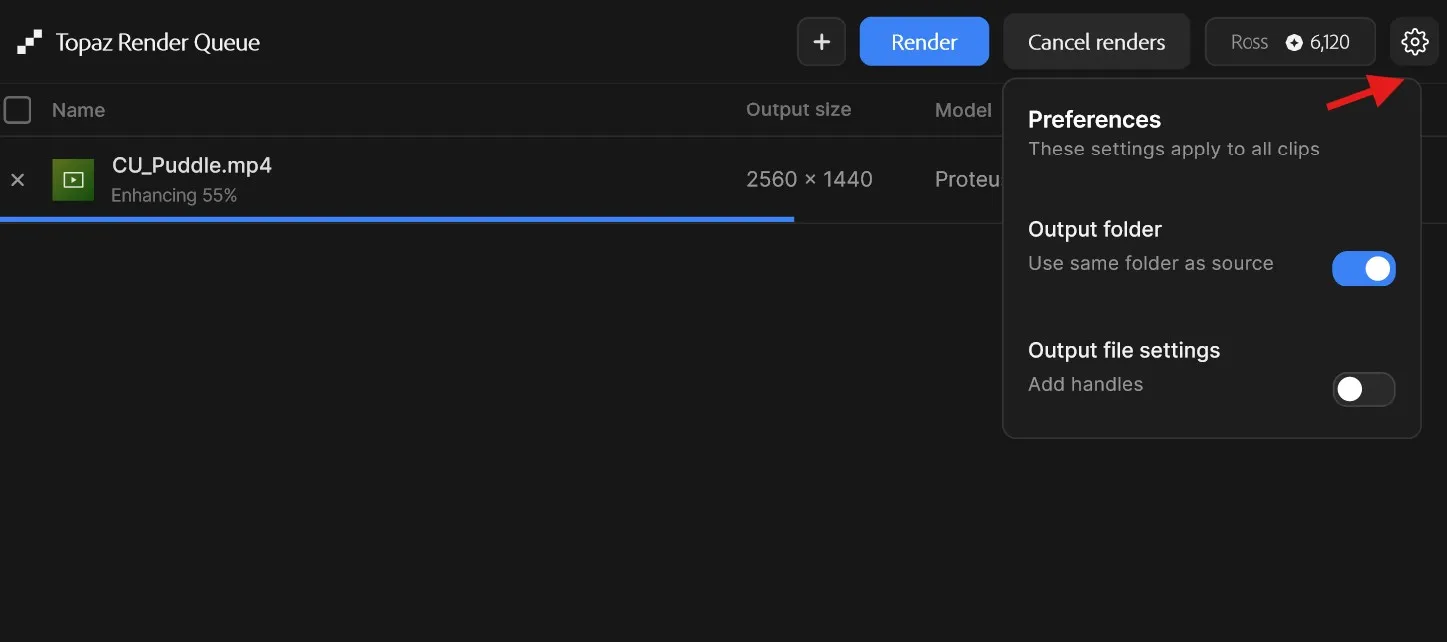
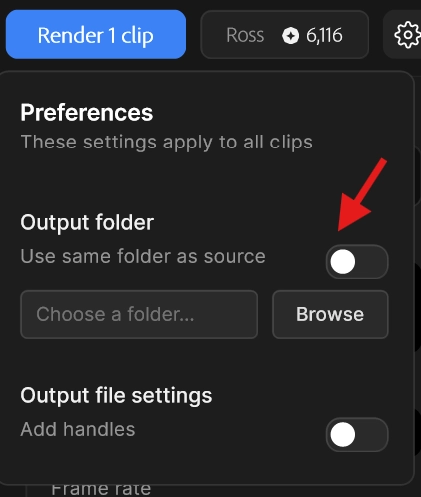
Output Folder
By default, the panel will render media to your Premiere project’s folder. You can change this to add a path to the location where the upscaled media will be placed.
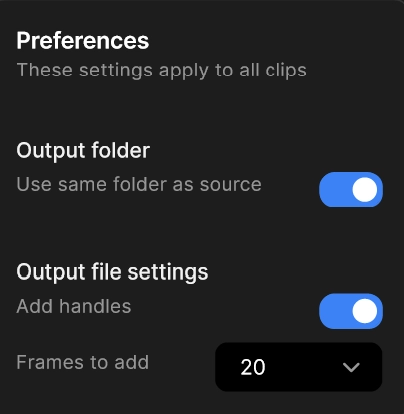
Output file Settings
You can enable Add Handles to add extra media to the heads and tails of your selected clip. This will only work if your clip has a in/out marked.
Add handles is a global preference.
Known Issues
- The Premiere panel currently only renders in H264 (H265 for 8k) formats. We plan to add ProRes support soon.
- Users may experience some unexpected behaviors when sending from timeline. If you experience unexpected behavior, try sending from bin.
- We recommend clip and transition effects are removed from clip before sending to the Queue from timeline.
- We recommend the timeline is set to the source clip resolution and then changed after upscale. This is not an issue when upscaling from a bin.
- There are knwon issues when handle media is enabled.
- Adding audio track to video clips. Currently there is a known issue that a video clip w/out audio will add a blank audio channel. When enhancing from timeline, we recomend leaving A1 audio track empty.
- Vertical video. To upscale vertical video formats, choose 2x or 4x. The HD, 4K, and 8K presets are currently not working for vertical video.
- Slow-motion is a video only process and will not effect an audio track.