Image
Choosing a workflow
Select Image at the top of the New page to reach the Image Enhance screen.
Your most recent workflows appear as buttons across the top. Click More to open the full list, where you can search by name and see a short description of what each one does.
Adding images
Upload brings in files from your computer. Select asset opens your existing library, where you can:
- Search by filename
- Switch between All (source images and past results) and Originals (source images only)
- Sort by date added, newest or oldest first
- Select multiple images at once, then click Add images
Images you've already enhanced show small icons indicating which settings were used, with the workflow name listed under the filename.
Settings
Once your images are attached, the workflow's settings appear beneath them. What you see depends on the workflow. Common controls include scale, creativity level, color preservation, and face recovery. Fully automatic workflows have no settings at all.
When you're ready, click the arrow button or press ⌘ + Enter (Ctrl + Enter on Windows) to start.
Batch review and progress
You're taken to the batch page, which shows your file count, the workflow and settings used, and a live progress percentage.
Your images appear in a filmstrip on the right. Click any one to view it. Results become available as they finish, so you can start reviewing before the whole batch is done. The counter at the bottom tracks how many are done, for example 71 of 78 enhanced.
Your browser needs to stay open while files upload. Once processing starts, you're free to close the tab or start another batch.
Comparing results
Three view modes sit at the bottom of the batch page:
- Enhanced only: Just the result. Click and hold to peek at the source image, then release to return to the enhanced version.
- Slider: Drag a divider across the image to reveal before and after.
- Side by side: Original and result in two panels.
Along the top of the page, the workflow and every setting used are shown as labels. Hover any one to see what it controls. The file panel on the left shows input and output dimensions for the selected image.
Use the thumbs up and thumbs down buttons to tell us how a result turned out.
Downloading
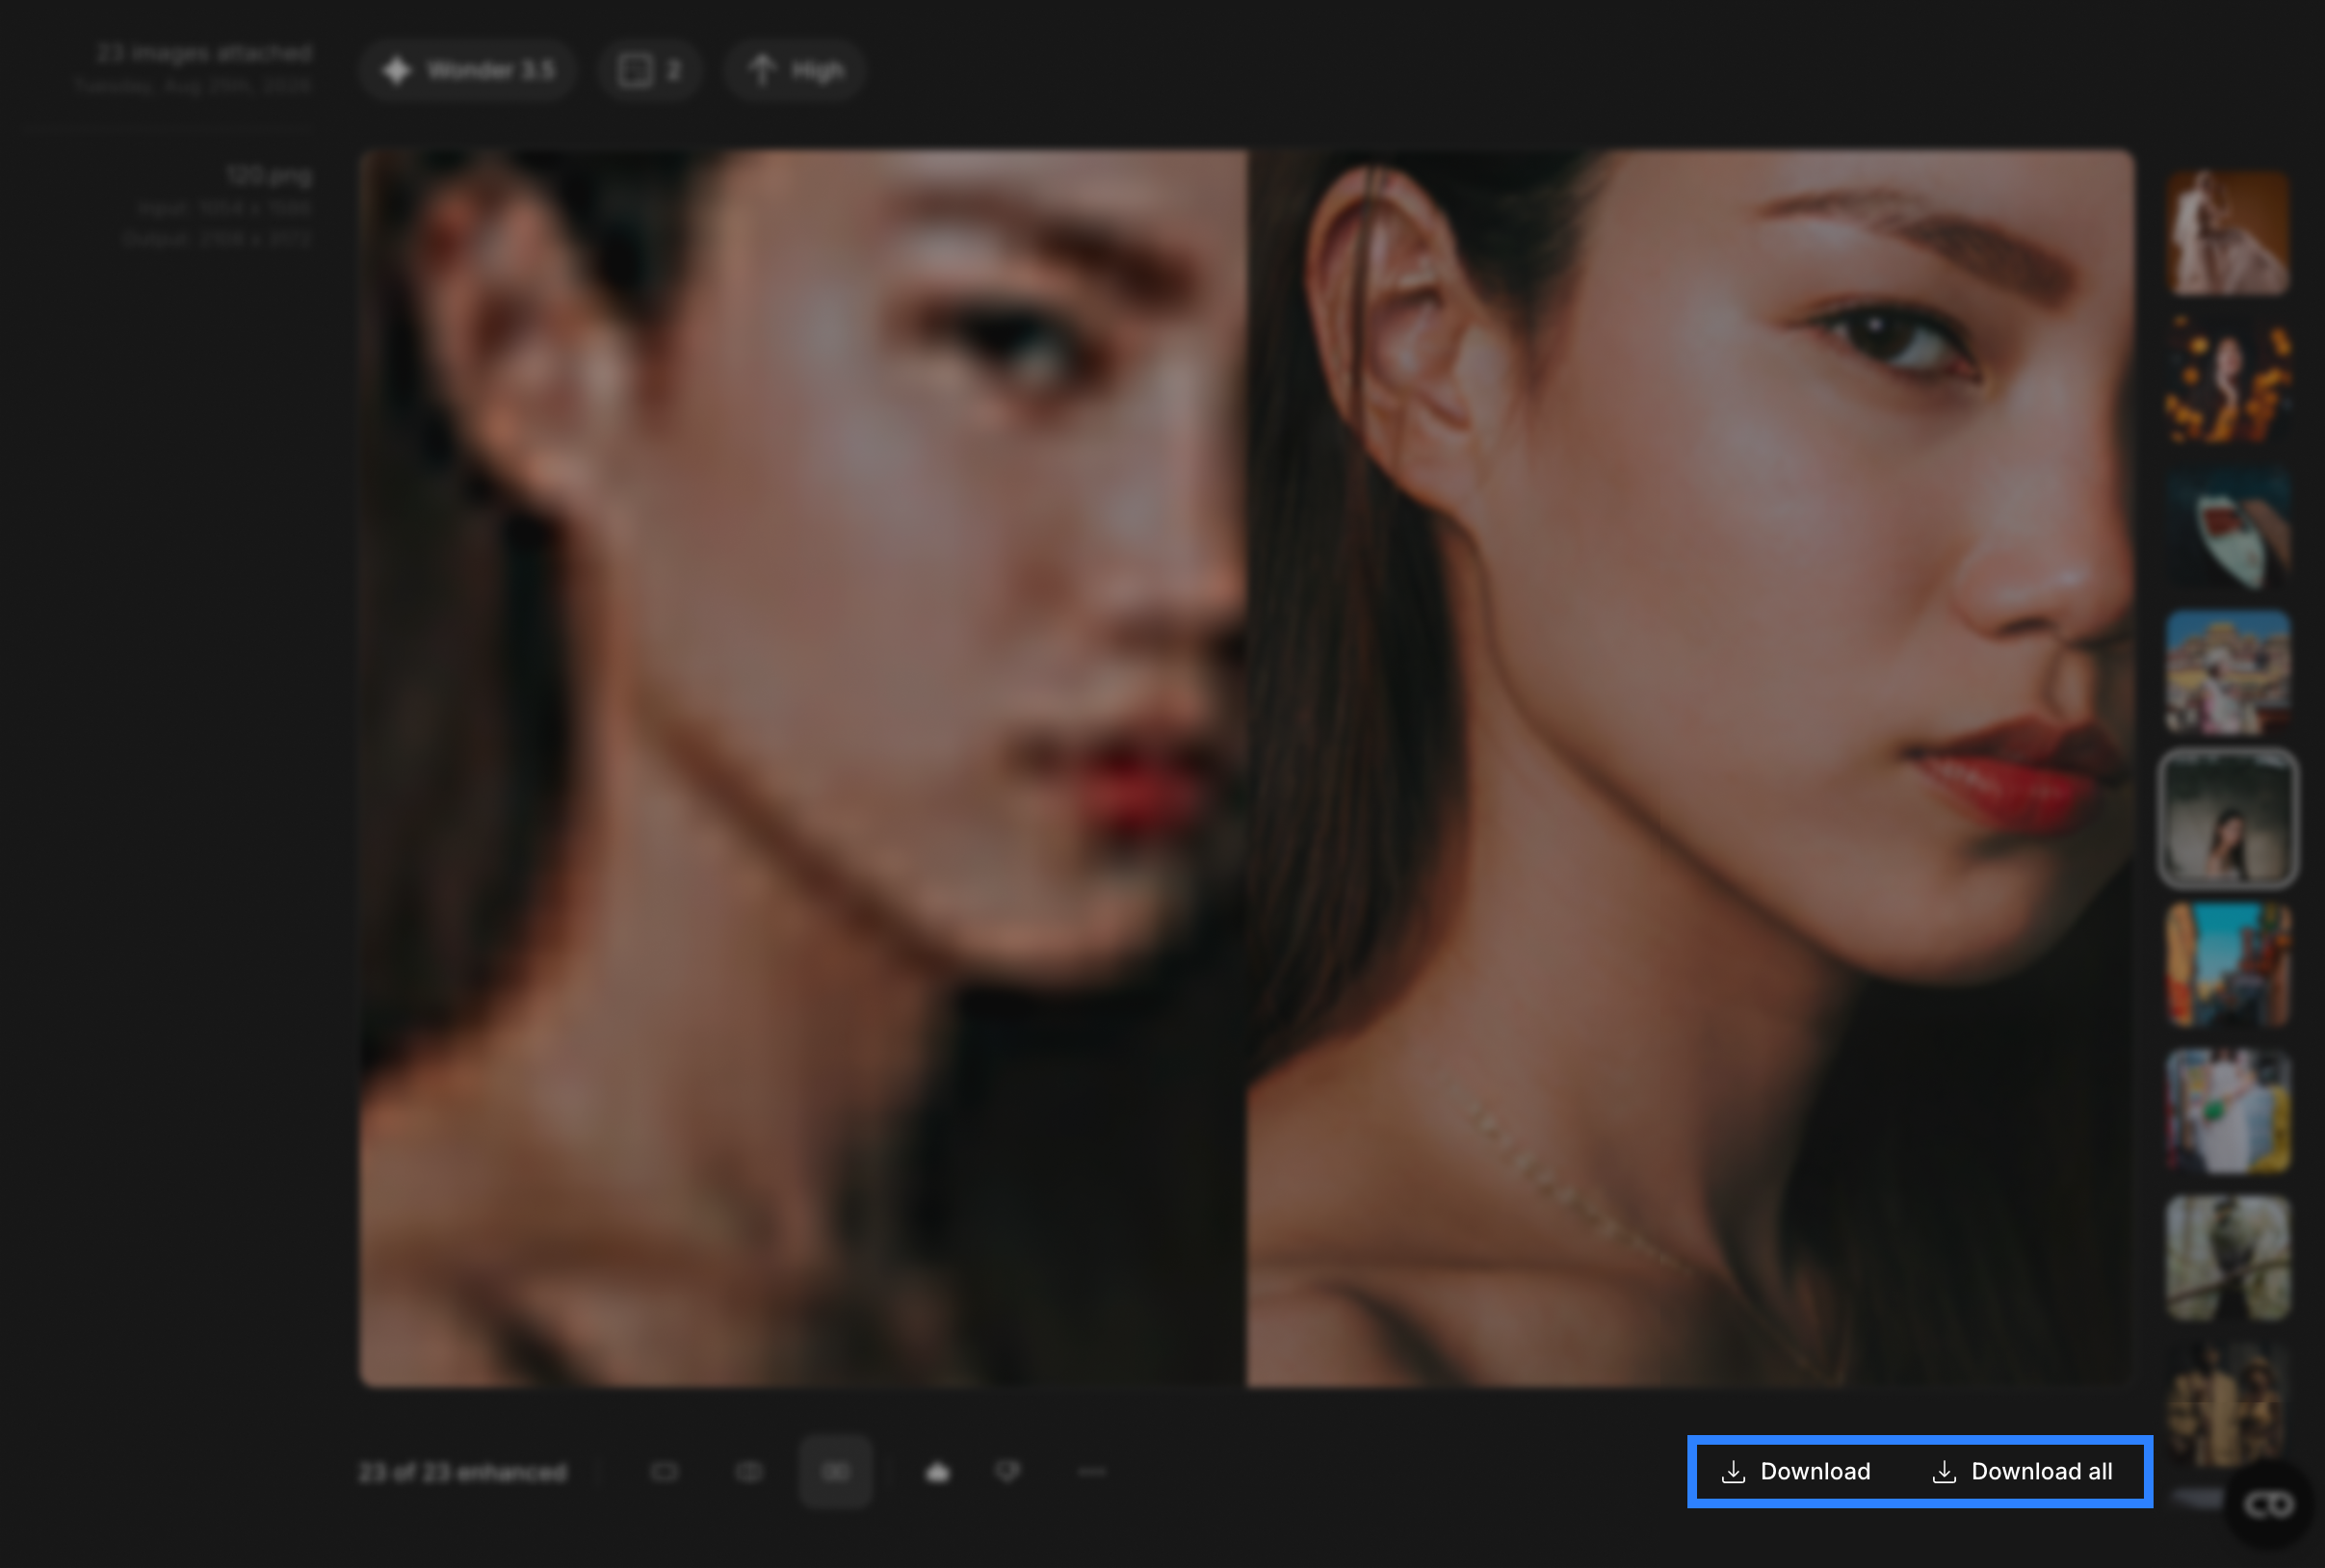
Download saves the image you're viewing. Download All saves everything that's finished processing, showing the count, for example Download 71 of 78.
You can also download from My Files: select one or more assets and download them from there.
Batch options
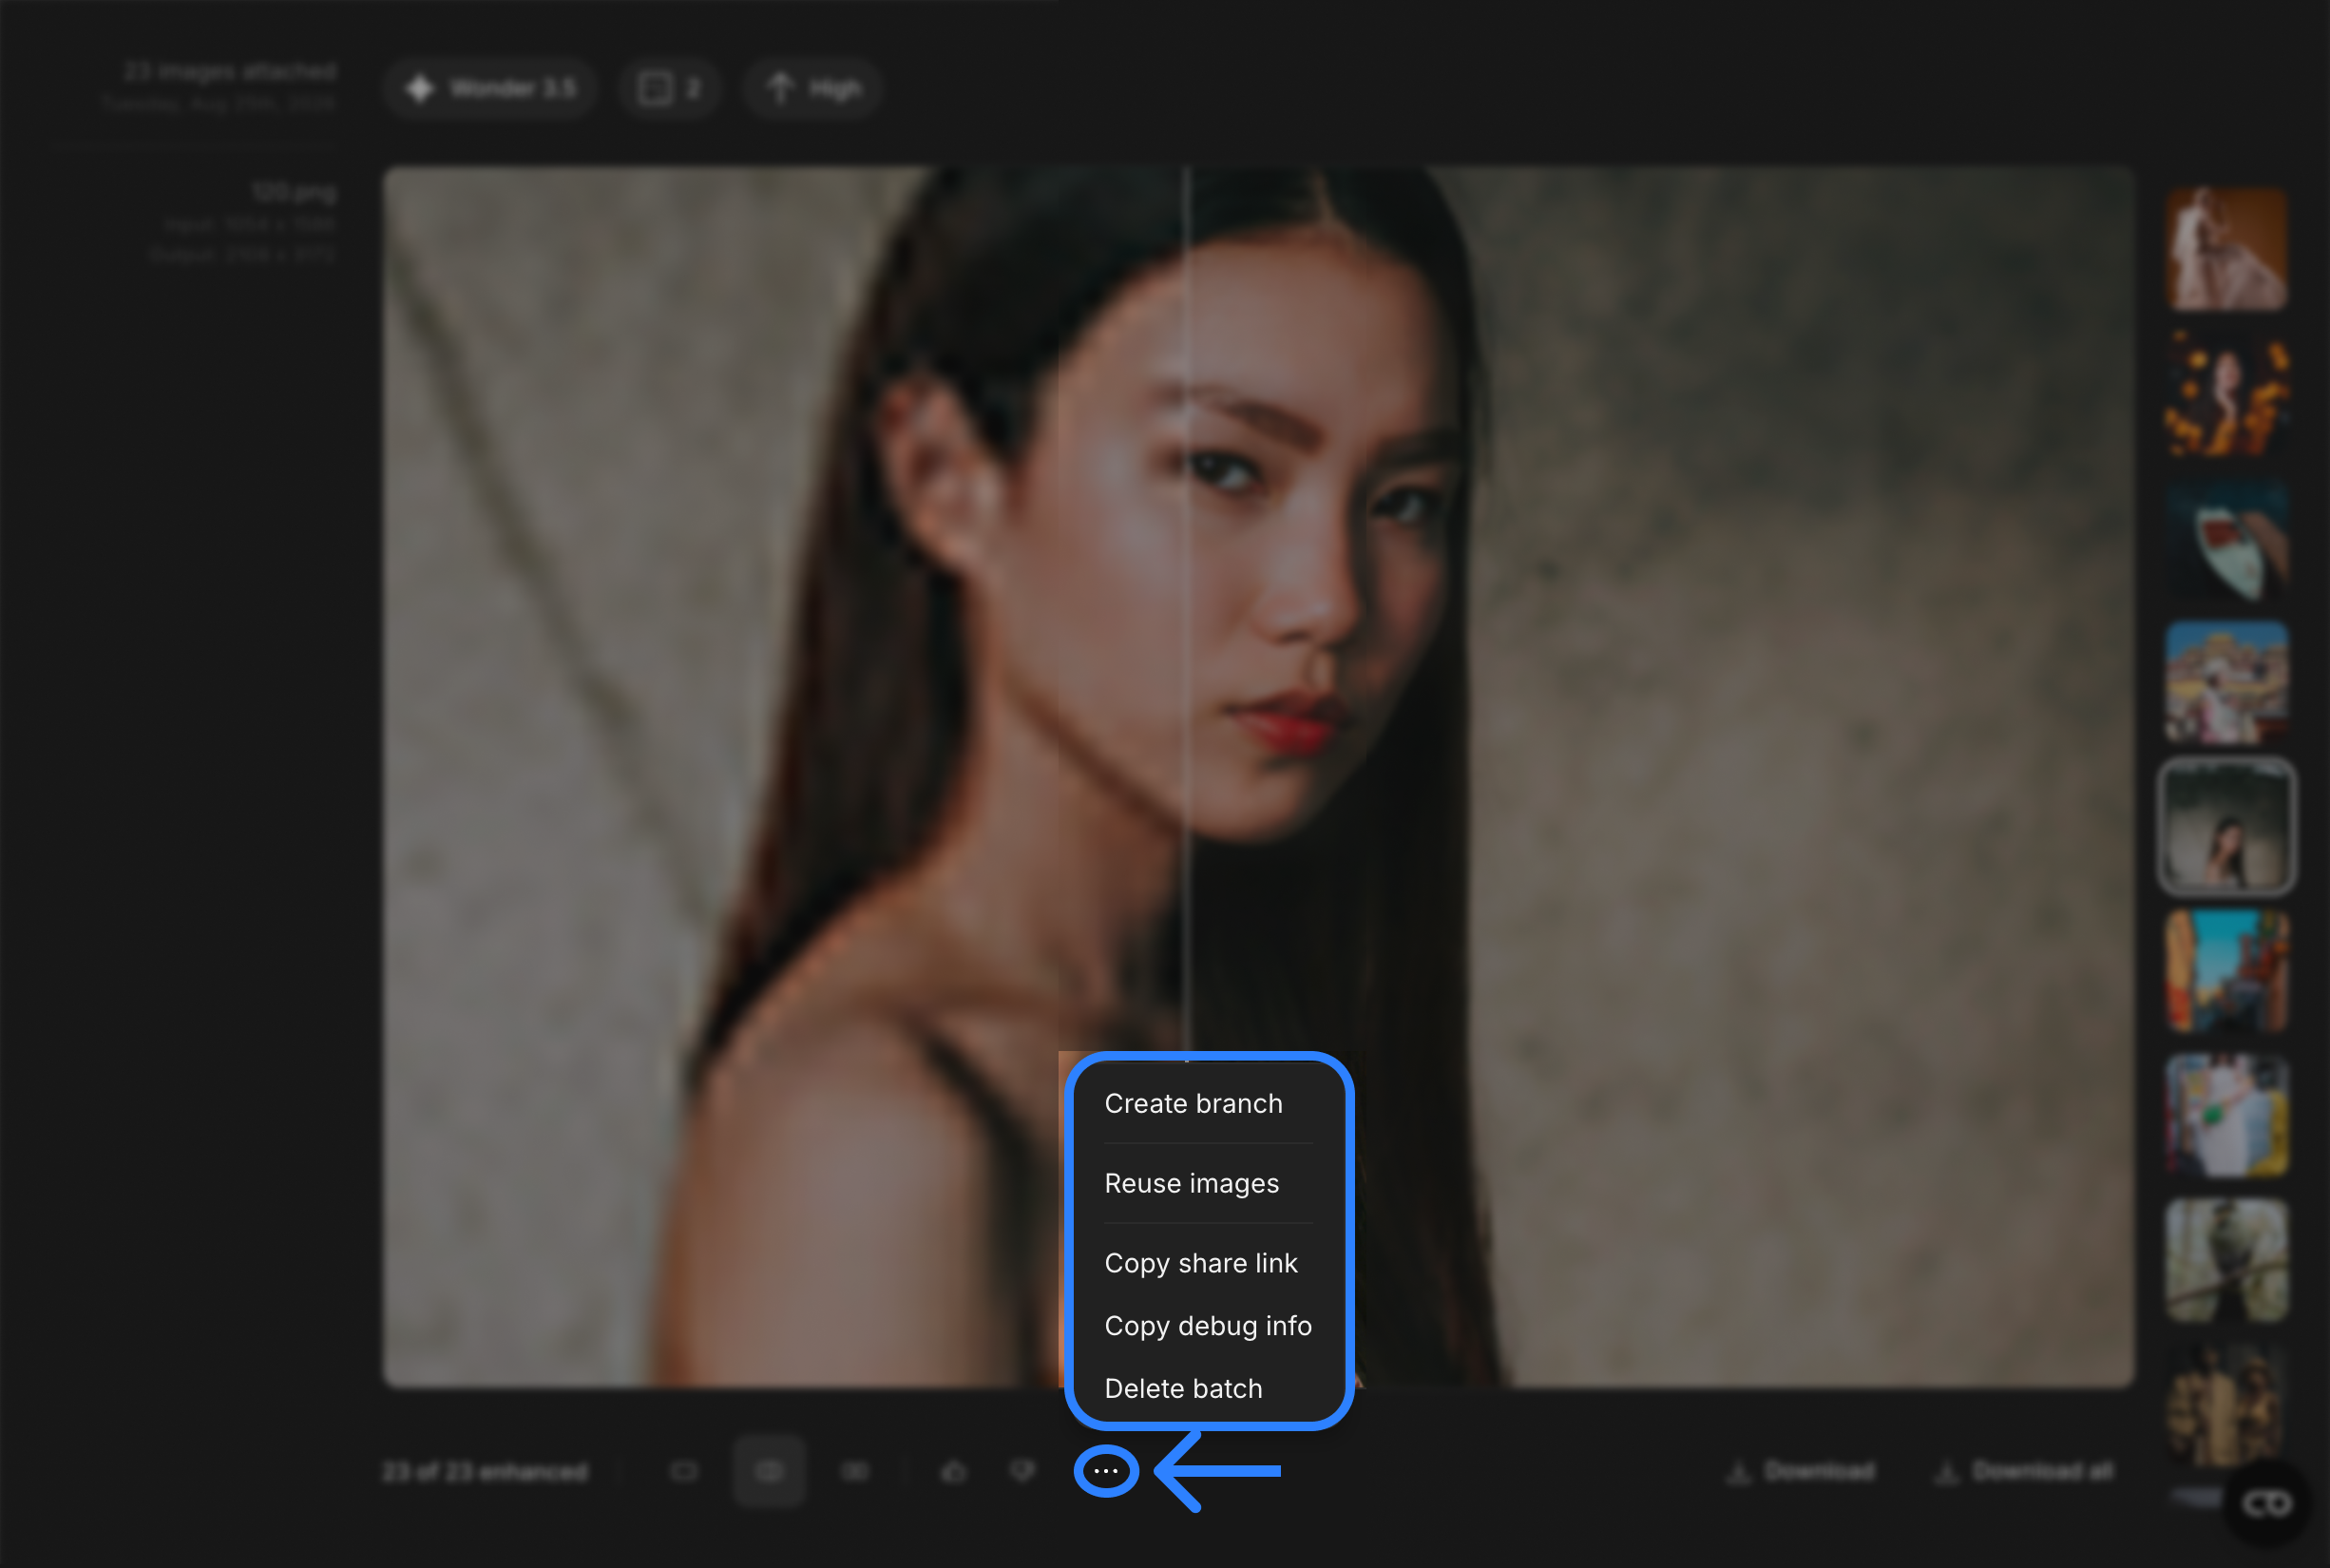
The ··· menu at the bottom of the batch page offers:
| OPTION | WHAT IT DOES |
| Create branch | Start a new batch from these results with a different workflow |
| Reuse images | Start a new batch with the same source images |
| Re-run failed images | Retry only the images that didn't finish |
| Copy share link | Copy a link to your result |
| Copy debug info | Copy technical details to include in a support request |
| Delete batch | Remove the batch and its results |
While a batch is still processing, the menu also offers Cancel render. Canceling asks whether to stop just the current image or every render in the batch.
Branching
Create branch takes the results you just made and feeds them into a new workflow. This is how you chain enhancements together, like upscaling first and then relighting.
After branching, the New page shows a Branched from label indicating the workflow you came from. Click it any time to jump back to the original batch.
Supported image formats
Topaz for Web accepts PNG, JPEG, JFIF, WEBP, TIF, and HEIC. RAW and NEF are not supported.
Use the File Converter workflow to convert your images to PNG or JPEG.
| YOU UPLOAD | YOU GET BACK |
| JPEG | JPEG |
| JFIF | JPEG |
| PNG | PNG |
| WEBP | PNG |
| TIF | PNG |
| HEIC | PNG |