Prepare Your File for Printing
This suggested workflow is for users who need to upscale images for a specific print output. Whether it is posters, photos, wall art, or coloring books, use these steps to have your files ready to send to your printer or print-on-demand service.
Before File Import
Double Check the file's Color Profile. Gigapixel does not currently support CMYK color profiles. If you have a non RGB image, the app may convert the colors by default resulting in undesirable tones later on.
You can convert your images back to CMYK on a different photo editing application or software.
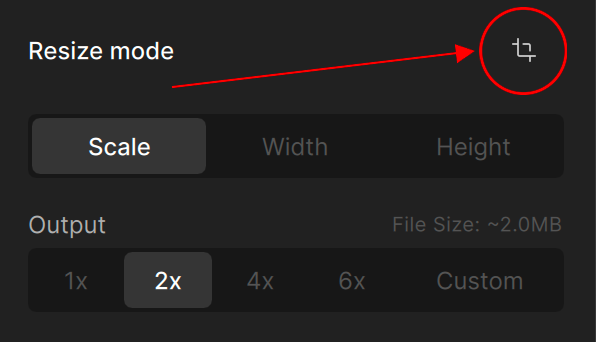
Step 1: Crop your image
Choose the Crop Tool to open the Crop Panel. If your image is already cropped to the correct specifications, skip this first step.
Use the dropdown menu to select the Aspect Ratio that best fits your intended Print Output size.
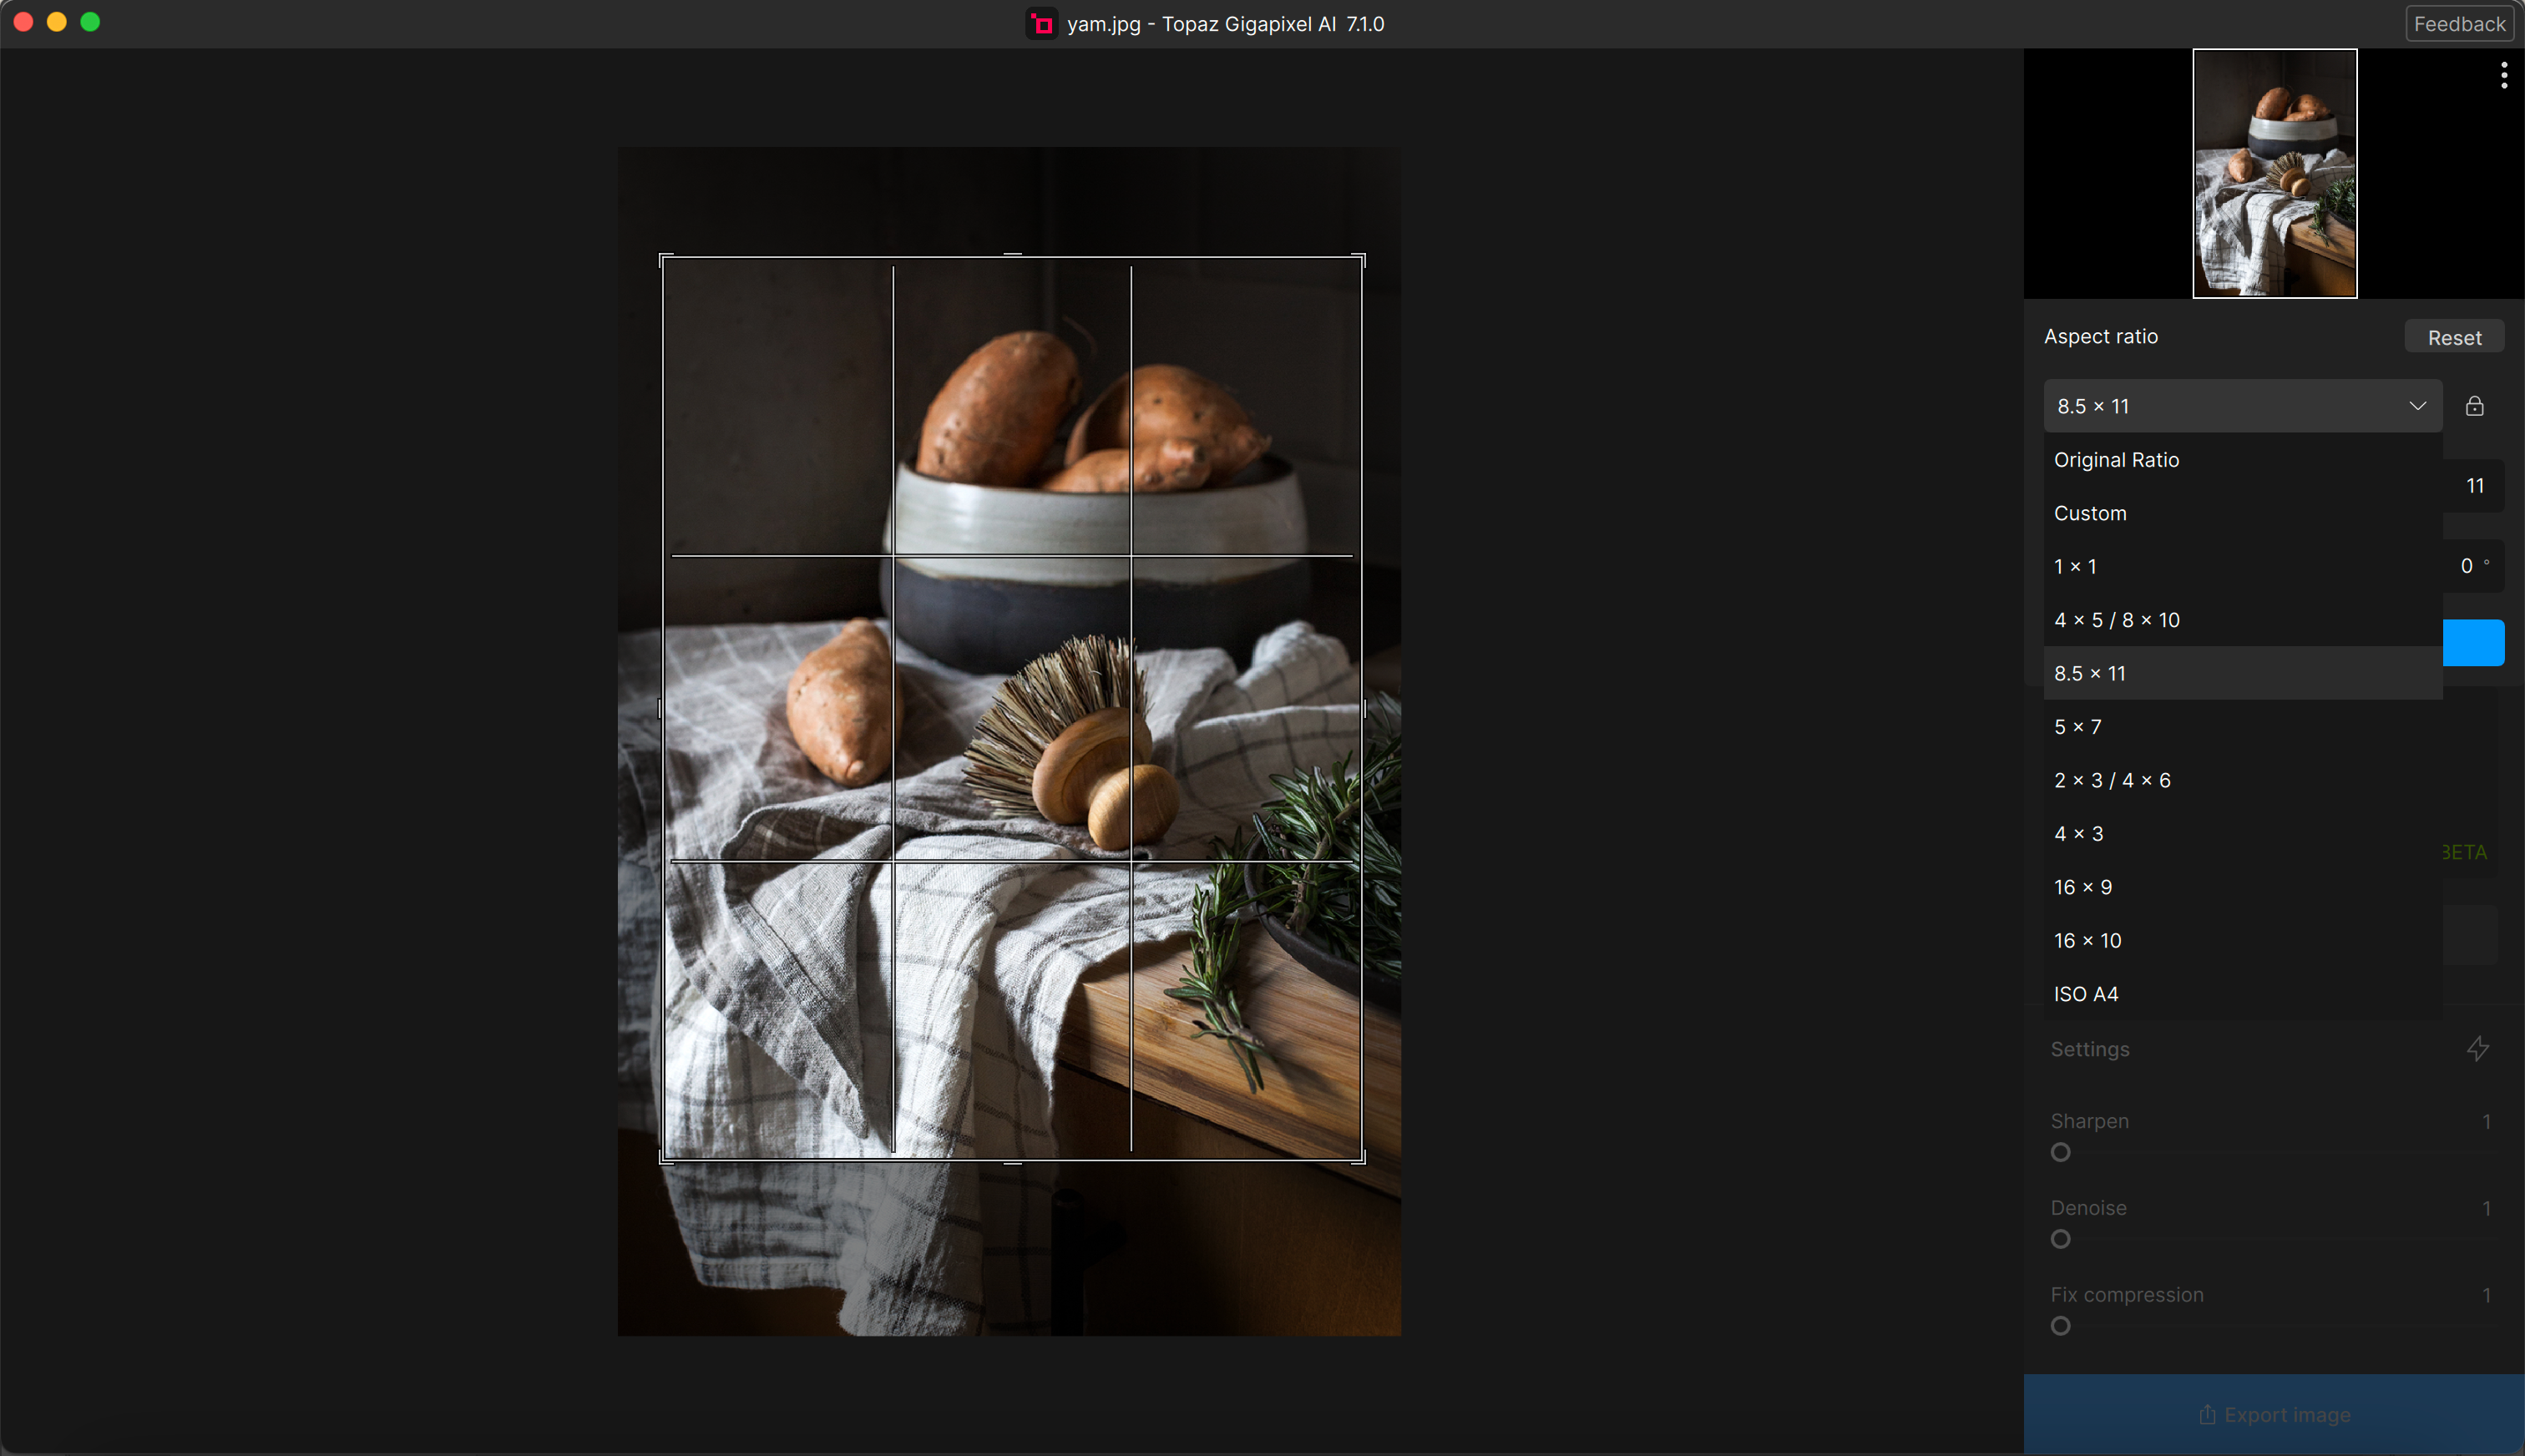
If you know the exact print dimensions but are unsure how to calculate Aspect Ratio size, consider an online conversion calculator.
Step 2: Resize and Upscale your image
Using the Resize Mode, select Width or Height to input your exact size dimensions.
Select the "Output Width" or "Output Height" dropdown menu to change the Unit of Measurement to Inches or Centimeters.
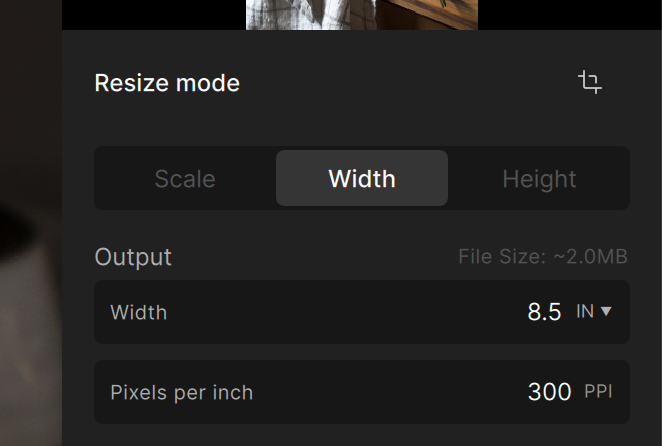
When you first click Width or Height, Gigapixel displays your original input size and pixel count. You need to change the Output unit in order to change the resolution of your image.
In most cases, the ppi/ppcm is determined on the size of your image and how large you want to print. A common recommended print resolution is 300ppi / ~118ppcm.
Is 300ppi the same as 300dpi?
No, technically it is not the same. However, 300ppi is considered high resolution and a common standard for printing.
- PPI is the number of pixels within one inch of an image displayed on a computer monitor
- DPI is the number of printed dots within one inch of an image printed by a printer
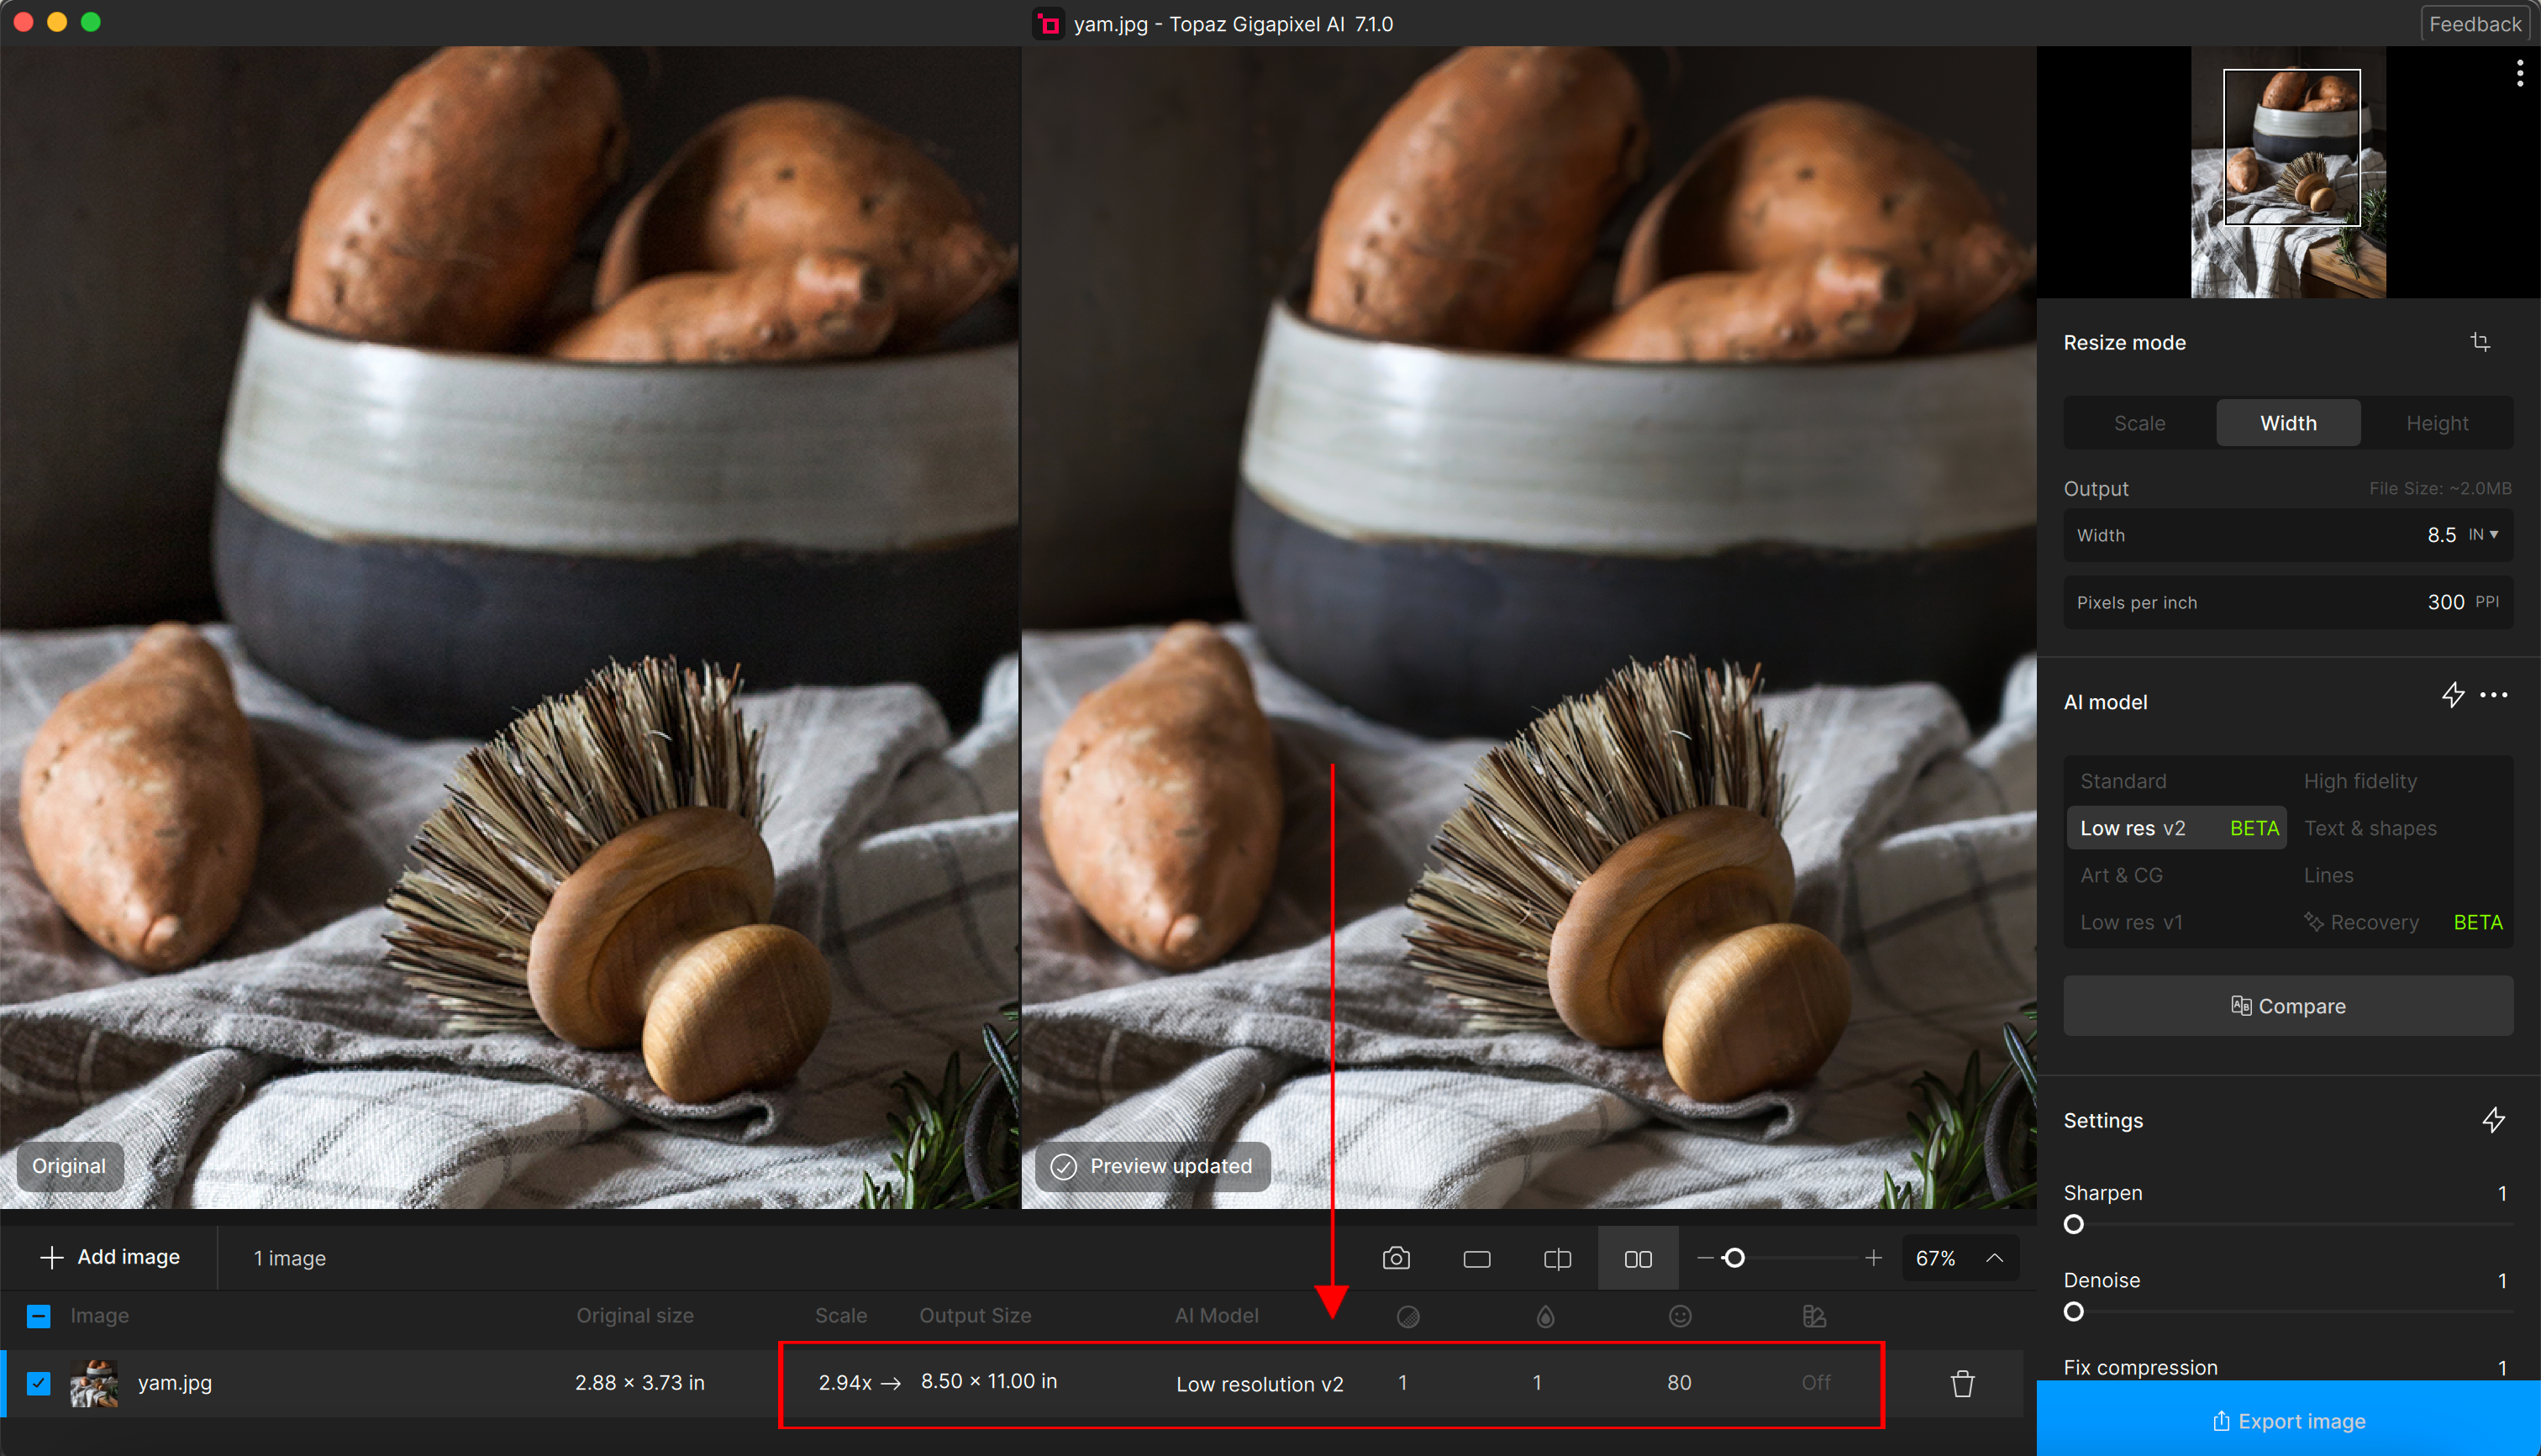
Step 3: Enhance your image
Select an AI Model and make any refinements using the settings in the Filters Panel. Toggle on the Lightning Bolt symbol for Gigapixel's AUTO settings to choose for you.
Refer to the File List beneath the Preview to see all your changes.
Step 4. Export your image
Choose the Export Image button located on the bottom right of the Filters Panel to open the Export Panel.
In the FILENAME section, change the Prefix and/or Suffix to help you remember which file will be printed.
Using the example below, the image is cropped and resized to an 8.5in x 11in file. The Export settings shows the Pixel conversion.
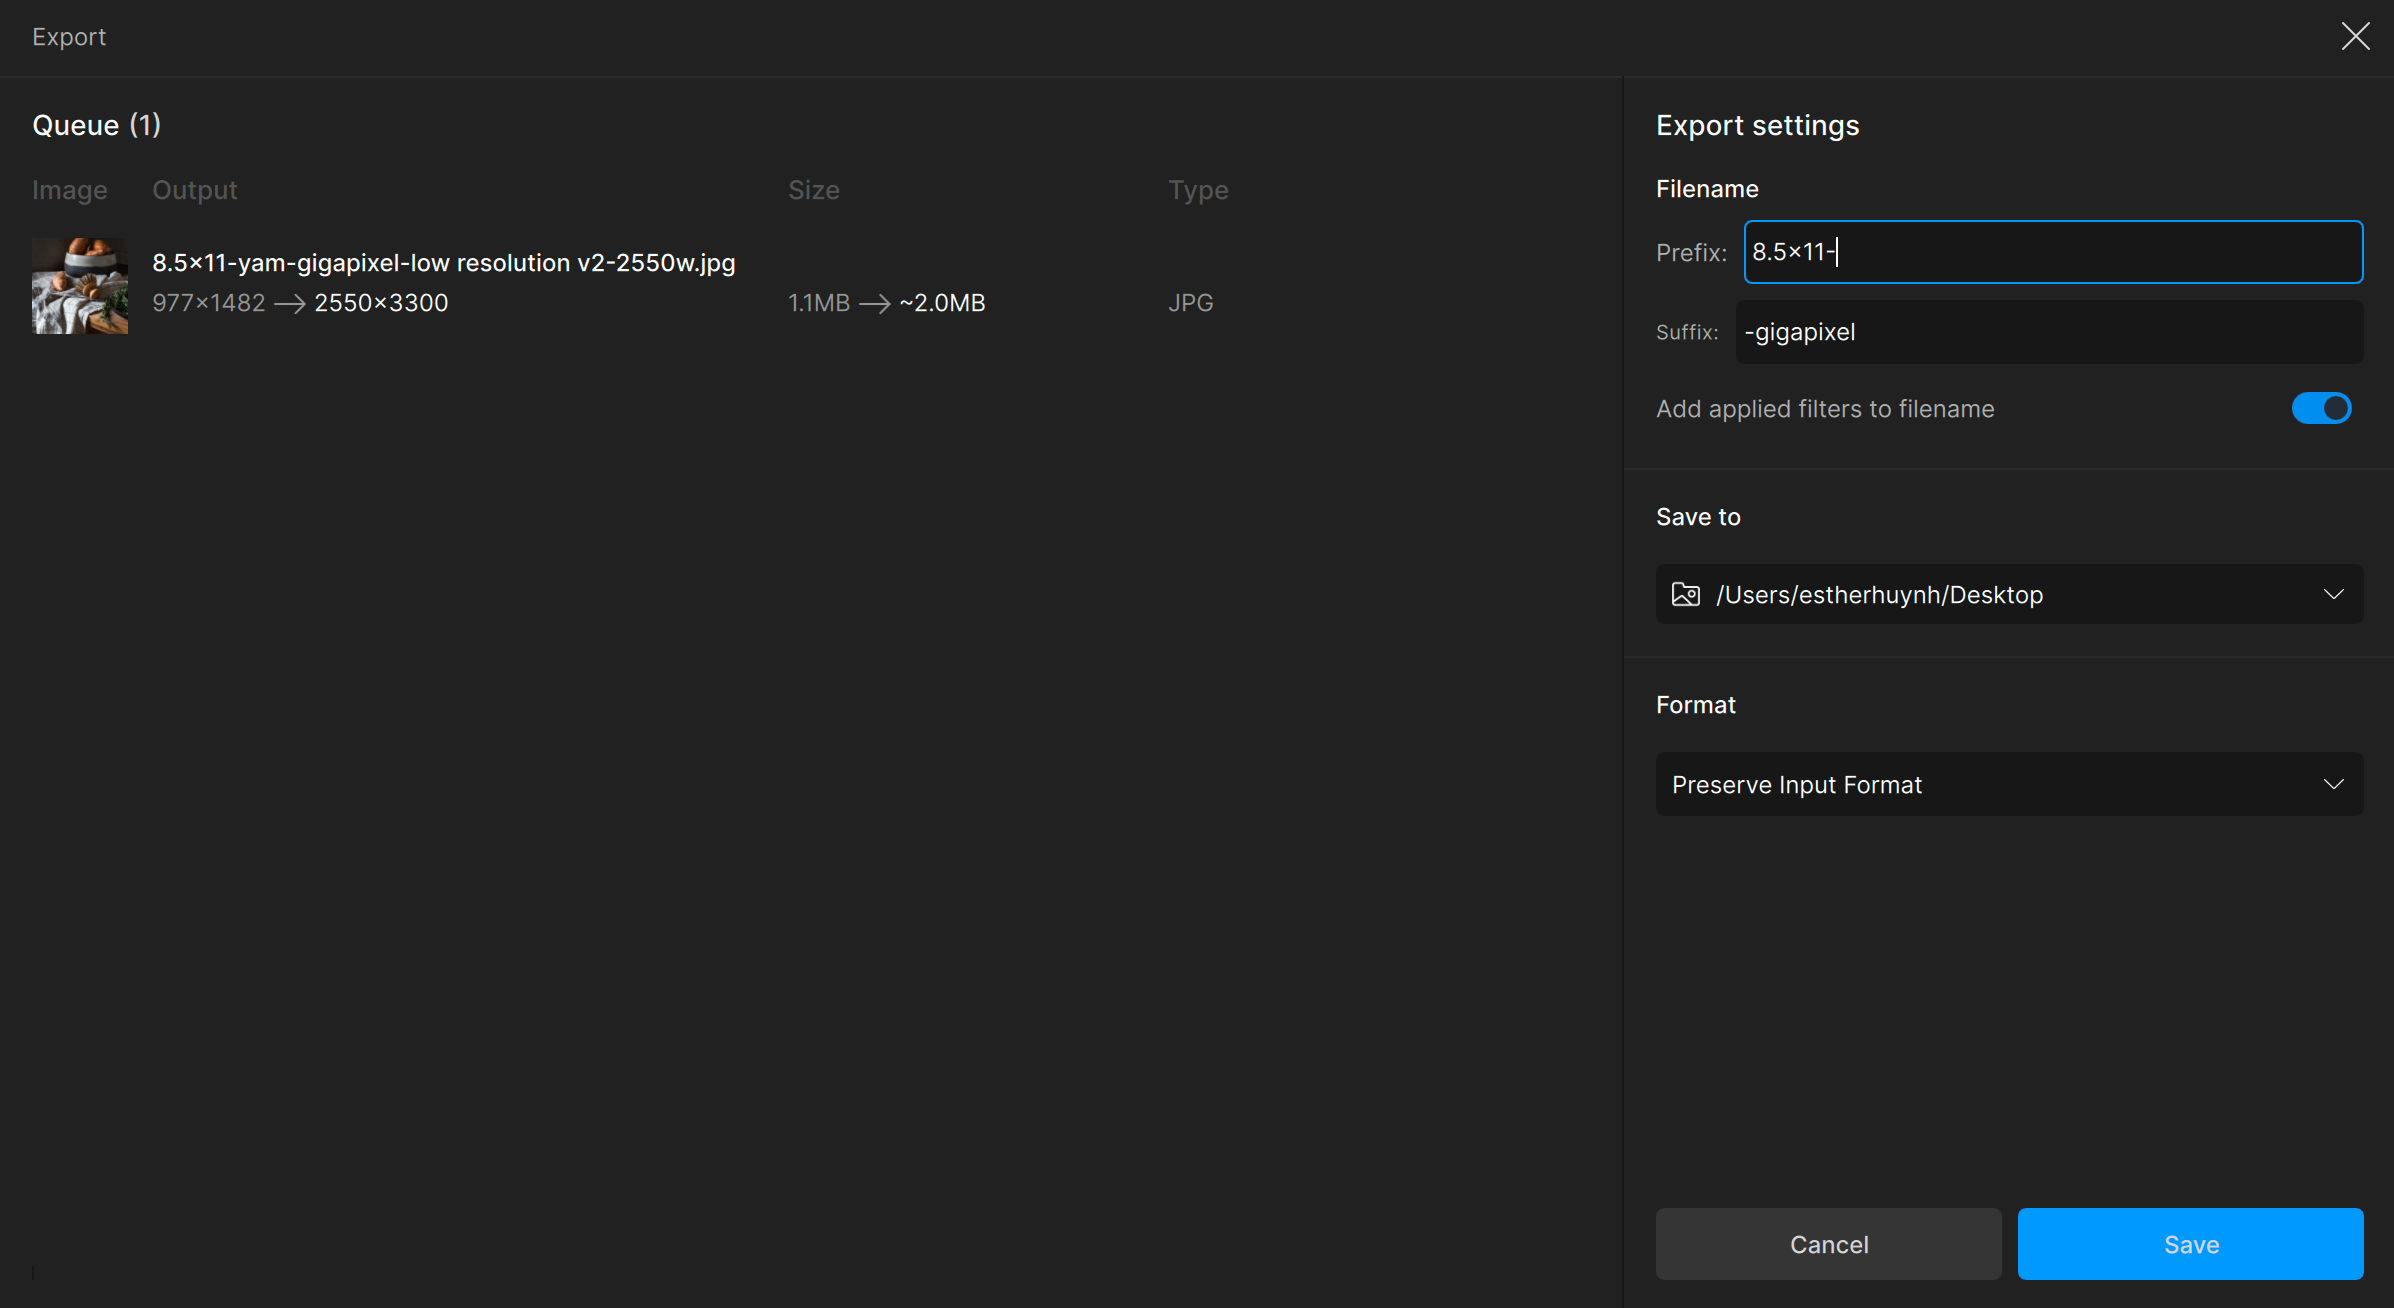
SAVE TO a separate file such as your desktop or a folder specific for Printing that you can access later on.
FORMAT your image to the file format needed or keep the format the same by selecting "Preserve Input Format". The quality of your image will directly affect how large the file size will be.
Click Save to begin the Exporting Process.